
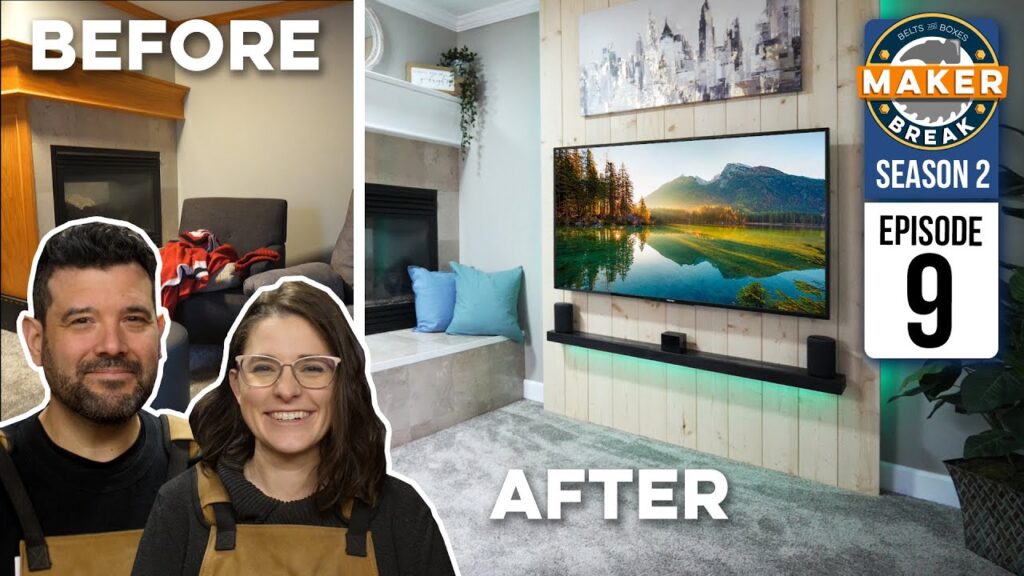
This week, we turned the sitting area of my bedroom, into the perfect Date Night Nook. Plus we look at a few of our favorite Maker Videos of the week. So put down your tools guys. It’s time for a Maker break.
Project of the Week
I was really looking forward to the project this week. When my family moved into this new home a year ago, we all got bedrooms at least twice the size we had previously.
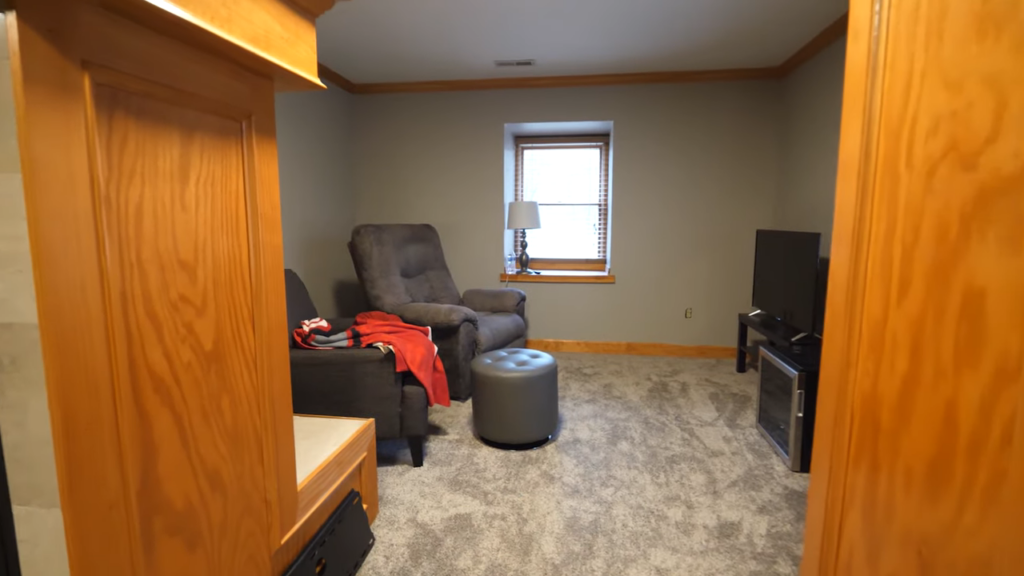
My wife and I got a master suite with this awesome little 10×10 nook on the other side of our fireplace, and we immediately had big plans for it. And a year later we finally got around to it.

While my wife gave the space a fresh coat of paint, I headed to the shop to prepare our materials.
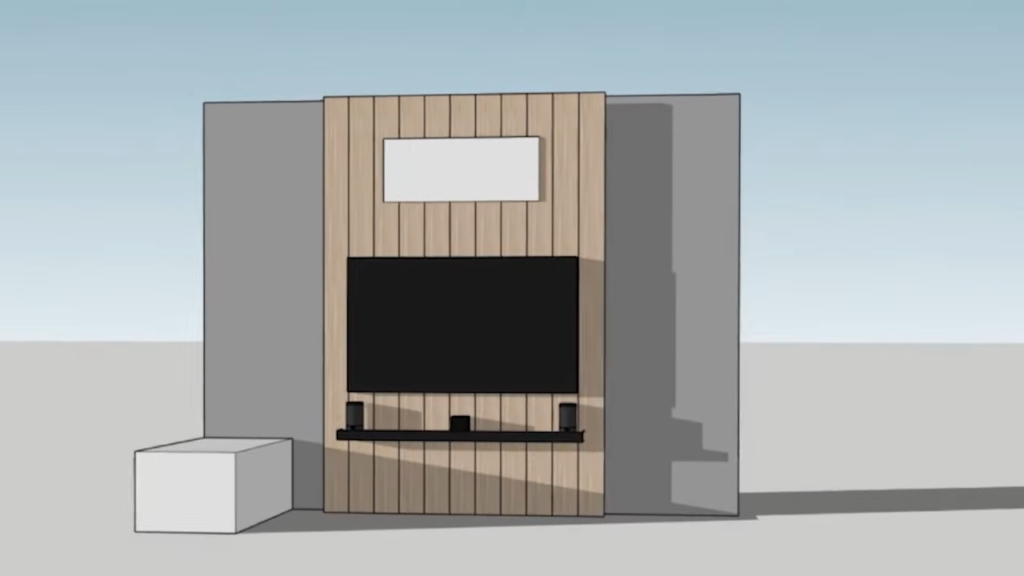
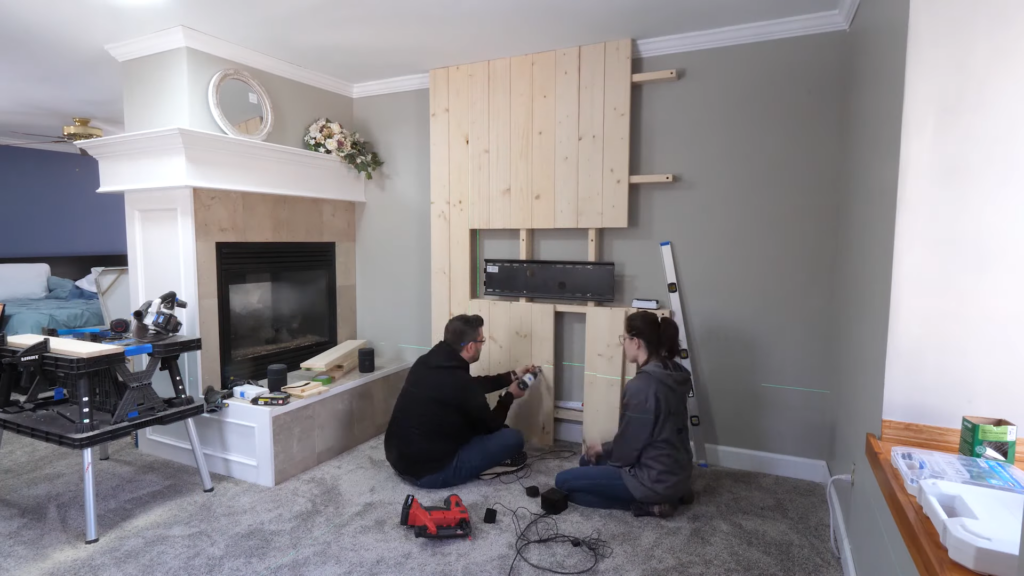
The TV wall would be made with rough pine boards, mounted to a frame of 2x4s. And of course the TV would be mounted to this frame as well, and a small shelf would hold a pair of Amazon Echos, paired in stereo to a FireTV Cube. That way I can walk into the nook and say “Alexa, I want to watch Mandalorian” and it would automatically turn on the tv, bring up Mandalorian on Disney Plus and set the ambient lights.
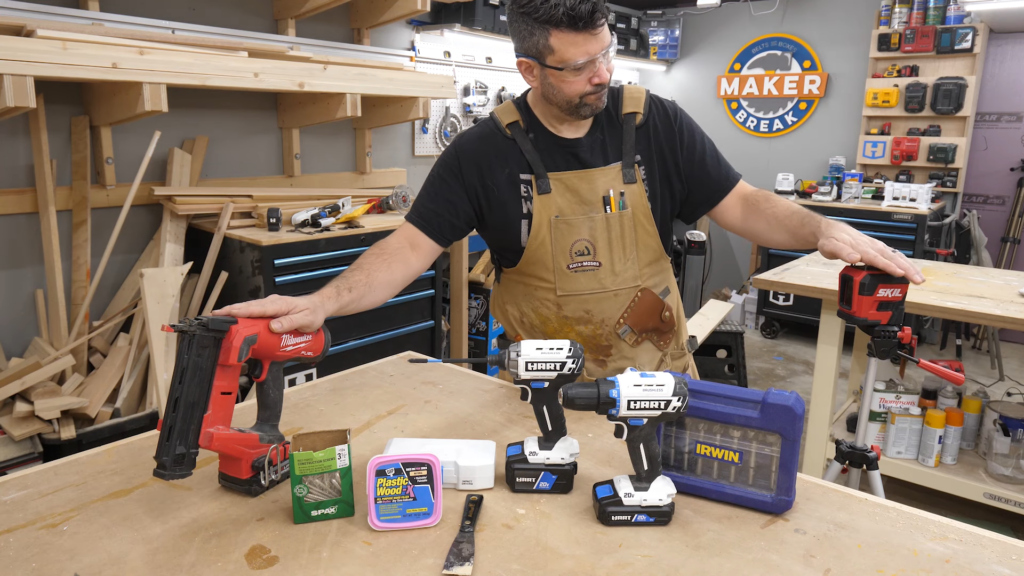
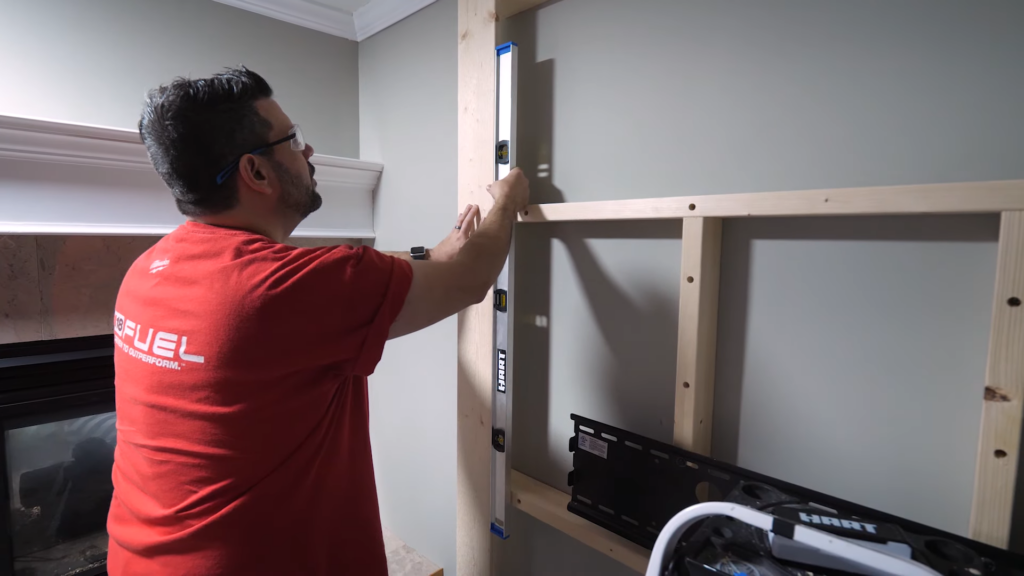
Since I would be working two floors up, I gathered the tools I thought I needed, including my impact, my drill, drill bits, wood filler, some 3 ½” construction screws, my Milwaukee Brad Nailer, a set of IRWIN forstner bits, and a SKIL laser level to help me keep all of these boards plumb.
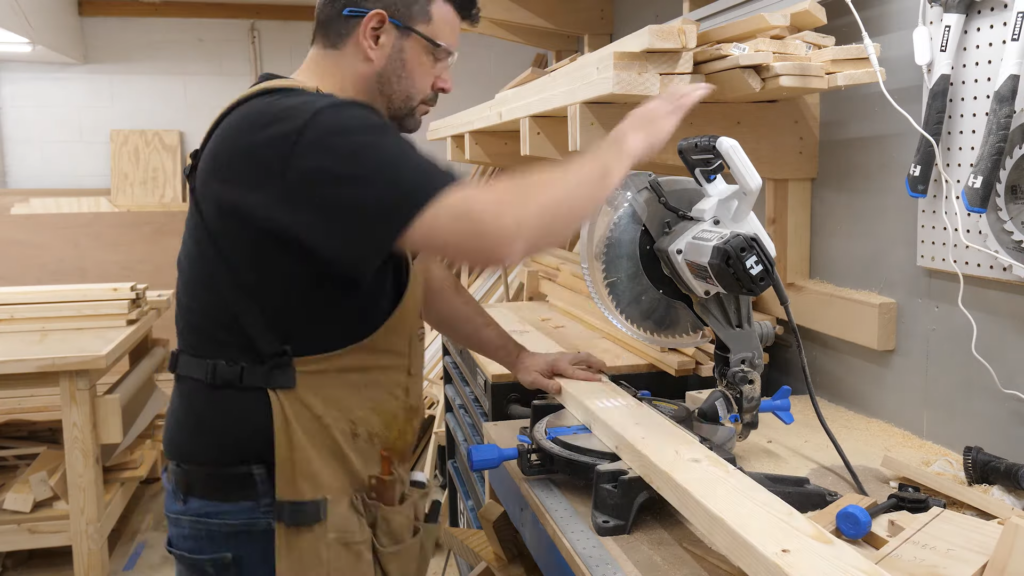
This project is going to need a bunch of 2x4s, and about 11 1×6 rough sawn pine. Now my wife wants the look of the rough side of the rough sawn pine. I personally didn’t care, and was just happy that she chose the cheapest wood. I cut all of my 2x4s down to size, and decided I’d have to cut the vertical pieces upstairs, since our floor and ceiling are NOT shall we say, parallel, and I’d have to measure each one.
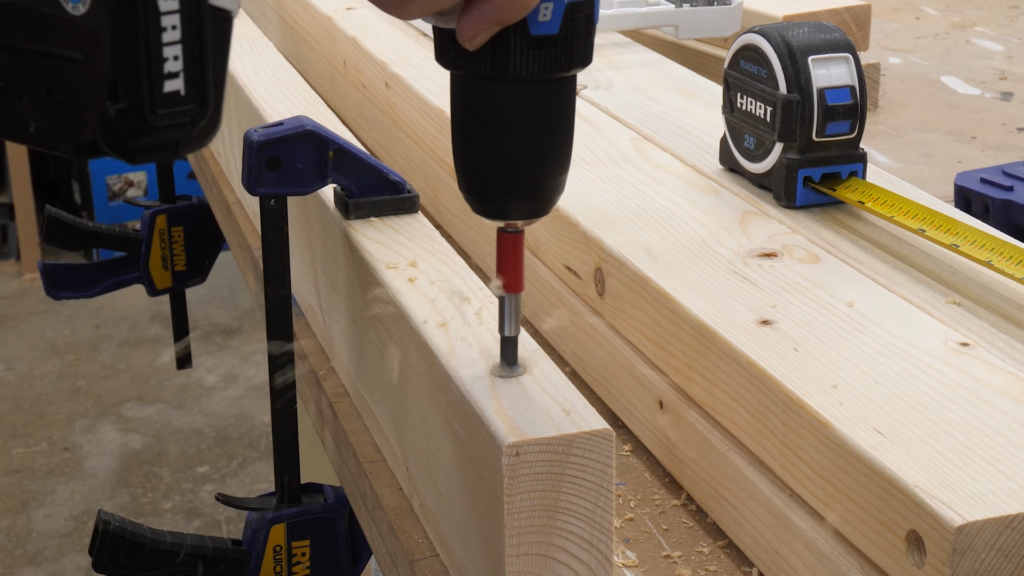
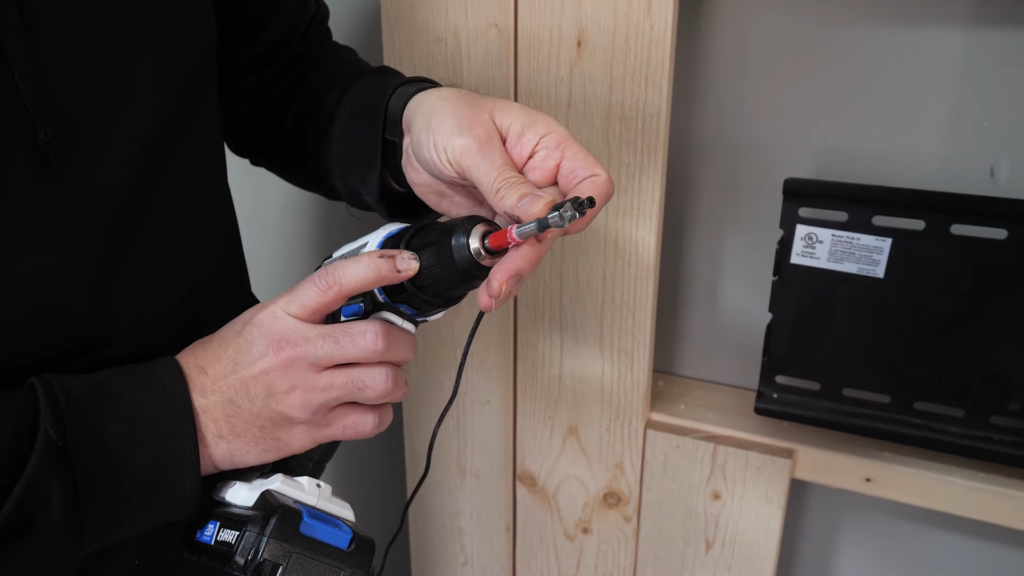
To attach the 2x4s securely to the wall, we used a trick my brother taught me. I grabbed a small forstner bit to predrill holes into the long edge of the board like a pocket hole, then we could used long 3 ½” construction screws to secure it to the studs in the wall. This let us set the boards off our wall by 3.5” and give us room to run cables, and setup LED lights. I predrilled a few of these pocket holes in the shop, and then headed up to the room where I’d do the rest after measuring.
When I arrived Sarah had setup our HART mobile work table, which is AWESOME. We’ve had this for a while, but never needed to move our work outside the shop before, and this thing was indispensable. The clamps easily held the studs in place for drilling our holes, and eventually did the same for all of our vertical panels.
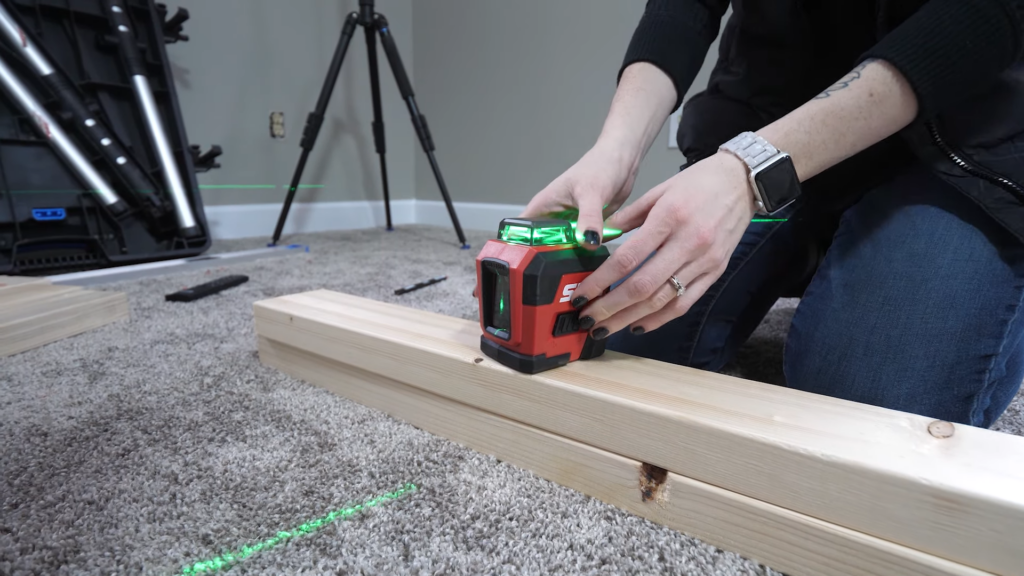
After marking the wall up, we started with our first 2×4 along the bottom of the wall. The floor isn’t level. At all. This whole room was someone else’s DIY project before we bought it, and it shows. So we used the laser to make sure we were mounting things level instead of measuring from the floor or ceiling.
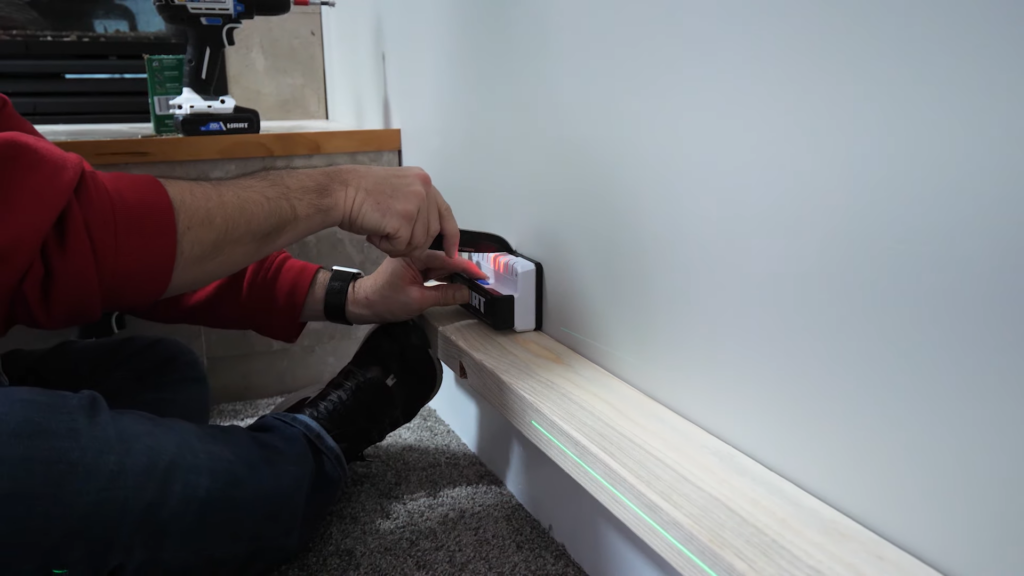
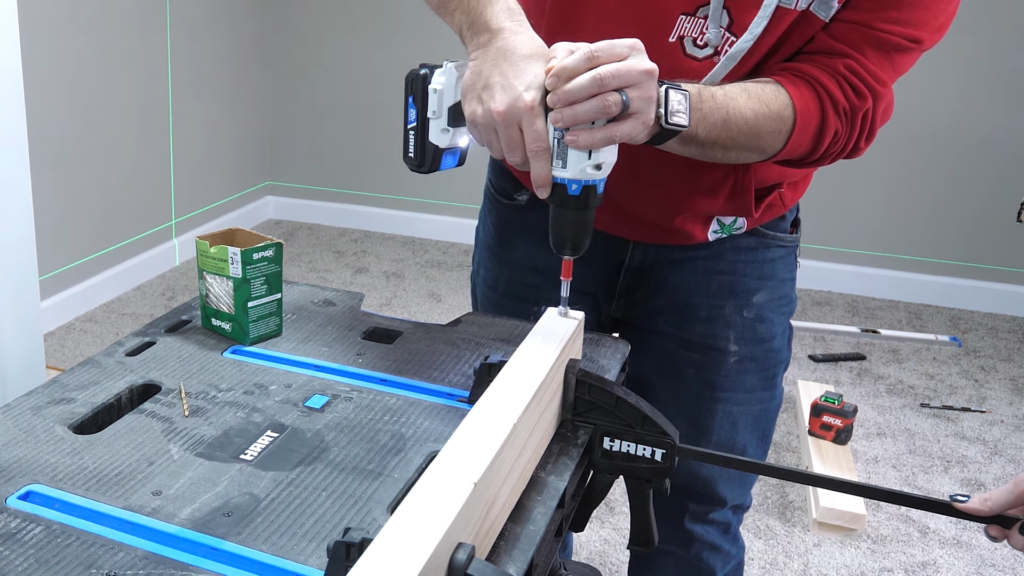
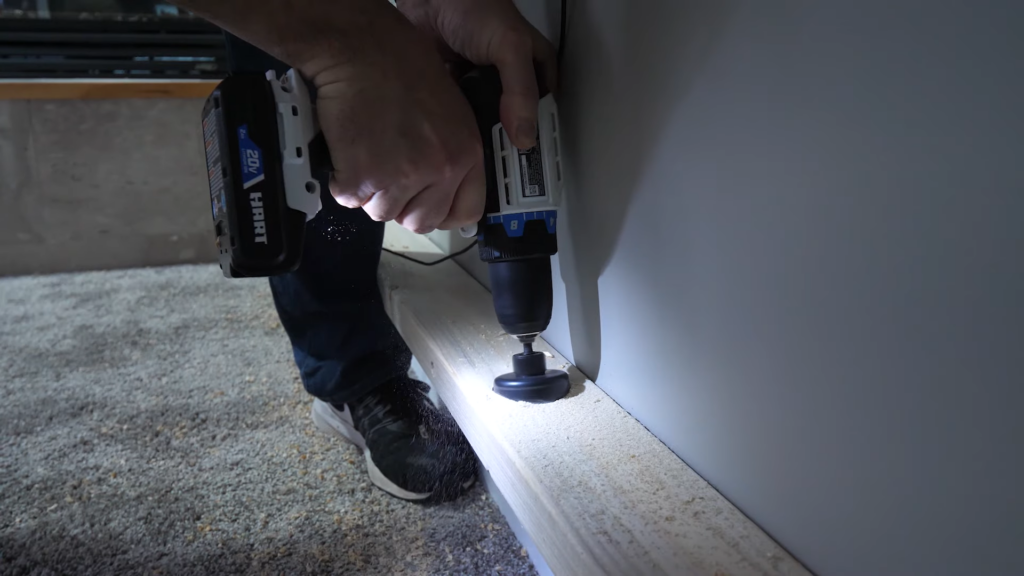
It was important to screw these firmly into the studs in the wall, which, SHOCKer, were not exactly 16 on center. So we used this HART stud finder, which is REALLY helpful for not just finding a stud, but finding it’s center. After we did, we used the forstner bit to make our pocket hole, then drill a pilot hole in that so we didn’t split the wood, and finally screwed in our huge screws to secure it all. It actually worked very well.
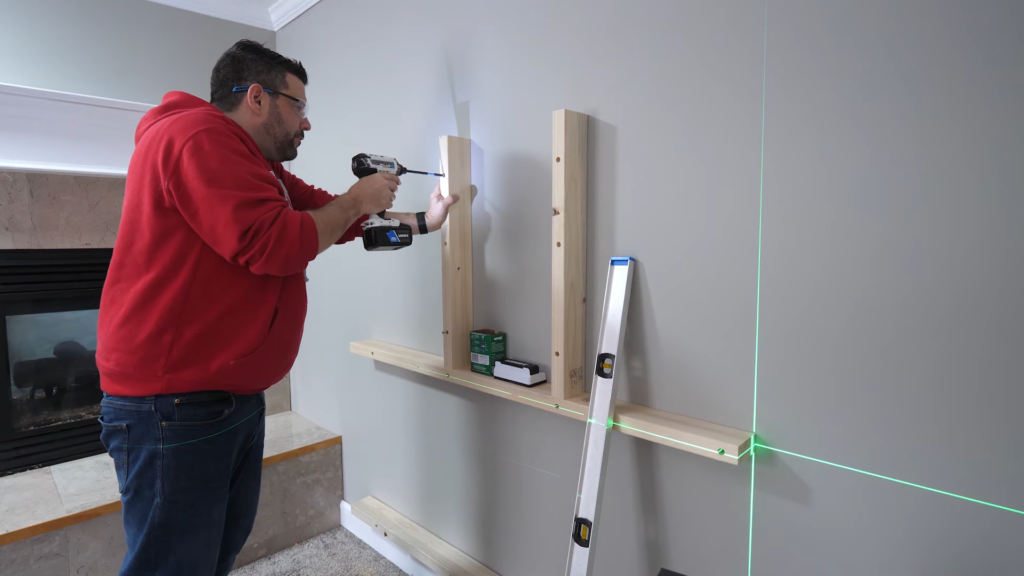
Now we have these two small vertical studs that we’ll be using to mount the TV. So we drilled our pocket holes ahead of time on the mobile work table, and then screwed them into the wall as well.
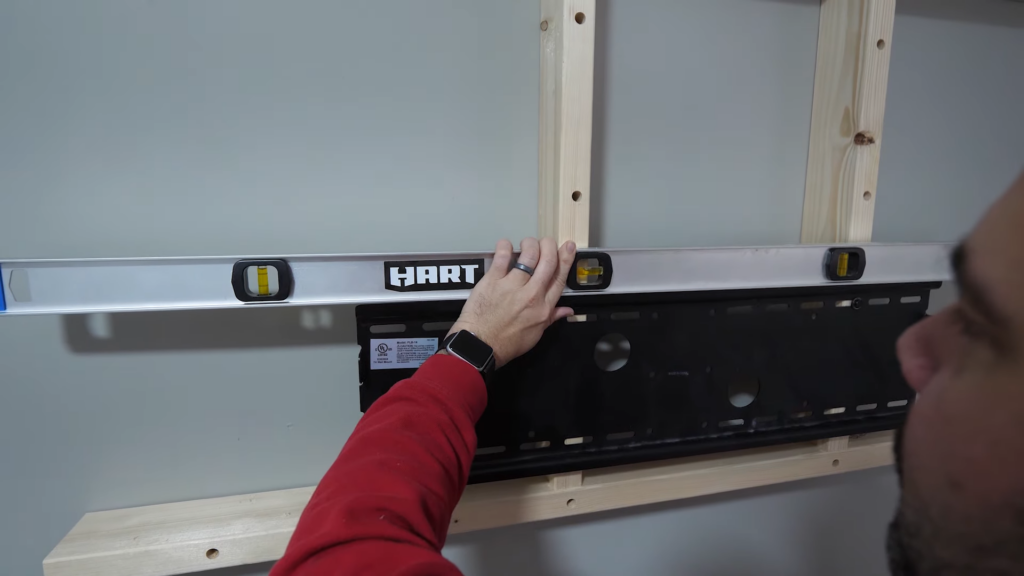
Next I attached our tv mount, which I grabbed from Monoprice a couple of years ago. If you’re going to buy a tv mount, get one from Monoprice. This one is well built, supports up to a 70in 165lb tv, and has adjustable angles. A nearly identical one at Best buy is $120 right now. This one was $29.
Next we needed to drill some holes in the 2x4s for cable routing, so we tried to use our HART hole saw that came with our bit set, but quickly realized that it wasn’t deep enough. Fortunately we had some deeper Spyder hole saws that did a great job.
Next we started cutting our vertical boards to size. Again, this mobile table did a great job of holding our boards in place while we cut them with the circular saw.
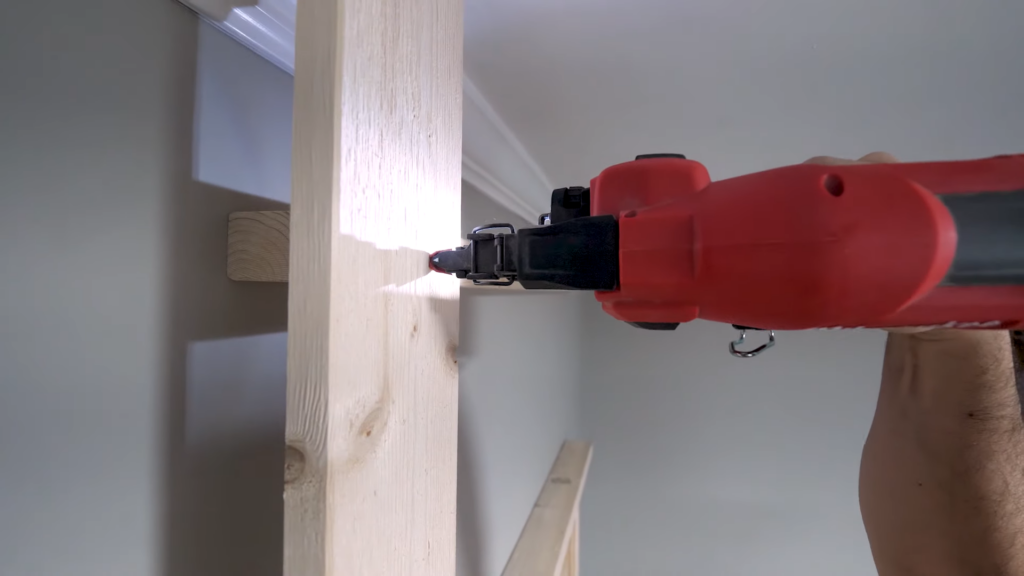
To hold the boards in place, we simply used our brad nailer, and that worked great. I didn’t want to glue these up, because I’m not totally sure the equipment and lighting were using will be our final choice.
After that we just had to keep adding panels, until we got to where our speaker ac adapters would go, at which point we’d use a forstner bit to drill a hole and run the cable while it was still easy to reach.
Then it was pretty smooth sailing after that.
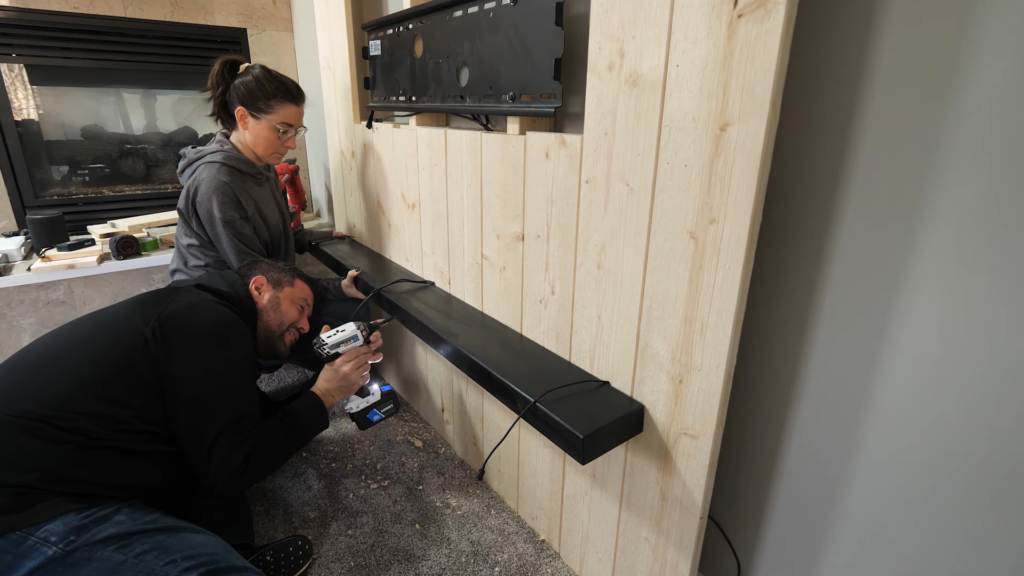
Something I didn’t shoot was this shelf. I built it down in the shop with some scrap 1×6, and made it 5 in deep, 52” long, and 2” tall. I painted it black, and left it open in the bottom so I could screw it into the wall, and leave space for a strip of LEDs as well.
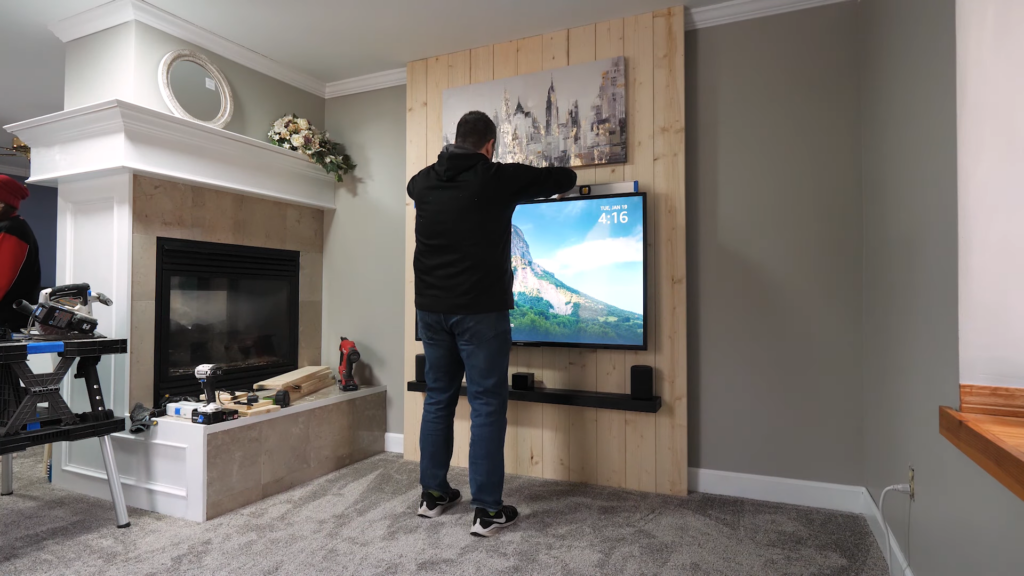
Next we hung up the TV and got it all plugged in. Added a bit of artwork, and yeah, it looks great!

For some ambient lighting, I bought these programmable LED strips from a company called GoVee. They’ve been making noise recently by producing some really high quality LED lights, in a much more affordable price point. For now, I simply taped them in place with painters tape, instead of using the peel off adhesives on the back. I did this because I’m not sure this is how I want them run yet. Once they were in, we could easily change the colors, brightness, or run any number of fun color scenes, some of which give me headaches. But most of the glowing ones are GREAT when watching TV in low light.
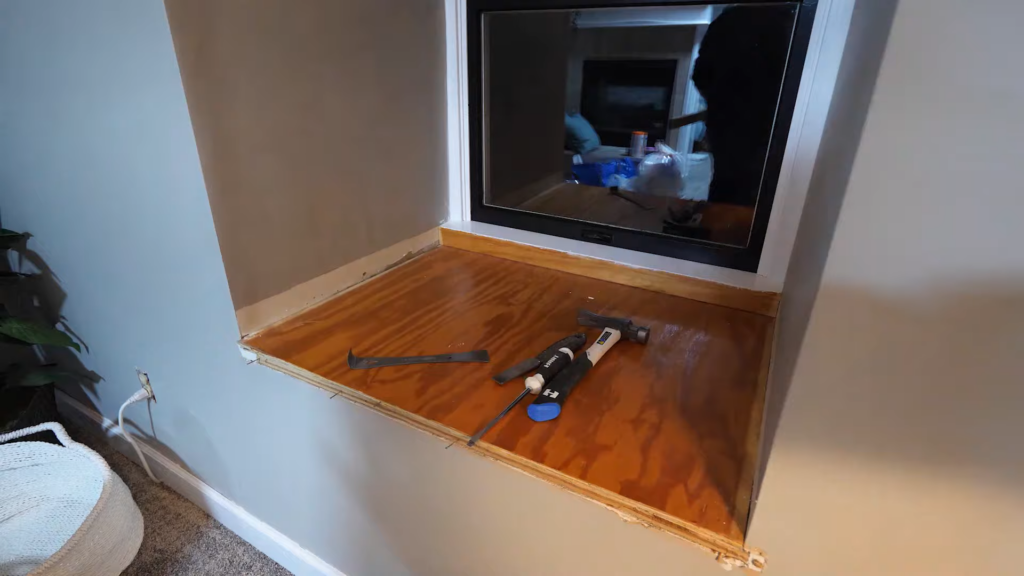
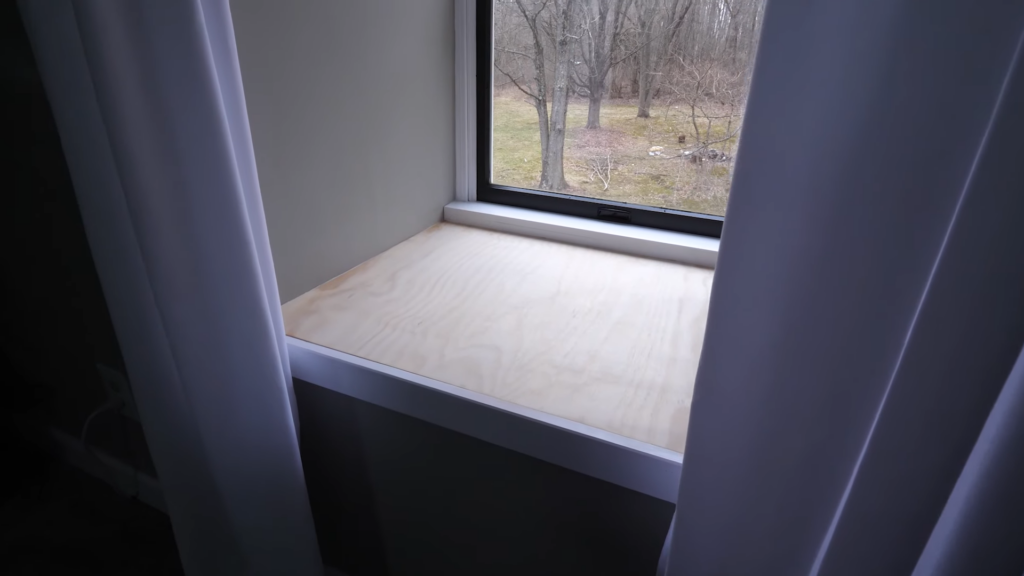
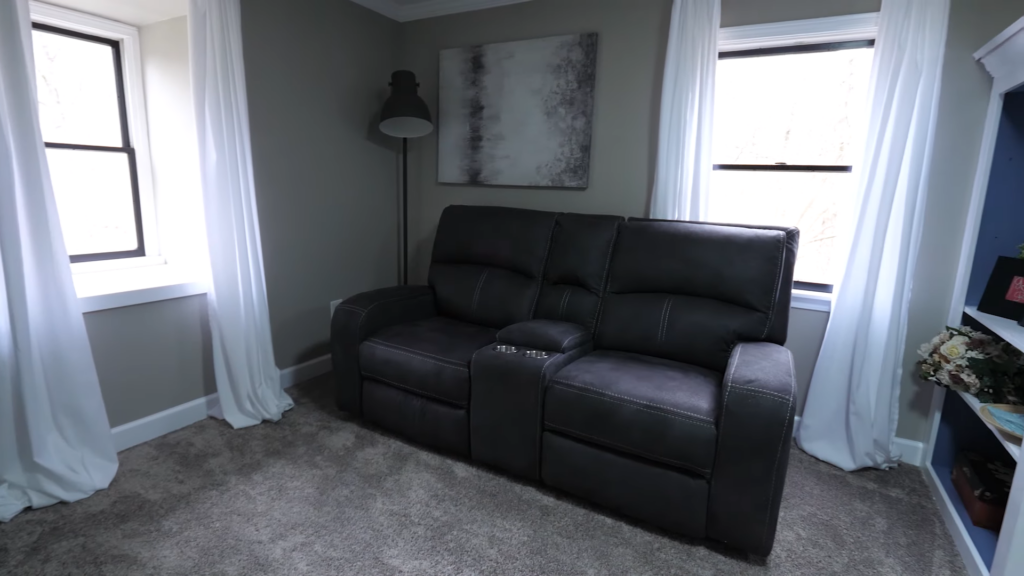
I also tore out the trim on this window and replaced it with a new top, which I leveled with some shims. It looks a lot nicer now.
And here are the results! We’re not totally done yet. I want to add a wine fridge to this book case, but for now, the space is absolutely beautiful, and a great place for my wife and I to enjoy a movie, sip some wine and pretend we don’t have kids.

We have some special ambient lighting for the TV that adapts to the picture you’re watching. So if you’re watching a sunset, the lights behind the TV are orange and red. Which is why you guys should subscribe.
Favorite Maker Videos of the Week
First up we have Patrick Sullivan, who built his own large-format camera. As a professional photographer and camera nerd, I absolutely loved this build, and greatly appreciated the detail. Super fun to watch.
Our second favorite is from Modern Builds. This week Mike who’s been working on a tiny house school bus for a while now, shared this plan for some really cool interlocking patio deck tiles, that you can easily pickup and move. Maybe it’s not a good I idea for me to make these out of wood, but I really want them around our fire pit.
Last week
We switched out all of the outdated lights in Rob’s house with updated, LED, more energy efficient happy ones, and you can find that episode right here!
Special thanks to HART for sponsoring this episode and reminding us that we can build anything we can imagine, if we #DoItWithHART

