
Hey guys! Welcome back to Maker Break, where we share our favorite maker videos of the week, and then challenge ourselves to build a project of our own! This week we have a trebuchet, some wooden pets and a super smart desk! Let’s get to it!
It’s hard to start any conversation right now without mentioning the current pandemic gripping the world. The vast majority of us are either forced or volunteering to exercise some self distancing, and that’s leaving a ton of families with little to do at home. Fortunately, there are a ton of makers posting project videos specifically for families.
The first one? The Wood Whisperer, Marc Spagnuolo. This time Marc decided to build a simple project with his son Mateo, a trebuchet! Using the simplest of tools and materials, they built a cool toy they could both enjoy.
Honest Work Designs had a similar idea. Hailey gather’s some scrap wood and walks us through making 3-dimensional portraits of our pets! I have a perfect pooch named Maui who’s gonna get one of these! I have a perfect pooch named Maui who’s gonna get one of these!
If you’re looking for a bigger challenge and distraction, Steve Ramsey of Mere Mortal Woodworking is currently posting daily episodes of a Lock Down Woodworking series, which so far is focused on a new printer stand. Steve has an awesome community of fans that will gladly keep you company as you build at home.if you’re looking for a bigger challenge and distraction, Steve Ramsey of Mere Mortal Woodworking is currently posting daily episodes of a lock down woodworking series which so far is focused on a new printer stand. Steve has an awesome community of fans that will gladly keep you company as you build at home.
As long as we’re sharing higher level projects, Blacktail Studio posted a new desk build video he made for his wife, with one of the most beautiful tops I’ve ever seen. Period. He also incorporates several clever smart features you won’t want to miss.as long as we’re sharing more challenging projects, blacktail studio posted a new desk build video he made for his wife with one of the most beautiful tops I’ve ever seen. Period. He also incorporates several smart features you won’t want to miss.
It is so gratifying when you can see the light at the end of a tunnel on a huge project and Ryan from L Post Rustics is almost there with this huge dining room piece.
Do you like doing puzzles? What about woodworking puzzles? Stephanie posted an oh-so-satisfying video of her laying the final pieces of the table top she has been working on and it’s beautiful!
The Wooden Maven posted a video where she was learning to turn a cherry wood bowl. This was the first bowl she has ever turned and she is addicted. She is not kidding, wood turning is SO ADDICTING.
Summer is just around the corner for us and that can only mean one thing, Well it means a lot of things, but it also means that it’s almost time for backyard games for kids. Build_Something shared this Water/Sand table hybrid for kids that is so cool I may just need to make one!
Project Challenge
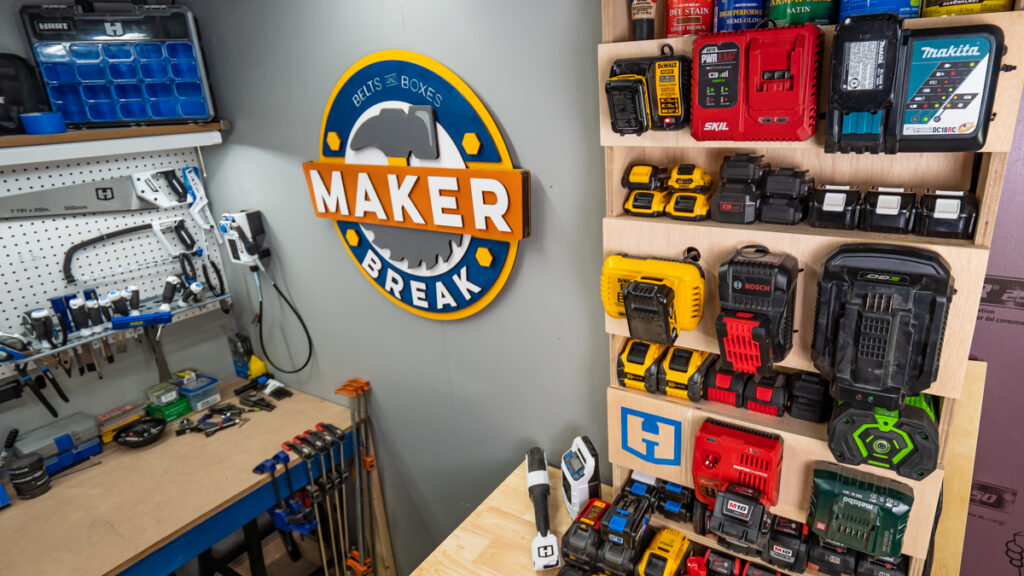
I love making projects we’ll get to use every day, and honestly, this one turned out way nicer than I thought it would! This week we built a charging station for our most used battery platforms inspired by Even and Katelyn’s version from about a year ago. Here is how it went!
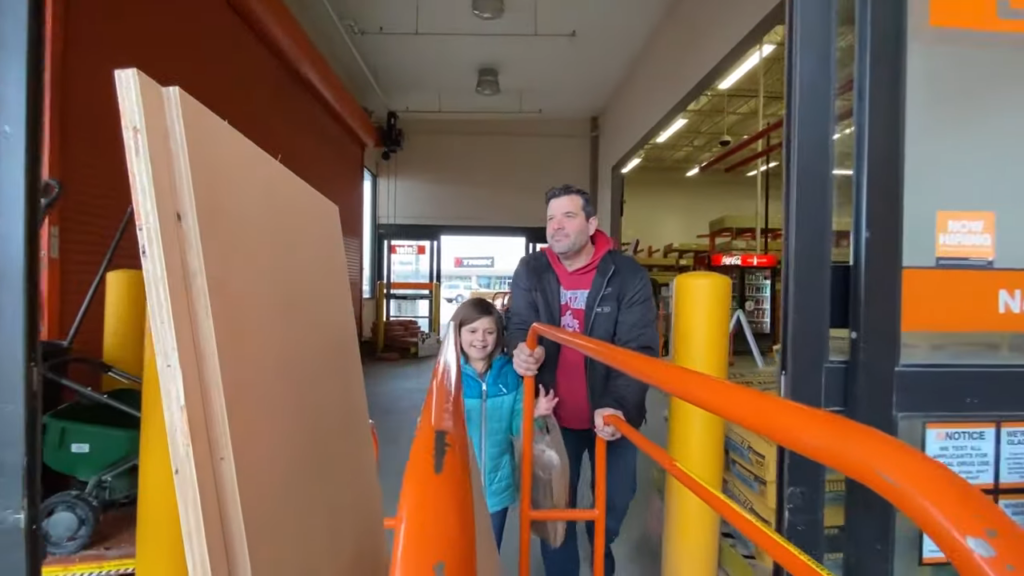
Well Sarah was, unfortunately, sick the first day of our build, so I had to go it alone. Well, not totally alone, my daughter helped me get the lumber we needed. To make it easier to get home, we had the guy with the orange apron cut our sheet into 4 pieces before we left. Kaylee loved the panel saw.
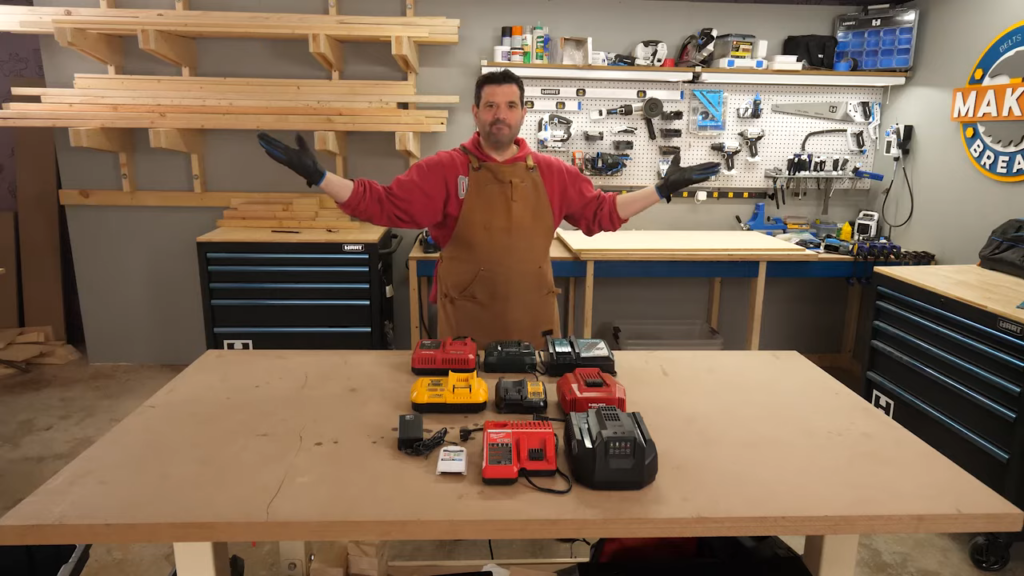
After I got back, it was time to start making charger choices. Since our inspiration this week was Evan and Katelyn’s video, I did my best to follow along. Our other weekly show, the Power Tool Week In review, gives us the opportunity to test a lot of power tools, so over time we’ve collected a lot of chargers and batteries. But for this build, we decided to stick to 9 that we use the most.
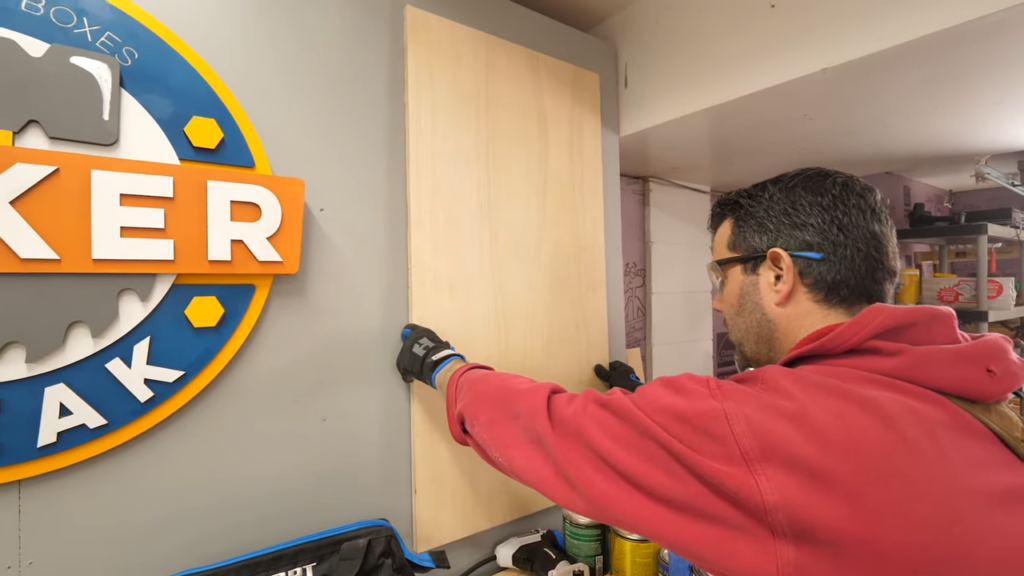
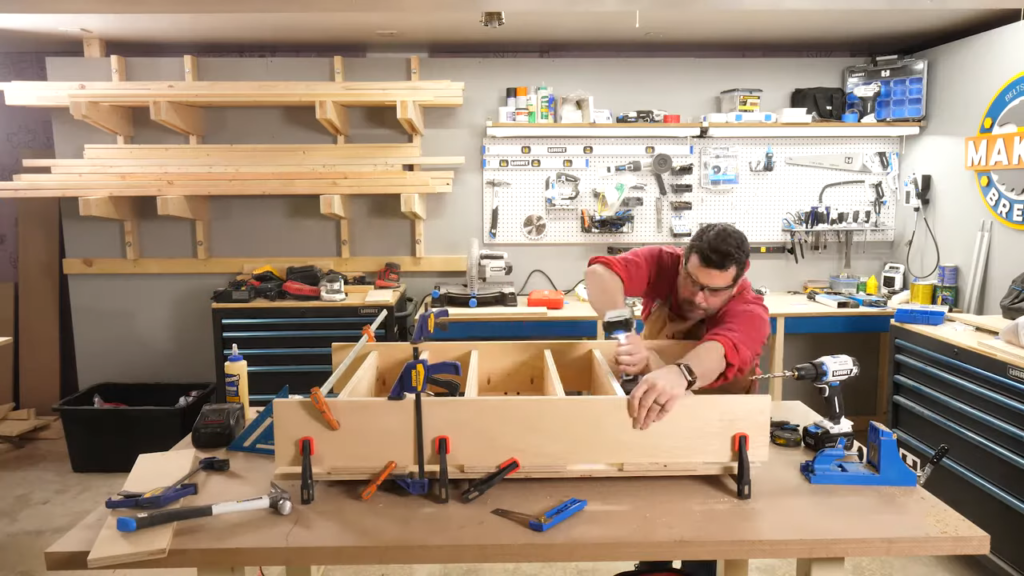
The spot I had picked out on the wall was tall and narrow, so I decided to design a triple-decker layout. I got all of my pieces cut out and ready to go, and then decided to wait “one sleep later” to put it together with Sarah.
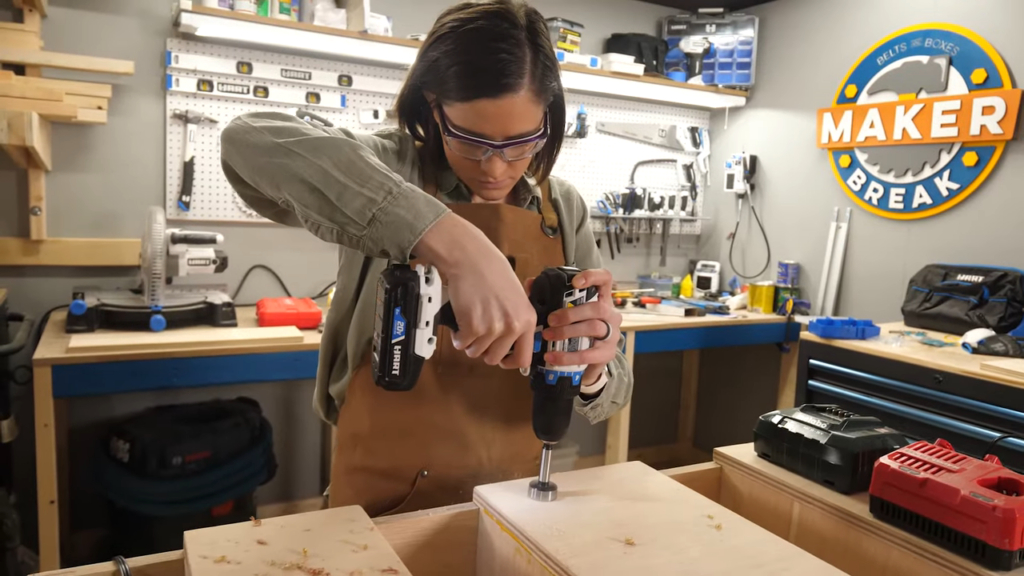
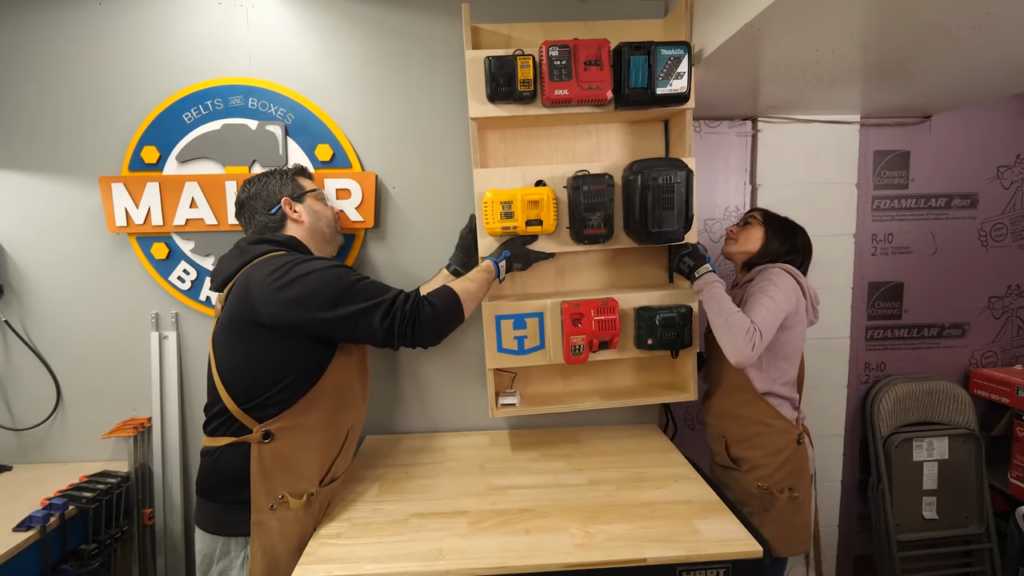
Once Sarah was back on her feet, we got to the assembly. We started by sanding all the pieces and then started drilling pocket holes. We realized once again that instead of designing the project ahead of time, we decided to just wing it, which made us constantly run into issues. However, we got them figured out, and started assembly with the front pieces, leaving us with access to the back where we could sort all the wires.
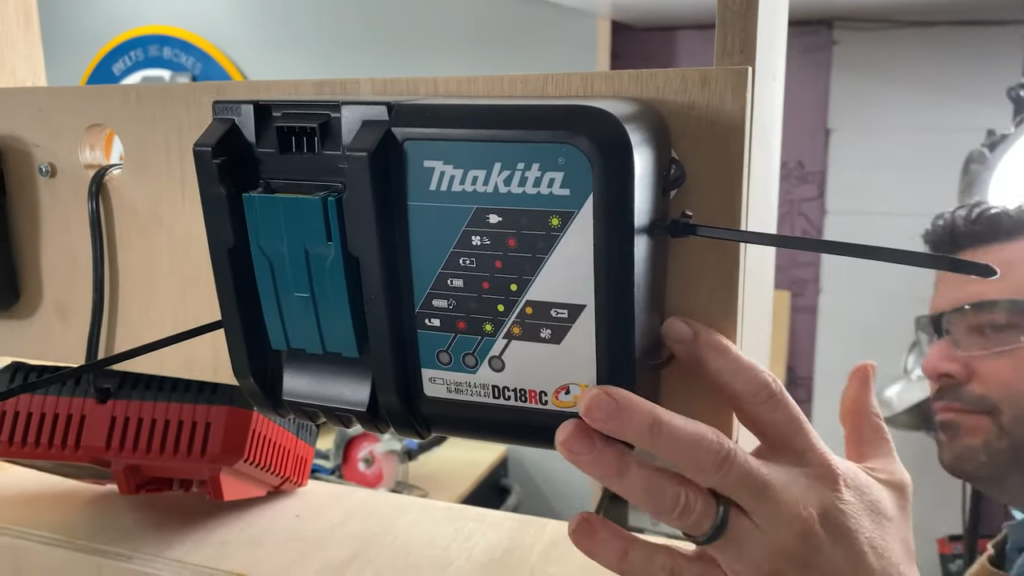
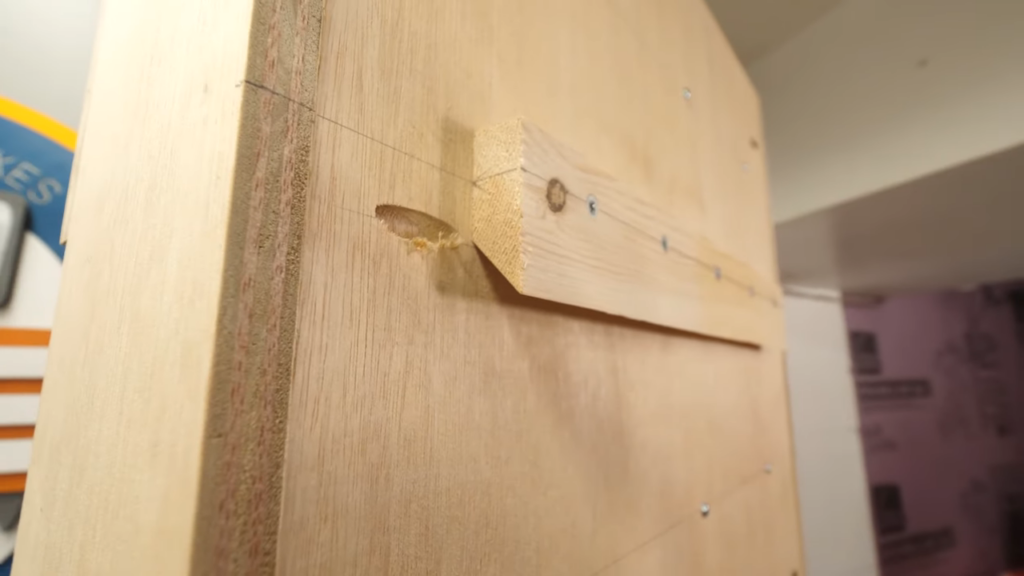
But first we had to attach the chargers, which is where we ran into our first problem. Two of the chargers, the Bosch and the Makita, didn’t have mounting tabs on the back. So we couldn’t just mount them to the panel with screws, so we came up with a clever idea.
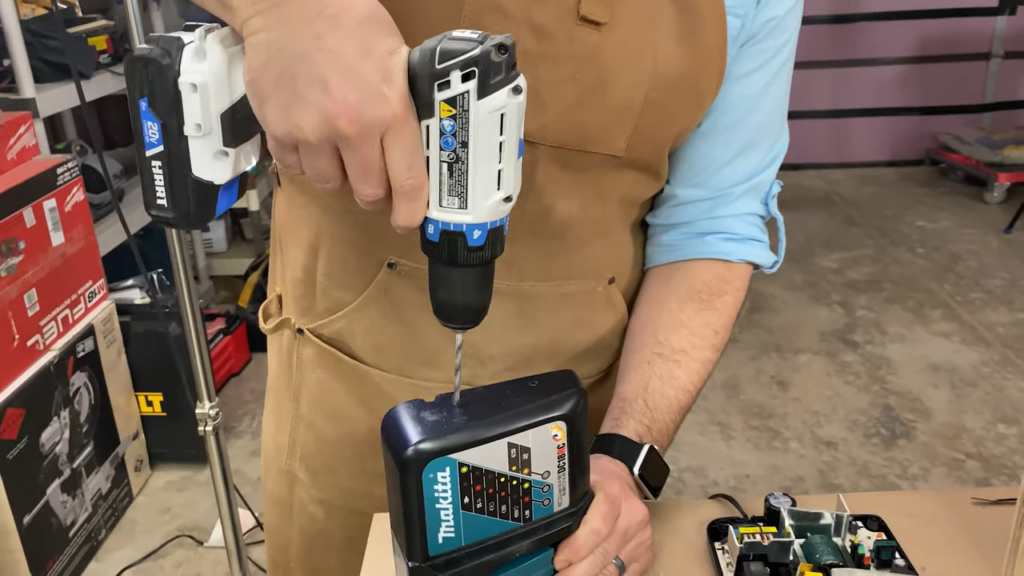
We simply removed the back panels of each charger, drilled some holes in the case, and then the wood plate, and used commercial zip ties to hold it all together and it worked great! Hopefully by the time we upgrade to faster chargers, they’ll have the proper mounts.
With the chargers in place, we stood it up and spun it around so we could start getting the cables under control, and all plugged into a pair of power strips.This actually went pretty smoothly. We used the HART multi-tool to cut tiny corners out of the shelves to allow us to run cables to the middle section where we put the two strips.
After that, we just had to drill a hole in the back panel and…. well, we would like to show you exactly how we finished it, but the day we shot this, Connor, our cameraman, was home sick, so we had to manage the camera ourselves…and we didn’t notice the battery had died. So that means we don’t have footage of us putting the back on, or attaching the french cleat.
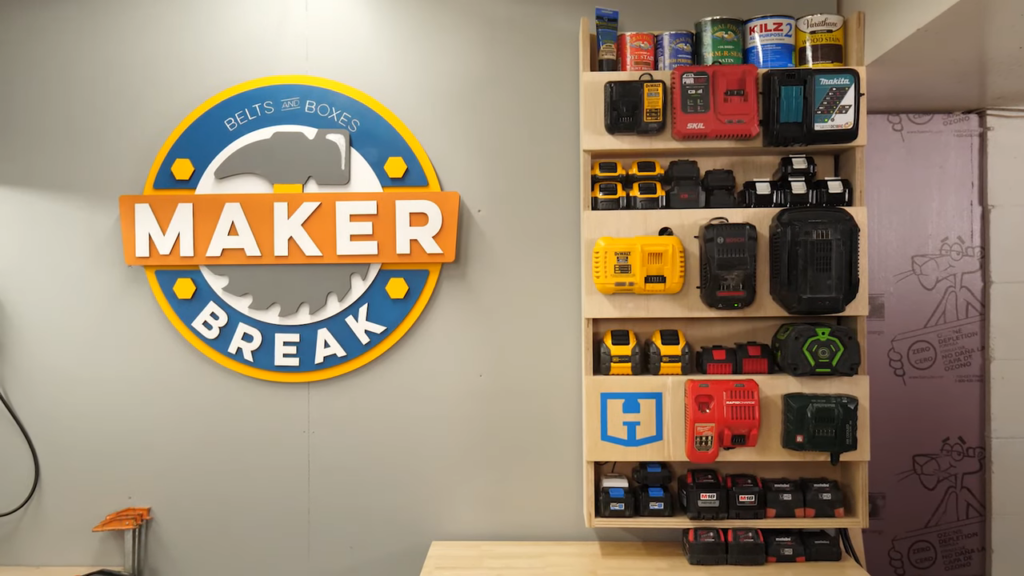
Anyways, we got it up, and stocked with batteries! We were so excited. The only problem was the blank space left over the HART batteries. They have a clip-on charger, so we just routed that underneath.
But that left a blank spot where a charger would go. So we did what any sane person would do, we got the same logo found on our cabinets, cut it out on a Cricut in HART Blue vinyl, and added their logo. Finished!
Next Week’s Challenge!
Next week’s challenge! I think choosing easy projects that families can do together is a good idea. So I found a video from Do It Yourself It’s Easy, with instructions for making a penny hockey game!
And remember guys, if you want to build along with us this week, we’d love to see your work. And there’s a chance you could win a couple of tools from HART! To enter all you have to do is share a project photo on Instagram this week, using the hashtag, maker break or if you don’t have an Instagram account, you can also share it on Facebook with the same hashtag.
We want to thank the amazing team at HART for sponsoring us this week, and reminding us that we can anything if we do it with HART!
Alright! Break’s over! Lets make something!

