

We’ve been making all week! We built both of our projects this week inspired by the Toolbox Diva including a pair of floating shelves Sarah built for her baby’s room, and a faux beam mantle Rob built for his living room.
Welcome back to Maker Break, where we share our favorite maker videos of the week, and then challenge ourselves to build one! This week we have cutting boards, a shop tour, a beautiful record display and more! If you’d like to jump down to this week’s PROJECT, click here.
Our first stop is with Zac Builds on YouTube. Zac has been sharing his love of making on Instagram for some time, and this was his first shot at a play button. In the video, he walks us through making this absolutely beautiful mosaic cutting board.
This next project is a really cool vanity that Jen Woodhouse built for her daughter. She also shows you a super-easy way to install drawer slides.
As a pair of makers still figuring out our own workspace, we always love a good shop tour, and this week David of Make Something takes us on a tour of his shop, which is a really creative conversion of a 2 car garage, that now works as his maker space and studio.
And finally, we swing over to Matt’s back yard where he’s using his hand-built sawmill to cut this beautiful Walnut log into 37 thin slabs. Why so thin? Matt laminates the slabs to plywood, and using a miter fold blade from Rockler, he turns them into seamless boxes that are as thick as he wants. Genius really.
Over on Instagram, Hendricks_Design shared a cool record display that features a cool waveform cutout.
We all can sympathize with Andy from Alpha_Kilo_Woodworking as he carefully glued up his miter joints and just held his breath hoping they turn out.
Jess over at Crow Creek Designs took a minute to talk about PPE, and the importance of using it when working with chemicals and dust!
We got a behind the scenes peek into Jeff Mack Designs giant Labyrinth table build! Dang, he has some skills, and not just in woodworking!
Project Challenge
OK let’s get to this week’s challenge! Rob just moved into a new house, and his wife insists that the current decor is not nearly “modern farmhouse” enough. She really isn’t a fan of the trim or this matching mantle over the red brick fireplace. So we looked to the video above, posted by Timisha of toolbox divas, for inspiration.
We knew not many of you would need a new mantle of your own, so we also tapped another video from Timisha, where she built these lovely floating shelves, which Sarah happened to need for her own daughter’s room. So She built those first.
The Floating Shelves
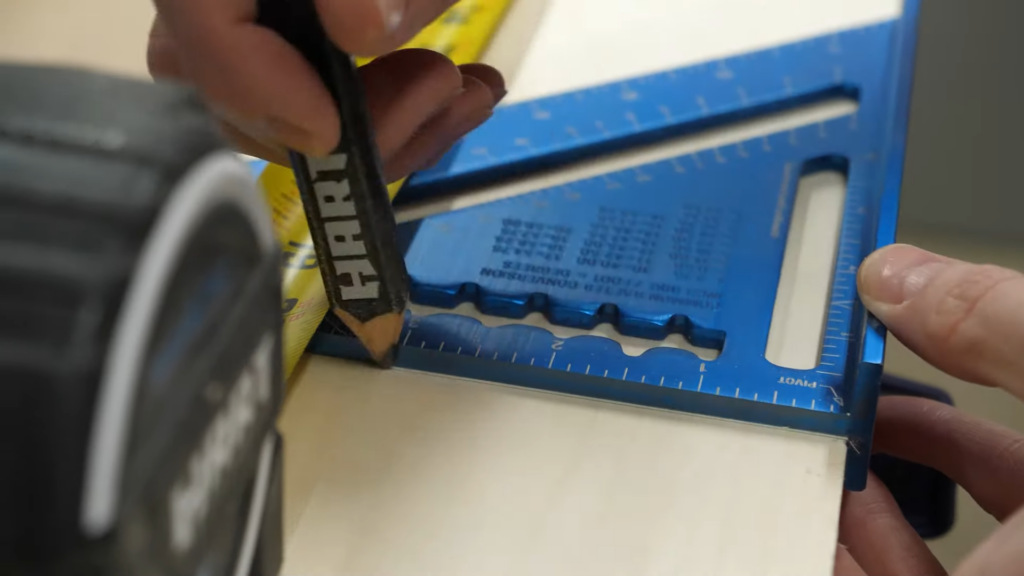
This build really was simple. Sarah started with a pre-milled piece of aspen, and cut it down to a pair of 20” pieces, mainly so she could tap into two, 16-on-center studs if she wanted to. Timisha used a pair of 4” angle brackets for hers, but Sarah wanted hers to be more easily hidden, so she used 2 and a half inch versions.
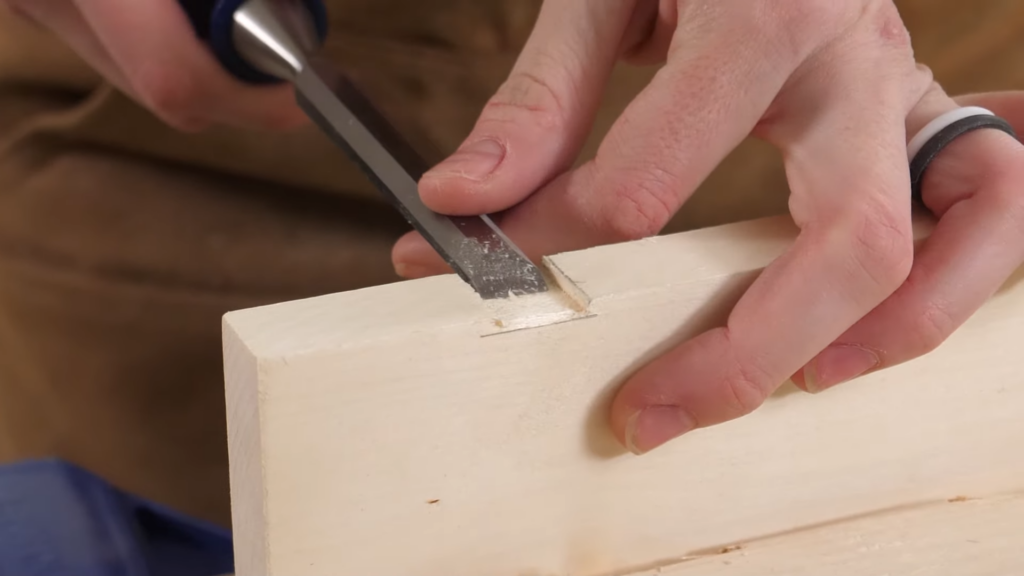
Sarah also wanted to chisel out a groove in the back of each piece for the bracket, so the shelf would fit flush to the wall. It was really easy to do, and she likes working with hand tools so it was a win-win. After sanding she stained them a light brown dye, and screwed in the brackets.
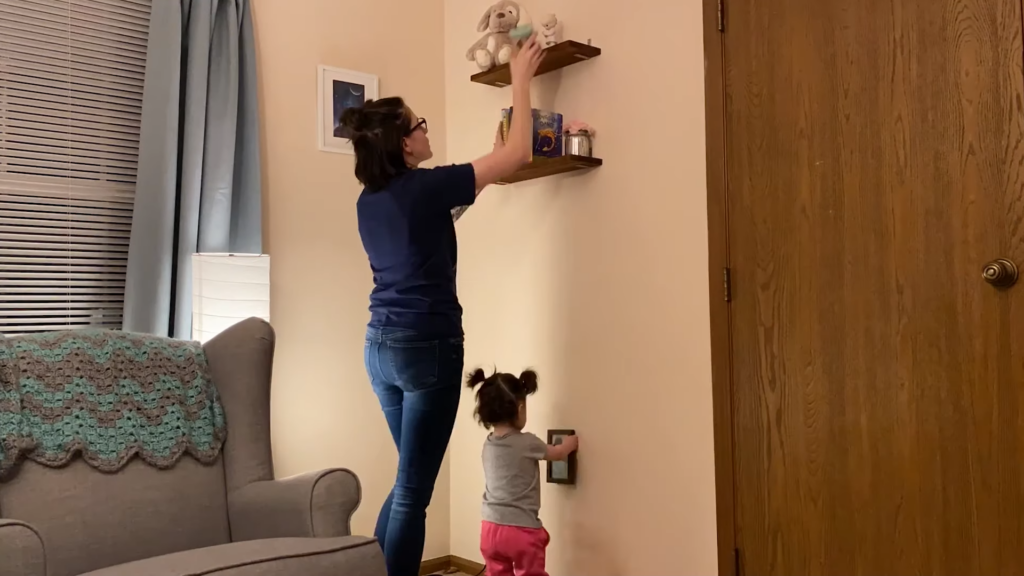
After that, she leveled them on the wall, screwed in the mounts with the help of her taller person, and wah-lah! Her daughter loves’em. She even chipped in when it came time to decorate.
The Floating Mantle
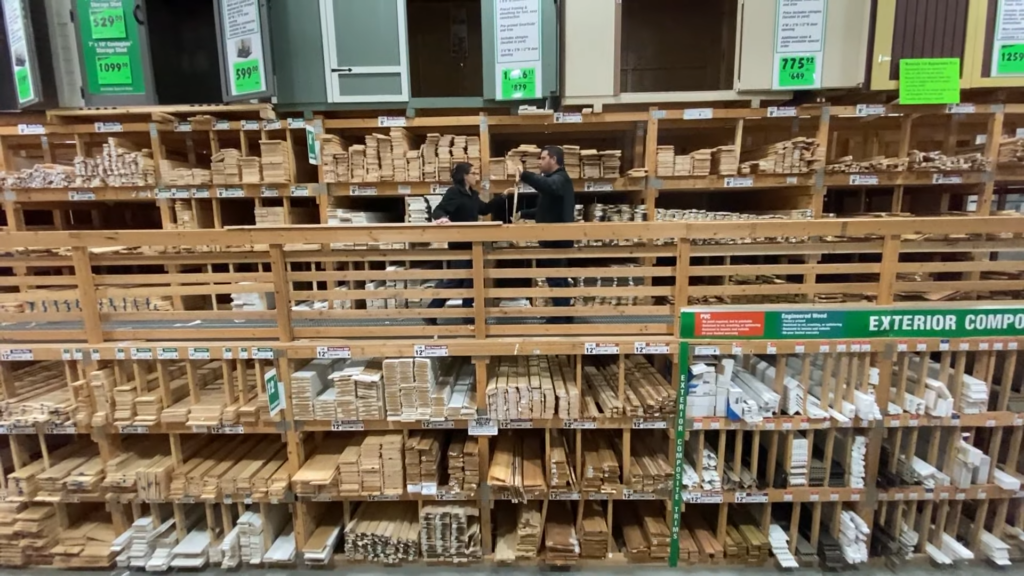
I knew this floating mantle was going to be a big project at just over 6 ft, so Sarah was kind enough to help me at every step. My wife wanted the beam to look rough sawn and as light as possible to contrast against her newly painted black bricks. So we started by choosing 3 1×12” boards of pine and brought them back to the shop to cut them down.
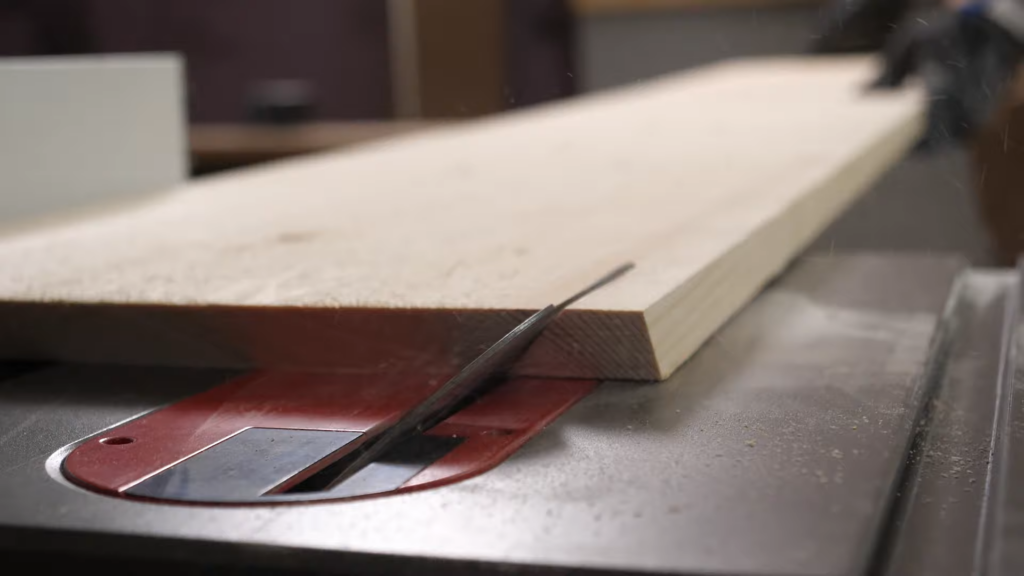
These long boards needed to be cut at a 45-degree angle for the miter joints, so we had to use our table saw. We just got this saw from Milwaukee a week ago, and so far it’s been really easy to use, and cutting at a 45-degree miter was fairly straight forward.
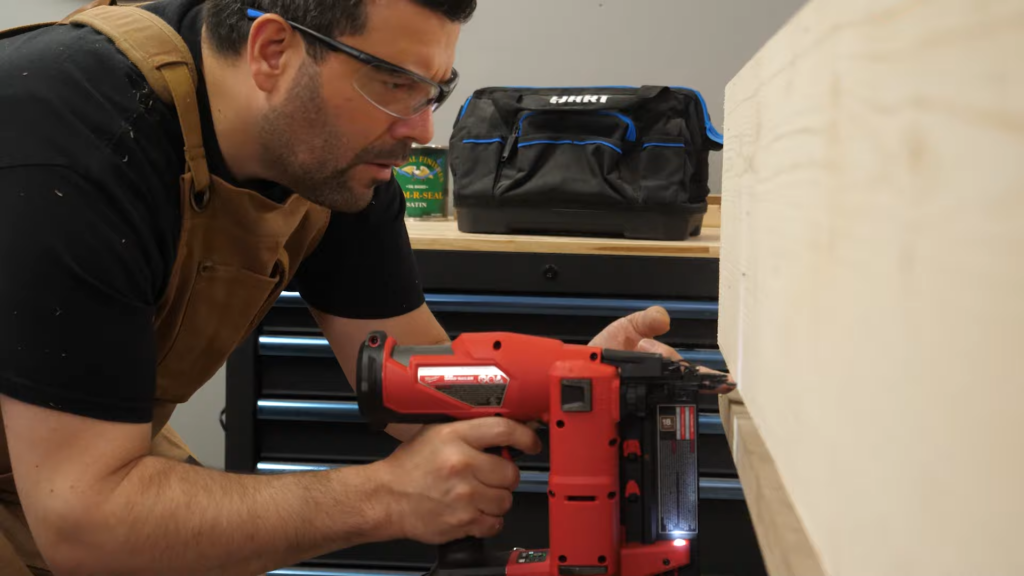
After our boards were cut, Sarah and I worked together to glue up and hold the pieces in place while we used a brad nailer to finish the joint.
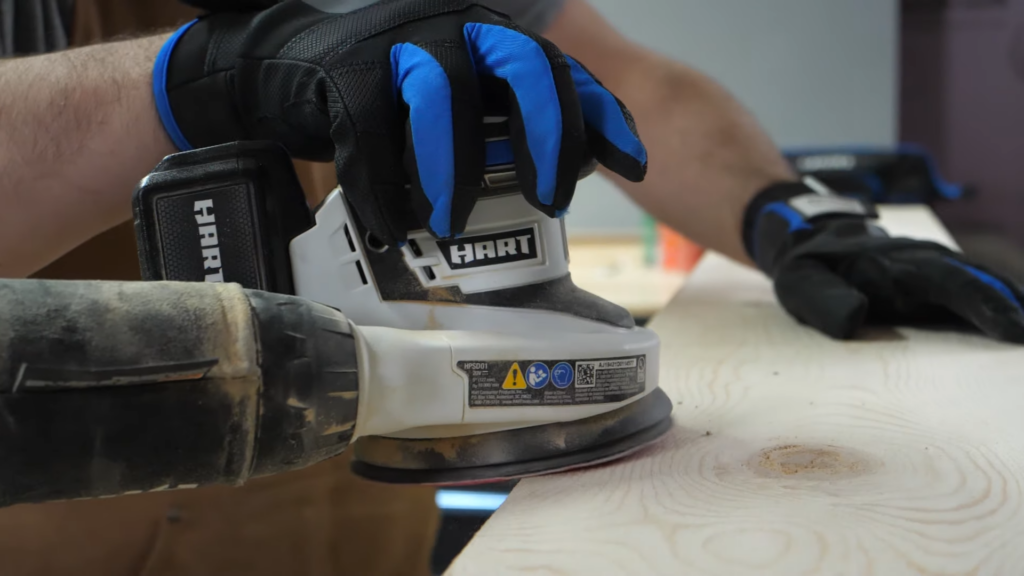
Our joints weren’t perfect, so we used a bit of wood filler, and then a light sanding with 80 grit paper to blend our corners, and sand the surface down a bit while still making it look and feel rough sawn, as per our client’s instruction. This worked pretty well.

After that, we applied a water-based finish because an oil-based one brought out yellow in the wood, which we didn’t want.
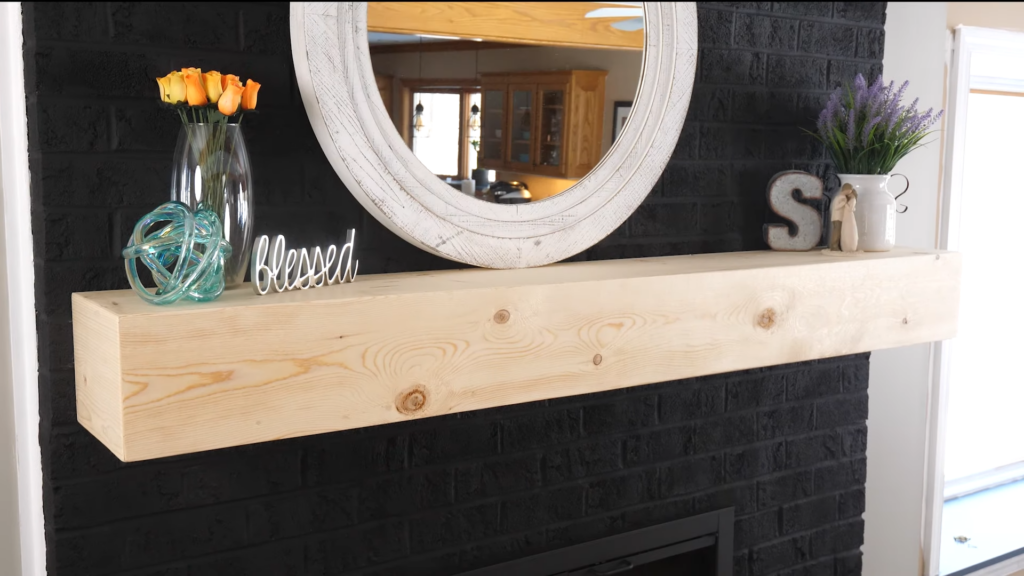
Finally, it was as simple as sliding the new mantle over the old one and screwing it into place.
We were both happy with our floating shelves, but now it’s time we moved on to next week’s project! I want to build a bench. So I went looking for a simple 2×4 design and found one from Mike at Modern builds!
Its actually one of his early videos from 2016, but it looks great, so I wanna build it. It’s going to be an outdoor bench. I have a huge deck with very little sitting space, so this should do the trick.
Remember, if you choose to build a bench with us this week, just post a photo to Instagram, use the hashtag maker break, and you could win some power tools from our sponsor, HART!
Alright, Breaks over, let’s make something!

