
Hey guys, I am Sarah. Every week I comb through hundreds of DIY videos preparing projects for our weekly Maker show, Maker Break. Along the way, I find some good projects… and some GREAT ones, And right now, I’m going to share them with you! This is Sarah’s Top 5 DIY Woodworking Clamps!
#5 – Mazay DIY
Mazay DIY is known for making his own jigs, sleds, belt grinders…and well, pretty much if you use it in a woodworking shop he has made his own version of one. So when I went looking for woodworking clamps I was not surprised to find he had a bar clamp build as well! He does a great job showing you every step of this project and even has free plans and 3D models to follow along if you want to build these for yourself! These are sweet Mazay!
#4 – Adwoods Workshop
Alex made his wooden clamps using ash wood, plywood and some nuts and bolts. Pretty simple right? Ash is a pretty strong wood which makes them perfect for enduring the pressure of clamping.. He started making all of the little cubes that will hold the nuts and bolts. Those will be attached to the wooden “bar” in a little bit. Once he got the bars cut to length, planed down and silky smooth it was time to assemble everything. (3:45) Plus a little personalization never hurt! Look how cool these are!
#3 – Pask Makes
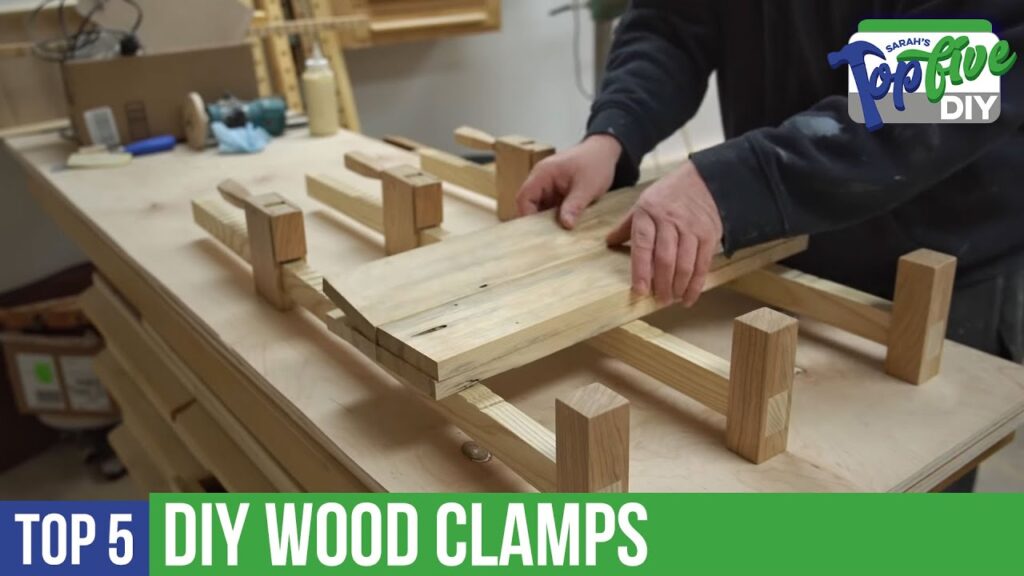
Neil set out to make homemade bar clamps and these ones actually still have metal bars in them! But don’t worry, they are still easy to make and cheaper than steel ones. He used some square tubing and glued threaded rods to them for the bars, and while the glue was drying he got busy cutting down all of the pine pieces he needed for the feet. He used a template that he made for these so they would all be uniformed. Next he cut nuts in half to act as a guide for the threaded rod to travel up and down the bar when clamping down on a project. After some sanding and final assembly these DIY clamps are ready for work!
# 2 – Izzy Swan!
He got started by cutting down plywood to make the feet that would slide down the T-track, that he also made with plywood. Then he made the “Holey Component” by cutting down more plywood and drilling a lot of, you guess it, holes into them. Those are your top bars. The final requirement for building your own clamps are the elements that will actually clamp the material down. He simply uses a dowel, a bolt and a nut for these. So simple! Once he got those put together all that was left was finishing the wood with paste wax so that your project doesn’t get glued to the clamps. Viala! Ready for a glue up!
#1 – John Heisz – I built It!
Normally John tackles builds like this using tools and materials that are pretty common to most woodworkers, but in this build he wanted to make the very best version he could with the tools and supplies he has access to, so if you don’t have all of these materials and equipment that’s okay! He made these clamps using mostly Ash wood, but also used some cherry wood as well, which I really like! I love that he addressed you will probably need a clamp, to make a clamp, but he made his own mini version of those as well! John does a fabulous job guiding you through every step of his process and gives great advice along the way. If you are looking to build some heavy duty clamps, this video is one you won’t want to miss!
So I hope that helps if you are on the mission to go build some clamps of your own. If not, I hope you enjoyed it anyway! Alright, do me a favor and like this video and if you are not already subscribed to Belts and Boxes please do that now, and hit the bell so you don’t miss any of our shows that come out during the week! You can catch me every Friday at 5pm for the Power Tool Week In Review with Rob, and every Saturday at 6pm for the next episode of Maker Break! See you then!

