
Hey guys, I am Sarah. Every week I comb through hundreds of DIY videos preparing projects for our weekly Maker show, Maker Break. Along the way, I find some good projects… and some GREAT ones, And right now, I’m going to share them with you! This is Sarah’s Top 5 DIY Closet Organization Videos. There are a LOT of closet organization videos, and even more options for solutions. If I had more time I could probably have made a top 20 on this one, but I am sticking to my top 5 favorites.
#5 is Eternal Harvest Decor
Brandi has a playroom closet that is just asking to be finished so she made a plan to utilize the space and made her way to lowes to get materials. Since she wanted large wrap around shelves in this space she purchased 15” particle boards. When she got home she measured where the molding would go and installed the cleats using glue and a nailer. Next it was time to build the shelves. She cut down the particle boards on her miter saw, and if you don’t want to flip the boards like she did, you could probably use a circular saw. She installed the shelves, and decided to add some extra supports in the middle to help support the weight. After a few coats of paint this was ready for toys, games, and anything else you could imagine for a playroom! Simple, but pretty and effective!
#4 is Fix This Build That
Brad started off his project by ripping everything out of it, and uninstalling the old white wire shelves, and gives some tips and tricks to do that without damaging the walls. He is WAY less destructive than I am. Next he broke down some plywood into smaller pieces to start on the drawer carcass. Using pocket holes he assembled the cabinet and then started on the drawers. He has his own plans for making simple drawers and used those plans to get all of the drawers assembled. He also notes why he chose the radiata pine plywood that he did. He installed the drawer slides, then the drawers and painted the carcass. Next he built the hutch that will rest on top of the cabinet. He also used the kreg jig to make the adjustable shelf holes then assembled the hutch. After adding some fine details, installing the drawer fronts, hardware and paint he quickly cut the shelves that will go on either side of the cabinet and prepped everything for final installation in the closet!
#3 is DIY Pete
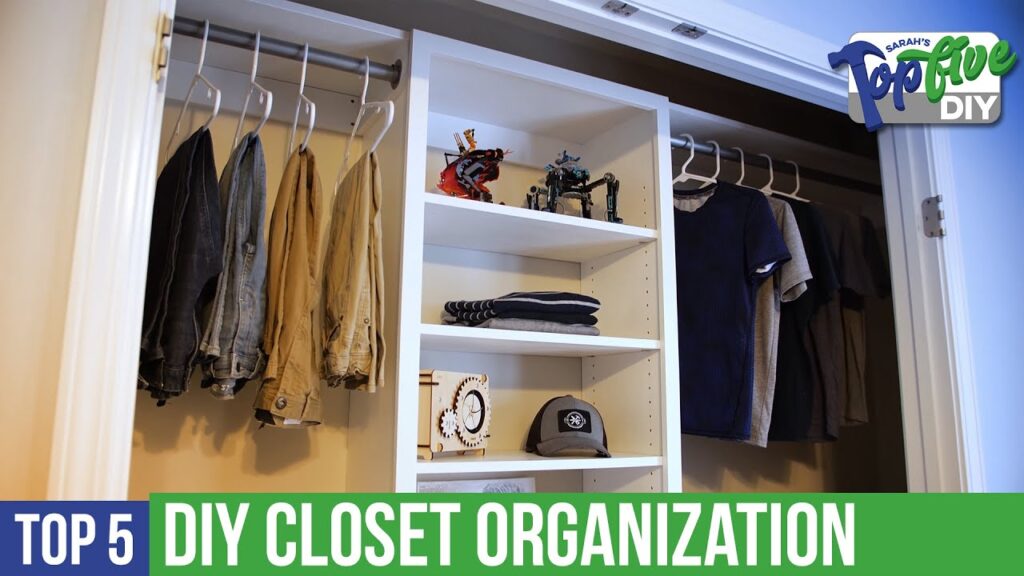
Pete has an 8 ft wide closet with 8 ft tall ceilings that he designed a plan in sketcheup to custom build some shelves to perfectly fit in that space.He purchased 4 full sheets of plywood and used a circular to cut down the boards. He ripped down the boards on the table saw, but said you could easily use a circular saw if you don’t have a table saw. You can build these plans customized to your space, with just a couple power tools in just a weekend. Next he built two box frames that will be the outside shelving unit for the closet. Then he built the center unit that will hold hanging rods for clothes that can’t be folded. If you want adjustable shelves you may want to get this jig from Kreg. But if you don’t have a shelf pin jig you can just make them permanent by screwing the shelves into place. Once the three main pieces were done he added trim, stained them, attached the hardware, then installed them into the closet!
#2 is Home with Stefani
Like a lot of you Stefani did some research on how to customize her master closet that won’t cost her an arm and a leg to build. After exhausting her options she decided to DIY the entire thing with the exception of two Ikea dressers. She started by removing everything down to the concrete slab. She designed all of the built-ins to sit on a 2×4 platform, the back wall for hanging clothes, and a his and her side of the closet with shelves, an Ikea dresser and most importantly, maximized space for storage.
She built the 2×4 base and installed that and the vertical supports all around the closet. Then she assembled her ikea dressers, and added those to the space. Next she added the overhead shelves, the horizontal shelves, hanging rods, hardware and trim to really give it that custom luxury feel.
Then she painted all of the shelves this creamy white, and painted the floor a warm beige color. What a huge transformation Stefani!
#1 is Corey Rametta
Corey had this pretty empty walk in closet and decided to add custom built-ins on both sides of the space with plenty of room in the middle to walk around. Using plywood and various power tools he started cutting down the pieces he would need for the cabinets, drawers, and shelves. He added edge banding to the shelves, then started building the custom drawers with specific spots for belts and ties. He stained all of the pieces before he assembled everything making sure they all get a pretty even coat of stain and finish. Then he made these fun little shelves for sunglasses complete with a dark blue suede to keep them from getting scratched. He used dowels and glue to assemble everything. Once he got it all mounted to the wall he attached hardware, and assembled the drawers. This is really cool Corey! Thank you for sharing!
That’s it! I hope you liked my list, but if you find a version of this project you think should have made the list add it to the comments below! Alright, do me a favor and like this video and if you are not already subscribed to Belts and Boxes please do that now, and hit the bell so you don’t miss any of our shows that come out during the week! You can catch me every Friday at 5pm for the Power Tool Week In Review with Rob, and every Saturday at 6pm for the next episode of Maker Break! See you then!

