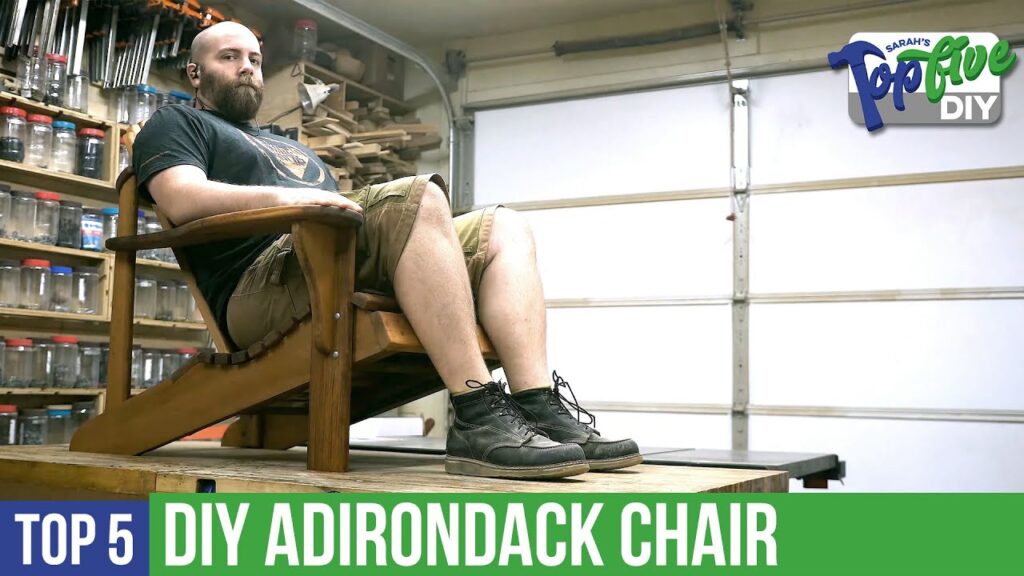
Hey guys, I am Sarah. Every week I comb through hundreds of DIY videos preparing projects for our weekly Maker show, Maker Break. Along the way, I find some good projects… and some GREAT ones, And right now, I’m going to share them with you! This is Sarah’s Top 5 DIY Adirondack Chairs
#5 is Will-Prepared
Will brings us along on his venture to build the fourth adirondack chair in this series of builds using the woodcraft template for adirondack chairs with foot stools! He talks you through what he is going to do and then gets into the actual build by sanding down the milled red-cedar boards. Once everything was sanded he laid out his templates and marked the boards, then cut out the rough shapes he needed on the bandsaw. Once he had all of his pieces cut out it was time for sanding, again. Sanding is the worst right? Or is that just me? Anyway, next was assembly! He started with the base of the chair making sure to predrill all of the holes, and with each board adding made sure everything was perfectly spaced and level and the chair came together beautifully. I really like these colors too!
#4 is Rogue Engineer
Jameson put a modern twist on the adirondack chair and started off this project by cutting down all of the decking boards on his miter saw. He measured out the dimensions he needed for the proper angels for the legs and cut those, then cut the taper to the back of the legs, and then screwed the those pieces together. Next he tackled the two back supports, using his jigsaw to cut out the arcs for where the back rest will sit. Then he moves on to the arms, and final assembly of the seat, back and of course, the arms! This is awesome, and it’s such a simple build that it can be done in about an hour, well I would probably take longer, but I’m sure YOU could get it done in an hour! Great job Jameson.
#3 is Rustic Goose
Shane was asked to make an adirondack chair / bench / cooler holder, and of course he didn’t back down from the challenge, and knocked the request out of the park. I love this, he used an old chair that was given to him as inspiration for this build, took that old chair apart and used a lot of those dimensions to come up with the plans for this project. Once he had a plan in place he started cutting boards down at the miter saw and carefully labeled each piece as he went to make sure they didn’t get mixed up. Then he ripped the boards in half on the table saw. Next, using the templates he made he then marks the boards to trim off the excess, sands everything down, and uses a router to round off those rough edges. Once he had all of the pieces prepped and pre-drilled he slowly but surely starts the assembly process, adds the cooler, mounts the lid to the top, and viola! A perfect summer seat for two!
#2 is Jackman Works
Paul decided that a basic Adirondack chair was just not going to cut it in his world and he set out to build one that was a little extra. By extra, I mean he added this sweet detail of ottoman, that can be stored away safely beneath the seat! He gets started by grabbing some western red cedar, laying out his templates and carefully marking the boards. Oh, did I mention that he only uses common hand held power tools for this? Yeah, ‘cause he is cool like that! Following the templates he gets busy cutting down the boards, sanding everything, routing all of the edges, and pre-drilling the holes. He gets the entire chair assembled then he shows off the foot rest that secretly fits under the seat. Because he is putting these outside he sealed the ends with total boat epoxy, then finished the entire piece with stain. Awesome job Paul!
#1 is Steve Ramsey
If you have not followed one of Steve’s videos to build a project of your own yet, you should probably stop what you are doing, pick a project and get making this weekend. There’s even plenty of summer left for you do build one of these and use it! Mr.Ramsey preps all of his boards and shows you that you don’t need a lot of tools for a project like this. Once he has his boards cut down, he starts putting all of the pieces together. He uses a jigsaw to round off the tops of the boards for the seat back, and for the arms, then sands them down. Honestly my favorite part of this build is that there was a mess up, or I mean a “character building exercise” and Steve walks you through how he fixed it! After final assembly it was time for paint! If you are looking for a fun project to build this weekend go check this out and grab the plans from the description in his video!
That’s it! I hope you liked my list, but if you find a version of this project you think should have made the list add it to the comments below! Alright, do me a favor and like this video and if you are not already subscribed to Belts and Boxes please do that now, and hit the bell so you don’t miss any of our shows that come out during the week! You can catch me every Friday at 5pm for the Power Tool Week In Review with Rob, and every Saturday at 6pm for the next episode of Maker Break! See you then!


