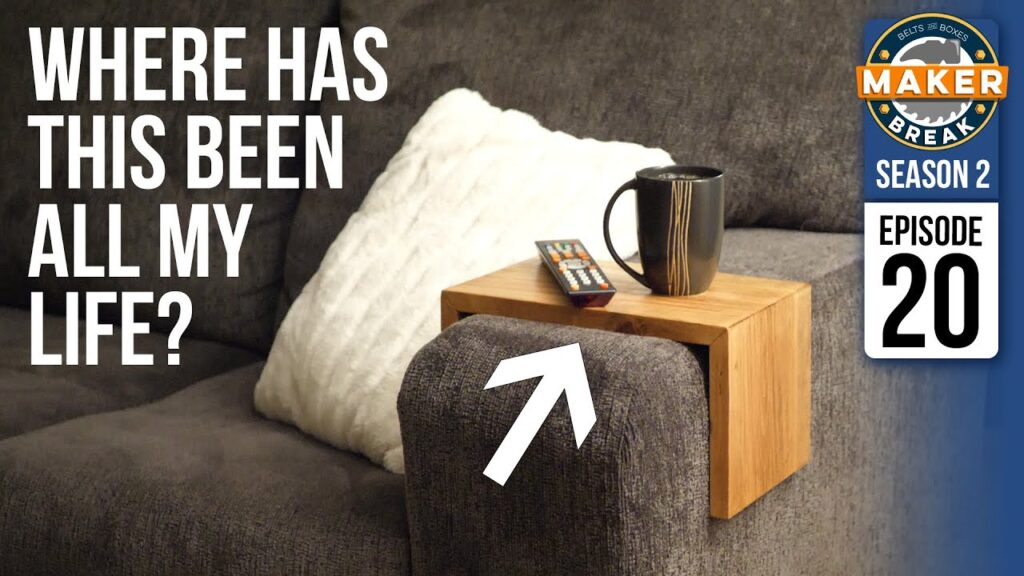
So this one was going to be pretty simple. We take three pieces of wood, one as wide as the arm on our couch, and glue them together. Simple right?
So this one was going to be pretty simple. We take three pieces of wood, one as wide as the arm on our couch, and glue them together. Simple right? Well first off, MY wife wanted an extra little shelf so we could put more stuff on it. Fine. Plus, Jen and Sarah each wanted a different style and finish. So we grabbed some scrap wood, and got cutting.
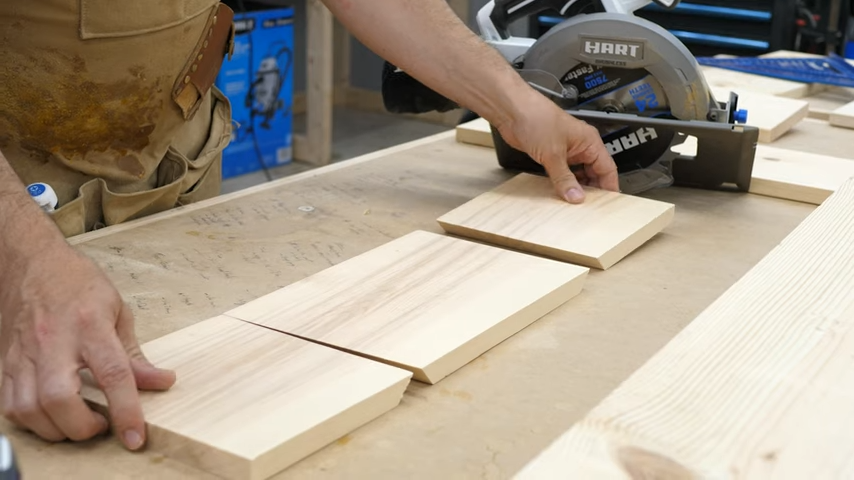
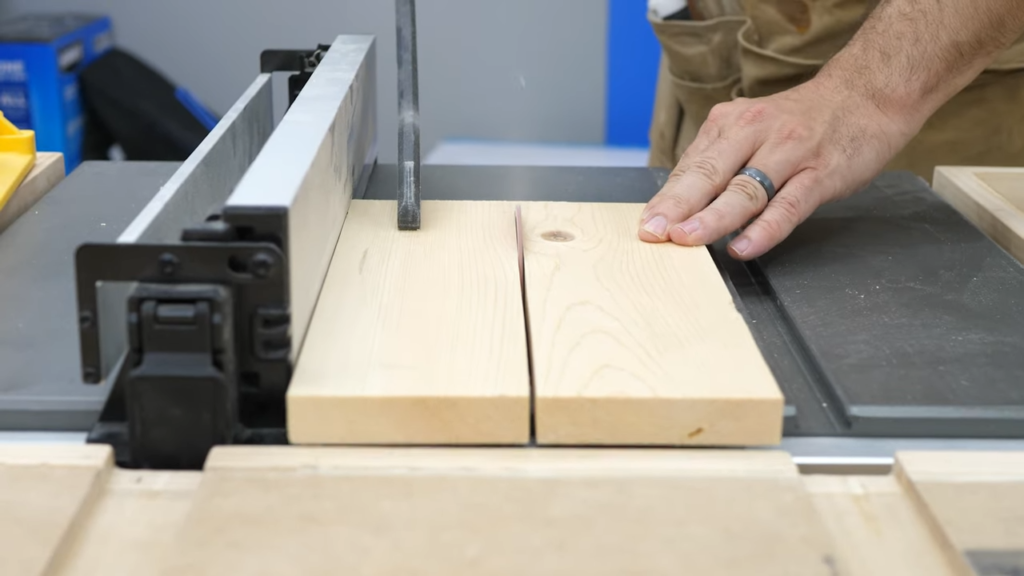
Sarah’s was up first, and she wanted mitered joints. So we cut a 45-degree edge on each one. We also made sure to maintain the grain, so it would continue all the way around the caddy.
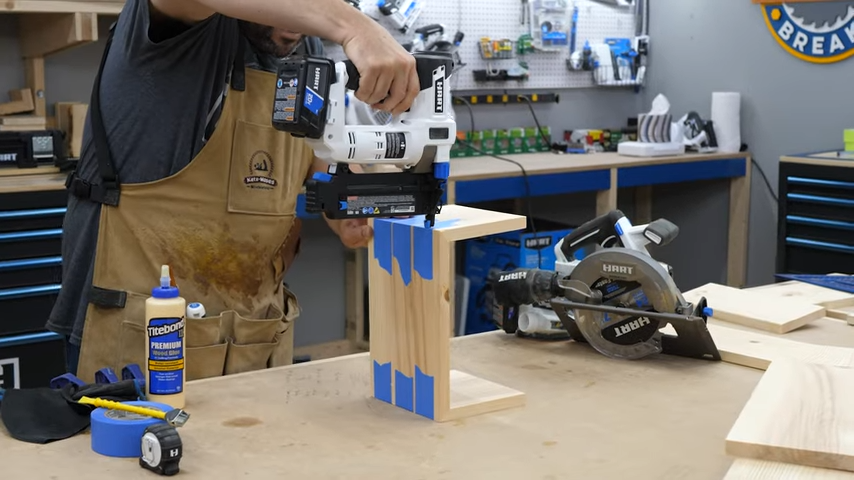
To glue these up, we used painters tape. Once applied, we flipped it over, gave it a good sanding, filled the joint with glue, folded it together, and secured it with some brad nails. We also used these awesome square braces my brother Jeff 3D printed for us, which held the pieces squared while the glue set.
Uhhh We need more clamps. Doesn’t everyone?
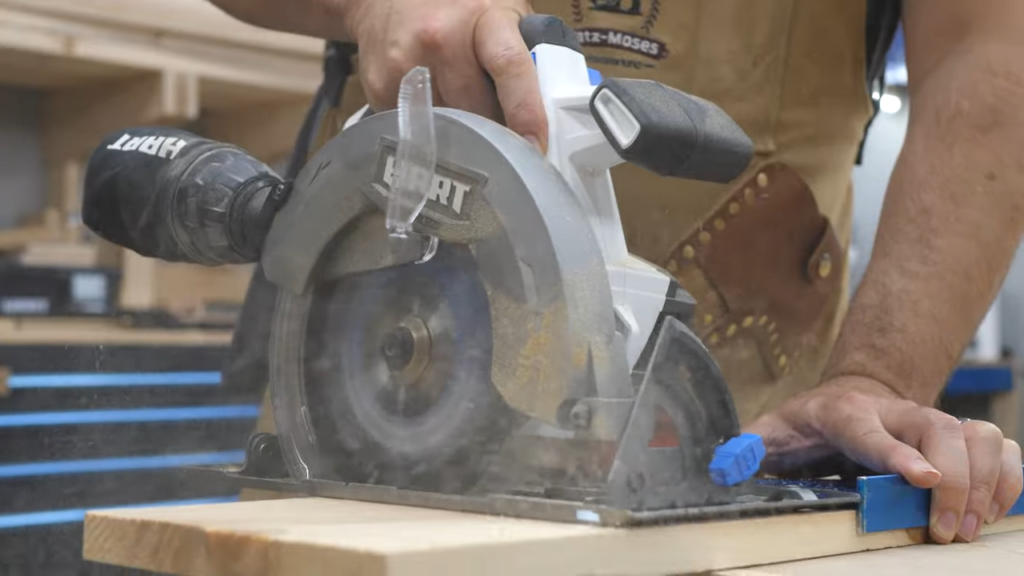
While that dried I moved on to mine. Our caddy would use butt joints, so I just had to make a few straight cuts. To make our tiny extended shelf, I needed to rip a piece down to 4 in, and I’ll be honest, I only used my cross cut sled because it was already on the saw. If you’re going to rip something, take your sled off and use a fence. For my last piece, I did just that.
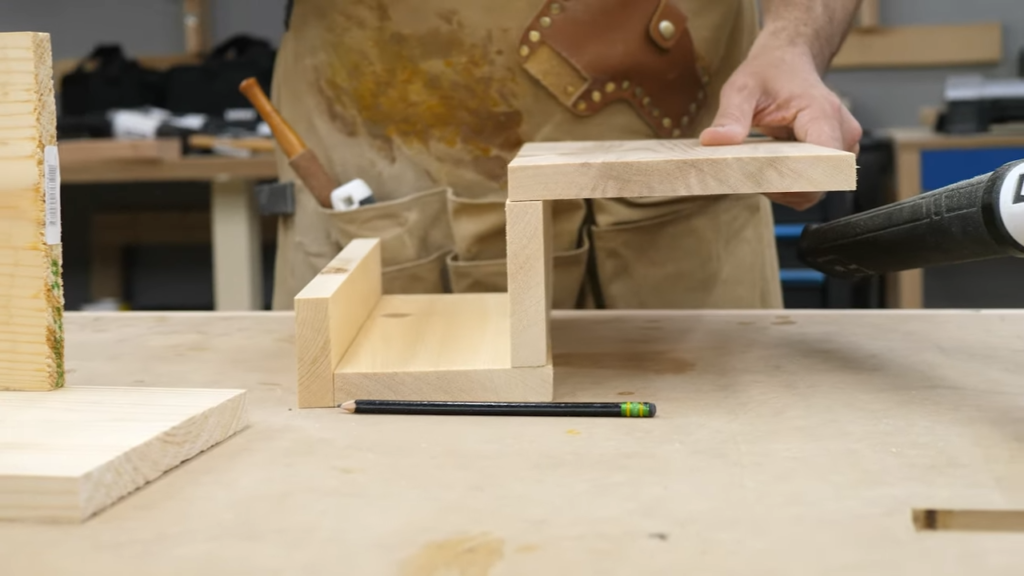
Next I put all my pieces together to make sure it all fit, and then it was time to glue and nail.
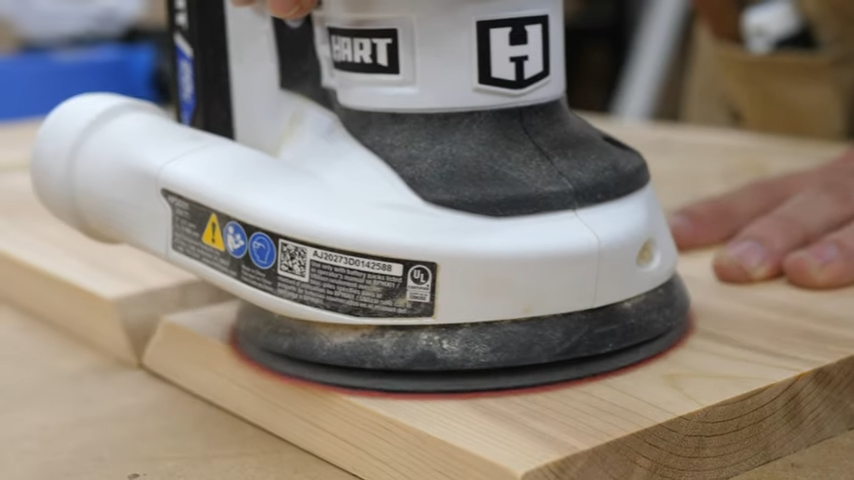
Finally, I filled the holes left by the brad nails, and let that dry. The next day we sanded away any glue. You can see a bit of tear out on those miters. We’re going to get some new HART finishing blades soon, and that would do a great job of fixing that. But it won’t be noticeable in this case.
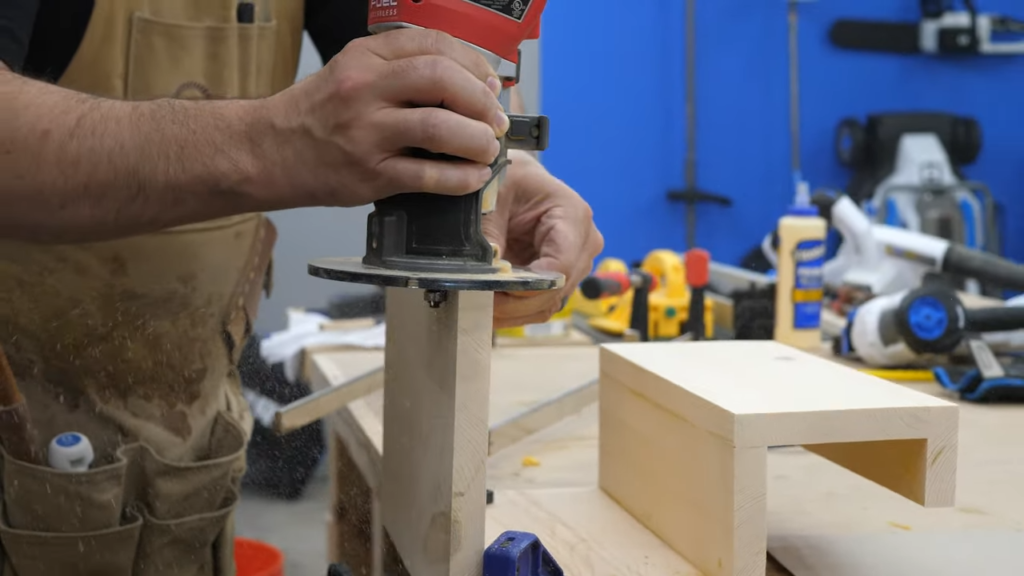
Before we applied our finish, I used a roundover bit on the edges of mine, where arms would eventually lie. At this point, I realized a gap had appeared overnight. I didn’t have it clamped well enough, because I’m short on clamps. No worries. I just used some more wood filler and gave it a chance to dry.
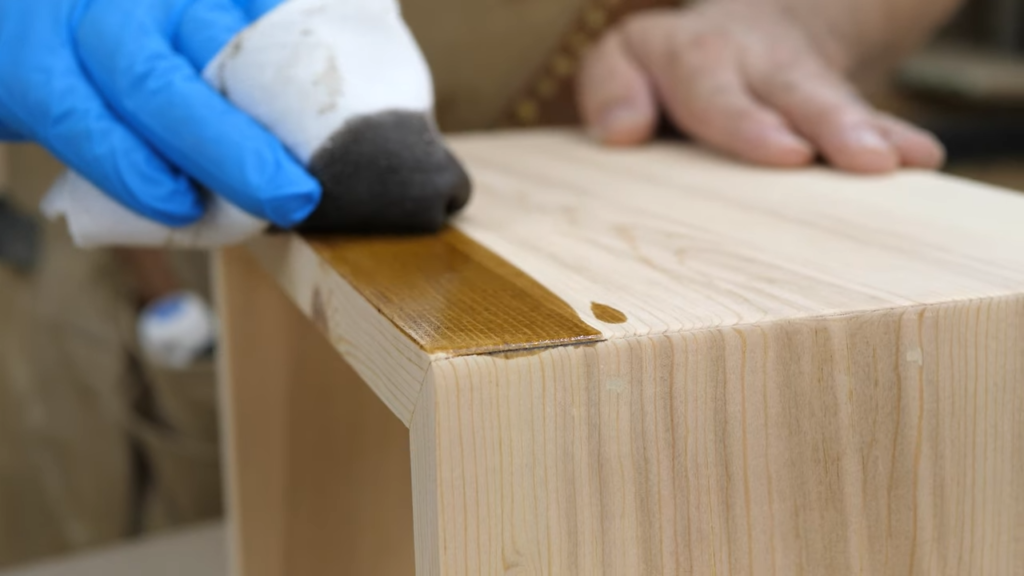
Finally, we started the finishing process. Sarah wanted to use a walnut stain which really brought out the grain. We used a rag to lay it on pretty heavy, and then used a fresh rag to wipe off the excess. Now you’re supposed to apply across grain, and then wipe off along the grain, but I forgot. Still looked good, and I’ll do it right next time.
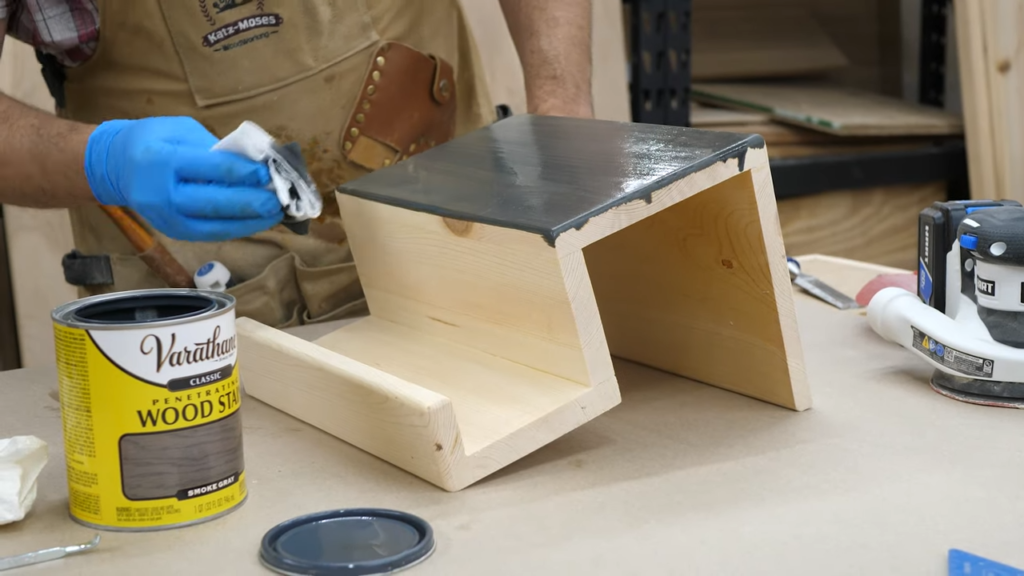
For mine, my wife wanted me to use the smoke grey stain she found for our framed shelves project from last week. Once again, we put it on heavy, and then wiped it off. Boy did these both turn out pretty.
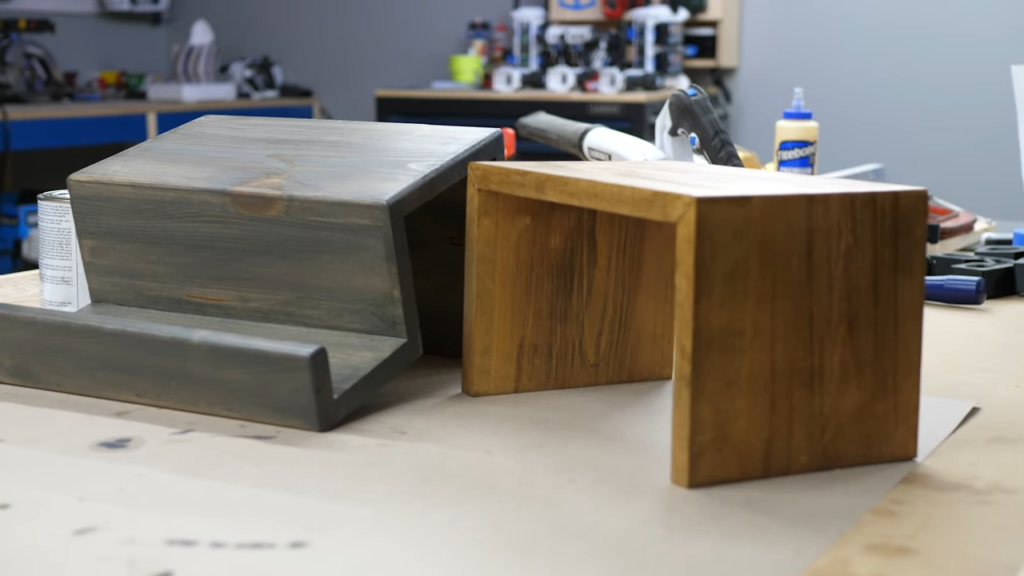
After they dried, and off camera, I applied a couple layers of lacquer to help them stand up to drinks, and that was it! Sarah took her’s home where it fit perfectly on her couch….
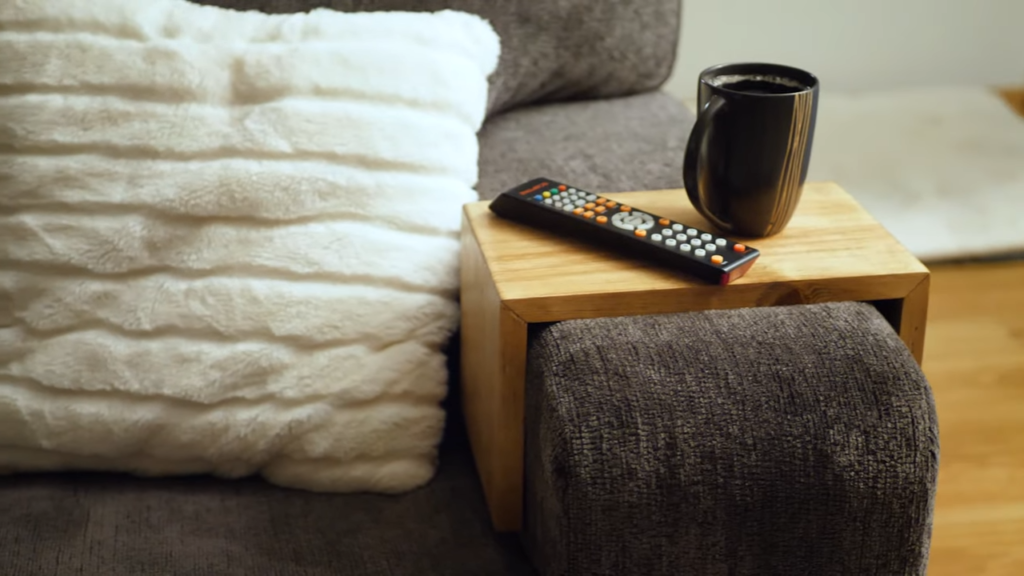
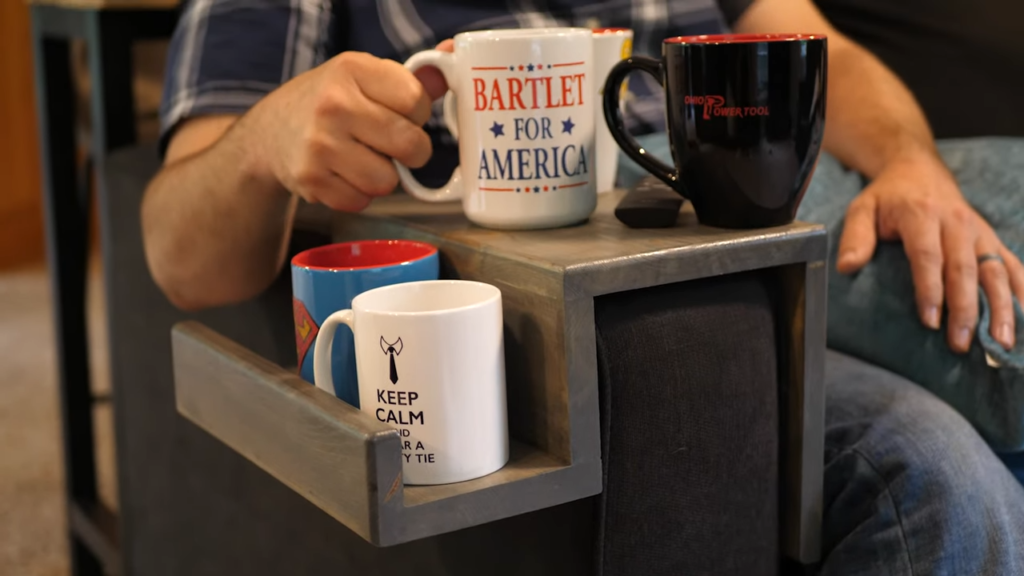
And mine went upstairs, where I finally had a place to hold my drinks. And while I try not to be political on Maker Break… Barlet for America.