
This week, we swap out all of Rob’s boob lights in his house with these cool new LED lights from Amazon! It’s time for a Maker Break!
Project of the Week
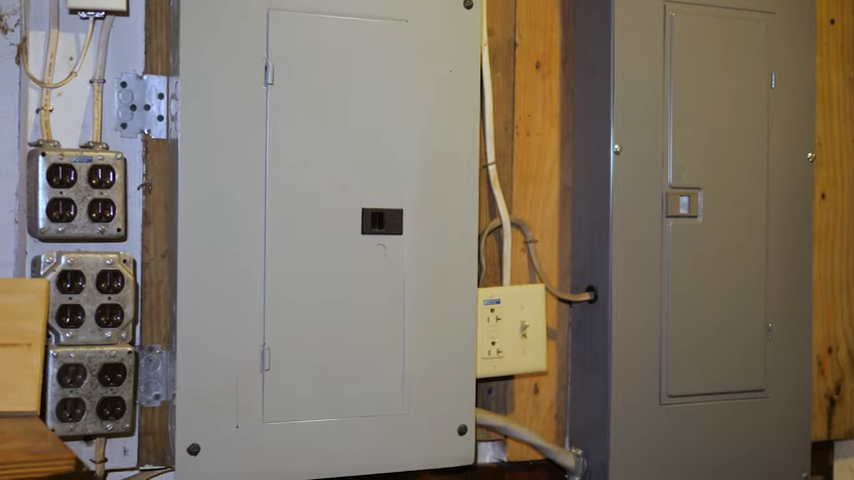
Alright guys, this is our first electric project, so we need to be very clear about one thing. TURN OFF YOUR POWER. That means going to your junction box, and turning off the breaker to the light fixture you plan to change.
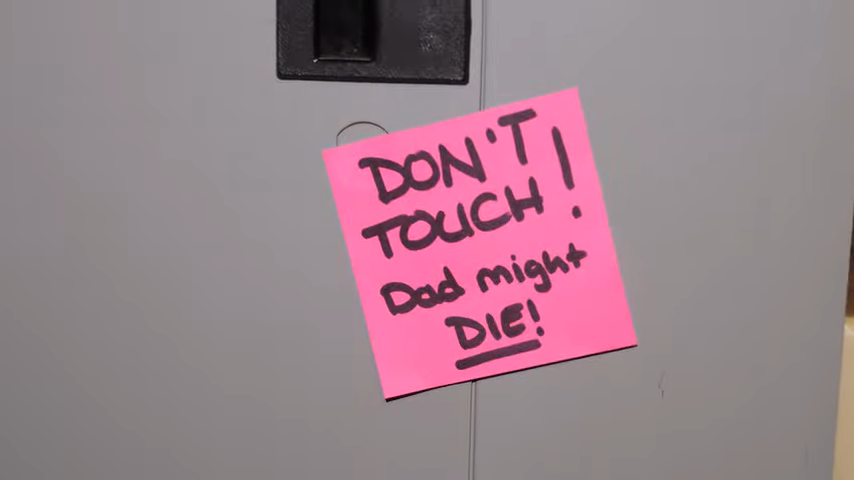
NO, flipping your switch on the wall isn’t enough. It’s just too easy for someone to walk in and flip it. You may want to add a note to your switch box, IF it’s in a space where other’s might tough it while you’re working elsewhere.
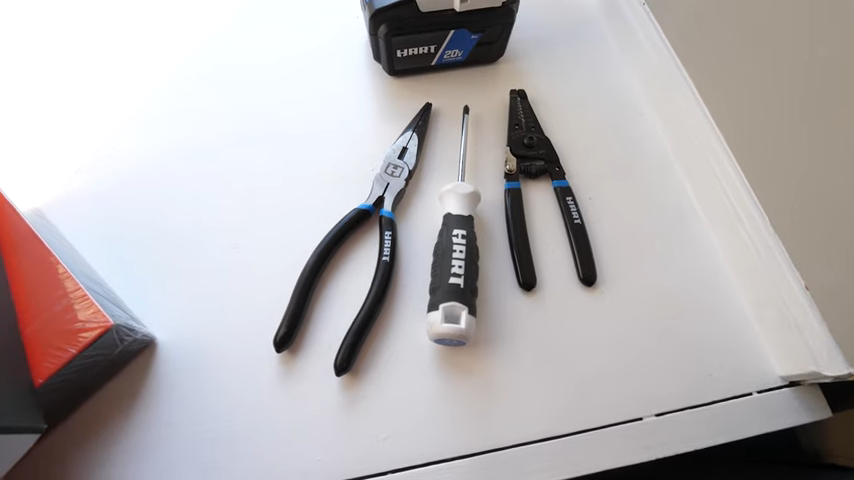
Here are the tools I gathered. I have a philips head screw driver, some needle nose pliers and some wire strippers.
Ok, the power’s off, and we’re determined to get rid of the boob lights. First thing we do is take them down, you’ll likely find them held up with a screw on the bottom.
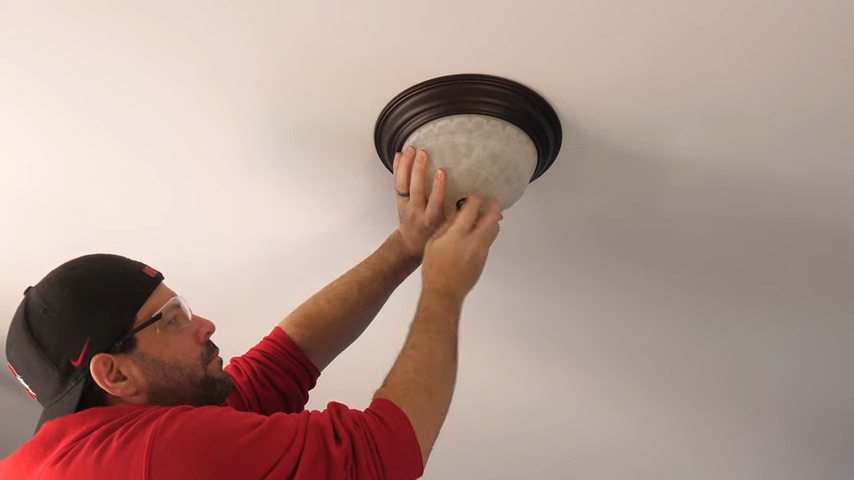
After that you’ll look for screws that are holding the fixture base to the electrical box. Take those off, and pull down the light. This is where you’ll find your wires. If a light fixture has a metal housing, which all old ones do because bulbs would get so hot, it will have 3 wires. Two power and a copper ground.
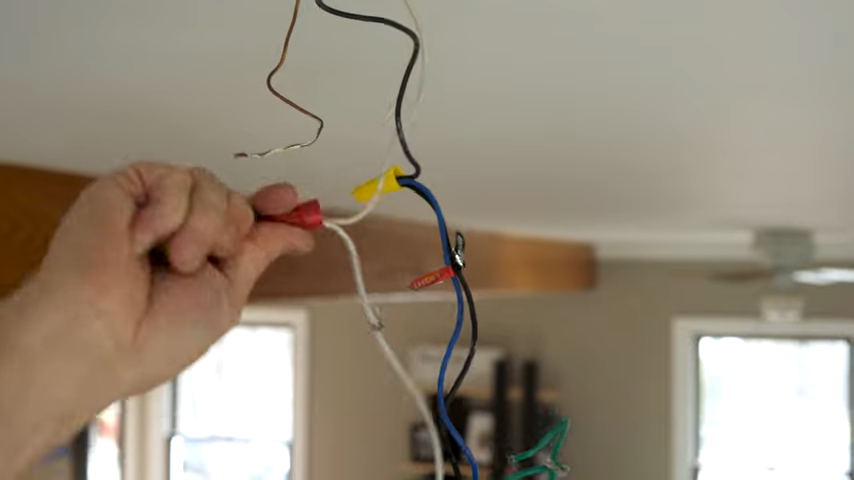
Go ahead and untwist the caps on each one, freeing the wires. Next, I unscrew the mounting plate from the new light, fish the wires through the middle and then screw it into the box.

Now on these new LED lights we found on Amazon, they’re made of plastic, so they don’t need a ground. Which is why you’ll only find two wires on on the light.

Now the wires come with very little cable exposed, so I used this wire stripper to uncover a bit more, making it easier for me to twist them together.
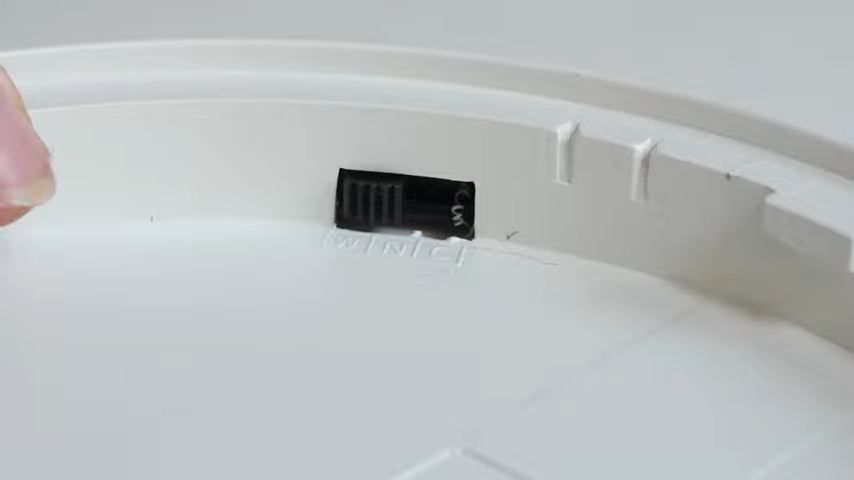
These lights also have 3 color temperature settings. This lets you choose between warm or cool light. This one 3k, 4k, or 6500 kelvin. We chose 3k so it would be nice and warm, which is common in living spaces. I’ll use the cool setting for our closets, so you can see what your clothes will look like in daylight.
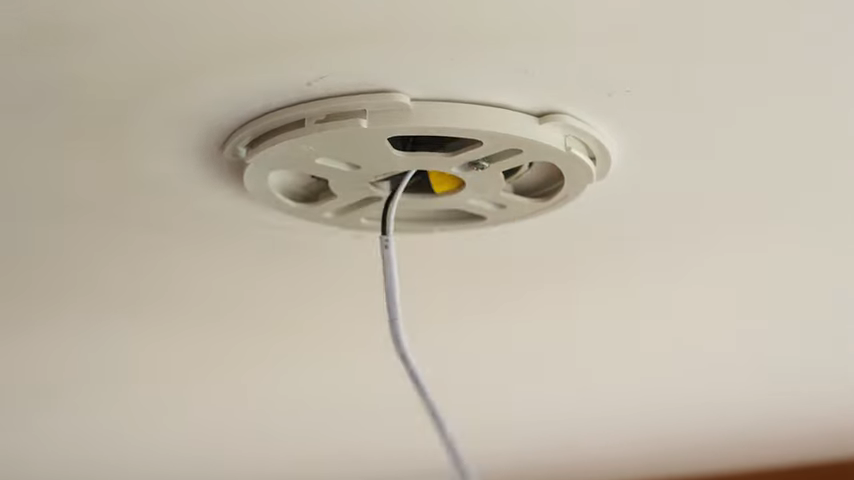
Alright, next I hold the light fixture up to the ceiling and twist the matching wires together, and twist on the cap. Super easy. That grounding wire can just be pushed up into the box. Once my connections are good, I push the wires back up and out of the way, and twist the light onto the base.

Then you can head back to your electrical box, flip the breaker back on, and try out the light!
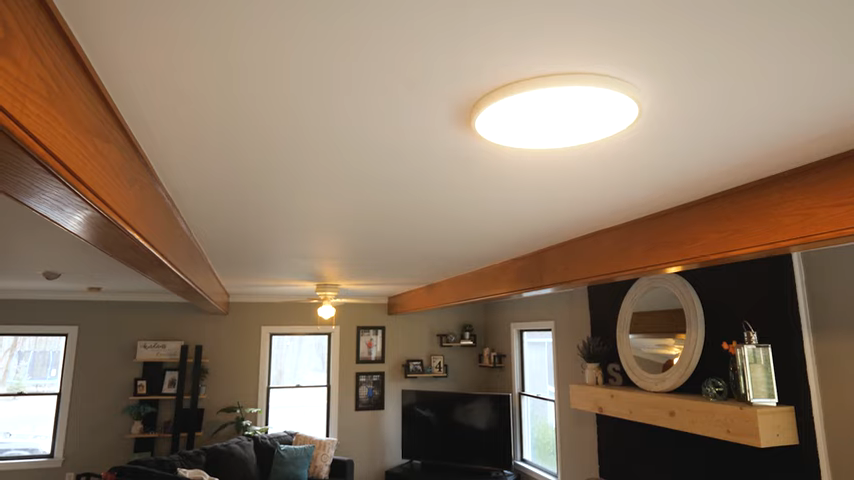
We ended up removing a pair of ceiling fans in the living room, which just felt too big in a room with such low ceilings. Now we have way more light, which makes us all happy. These lights won’t be everyone’s cup of tea, but if they’ll work with your decor, they’re an easy way to bring a lot of new light to your living space.
Disclaimer
Now guys I feel like we need to reiterate this one more time. A. Turn off your electric, not just your switch. And B, if you’re not totally comfortable working with your wiring, don’t. Ask someone who is, or call an electrician.
Favorite Maker Videos of the Week
First one is from Tamar at 3×3 Customs. This week she came up with this amazing collapsible basket design. We get to watch her troubleshoot her own designs, making the final working version all that more satisfying.
Mine comes from EnCurtis who found himself contemplating how touch is missing in so many of our lives due to the pandemic. To remind him of those bear hugs, high fives and secret hand shakes, he designed this stunning walnut cabinet with a gorgeous textured front panel that you really need to see, or more appropriately feel, to appreciate.
Last week I made a cedar bath mat to replace my disgusting germ growing cloth version, and you can watch that right here.

