
You know how sometimes you want to make something simple, but meaningful? This project hit that spot for both Sarah and I.
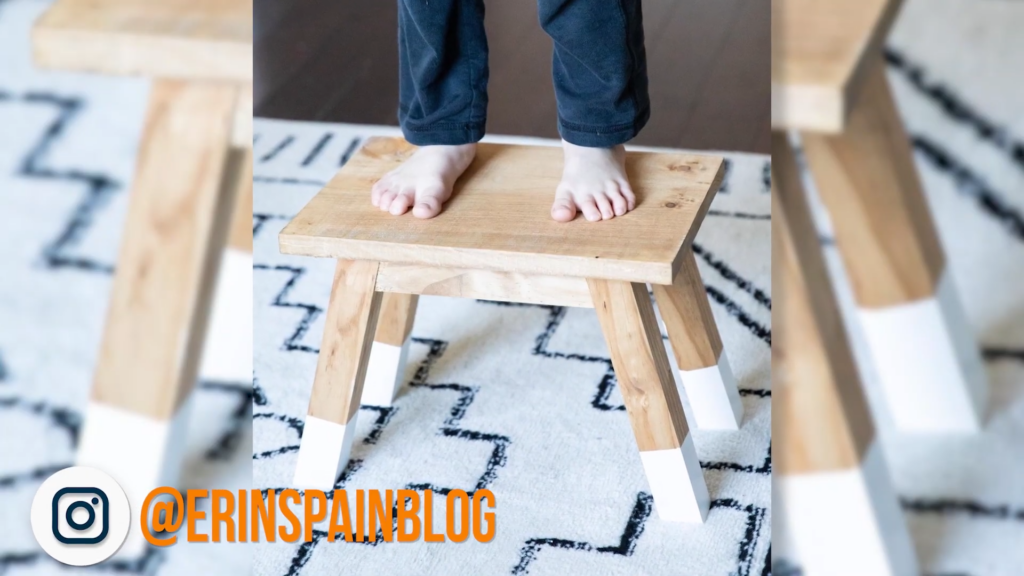
Our buddy Jay asked us to make this stool for his two little girls, and pointed us to the plans from Erin Spain, and just look at that thing! We couldn’t wait to make it.
The materials are pretty simple. We just needed a few pieces of 2×2 and a 1×10 for the top.
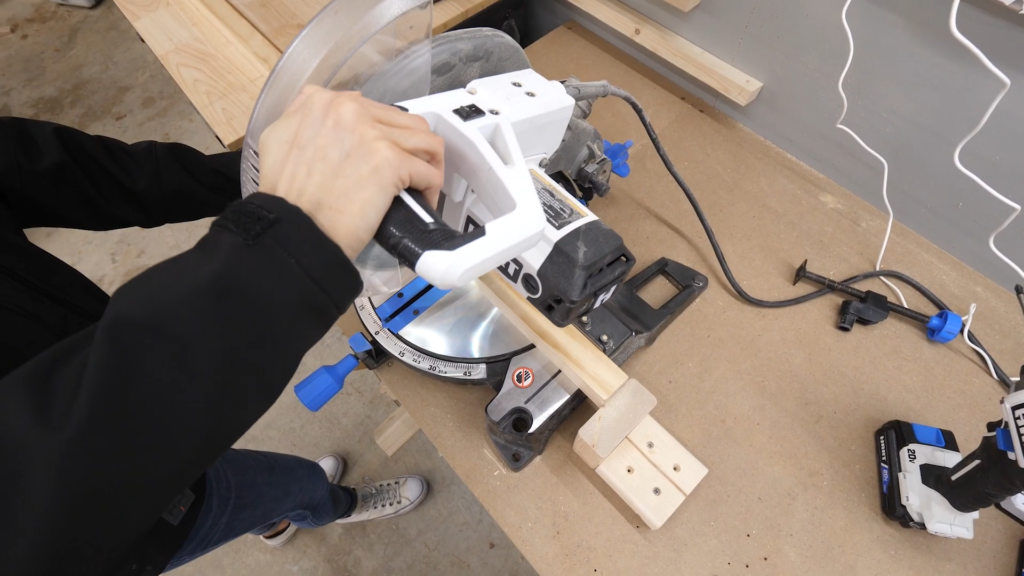
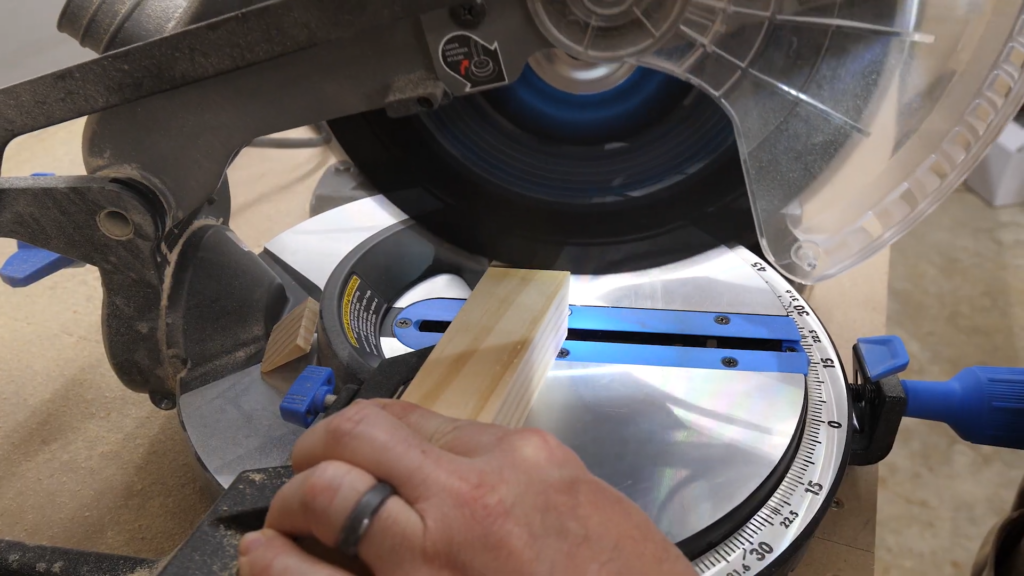
Sarah first marked off the 2×2 pieces, and quickly cut them on the miter saw. First the 4 10” pieces, then the 2 8” pieces, and finally a single 4 inch piece.
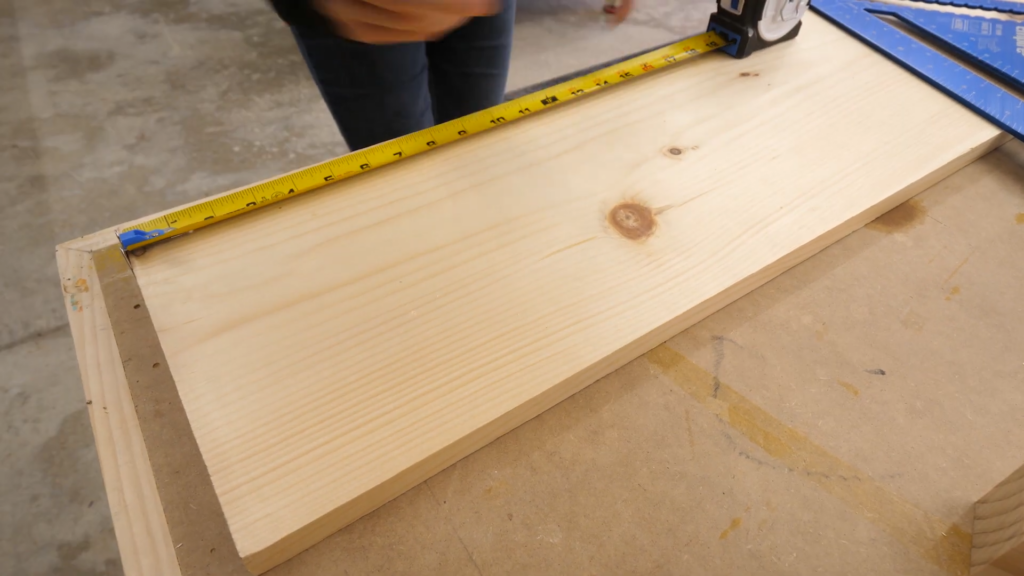
Next, we cut the 1×10 to 14inches, adjusted the depth of the circular saw, and made the cut.

Sarah started sanding all the parts so little hands and feet wouldn’t get any splinters. I decided to quickly round over the edge of the top board as well. Then Sarah worked her way up to 220 grit on the top for a super smooth finish.

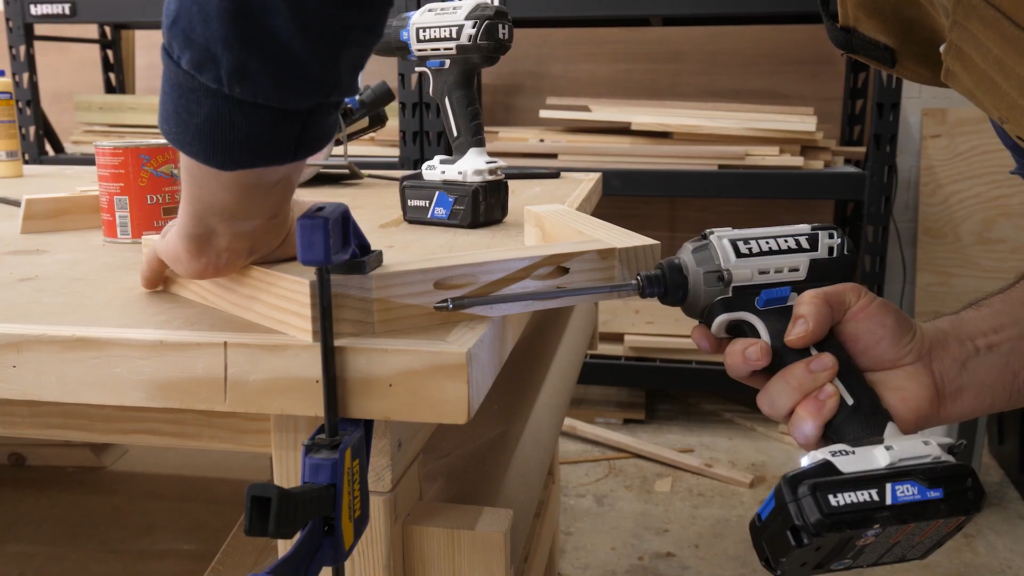
THEN… we realized we forgot to cut the legs and cross bars to 15 degrees, so we did that really quick with the miter saw. Next we drilled a few pockets for some pocket screws, and finally screwed it all together.
After marking the position for our legs on the top, we screwed it on.
After that, it was time to stain. We decided to use a light brown, that turned out to be more brown than light, but it still looked Sooooo good.
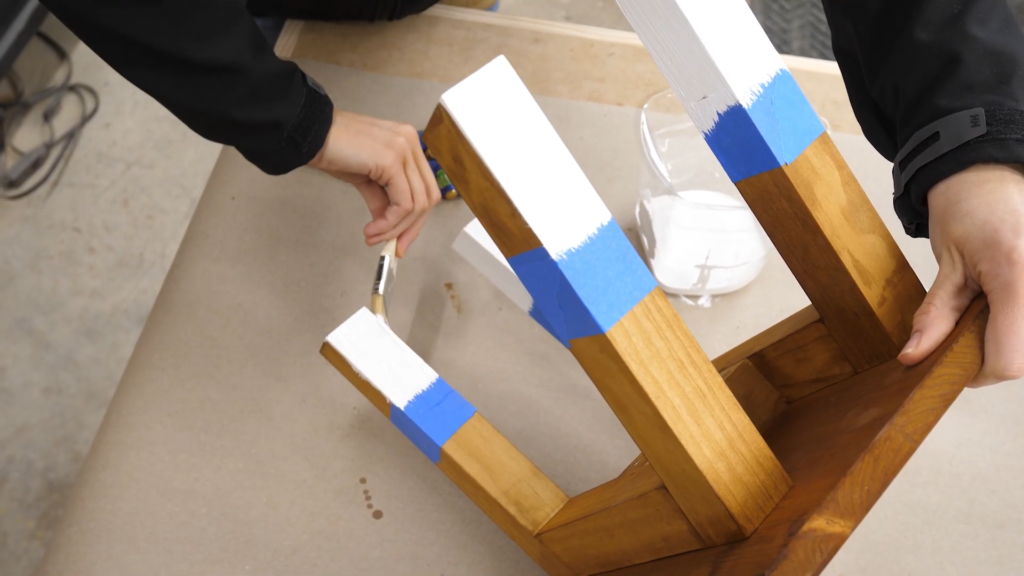
After we finished it all, we taped off the legs to give it a layer of white paint, to make it look “dipped”. But as you can see here, taping all the way round the legs meant our line was at an angle to the ground, which doesn’t make sense for a “dipped” leg.
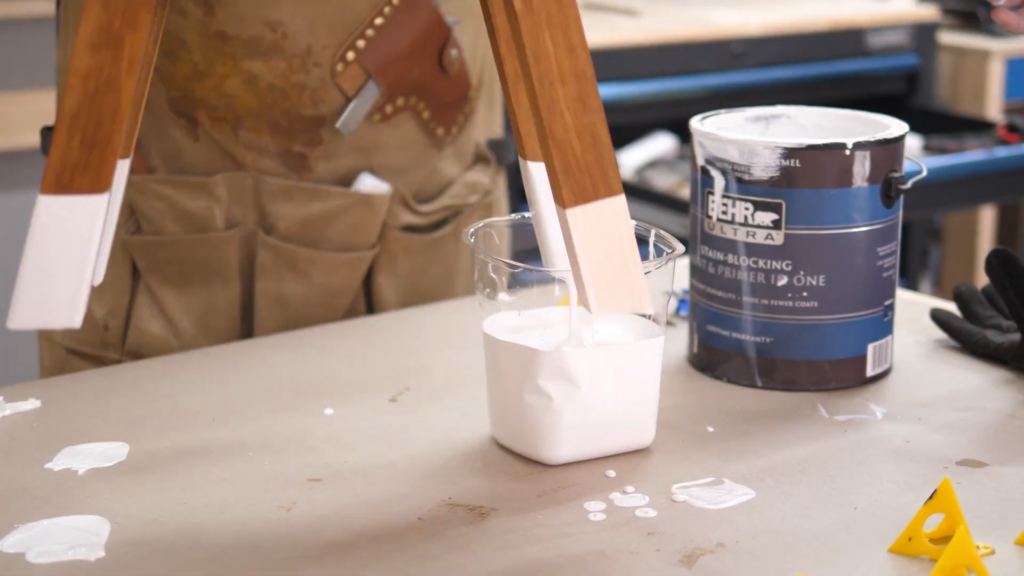
So after it dried, we removed the tape, and decided to literally dip the legs. We filled one of these plastic liners with enough paint, and dropped one leg in at a time. After we let it dry, we applied a coat of lacquer off camera, and then had Sarah’s daughter give it a test drive.
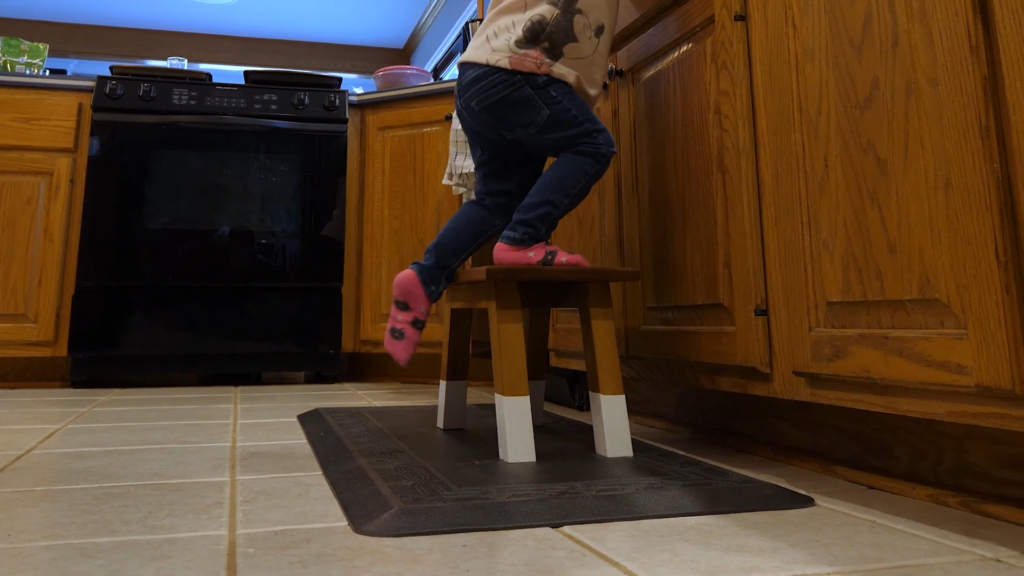
And I’d call that, a success.

