
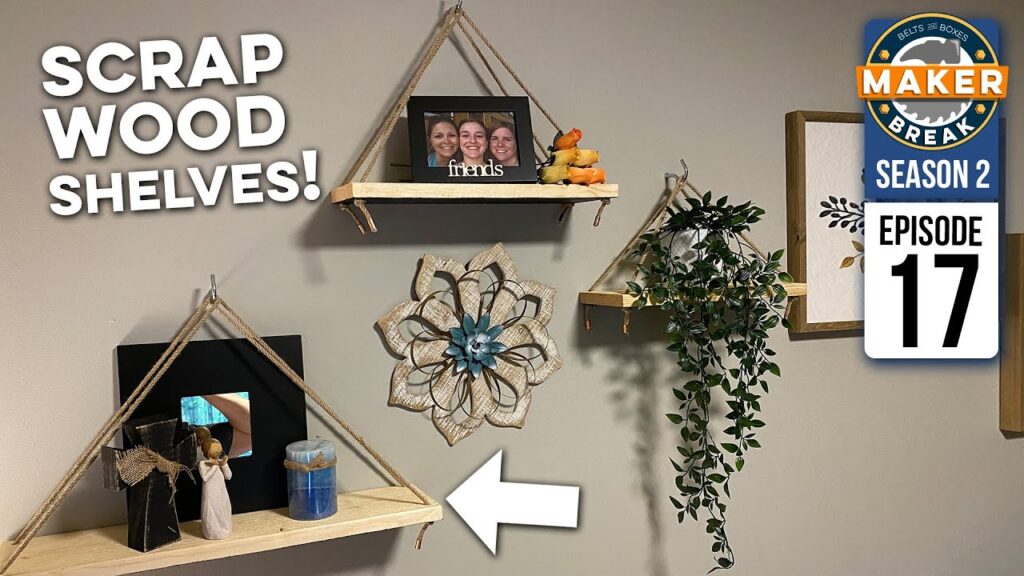
This week Sarah took some scrap from a previous project, and turned it into some really unique shelves. Here’s how it went!
These are another “commission” from Rob’s Wife, Jen. She asked us to make these shelves that hang from rope on the wall. To start off, I had to cut some scrap we had from the Date Nook we built and cut them down to the 3 shelf sizes Jen asked for. In this case, it was 23, 17, and 15 inches.
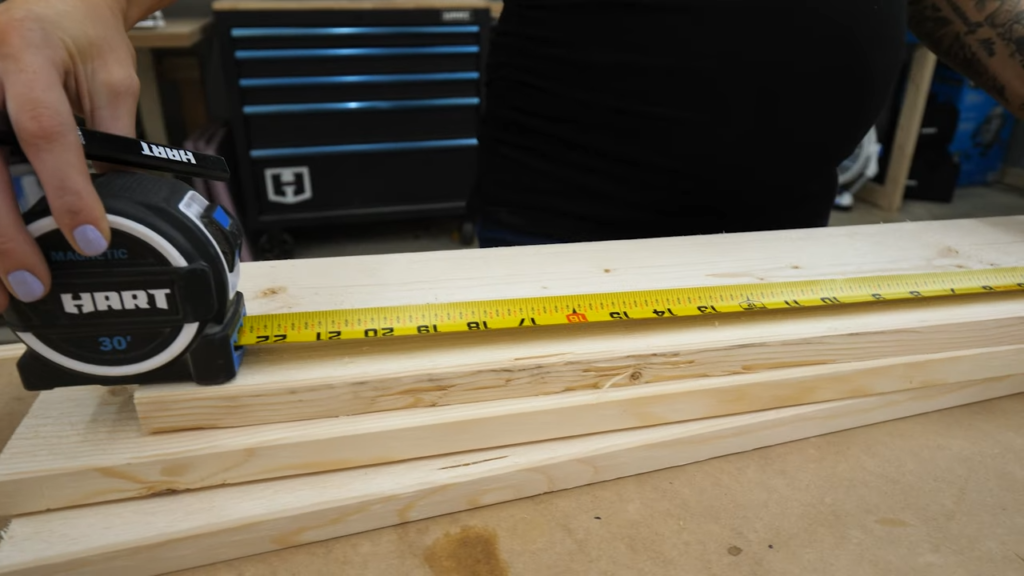
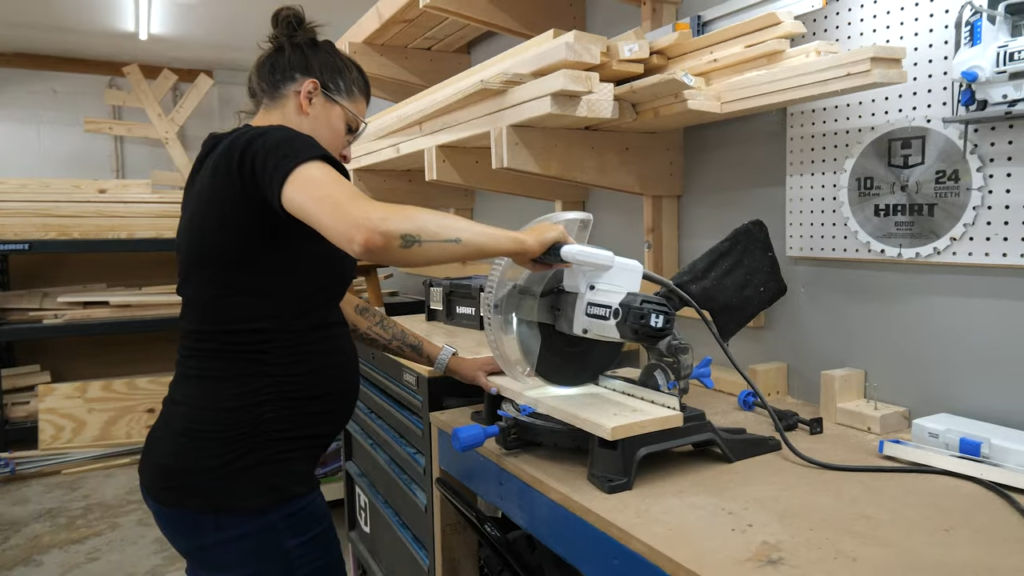
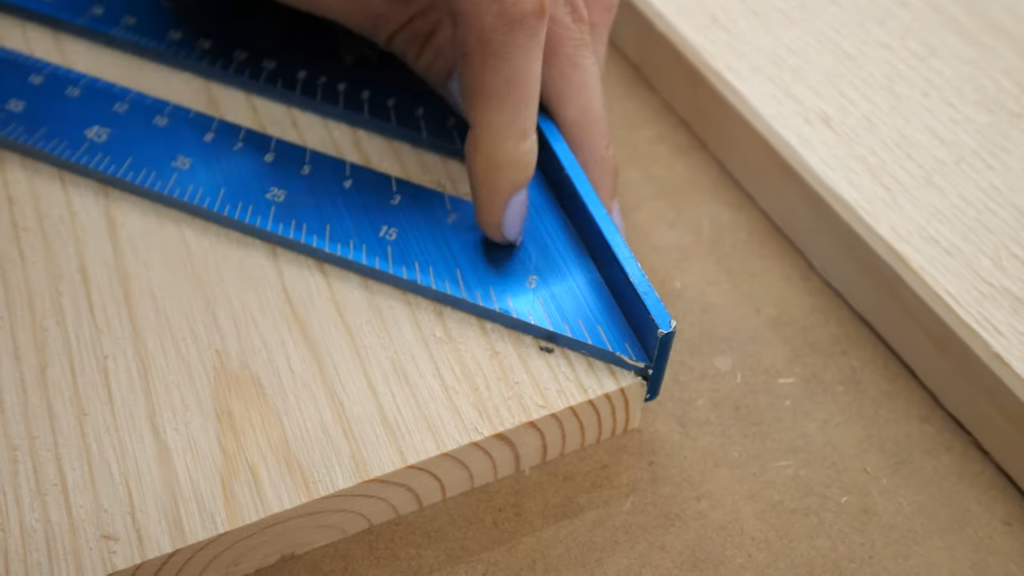
Once I made my marks, I used the miter saw to cut them to size. To hang these up with rope, I was going to have to drill a ¼” hole in each corner. So I used our square to mark each one, and then drilled the holes using a scrap piece underneath to cut down on tear out.
Now these planks were rough cut on one side, which again, Jen liked them that way, so I didn’t sand them down.
With the holes drilled out, I started painting the underside of each one black, and left the top natural. This was going to give the shelves a nice contrast to the wall when you see the underside.
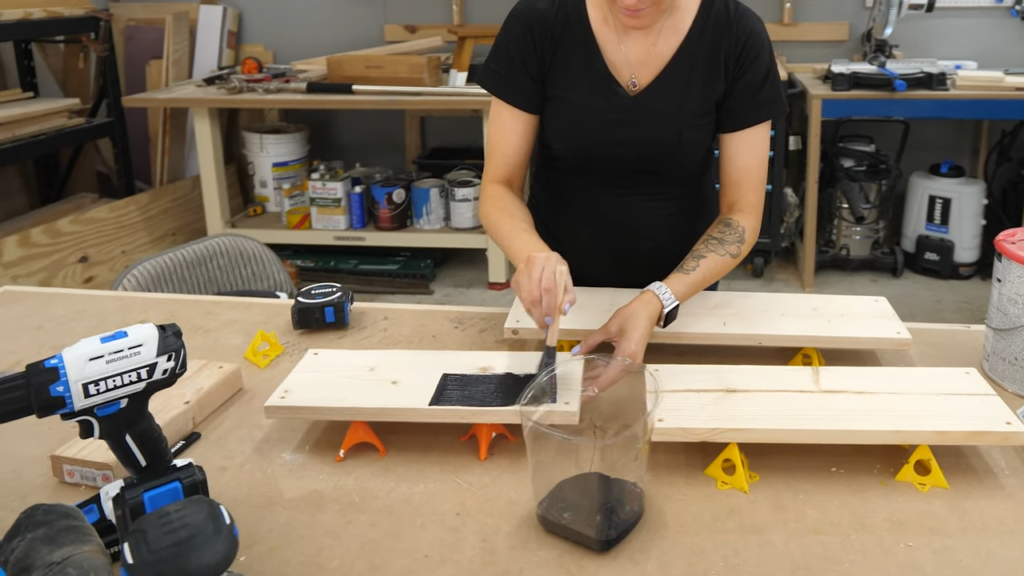
When that was dry, I also applied a coat of lacquer on both sides, but forgot to film that. Next, I measured out the rope. So the plan was to use a single piece for each side of the shelf, which would allow me to adjust the shelf from front to back to get it level once it was on the wall. T
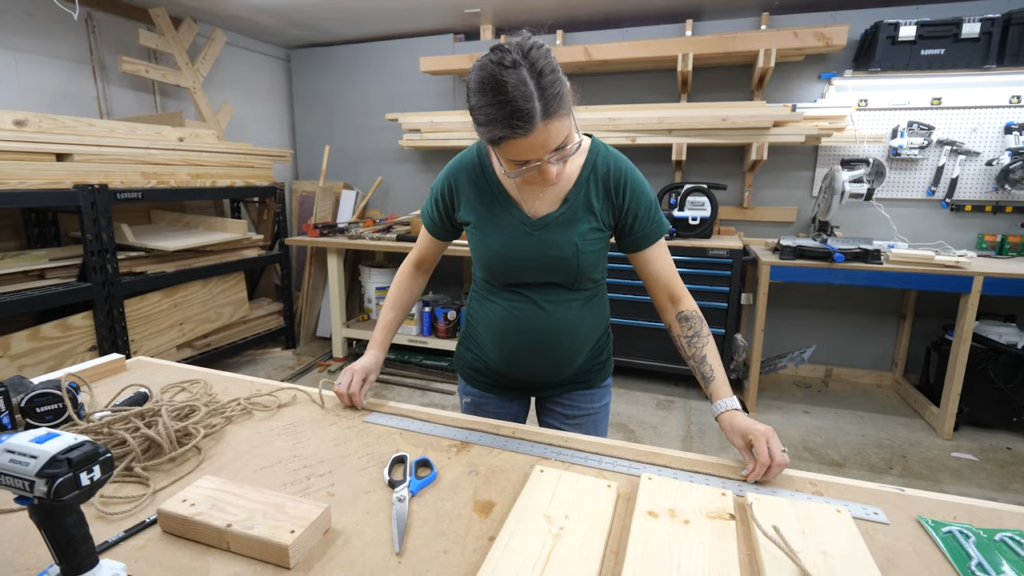
he hooks would be on the wall, meaning the front of the shelf would be further away, and need more rope. This just made them a lot easier to hang.
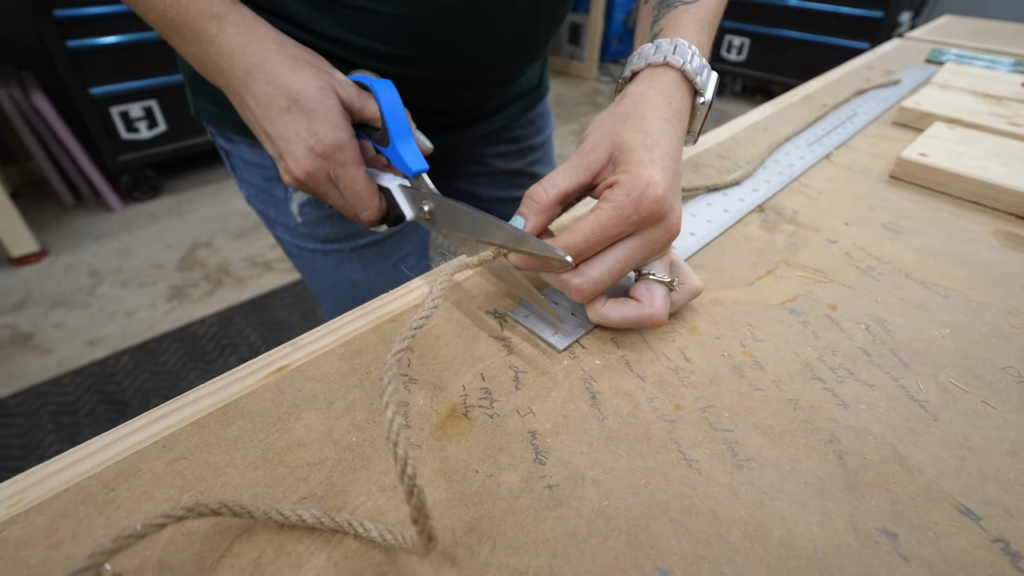
Once I got them cut, I taped up the ends to help me get them through the holes.
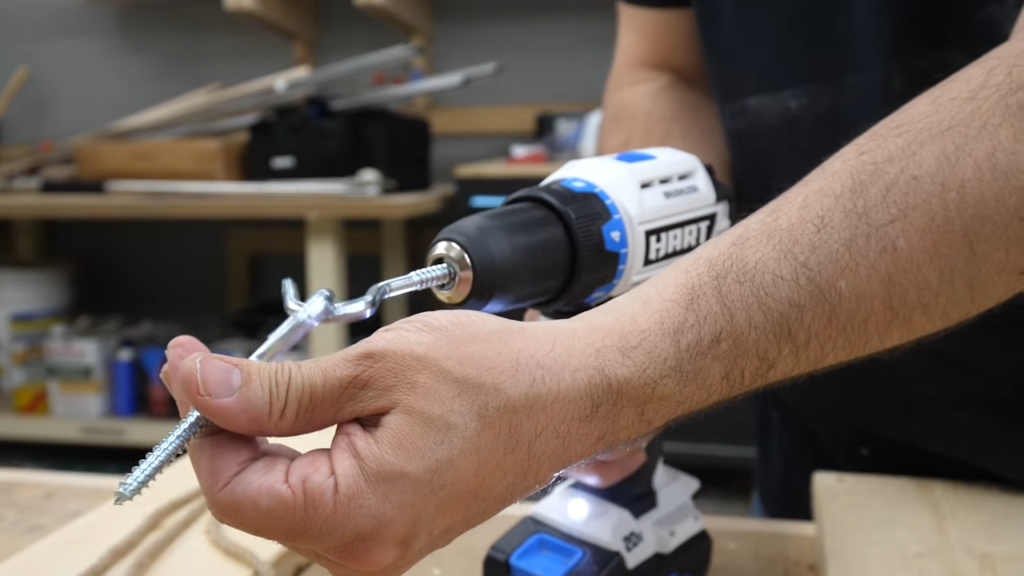
Before I finished the other shelves, I wanted to hang this first one on the wall to make sure Jen liked the length. So I had Rob grab some of these hooks we had left over from another project, and he put an extra one in our drill. That allowed him to use the drill to get the hooks in the studs.
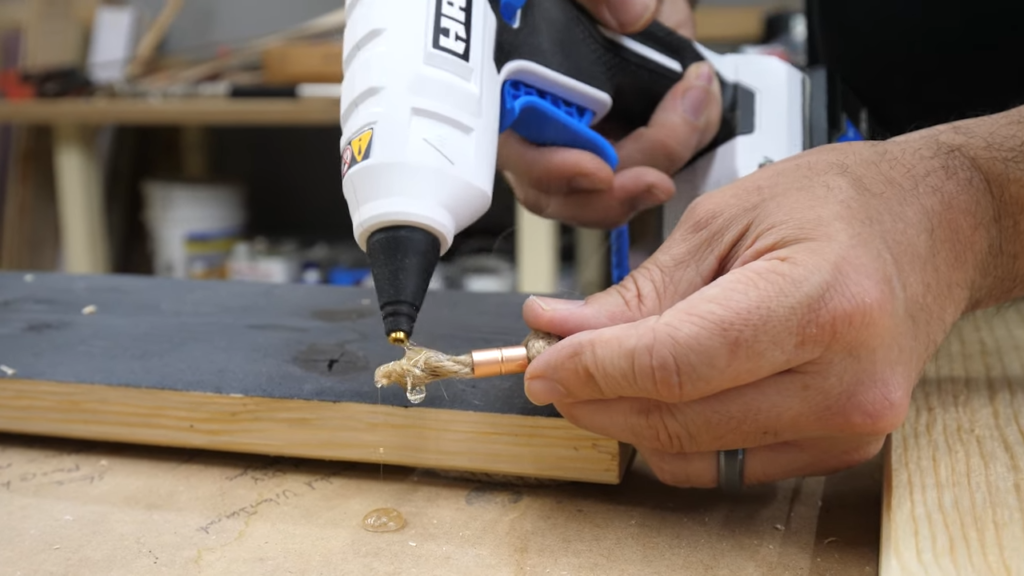
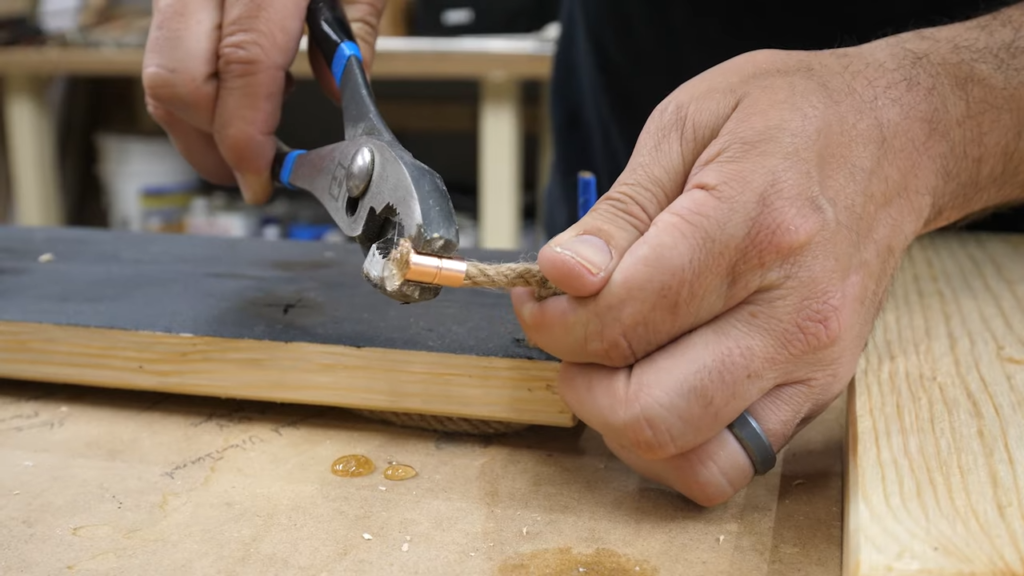
Next we drilled a pilot hole into the stud, and screwed in the hook, and Jen liked the look so we went back down to the shop to figure out these brass sleeves. We ended up getting to use the new HART battery powered Glue Gun, and it was awesome. After we’d slide on the brass sleeve, we’d use the glue gun to apply glue to the end of the rope, and then slide the brass piece to the end.
When the brass parts dried, we took the shelves upstairs, and let Jen do her decorating thing… and here’s how they turned out.
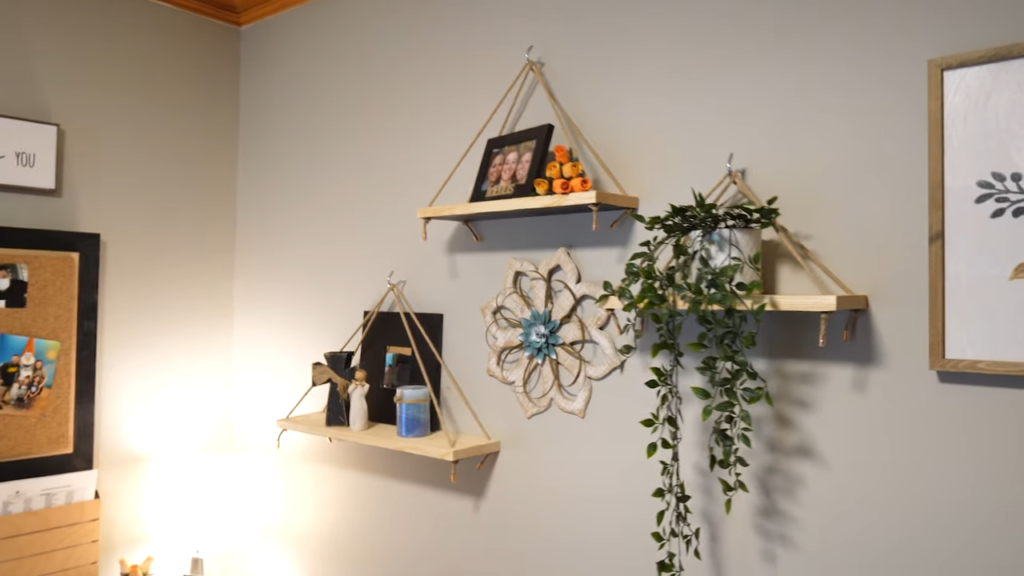
So beautiful. This style of shelf does require you to balance the items you put on it, but for the most part they were easy to level. What a cool use of some scrap wood!

