
This week I design and build our first real workbench. Then we get to meet Ethan Abramson from The Build with Ethan! But first, It’s time for a Maker Break!
This Week’s Project!
This week, I set out to build a workbench and outfeed table for our Milwaukee M18 Table Saw. It’s so big, I had to break this up into two episodes. Today, I design the bench, and build the frame. Here’s how it went.
So this project starts with this saw. The Milwaukee M18 8 and ¼” table saw. It’s small, portable but powerful enough for just about anything we’ll be doing. My only complaint is the small stand, and the lack of support for outfeed.
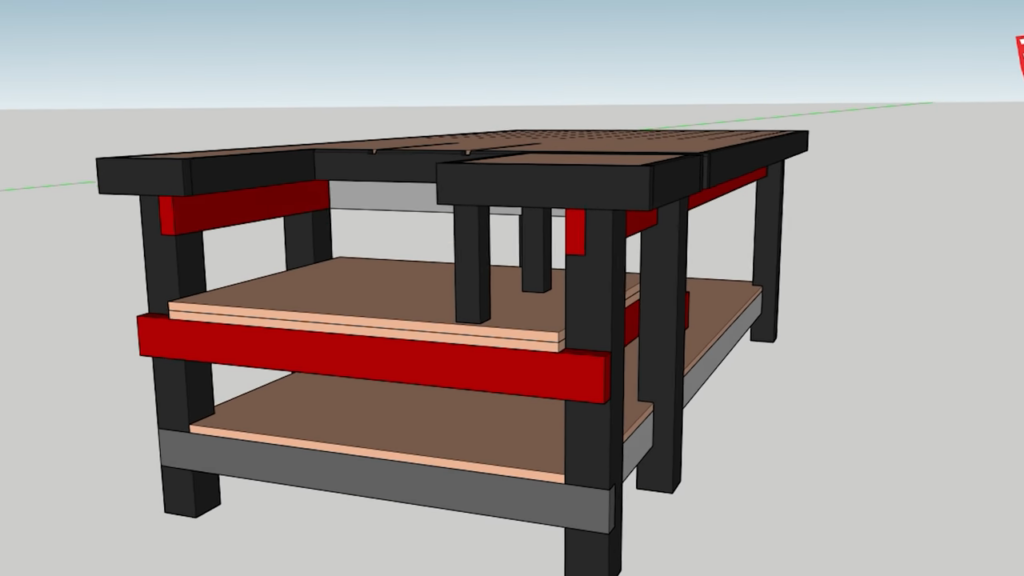
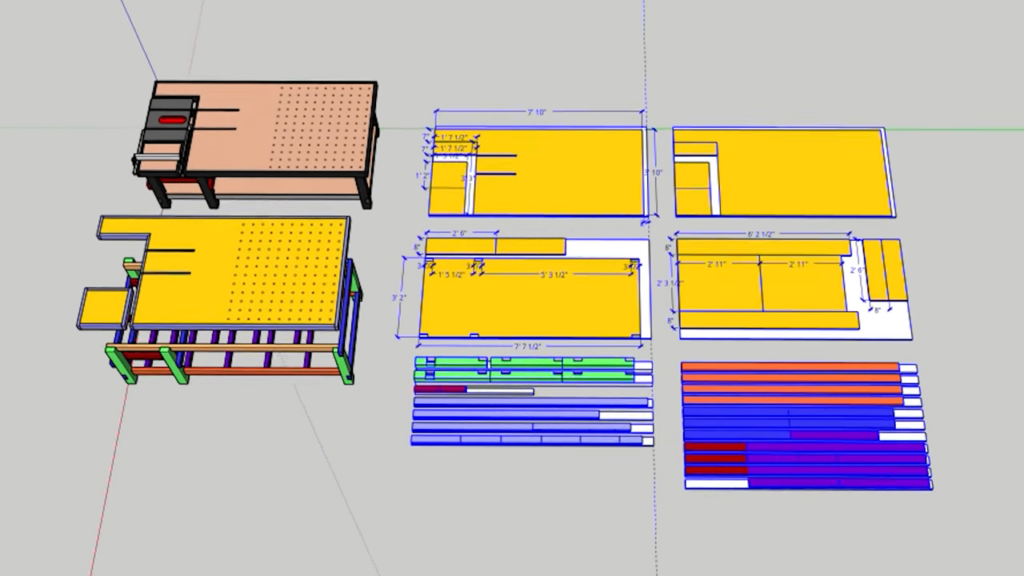
So I headed into Sketchup, and designed a 4’ by 8’ workbench, with a cutout specifically for the M18 saw. This is what I came up with. It’s supported by 6 4×4 legs, and it’s all held together with half-lap joints and pocket hole screws. Easy right?
Now I don’t have a flat surface to work on besides my small workbench setup on metal legs by Shopfox. So I first made sure it was flat and level, and then I put two of my MDF sheets together to effectively give me the space I need to assemble the frame.
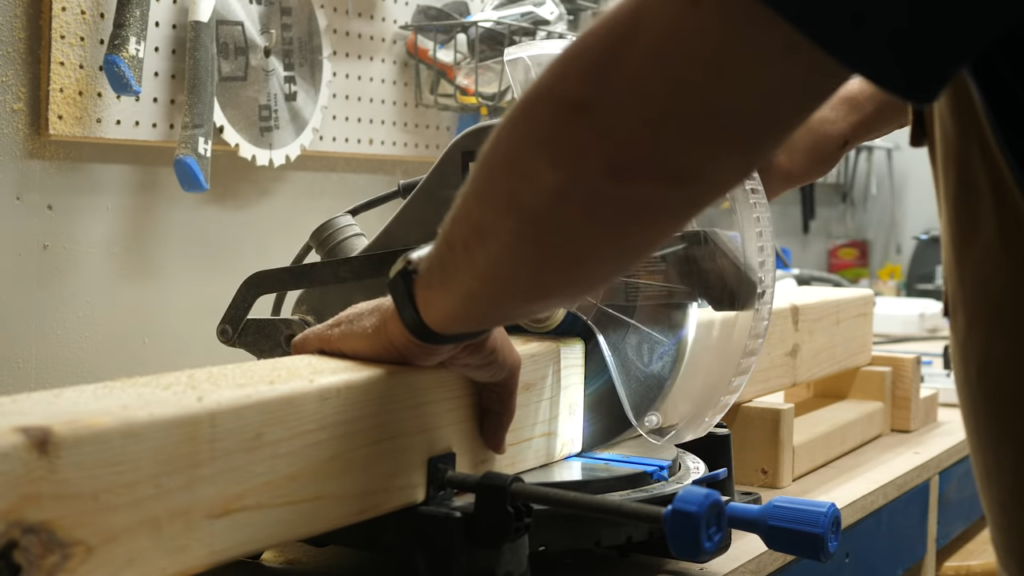
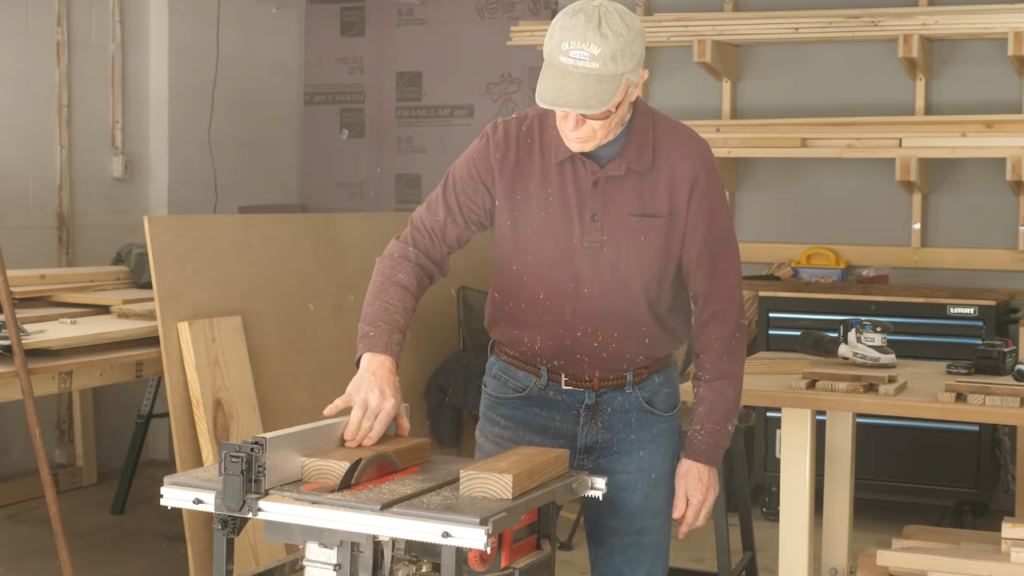
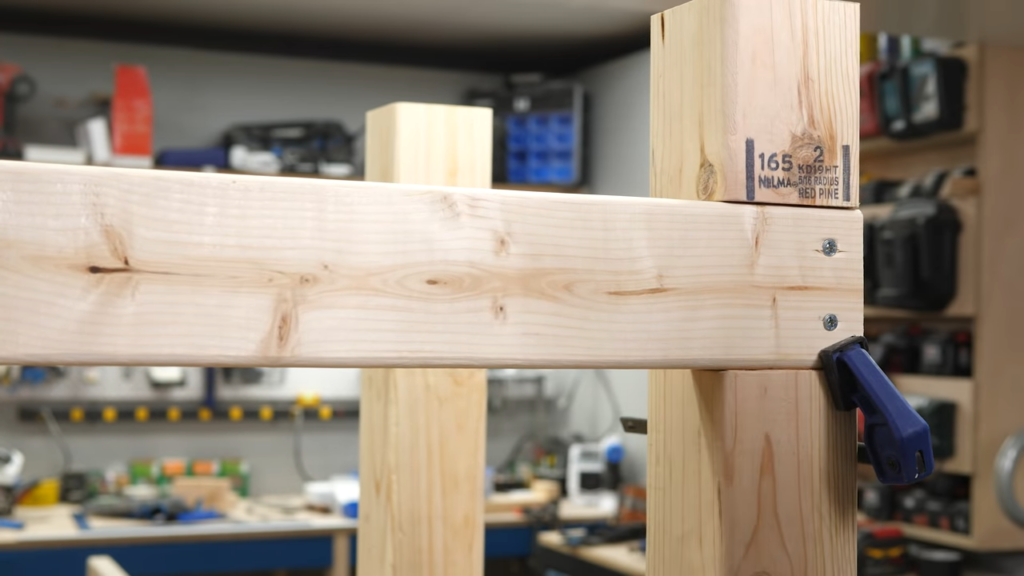
Next, I started by cutting all of my legs to length. After all 6 were cut, I had to tackle cutting out the notches for the stretchers, which I had NEVER done before. I first tried to use a sliding compound miter saw by using a stop, that should make the blade only go a specific depth into the wood. Then I just make a billion cuts… break off the left overs (which was really satisfying) and then chisel and sand out the rough stuff.
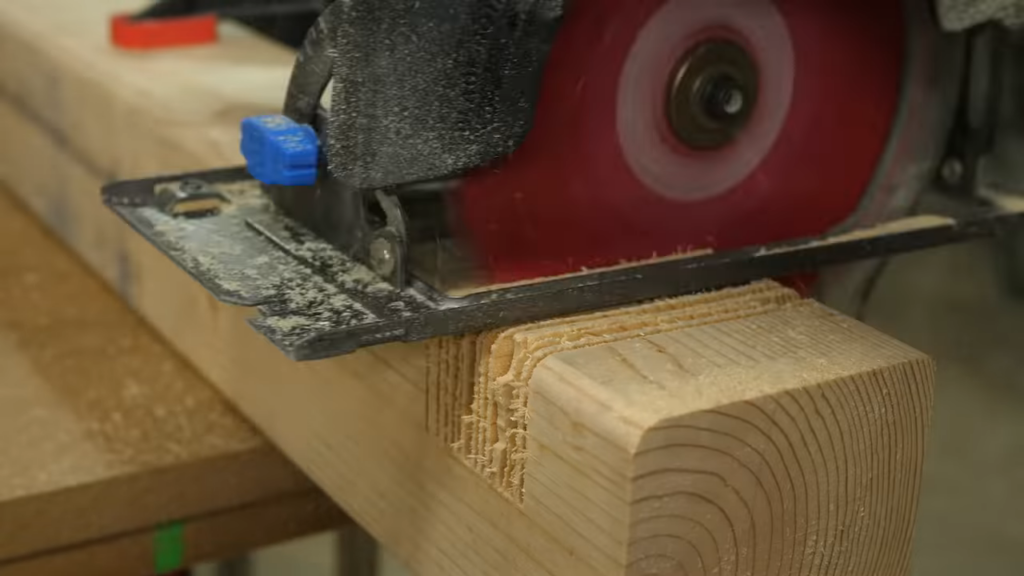
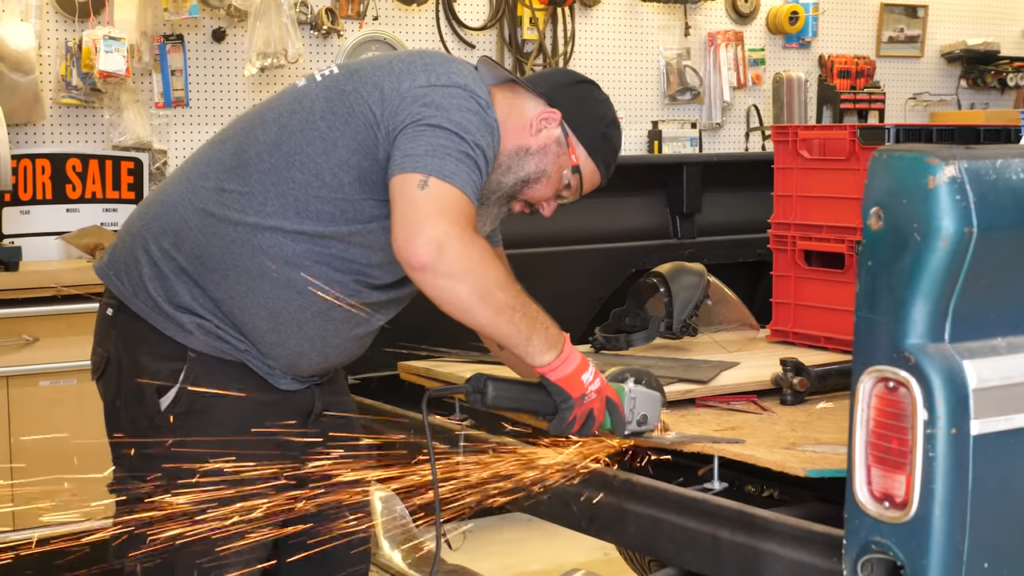
Which worked. Except I had a problem with the stop, and ended up with a bunch of uneven cuts, and ruined the first leg. I gave the table saw a try, but I didn’t feel comfortable with it, and ended up cutting them with my HART Circular saw. That worked great. And as each notch was finished, fitting the 2x4s in was super satisfying.
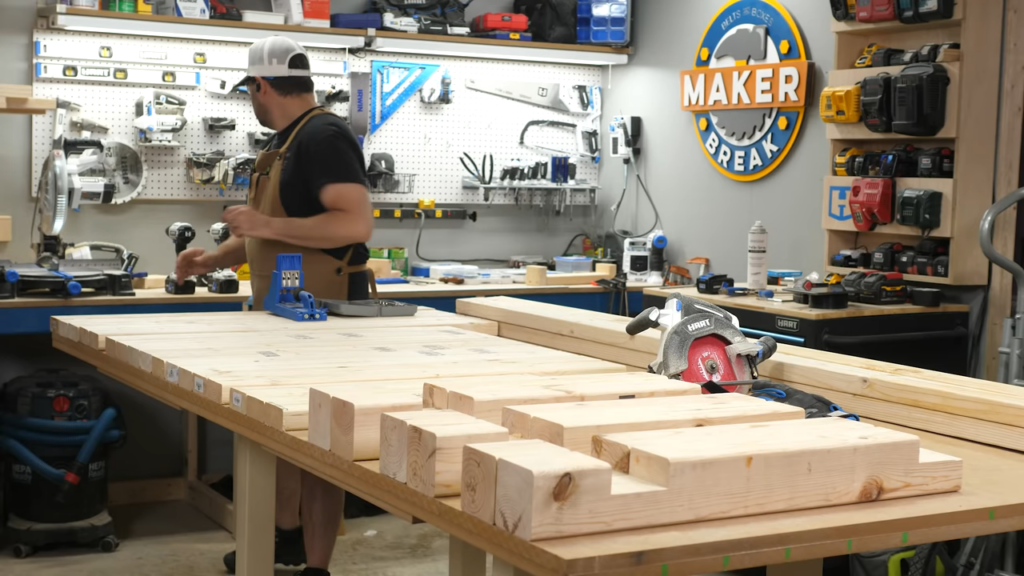
After I finished the legs I cut all the 2x4s to length. At that point, I had all my pieces ready to go and it was time to get started with assembly. The first thing I did was make all of my pocket holes in the cross supports and stretchers. Besides being easy to do, the pocket hole screws do a great job of pulling the pieces together, so all of my measurements will be as accurate as possible.
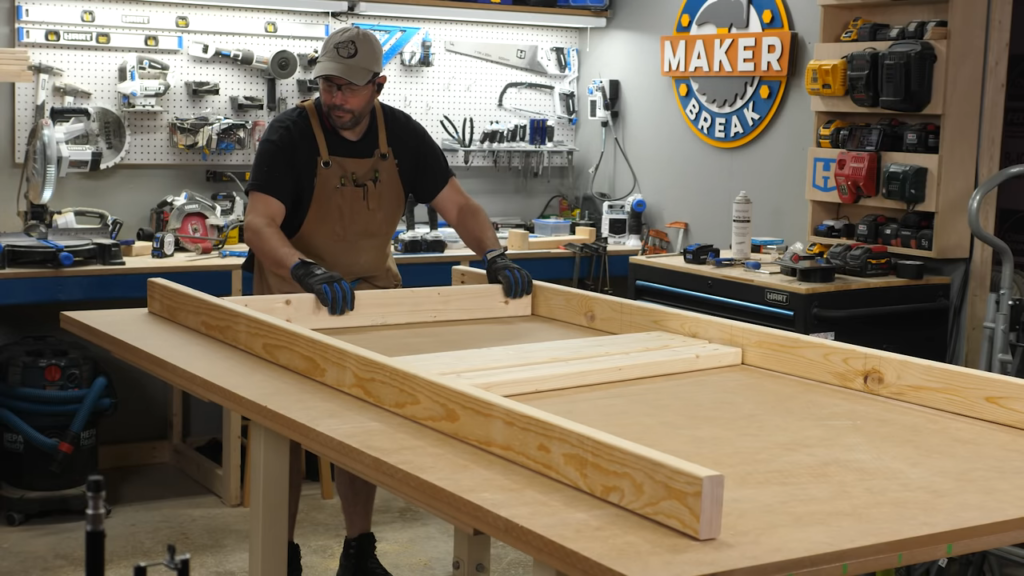
Next I laid out the top of the frame on the table. I’ll be building the frame upside down, to make sure the top of it is flat. When using pocket hole screws, it’s always best to clamp your pieces together. I used this Bessey corner clamp, and it worked great.
Once the top was screwed together, I measured out the locations for the legs. I have an extra pair of legs in the center that will help support the saw. After making sure the legs were square, I screwed them in place. Then all I had to do was hammer the stretchers into the notches, and because my measurements were right, the fit was tight, and everything was square!
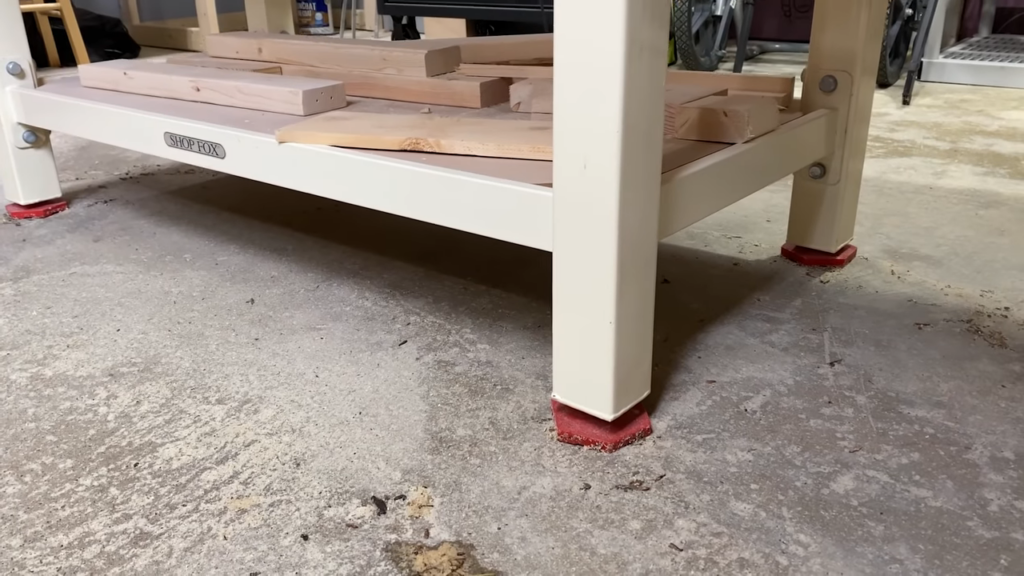
This, is when I ran into my first problem. Our current bench is made up of these metal legs (The following will all be cell phone footage I’ll put in a separate folder) from Shopfox. I’ve had these legs for over 10 years. They each have this awesome oversized adjustable foot in a hexagon shape that makes it really easy to adjust with your foot while you lift up the table.
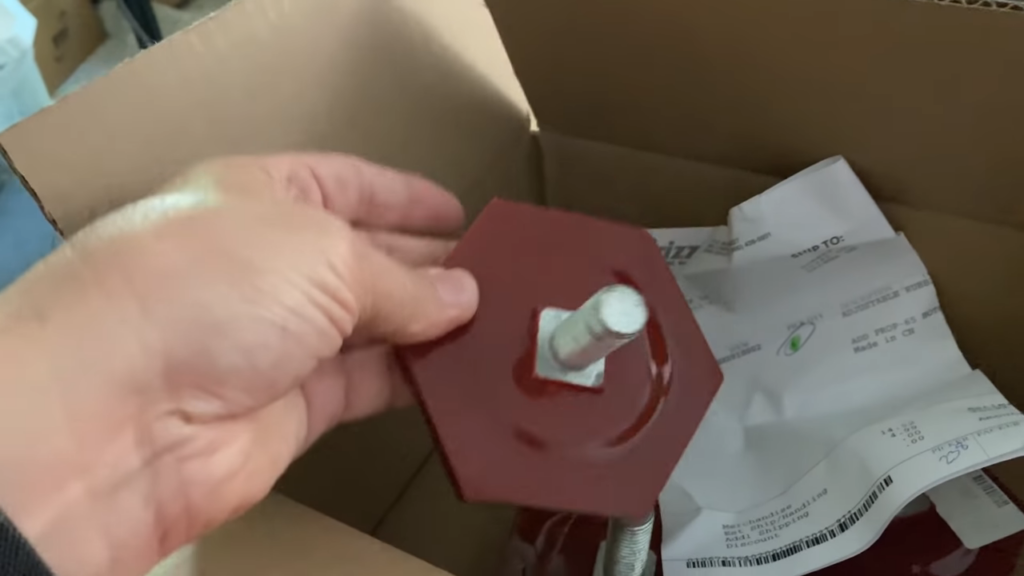
I wanted these same feet for the new bench, for this same reason. So I reached out to Grizzly, and they sold me 6 more of these feet. But now, I had the feet, but at 16mm, I struggled to find any threaded inserts or t-nuts that would work.
Man I was glad I could use those feet. But if Jake had not offered to weld up a solution, I would of had to use something else. So again, thanks Jake! Now next week I’m going to show you how I made the table top out of 4 layers of MDF, fit the M18 table saw in it, and take it out for a drive. So be sure to subscribe so you don’t miss it!
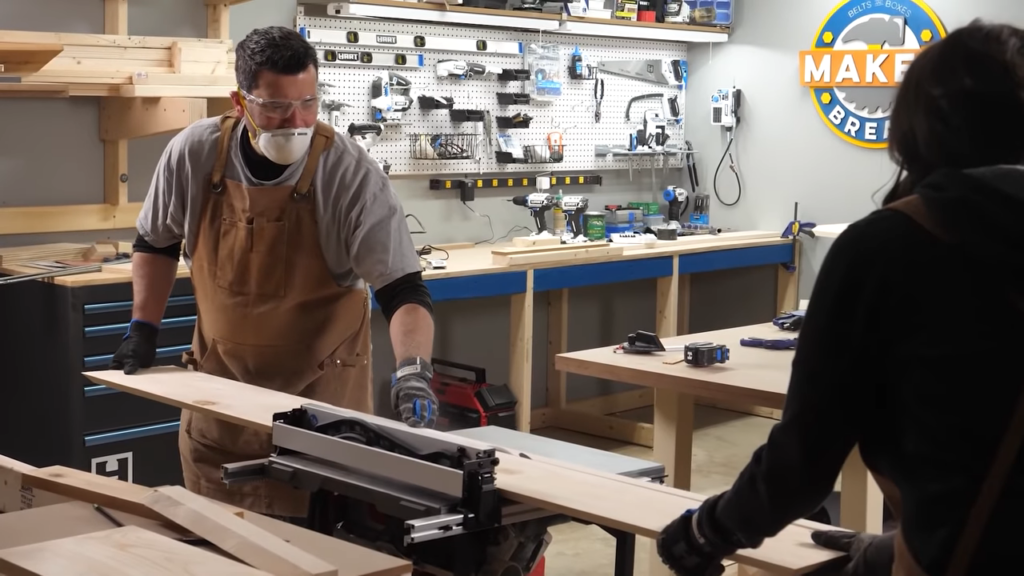
Meet A Maker
Ok it’s time to Meet a Maker! This week, we have a return visitor. Ethan from the Build with Ethan was on our very first episode before we moved on to the Meet a Maker interview format, so we asked him back to fill in the blanks. Be sure to watch the video above for his full interview!
Our Favorite Maker Videos!
Moving on to some of our favorite maker videos of the week we have Sadie, also known as the awesome orange who made a bed fit for a king! Sadie loved an earlier wood carving project so much she decided to make a matching bed to go with it! Of course that meant about 900 hours of doing this This is sweet!
Alexandre Chappel decided to toss out his Ikea saw horses, and make this awesome folding set of his own, and even made this cool rack that holds all 4 of them right against the wall.
Look at that. LOOOOOOK AAAAAT IIIIIT. It’s so pretty. And Brian Benham walks you through making it step by step! Unfortunately for me, he uses a bunch of big boy tools that we don’t have yet. YET.
Alright gang that’s all we’ve got. If you saw a Maker Video that should have been mentioned, do us a favor and link it in the comments below. If you link it, we’ll watch it! Thanks to HART for sponsoring this episode and reminding us that we can build anything we can imagine if we #doitwithhart. Be sure to like and subscribe so you don’t miss a thing! Alright break’s over, let’s make something!

