

This week I upgrade our IKEA shoe rack with a few strips of pine, and I find time to help fix my daughter’s baby doll stroller with a pair of sticks and a dowel. After that we’ll look at a few of our favorite Maker videos of the week, but first It’s time for a Maker Break!
Hey guys I’m Rob, and this week both my daughter and I got sick, so Sarah couldn’t come to the studio, and I’m on a bunch of cough meds, so… this’ll be a bit weird. My wife asked me to build a butcher block countertop for a new island in our kitchen, sometime later this year. Until then, we have this IKEA shoe rack on a wall at the entrance to our kitchen, that she thought could use a matching top. I figured it was the perfect place to practice. But before I get to that, my daughter came to me with a… small problem.
This Week’s Project
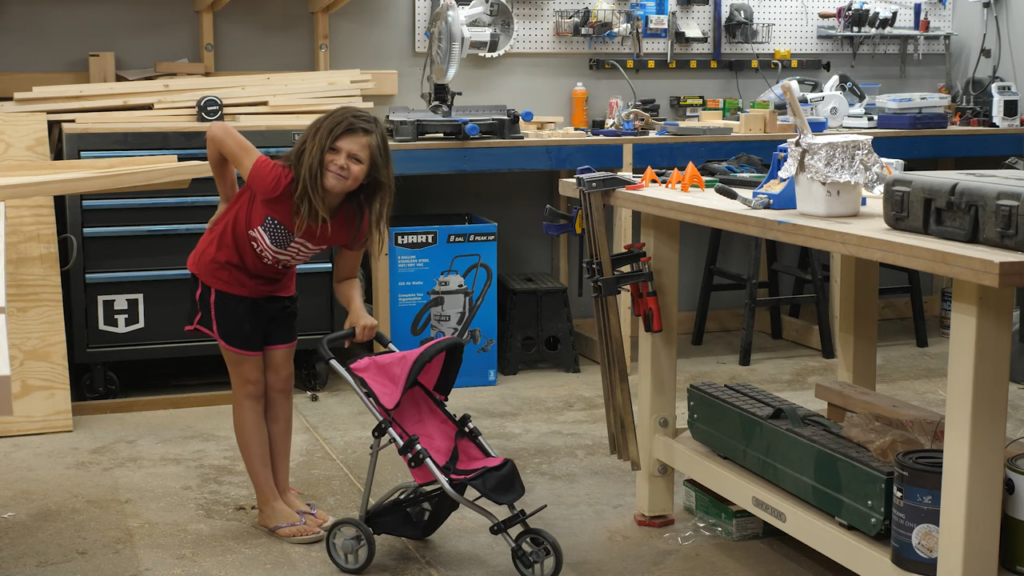
My daughter Kaylee had some money to spend on Amazon from her Uncle Blake. She chose this adorable stroller for her American Girl doll, but didn’t realize how short it would be. It was super uncomfortable to push around, and she thought I could help.
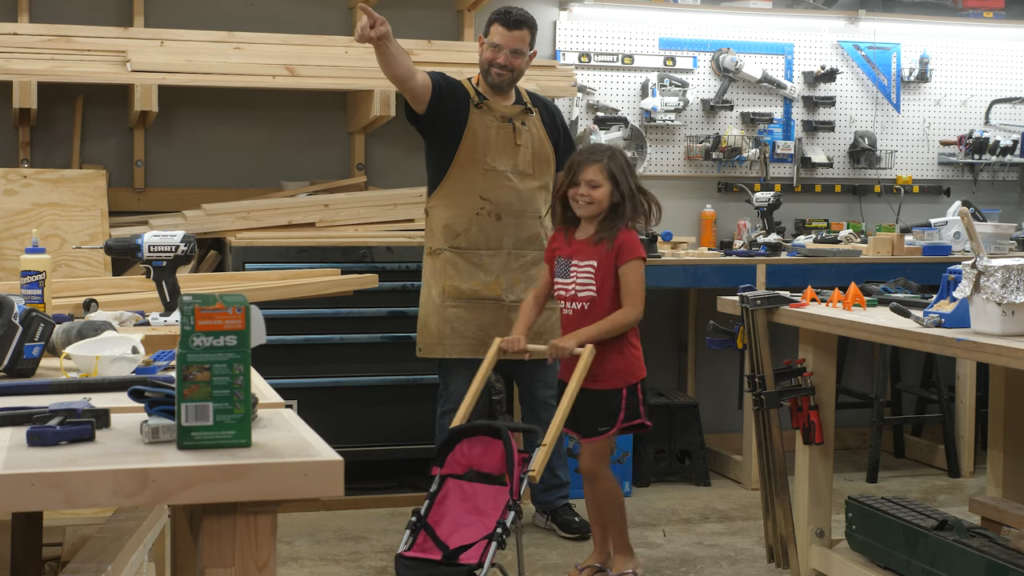
You know, I spend a lot of time in my shop, just like you probably do. It’s nice to bring our kids into this world when they can safely help. But once in a while, our ability to build anything we can dream up, is a great opportunity for us to help out our kids, and be super Dad at the same time.
It doesn’t have to be complex or perfect, but if you have a chance to make your kids life a bit easier or more fun, I highly recommend you do it.
There ya go kiddo… now OUT with you. Daddy has to do the youtubes!
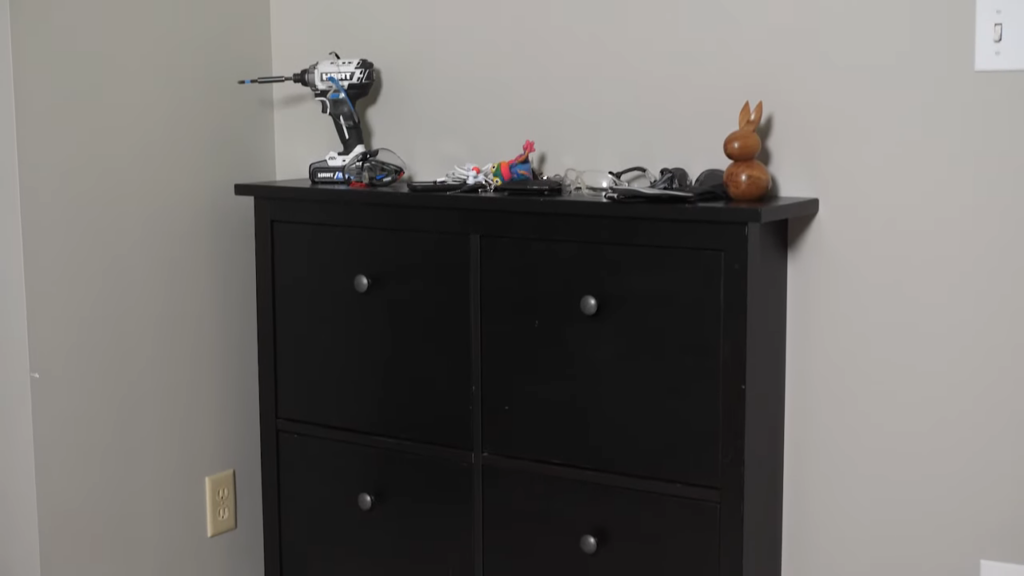
Alright, this butcher block top. The IKEA shoe rack has a simple black top where we dump our keys, wallets, safety glasses and impact drills. You know, like normal people.
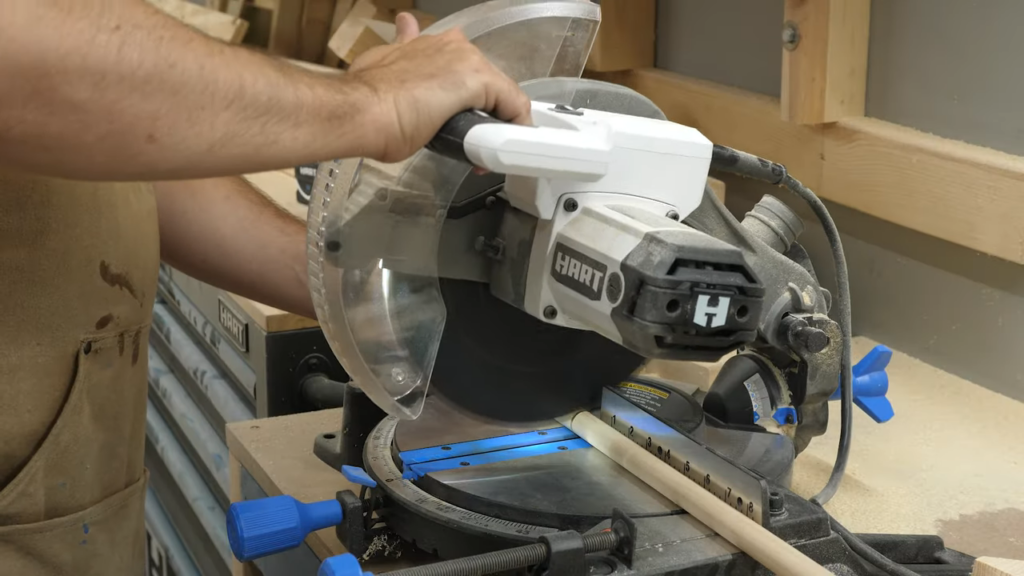
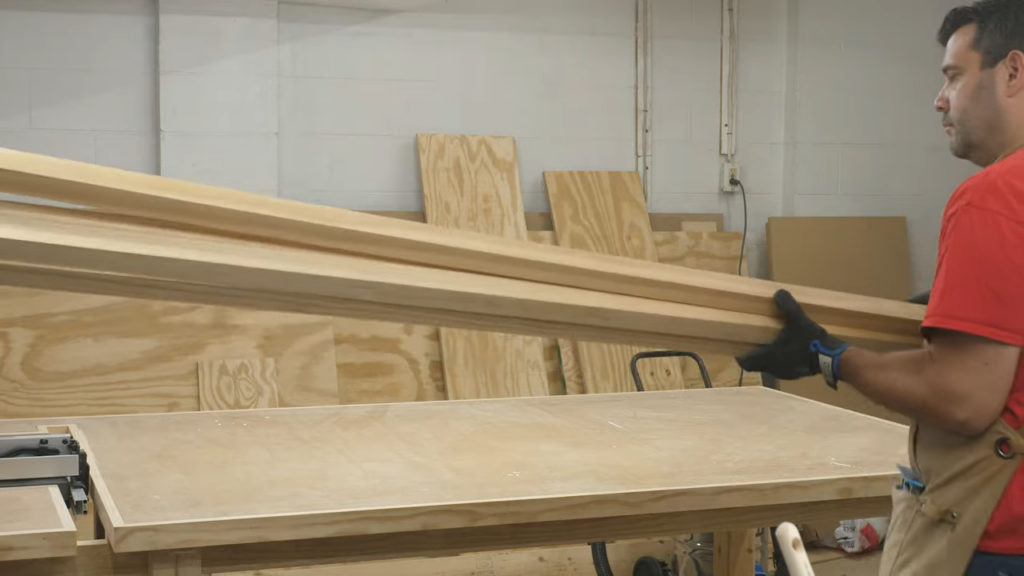
As I mentioned, my wife wanted me to make a butcher block top for it, so it would match the island he’s convinced I’ll build later this year. So to do this, I started off with some pre-milled pine 2x2s. These are NOT cheap. But I don’t have a planer, so this was my best option. I was able to build the top with just three strips at $8 each, so $24 isn’t too bad.
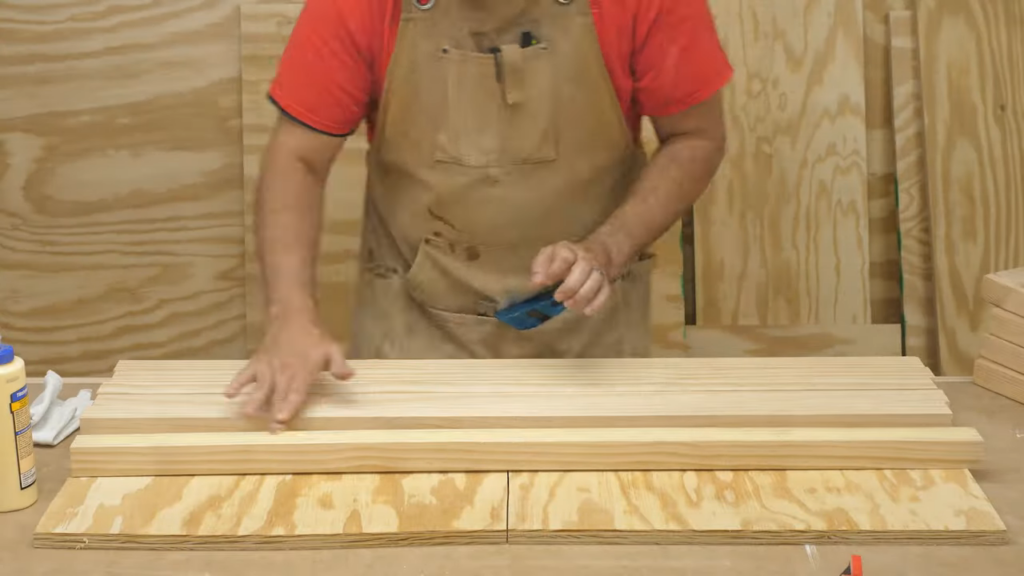
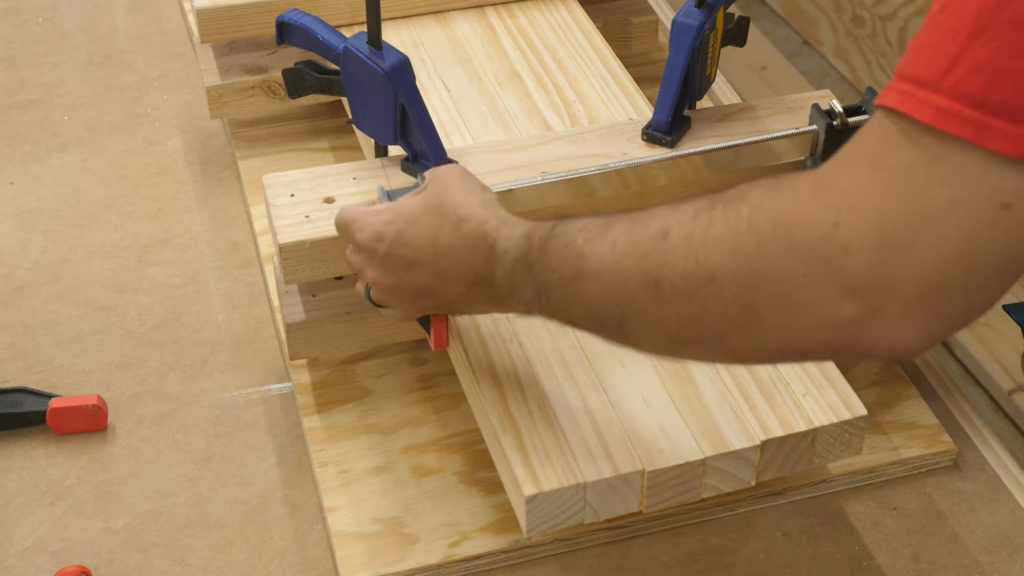
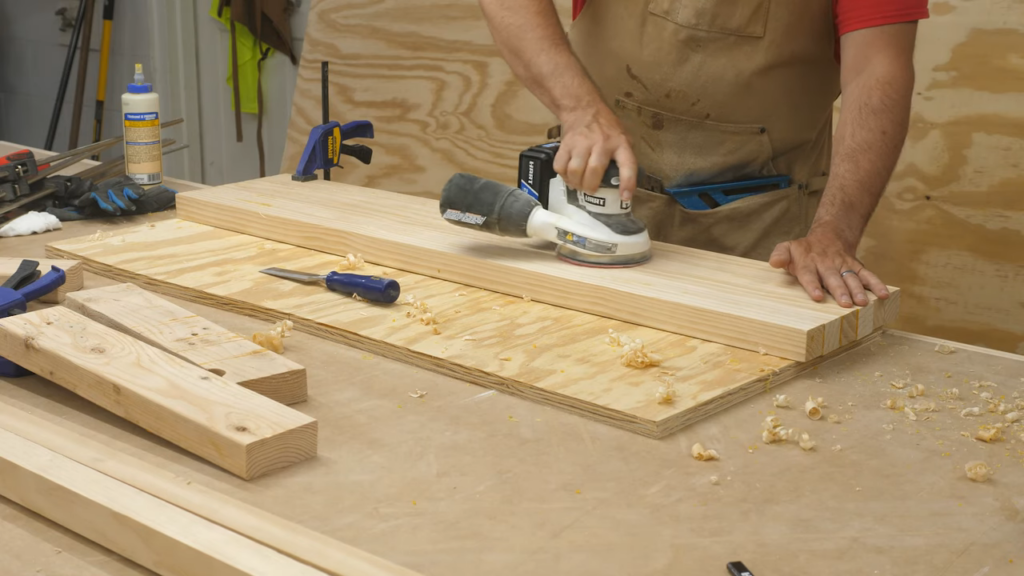
After cutting them slightly larger than I need, I laid them out so the grain looked pretty, and started gluing them up. This is where you want a TON of clamps. Which I don’t have. So I did the best I could to flatten them out, and then clamp them together. Man I wish HART made clamps. You hear me HART!? Make clamps. After the glue dried, I needed to get the excess glue off, and smooth out the top.
I bought a block plane. Which by the way, NOT the plane you’re supposed to use for flattening a large surface like this. But it was $20, and I wanted to play with it. I didn’t shoot that part, because I have exactly zero wisdom to dispense in this area. It… didn’t go well. But that’s why you’re watching me sand this down, which is how I eventually got it flat and smooth.
After that I cut the ends to length, and then applied a clear water based finish to match the pine mantle I built my wife earlier this season.
After that I just had to unscrew the top from the IKEA rack, and screw mine in place. And I was surprised how much nicer this looked! The contract between the pine and black painted rack was really beautiful, and made this cheap piece of furniture look… well… a little less cheap.
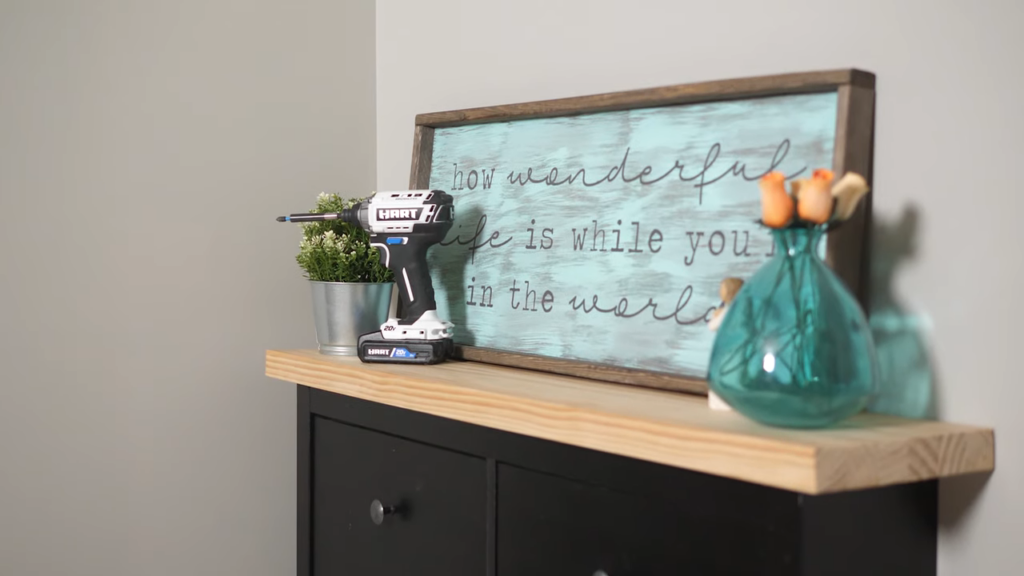
My only regret was using the really clean pine, which is so perfect, it’s hard to see the separate pieces of wood. Normally you’ll use hardwoods like Red Oak, cherry or maple, which I think would give you a more varied look between pieces. But Hey, the wife is happy, so I’m happy. Now when I build the island, I’ll have to seal it with mineral oil, which is a whole other process.
Favorite Maker Videos of The Week!
I’m not going to lie, I’m still feeling under the weather, and it’s taking all my strength to keep this smile on my face, so I’m going to point to just a couple videos we liked this week, then I’m going to wrap this up so I can go pass out for a while. I hope you understand.
First up, Johnny from Crafted Workshop has an amazing miter station, and shared a video this week where he made 3 huge upgrades to it, making it even more amazing then the miter station I’ve never built.
Jonathan Katz-Moses built this insanely cool custom wood mallet for and equally cool kid in Ukraine named Vlad. This is an amazing story you need to see, so go watch it.
And Steve Ramsey has a really fun build contest running this weekend that you can participate in as well, assuming you’re not hyped up on cough medicine like I am.
Alright Maker Friends, that’s all I’ve got. If you saw a Maker Video that should have been mentioned, do us a favor and link it in the comments below. If you link it, we’ll watch it! Special Thanks to HART for sponsoring this episode and reminding us that we can build anything we can imagine if we #doitwithhart. Be sure to like and subscribe so you don’t miss a thing! Alright break’s over! You go make something. I’m gonna go to sleep.

