
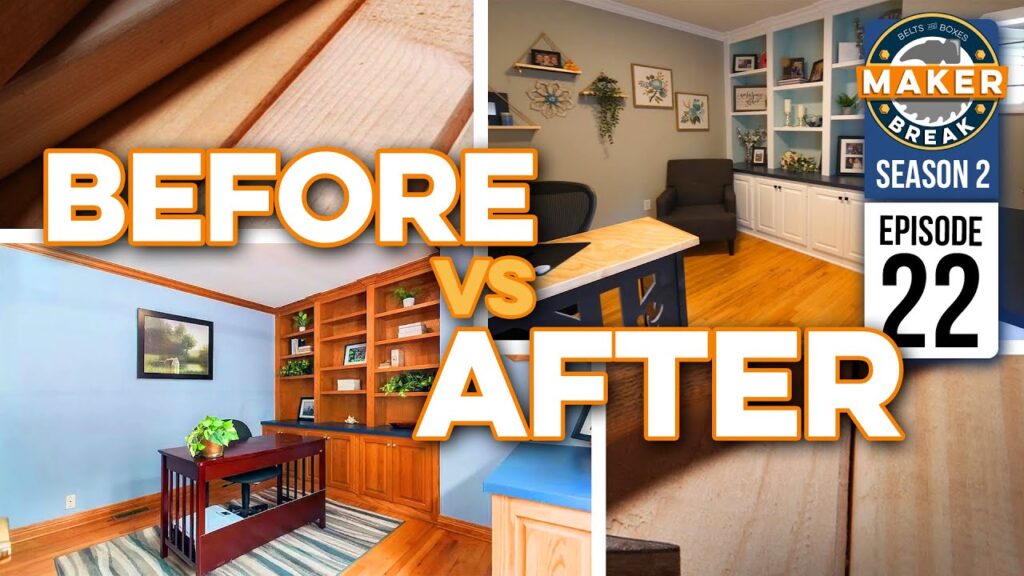
This week we finally wrapped up Jen’s Home Office Makeover. This has been a fun SIX month project in the making. Here’s how it went!
Over the last year we’ve built a lot of projects for Jen’s office, we started by building her this corner desk. She wanted something that would allow her to see out the window, while leaving plenty of space in the office to move around. Jen had this great idea to cut out a design on the front of the desk, and for fun, we ended up cutting her name in it too, which turned out great. Of all the projects Sarah and I have completed for her, this turned out to be a favorite.

Next we replaced the old boob light with this modern low profile led model, that allowed her to choose from a range of color temperatures, and she settled on a warm white.
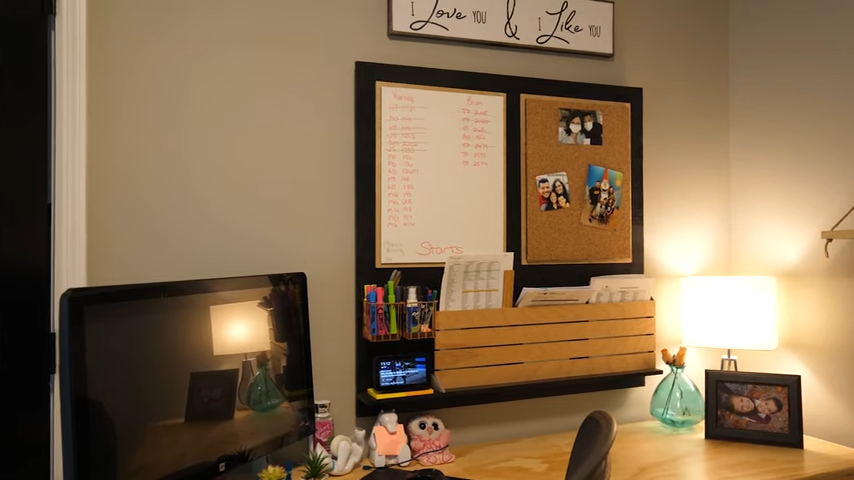
Soon after that she asked us to help get her organized, so we built this wall organizer for over her desk. It holds documents, pens, and even her Amazon Show, which she uses to watch Shitts Creek while she works. The cork board gave her a great place to show off some photos, and the marker board helps her keep her work in order.
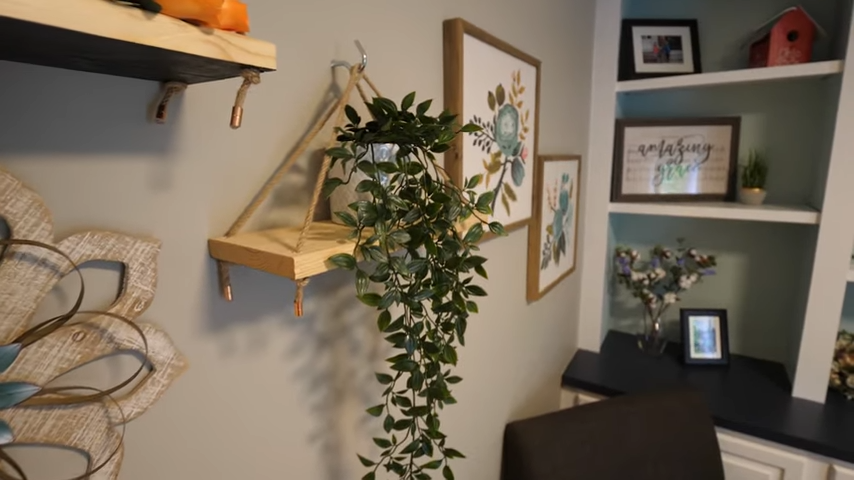
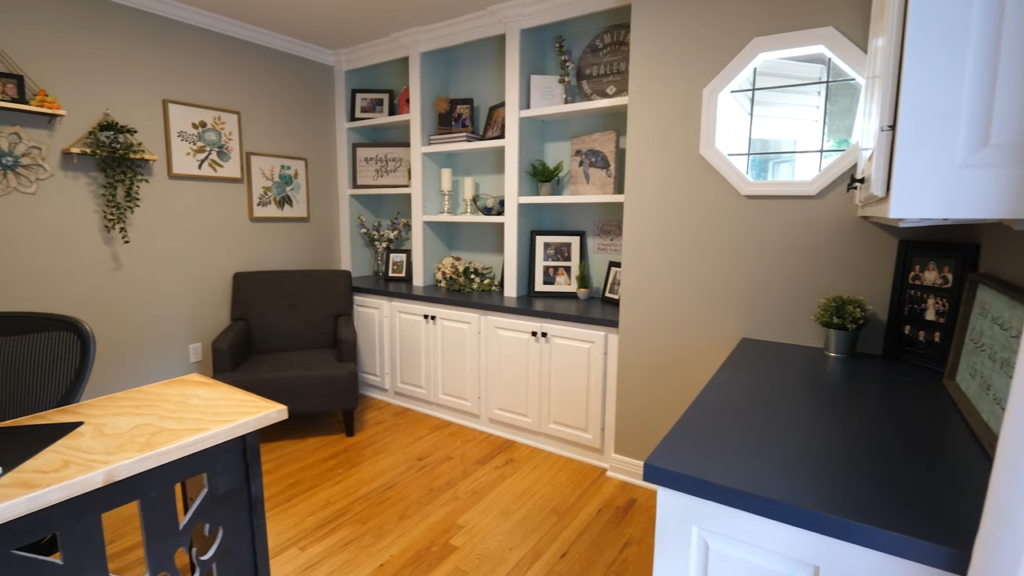
Just recently she had us build these rope shelves, which were a great addition to the big blank wall behind her, and then Jen got to painting! She wanted to get rid of all that red woodwork, and painted the cabinets and trim a white, and the insides of the shelves a light teal. After a bit of decorating, there were only a few details to take care of today.
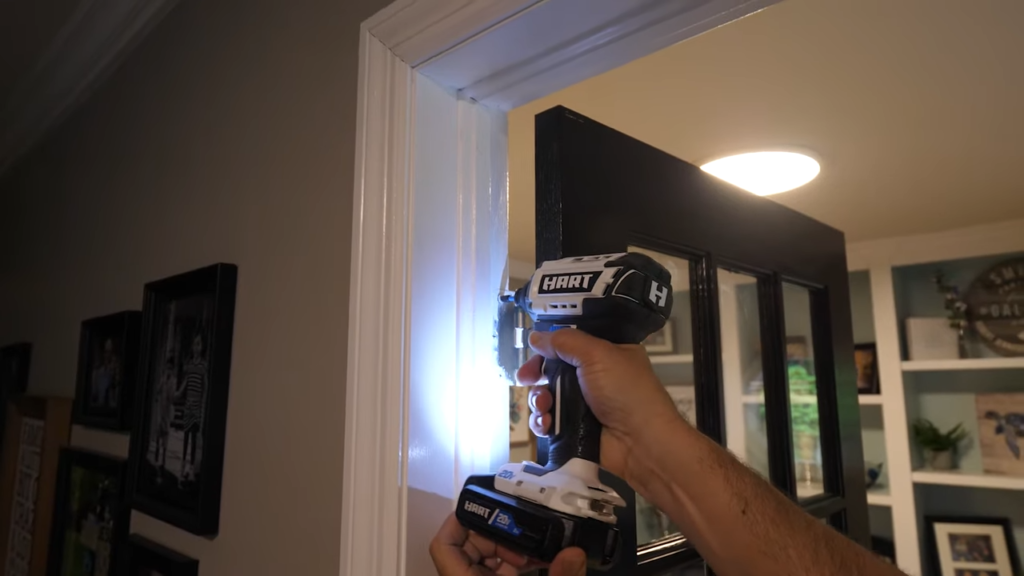
We started by replacing the hinges on the french doors leading into her office. She had painted the door black too, so these hinges would look great. It’s really easy to do this. You simply open the door up, and unscrew the old hinges, one at a time, and then replace them with the new ones. We did that for all 6 hinges, then moved on to the door handles.
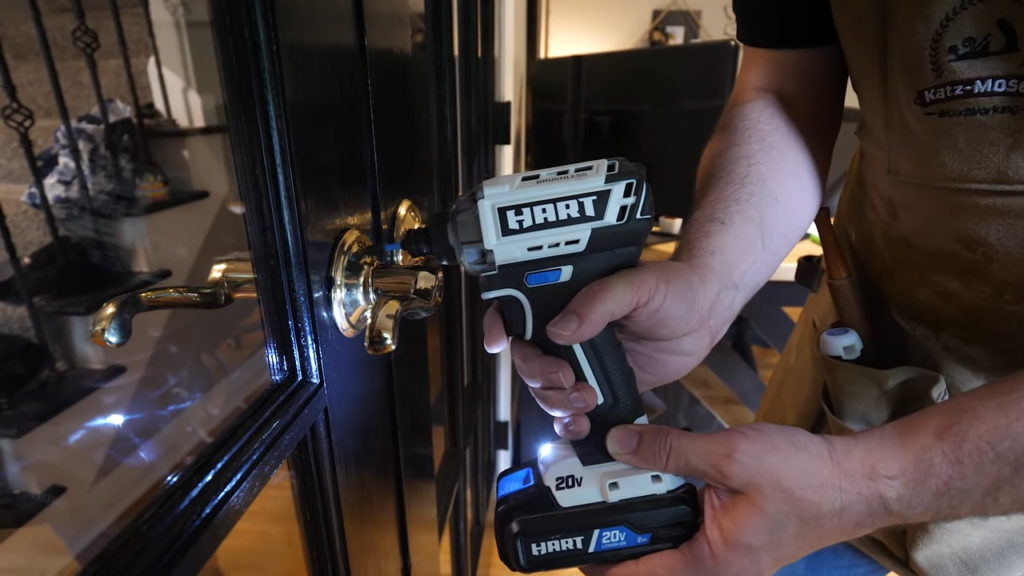
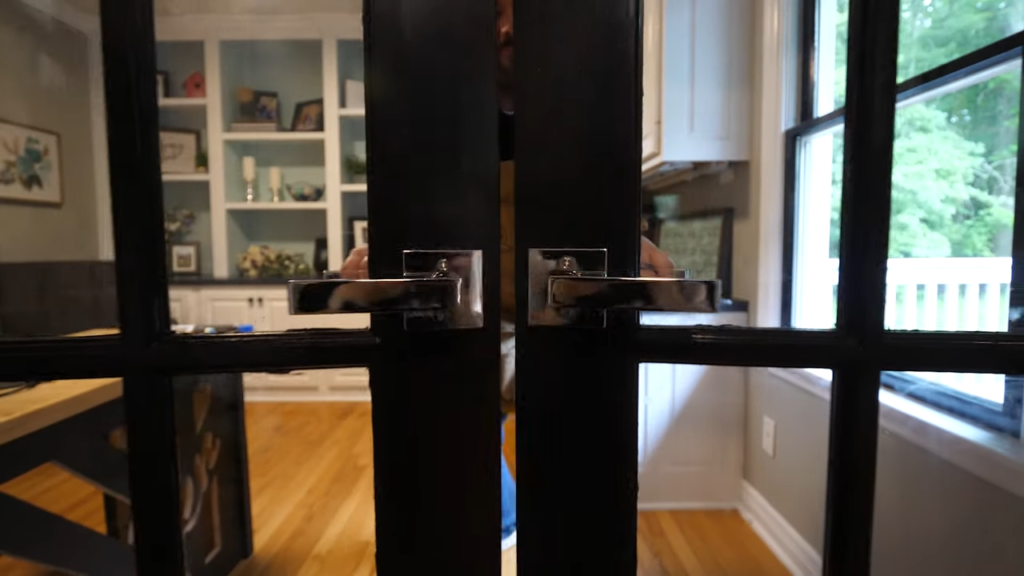
They previously had these outdated brass handles, and Jen found these modern chrome ones that would stand out on the door. Jen’s replacement handles had screws in the exact same spot, so they were easy to swap out.
Finally, she wanted us to put up some light curtains. To do that we grabbed some mounts and a rod from IKEA. I’ve installed a ton of these, and they’re really easy. First I grabbed a few screws and drywall mounts. These probably weren’t nessesary to hold up such a light rod, but they’re cheap, easy to use and so much stronger.
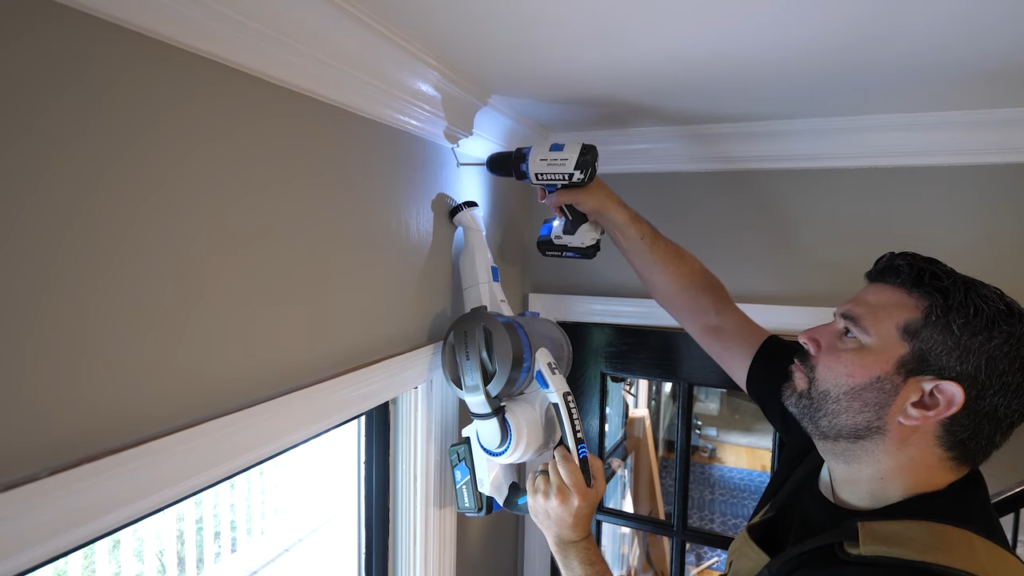
I didn’t need to level these, as Jen wanted the mounts to butt up into the crown molding. So I held them in place, marked the wall, drilled a hole for the drywall mount, slid them in, and screwed them up. The mounts come with this plastic cover to hide the screws which is nice.
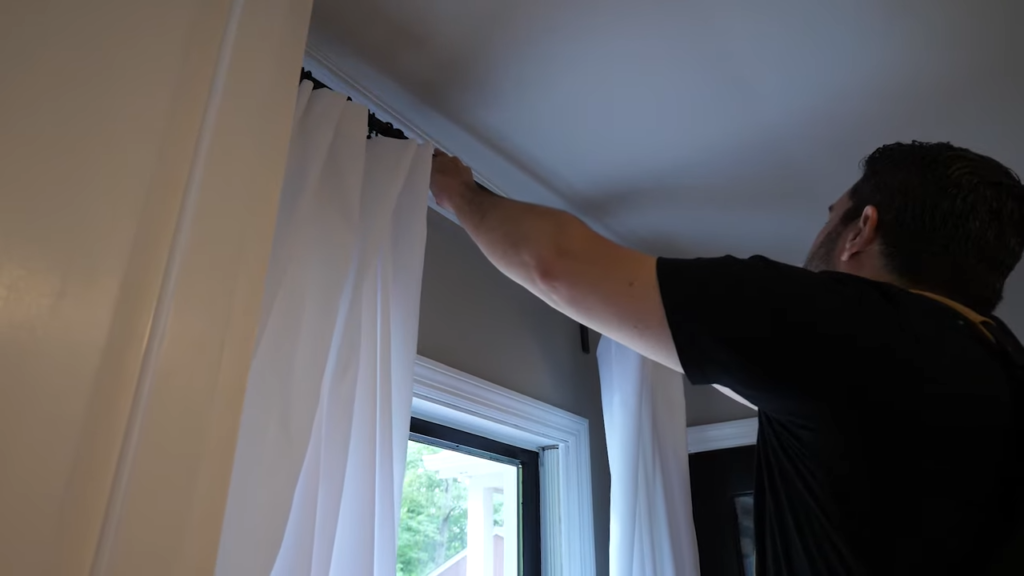
Next I screwed on the hooks, and finally put the rod in place. Then you just slide the rod back in place, and twist the thumb screws on top to keep it in place… and with that, Jen’s office was done.
With a few creative projects, a lot of painting, and my wife’s sharp eye for design, we were able to turn this…. Into this…

