
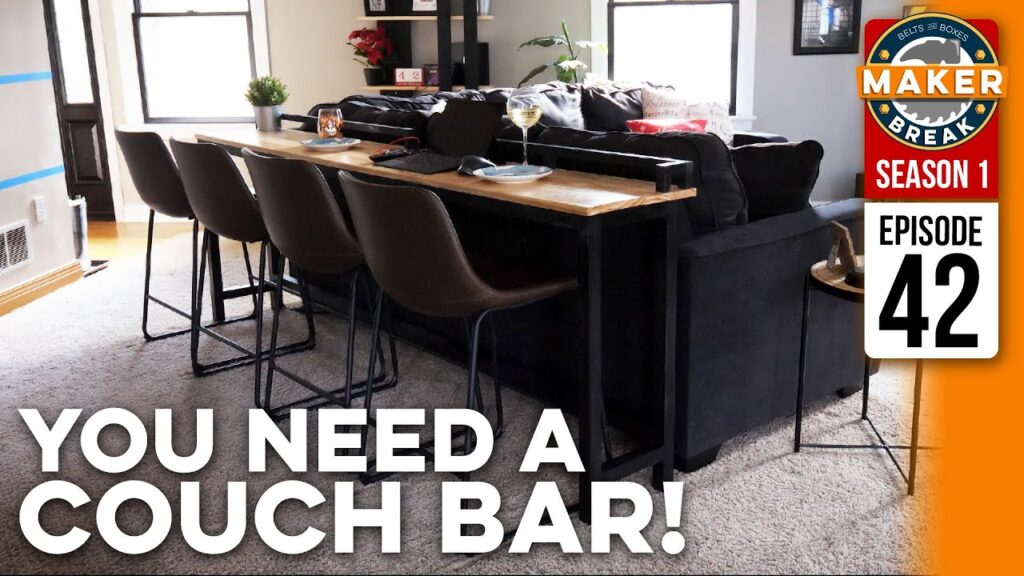
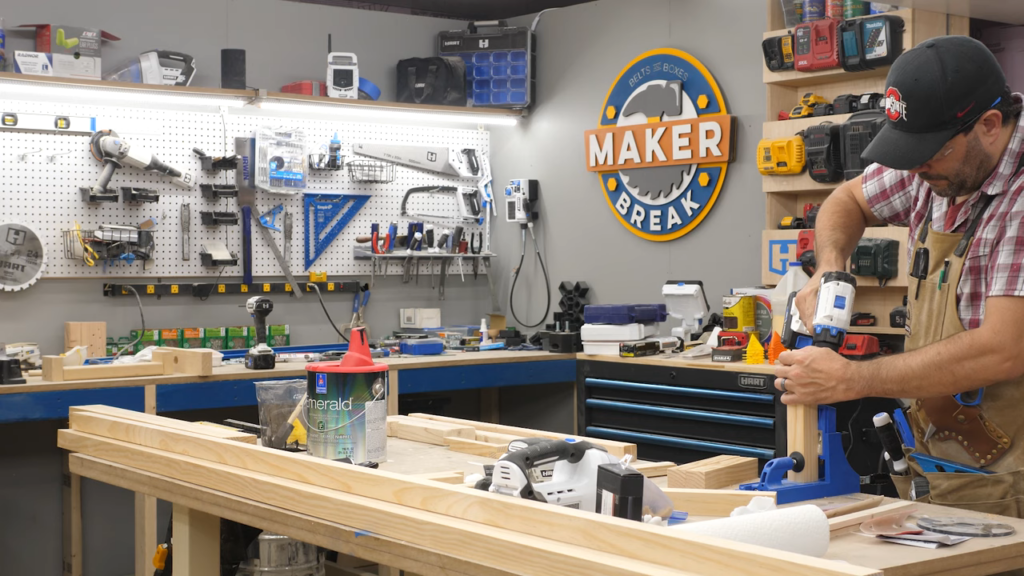
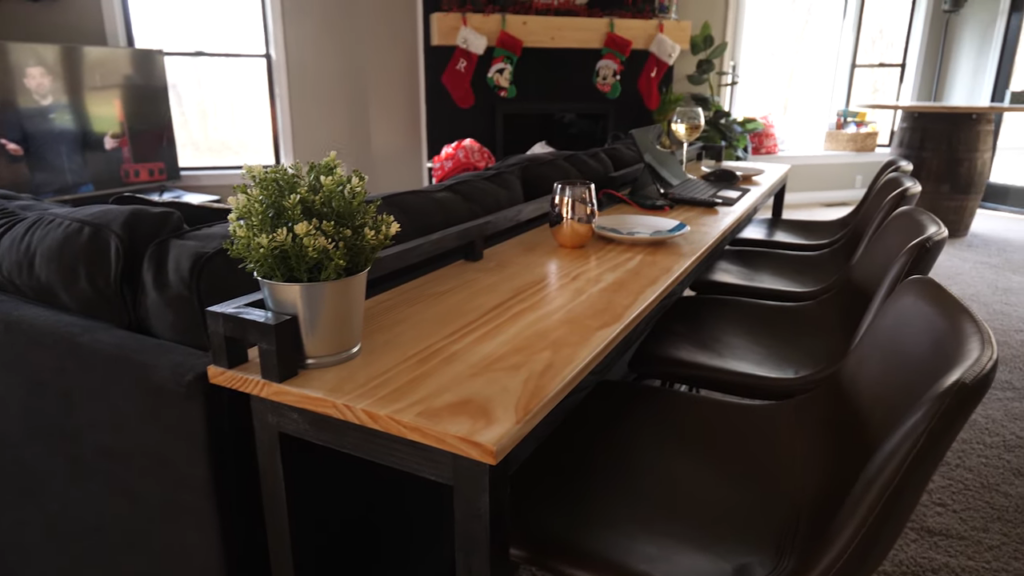
Hey guys I’m Rob, and this week my wife asked me to make a narrow table that would live behind our couch, and give us a place to sit and eat or use a laptop or whatever while we watched tv. This idea I liked. Here’s how it went.
Project Of The Week!
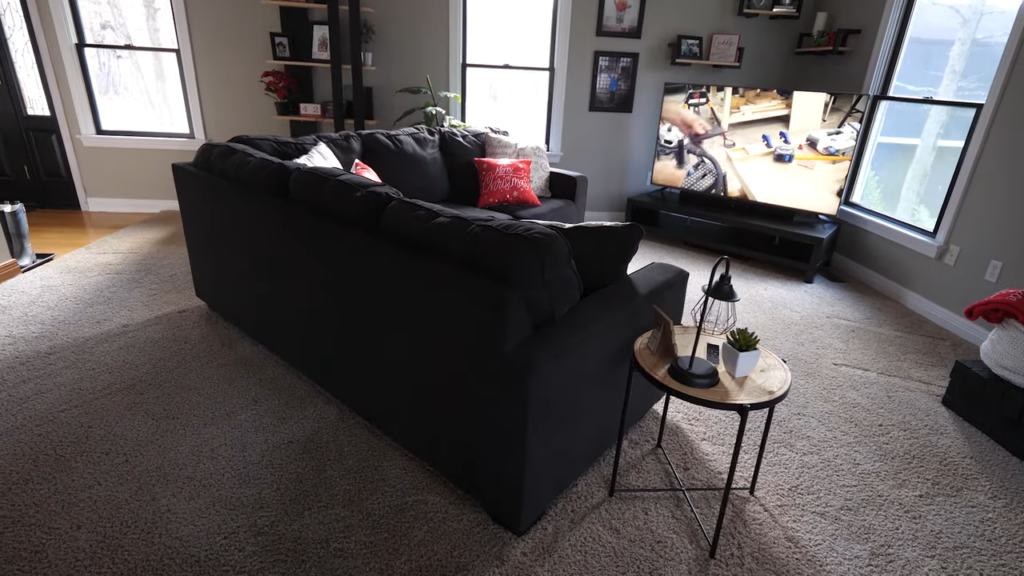
In our living room, we have a sectional couch at an angle, facing a TV in the corner. My wife asked me to make her a table that would line the back of the couch, and give us a place to sit and watch tv while working or eating. She gave me a few photos for inspiration, and I headed down to the shop.
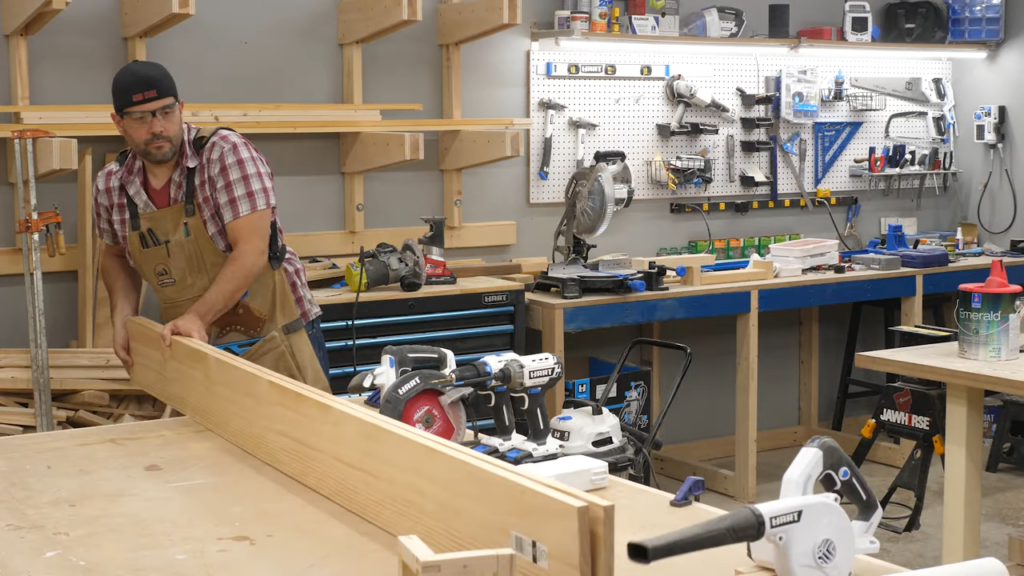
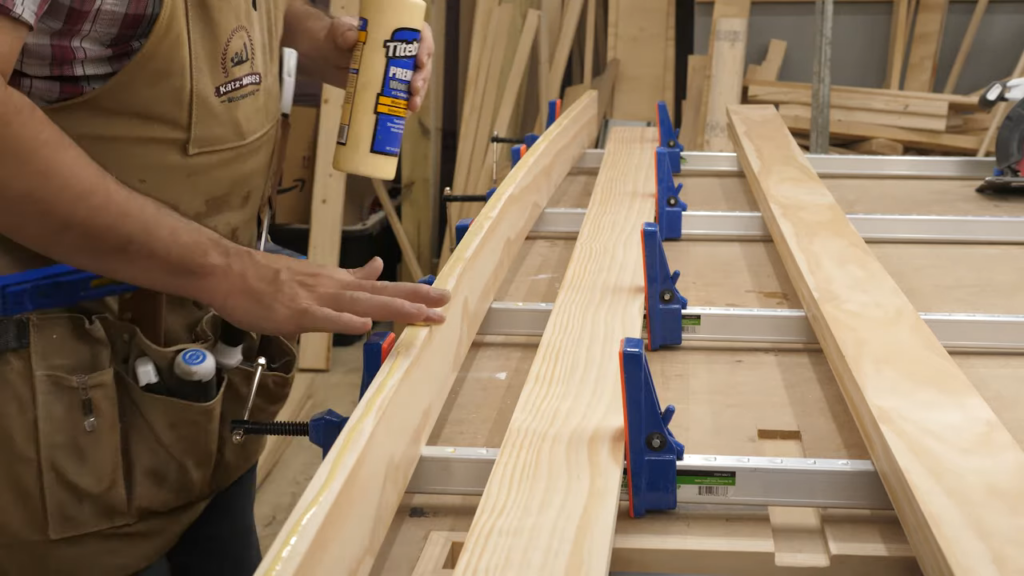
I knew the top would be 14” deep, so I figured I could take 2 1x8s and glue them together. Easy right? Well, the two pieces I got were naturally warped, and I remembered a Wood Whisperer article I read recently talking about fighting warp by alternating your grain. So I decided to rip each piece in half, flip them around and glue them back together to help keep it all flat. You can see how warped they were here.
But sure enough, I glued them together and clamped them up. It would have been nice to have a biscuit jointer here to help them stay aligned, but the clamps did a good job. I didn’t have enough clamps to glue them up at the same time, so after the first pair were done, I did the next.
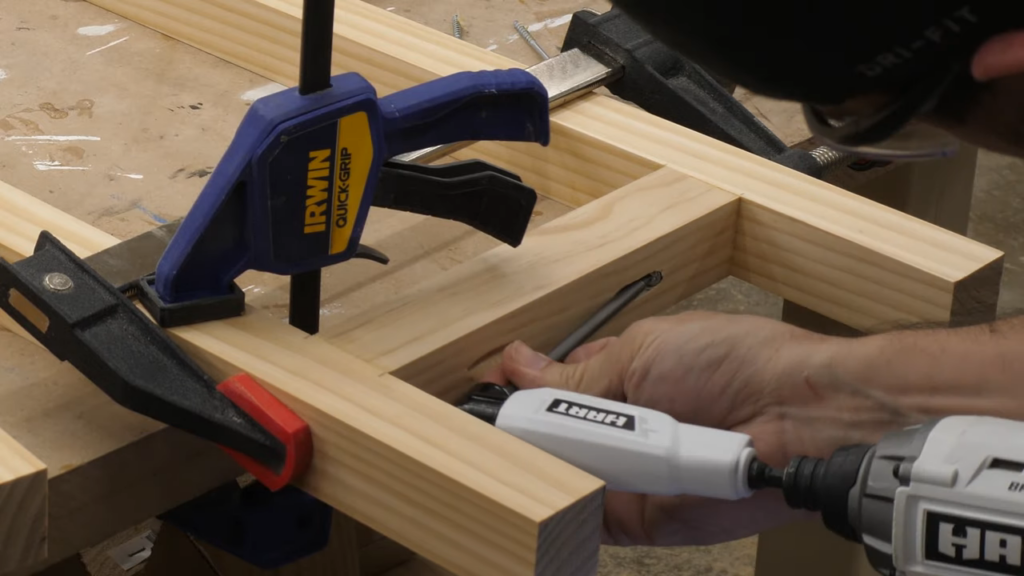
While those were drying, I started on the frame. It was made of 2×2, and I used my miter saw to cut all of my pieces. Next I put pocket holes where I knew you wouldn’t see them. I stopped to glue my full table top together and then moved on to assembling my frame.
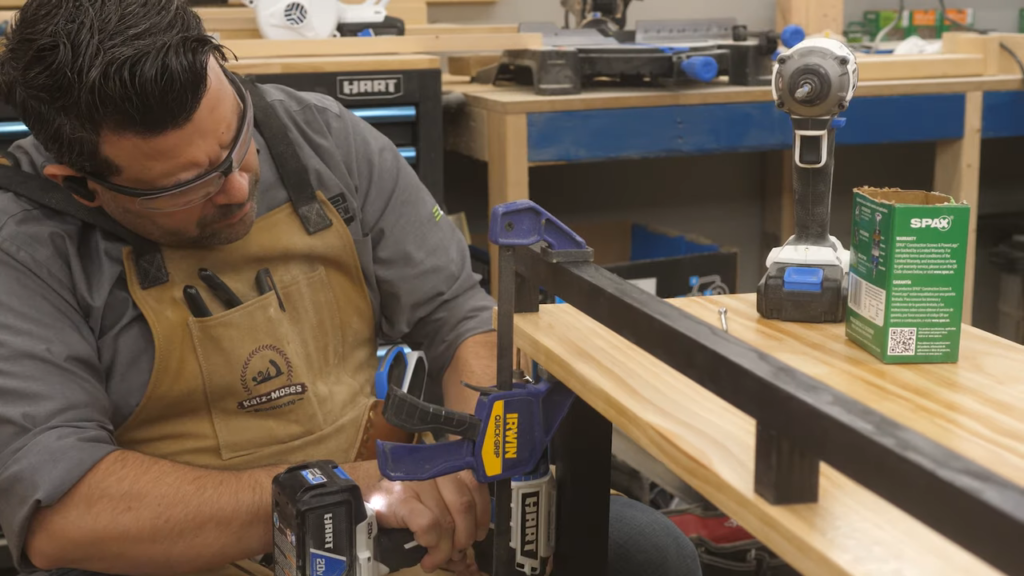
I started to glued and screwed the pieces together, only to realize my pocket holes in the end pieces were so close, that I couldn’t get a drill in to reach. Fortunately, I had this HART right angle impact adapter, that worked just great.
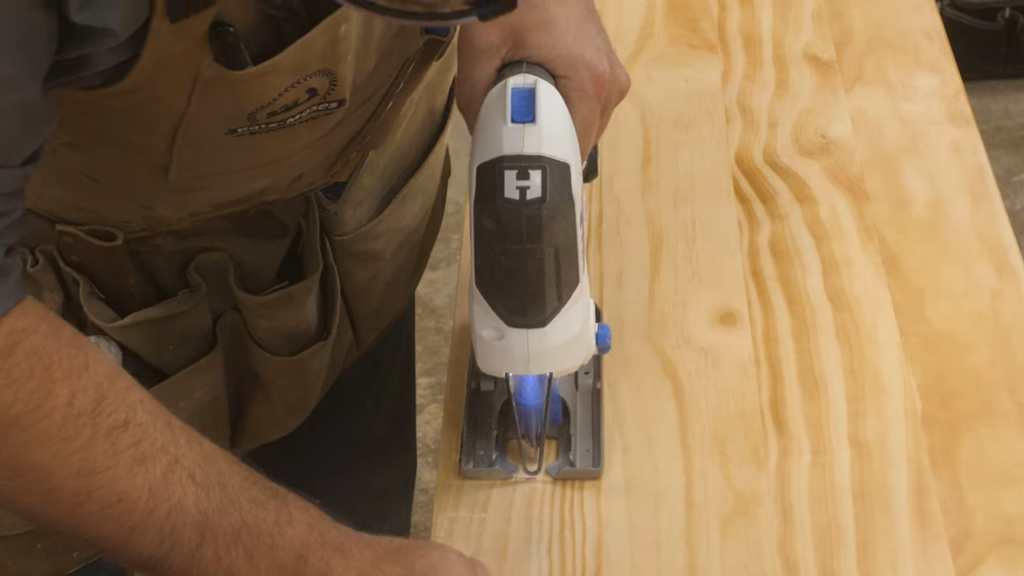
Next I went back to the table top which was finally dry, and sanded it with 80, 150 and finally 220 grit. Then I used my circular saw to cut off the ends.

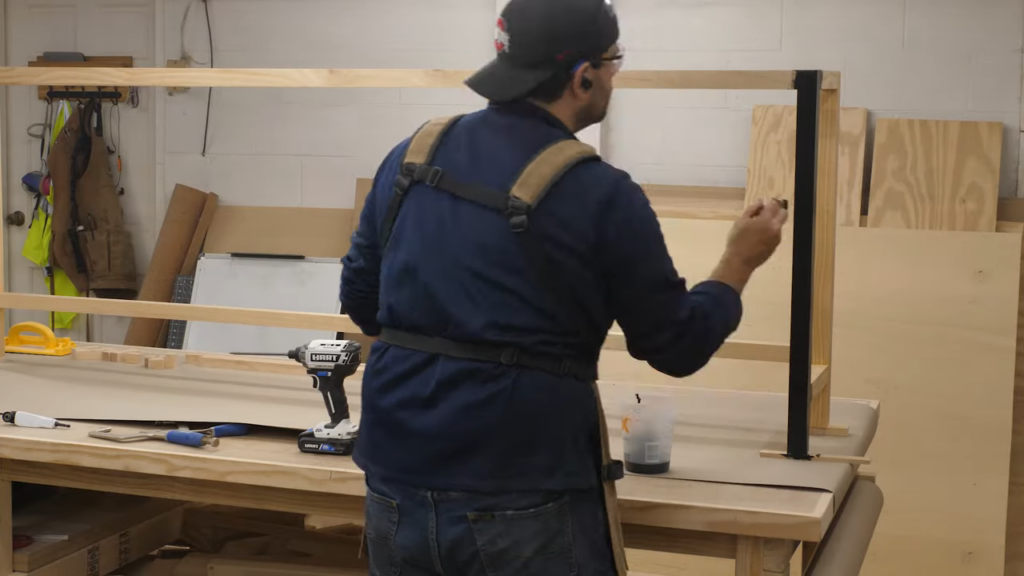
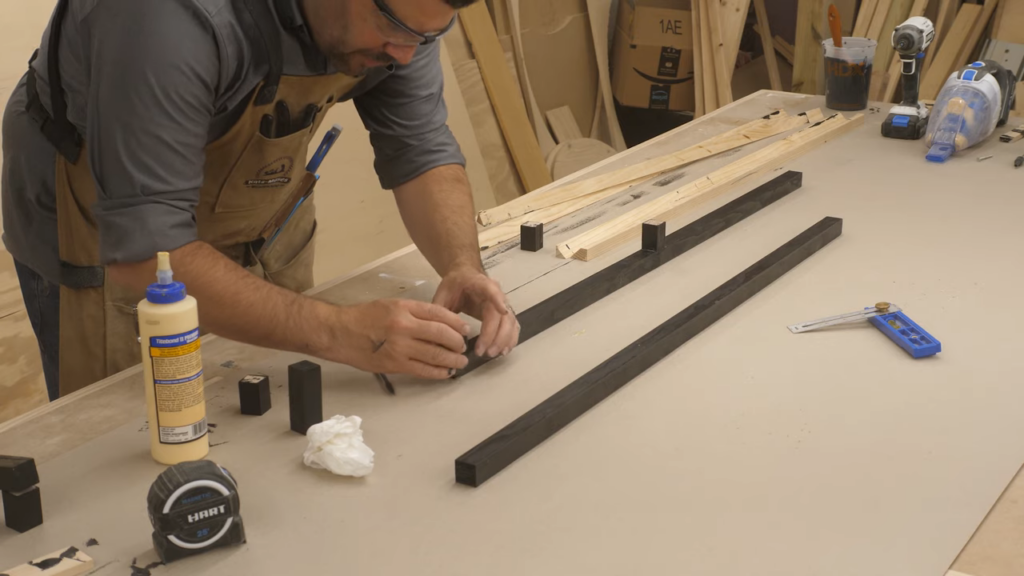
I went back to the frame and finished gluing and screwing it all together. I moved it out of my way, so I could use the table saw to rip a 2×4 into two 1×1 strips. I’ll be using these for a guard rail that should help keep drinks from sliding off onto the couch.

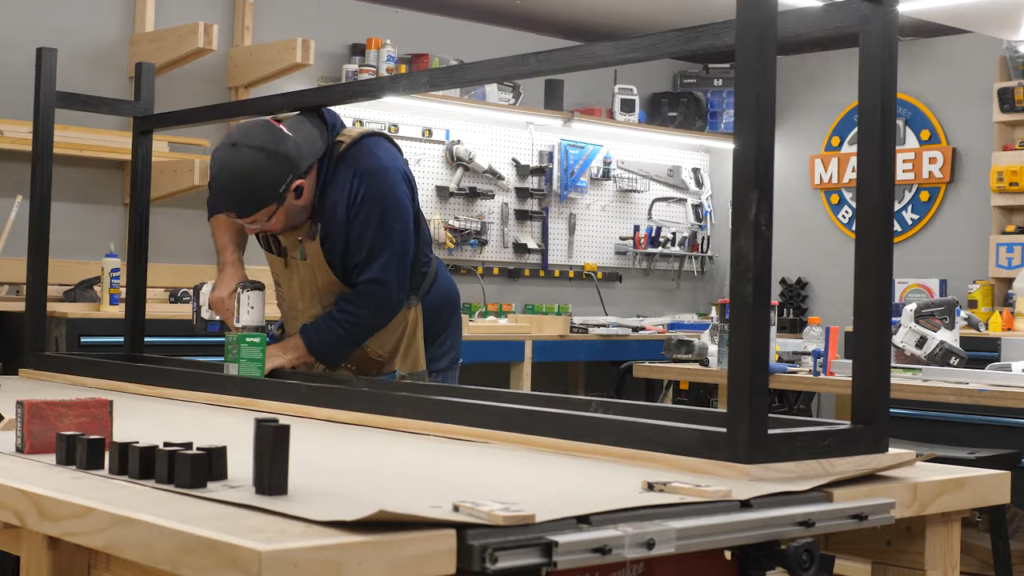
I cut that 1x1s into all the pieces I’d need for the rail. Now that I had my frame and rail pieces, I decided it was a good time to paint. The frame and rails would all be black, while the top would be the natural pine my wife has now made a major feature of our living room.
After that dried, I placed the table top upside down on the bench, and set the frame in place. This made it easy to screw the frame directly into the top.
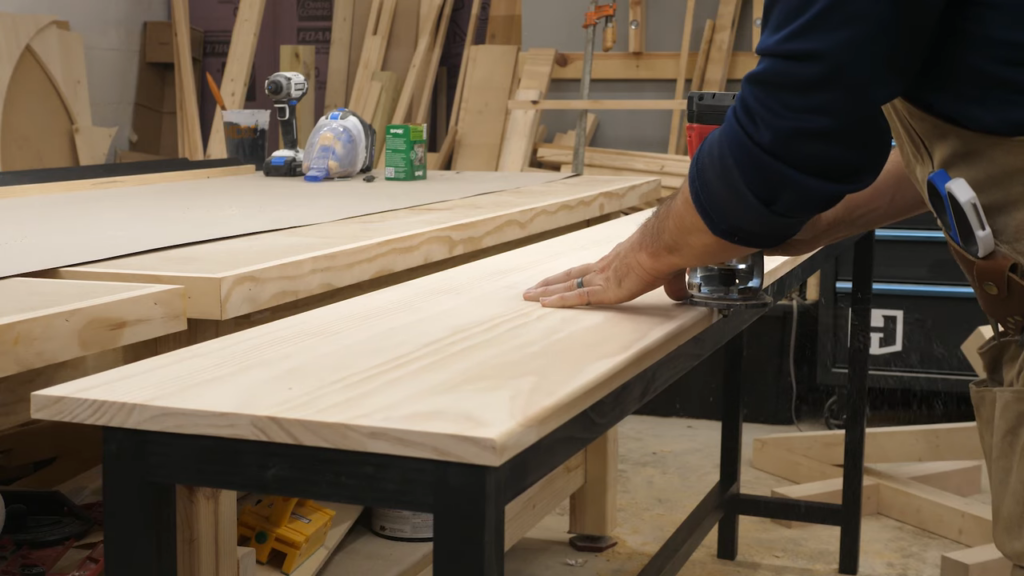
I flipped the whole thing right side up and set it on the floor. I used my trim router to round over the front edge making it more comfortable.
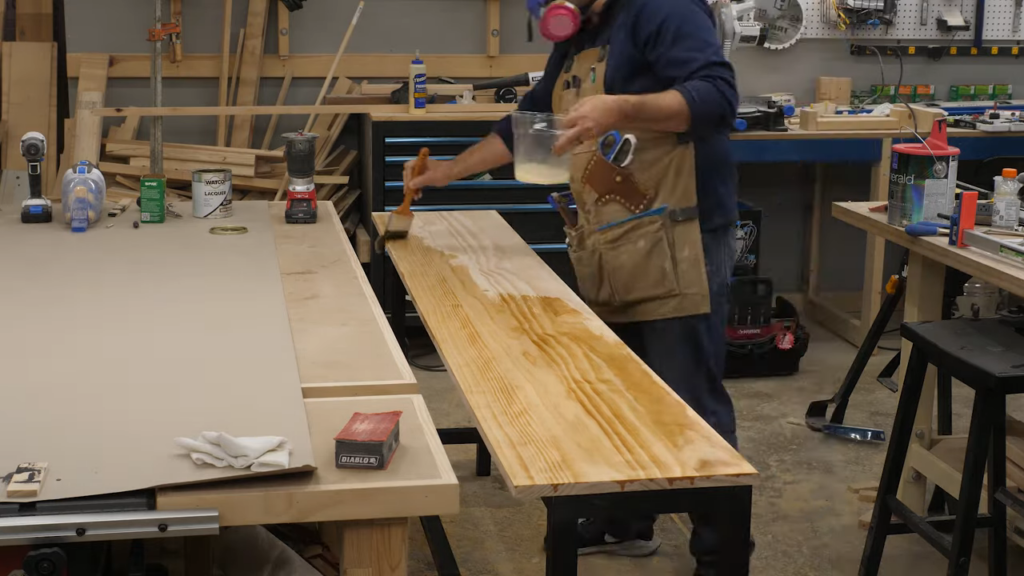
Then it was time to finish the top. I used lacquer again, like I did on our bourbon barrel table. About half way through my lungs reminded me to get a resperator.
While the table dried, I turned to my railing parts, which I simply glued in place.
Now I know this table will be used with phones tablets and laptops, and people are going to be asking for outlets, so I decided to add one to the table. I found this great recessed dual outlet with 3 USB charging ports on Amazon for only $16 bucks. To build it in, I had to measure out a hole, and then used my drill and jigsaw to cut it out. I used my trim router to clean out a bit more until the outlet fit perfectly. I screwed it into the table, and that was that.
Finally, I carefully clamped my railing in place, and then predrilled and screwed it to the top from the underside. This took some patience, but it worked great.
And with that, I was done.
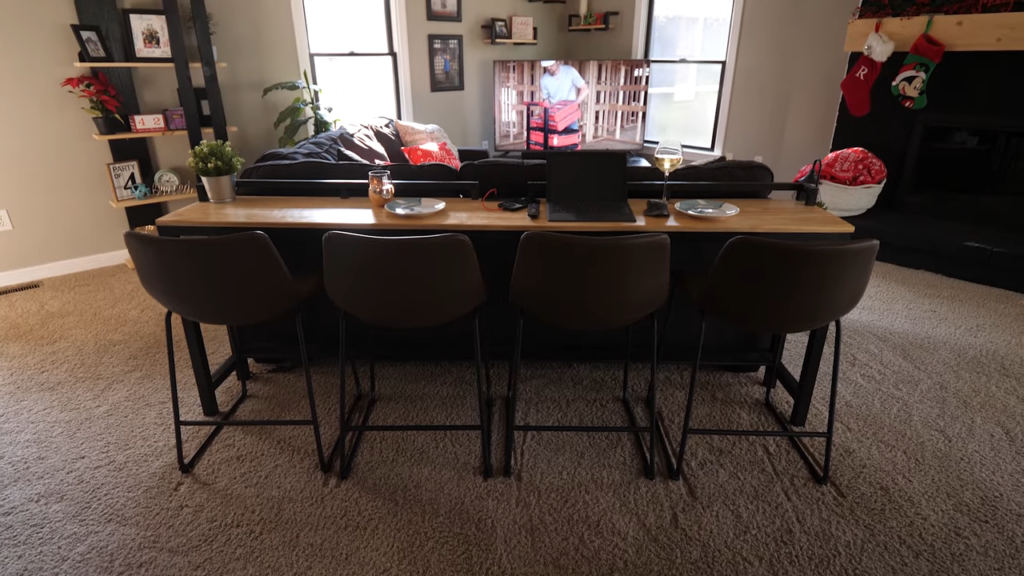
This turned out so nice. And it immediately became the favorite place to sit in the living room. Now it’s easier for the kids to have a snack without getting food on the couch, and I can more easily hang out with the family while I’m catching up on emails. The outlets and USB charging ports really worked out great, and most importantly, my wife is very happy.
I’ll tell you what, when you walk through our living room, I can now point out at least 6 projects, which is so insanely gratifying. If you’ve got some time this weekend, go make something you’ll use everyday.
Meet a Maker
Alright it’s time to Meet a Maker, and this week we’re joined by Brandon and Sarah, from Living in Advance who built their own home in the back of a van.

If you guys are not already subscribed to living in advanced, you can find them at Living in Advanced on Instagram.
Favorite Maker Videos of the Week
First up, we’ve been following and featuring Michael Alm for a while now. His use of plywood patterns is amazing, and this week he used the feature again on these beautiful light fixtures.
And Drew over at Fisher’s Shop taught us this awesome bandsaw technique, that makes it easy to create a complex collage of various wood species into this beautiful lazy susan.

