
The mirror we had was nothing special. It had been leaning up against a wall for ever, looking like it was waiting to be moved more that waiting to be used. Here is how we made it better.
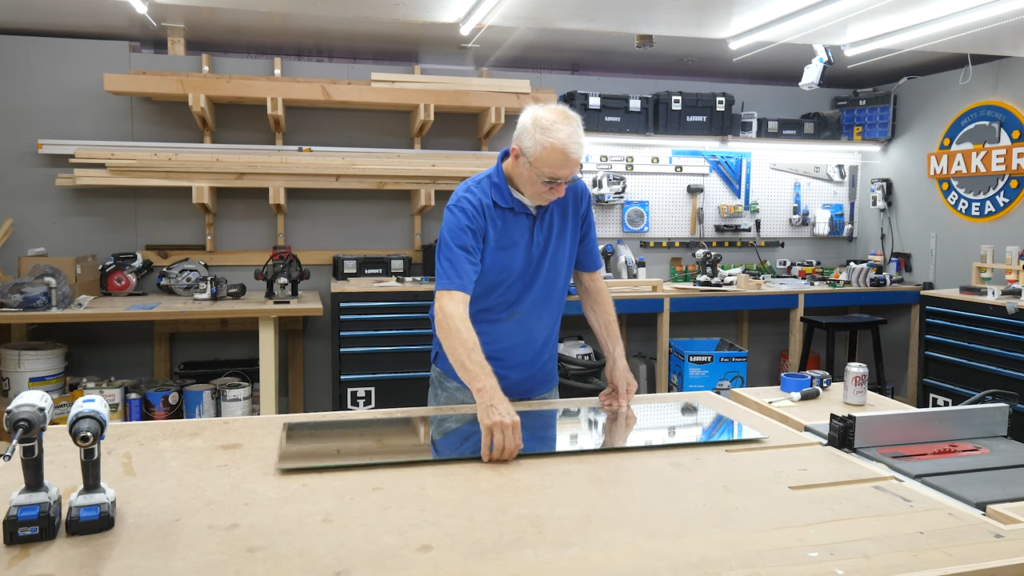
So we started with some pre-milled 1×6. After measuring the glass, my dad measured positioning for the rabbet. A rabbet is a sort of channel you cut into the wood, that will allow the glass to rest inside the frame.
To cut the rabbet, we really should have used a router table, but we didn’t have one yet when we built this. So instead, my dad made a simple jig for our trim router, and then carefully cut the rabbets into each piece.
Next we used pocket holes to secure the butt joints.

After it was all together, we spent plenty of time sanding it all down.
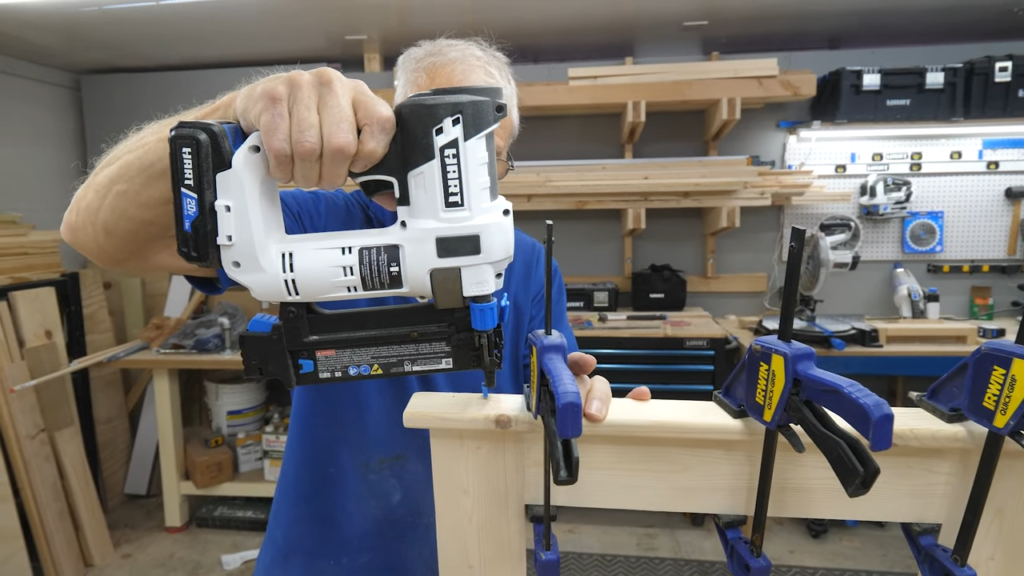
At the last minute, my Dad suggested that leaving the endgrain of a butt joint exposed on top wasn’t good enough, so he quickly put together a cap, and secured it with glue and our brad nailer.
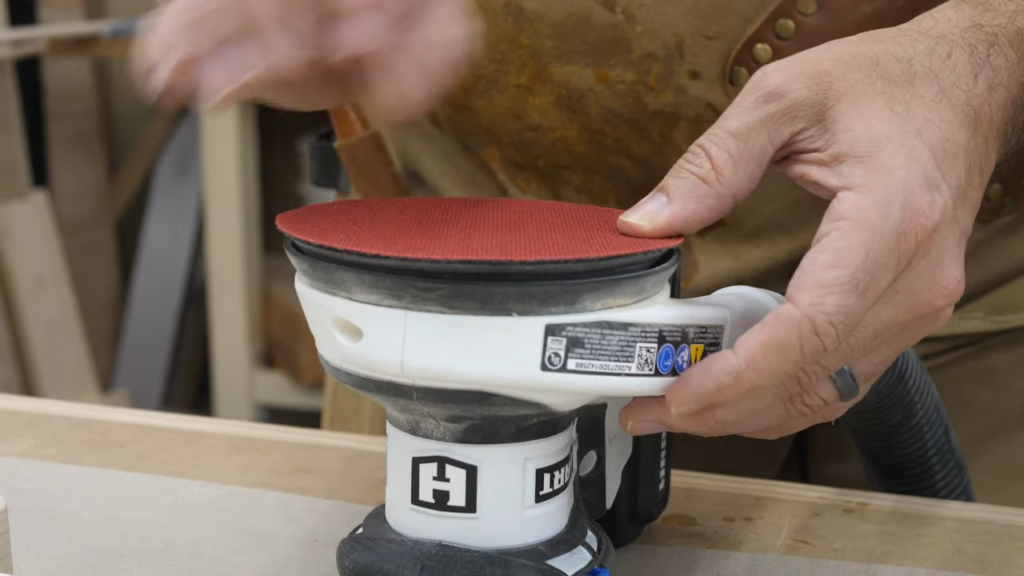
After that I decided to sand it one more time using 220 grit sandpaper, not only to make it feel nice but to make the stain look more uniform.
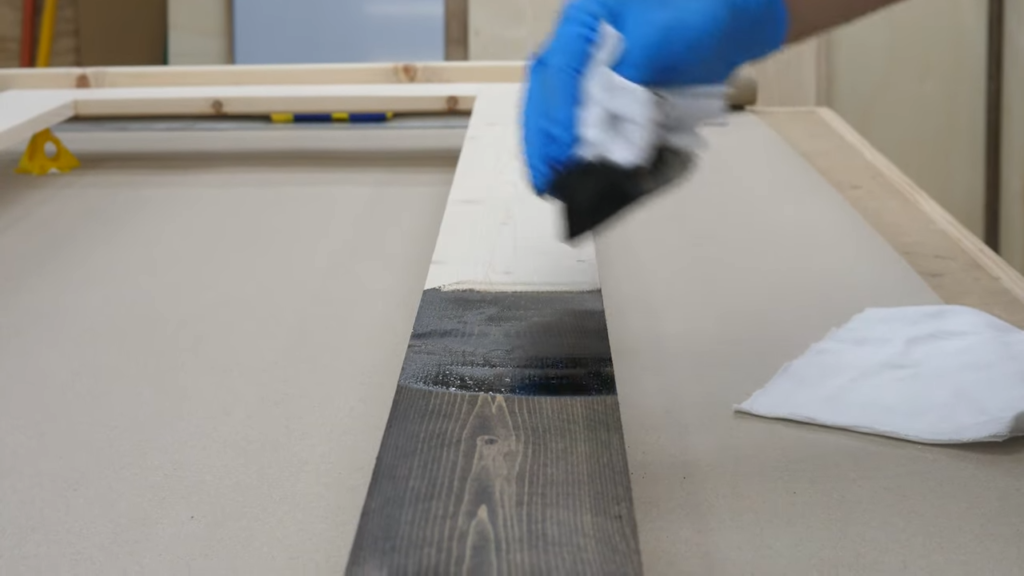
Then it was time for the stain. I decided to use a dark walnut. I like to apply stain using shop rags. First I laid it on thick against the grain, and then I would quickly wipe off the excess with a second rag, this time with the grain, and the results were absolutely beautiful.
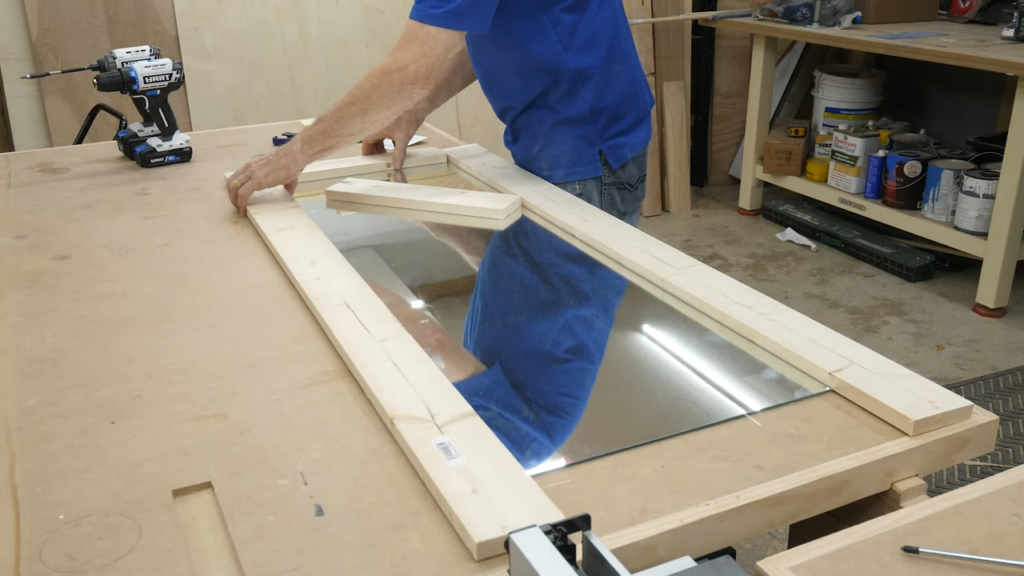
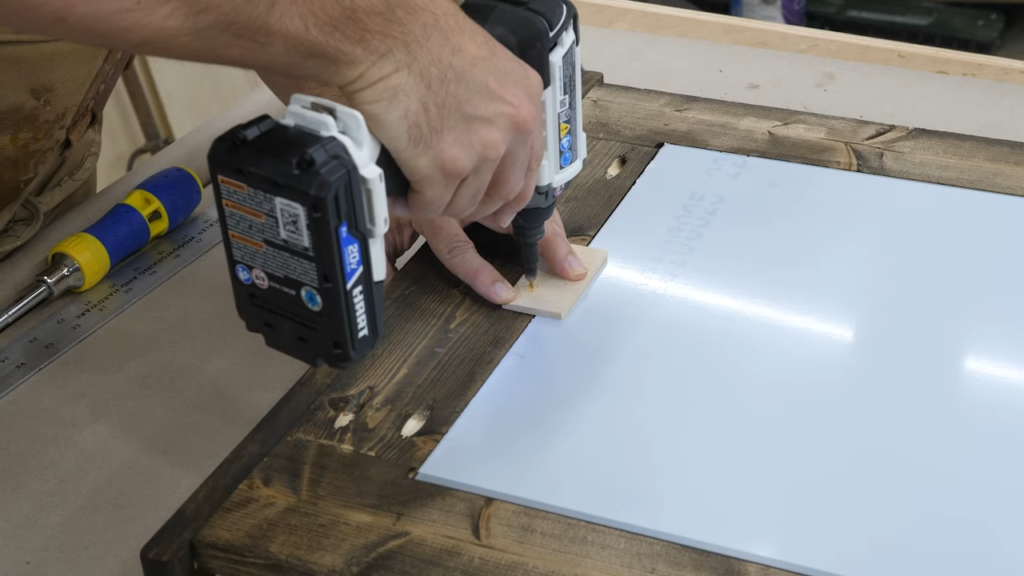
After it dried I dropped the mirror to test the fit, and of course since my dad made the rabbet, it fit perfectly. Now to hold the mirror in place, I grabbed some scrap ¼” ply, and cut off 6 tabs. Then I used some sanding blocks to sand down all of the edges to make them smooth.
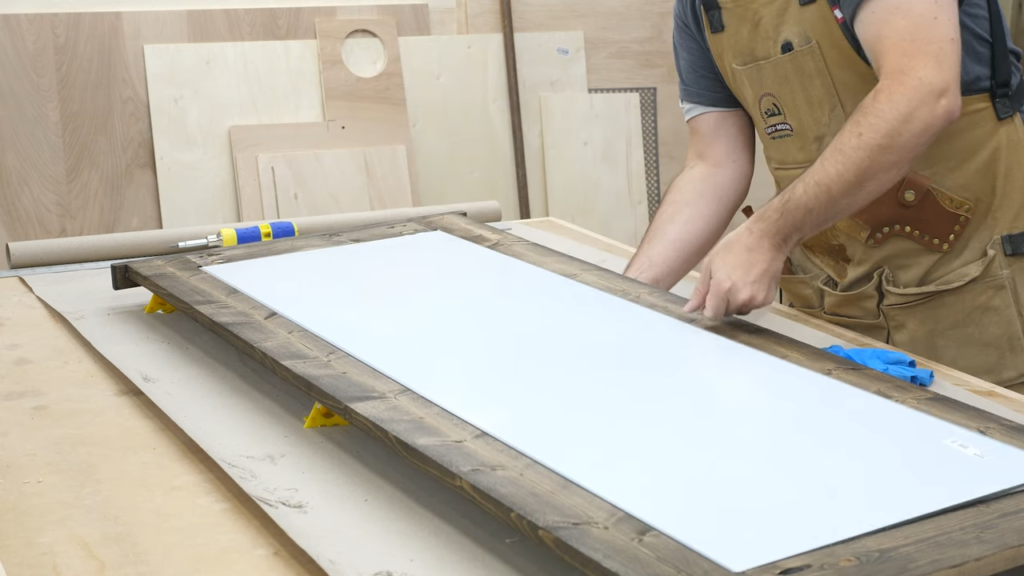
I put all 6 in place, Screwed a few pilot holes with a counter sink for the screw heads. At that point I realized if I didn’t stain the tabs, it would drive me nuts, so I did that really quick off camera.
When they dried, I carefully screwed them all into place by hand as to not over tighten and risk coming out the front or shattering the tabs.
After blowing off the sawdust, it was time to take it outside for a few beauty shots, and would you look at that! Such an huge improvement with very little effort. Always love that.


