
This week Sarah wanted some wooden pumpkins for her porch, so we found 5 different designs. So we made ALL of them. Plus we get to meet a new Maker, Brianna Brown, and we’ll share a few of our favorite Maker videos of the week, but first It’s time for a Maker Break!
Project of the Week
This all started when Sarah sent me a bunch of photos of wooden pumpkins. I asked her which one she wanted to make, and of course she said, “all of them”. Why not?
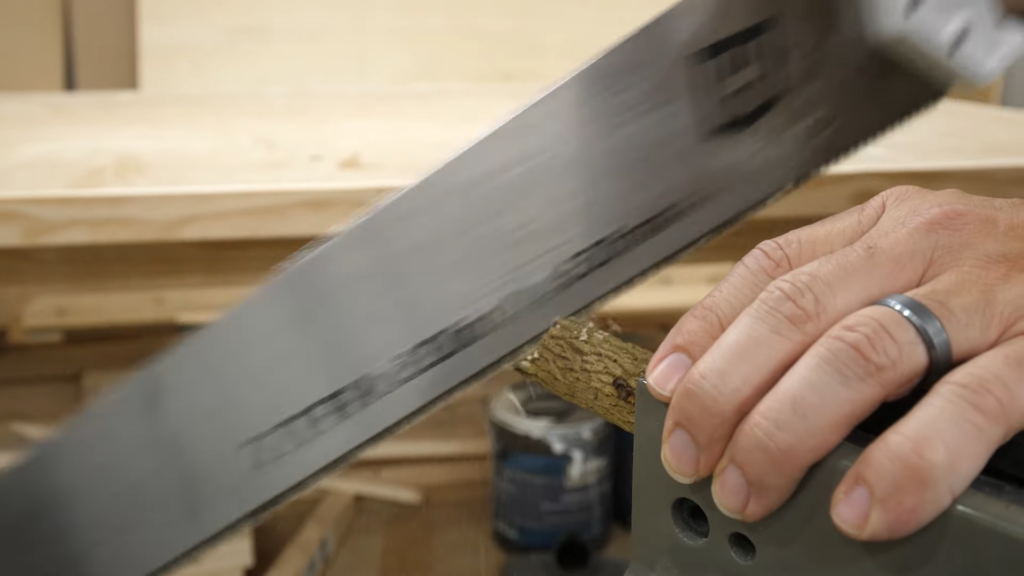
Now one of these designs required natural edged cookies and stems made of twigs, so we gathered those from around the property. I cut a branch into a ton of small toppers for the pumpkins.
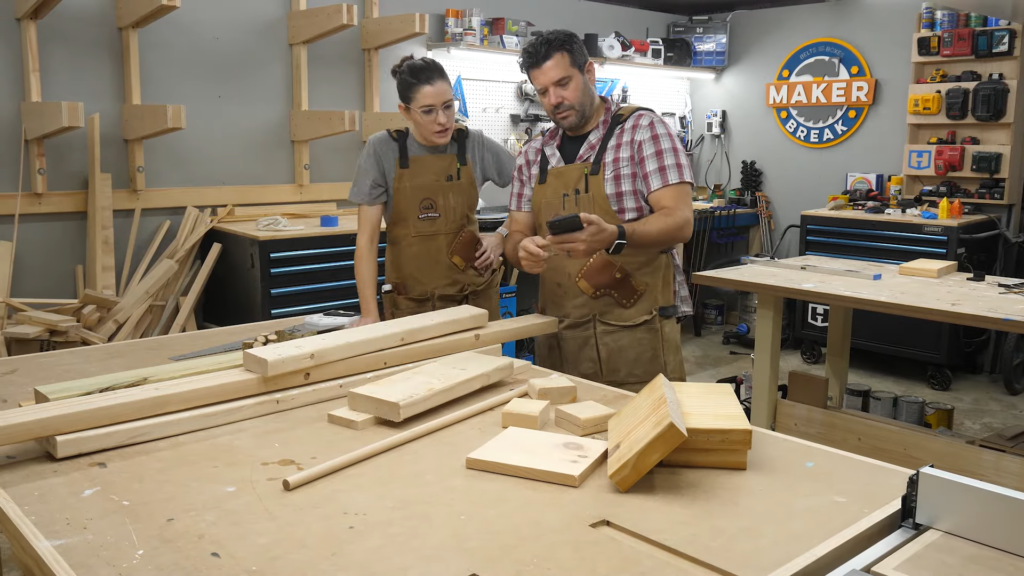
Next we started gathering scrap. Each design was going to require a different type of wood, but fortunately, we have plenty of scrap by this point. We grabbed some 2x4s, a 4×4, a few pieces of 2×12 and a couple of dowels.
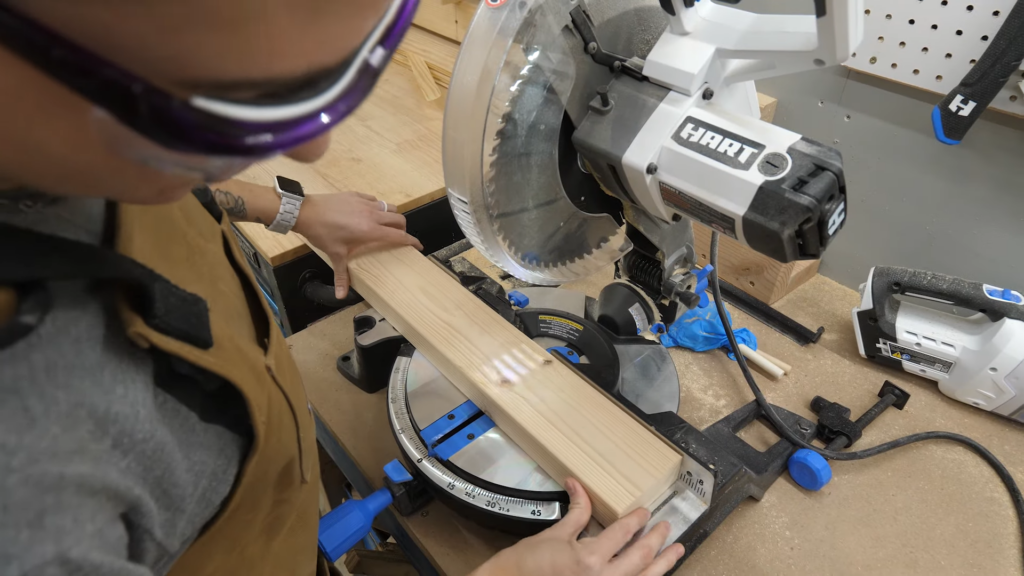
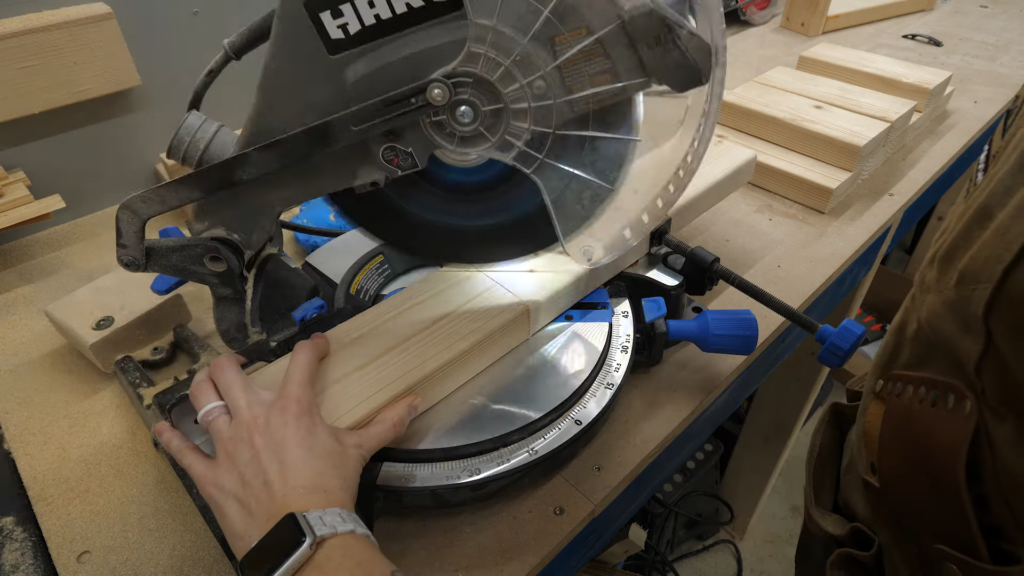
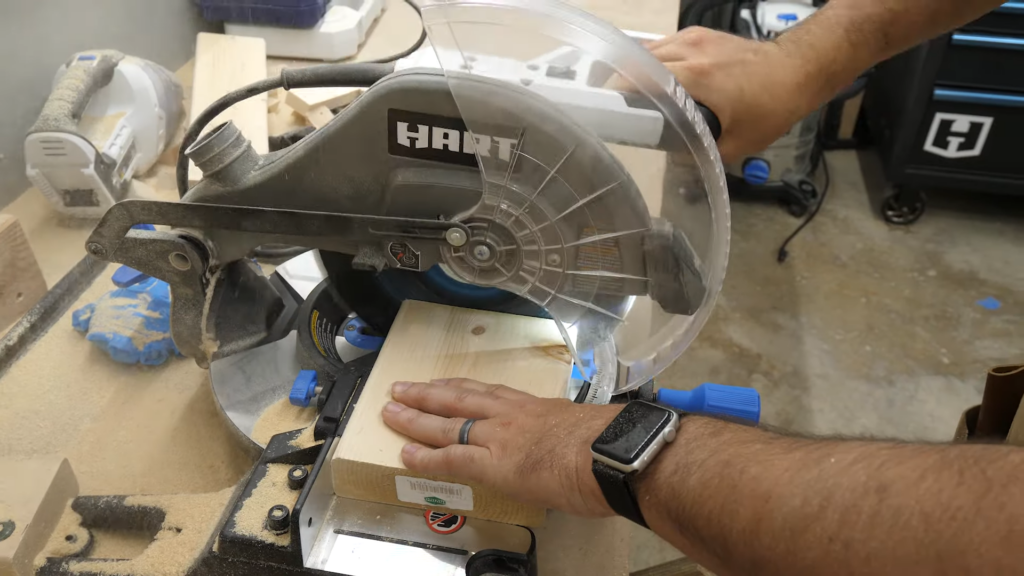
Sarah decided to take on the biggest pumpkin first. This would be made up of 9 different 2×4 piece. 8 would be 8in long, and 1 would be 10. After they were all cut to size, she stacked them into her pumpkin shape, and marked all of the outside corners. Then she set the Miter Saw to 45 degrees, and clamped a spare block in place to help her make consistent corner miters where she needed them.
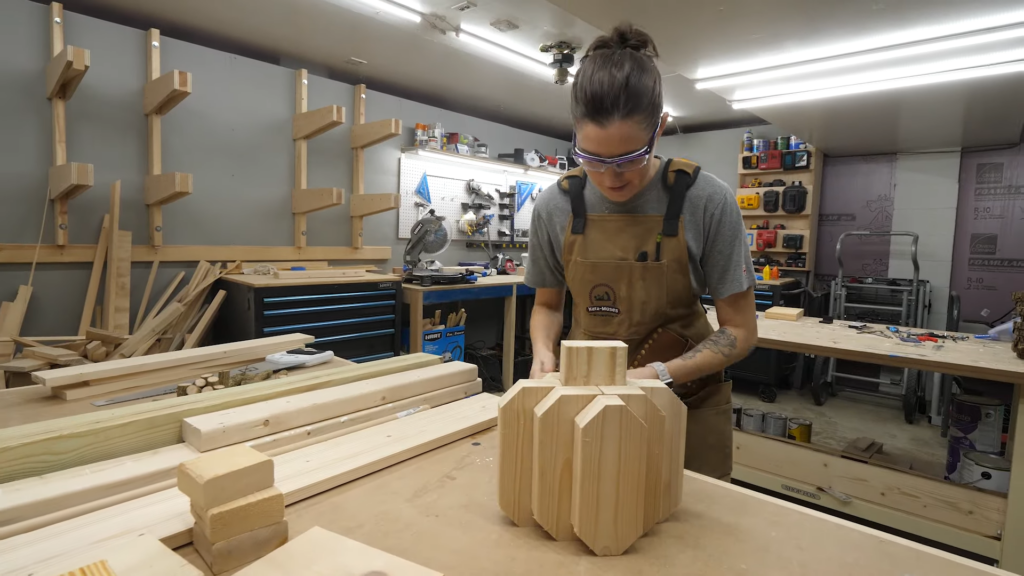
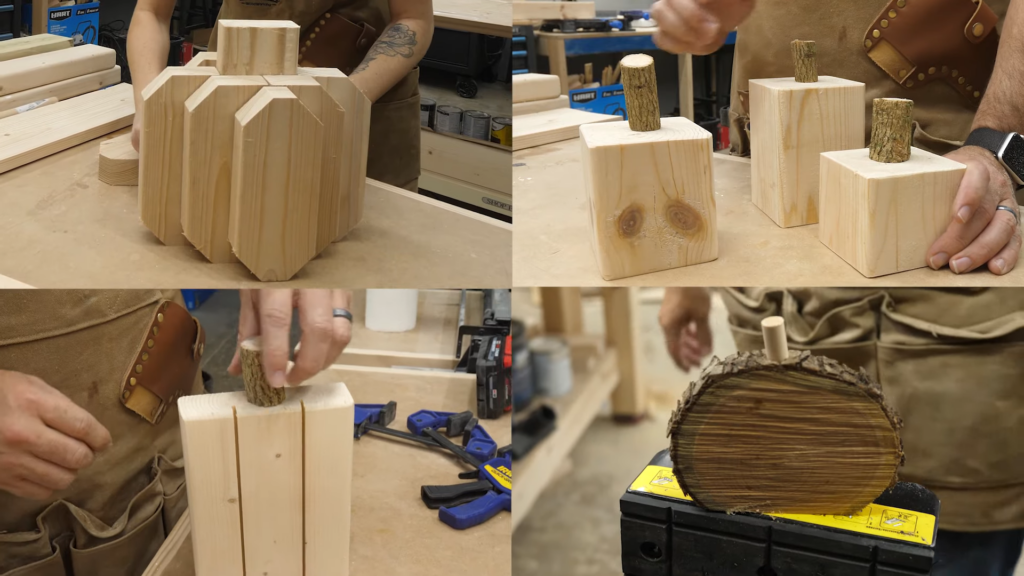
Then she brought them over to the assembly table and mocked them up. Will ya look at that? It’s a pumpkin!
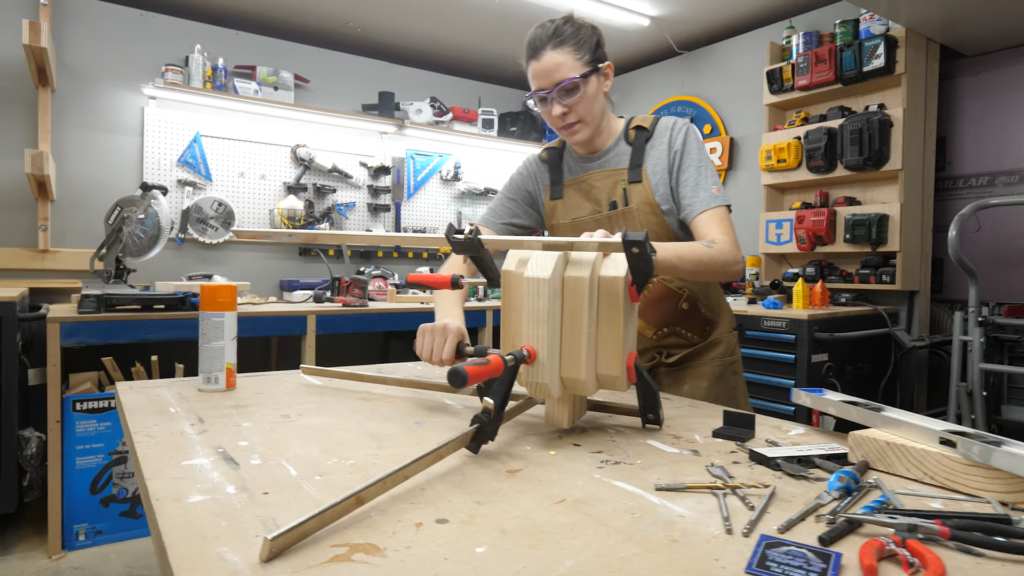
After sanding them all down, she started gluing them together, occasionally using a brad nailer to hold things together while the glue dried. She finally put a few clamps in place for good measure, and we moved onto the next design.
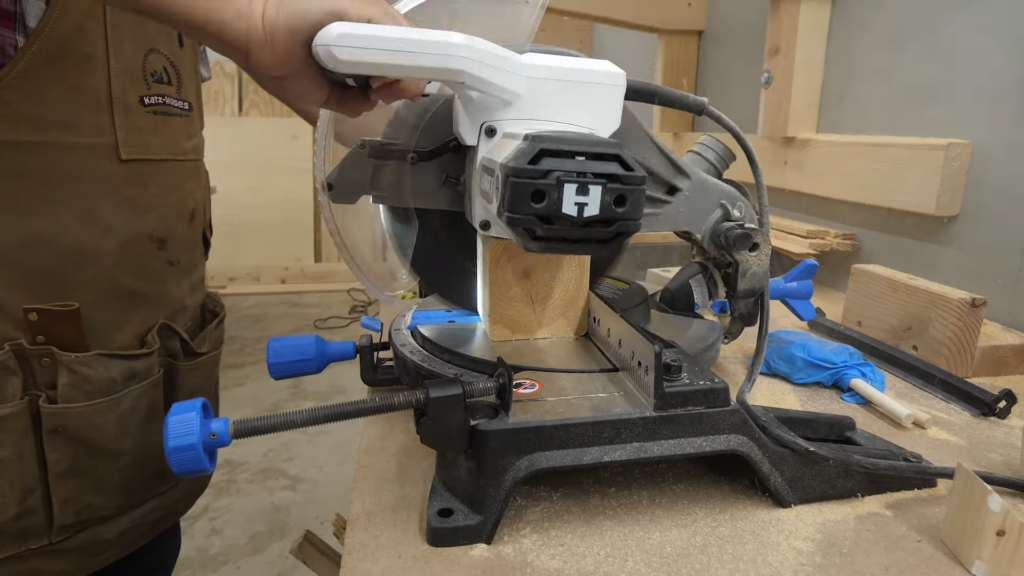
So these next pumpkins were super simple. All you do is take a 4×4, and cut a few different lengths. I think we did 3in, 5in and 7. After a bit of sanding, we set a few of our twig on top, and boom. More pumpkins.
Ok they don’t look like pumpkins much yet, but just you wait.

Next I grabbed a 2×6, cut off one end to give us a square edge, and then cut off an 8” piece. Next I took it over to the table saw.
I adjusted the fence to put the blade about a 3rd of the way across the piece, raised the blade about 1/2” and then ran the piece through on both sides of the front face.
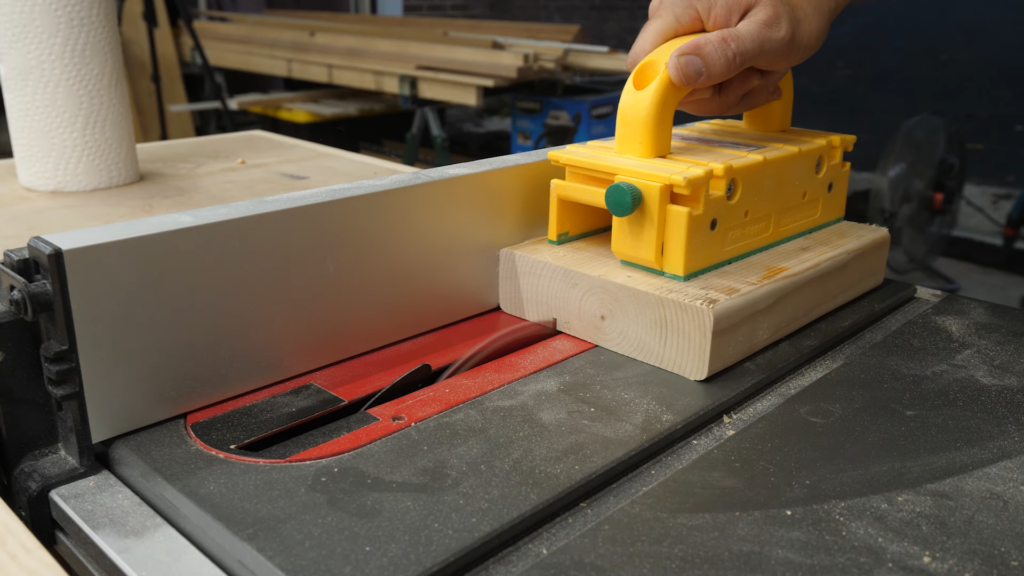
This would give us the pumpkin’s vertical stripes. Next I rounded over the top and bottom with a trim router.
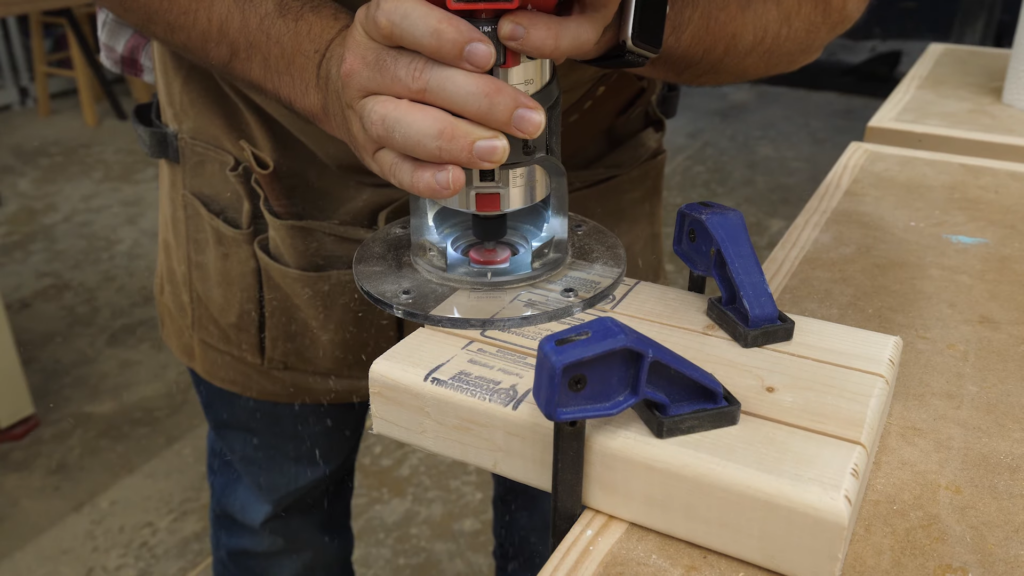
I could have done this with some aggressive sanding, but routers are fun. Terrifying but fun. I cleaned the whole thing up with the sander, and grabbed another twig top. Boom. Pumpkin again.
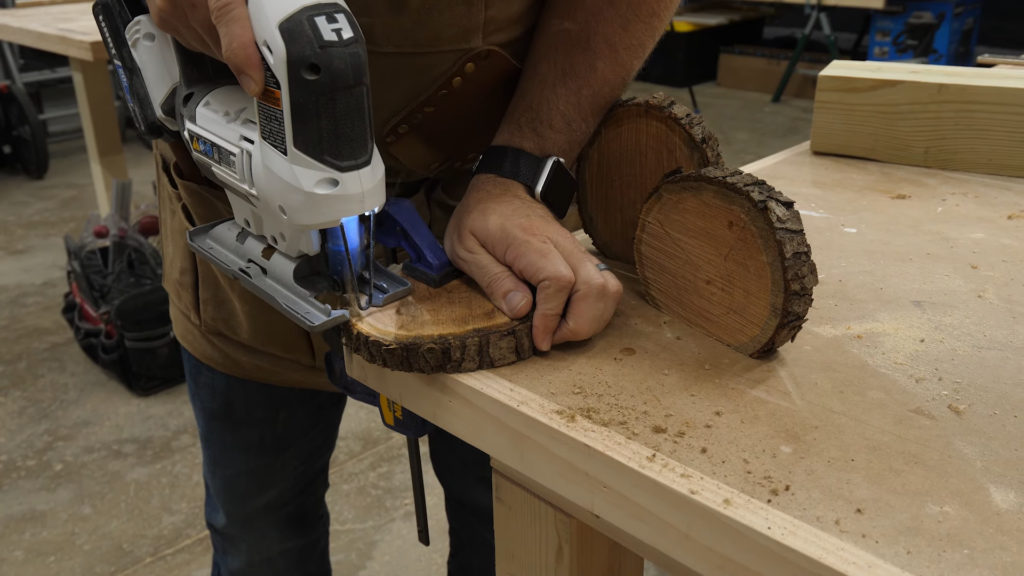
For our last pumpkin design we grabbed the cookies we cut earlier with a chainsaw, and used our jigsaw to cut a flat bottom on each one.
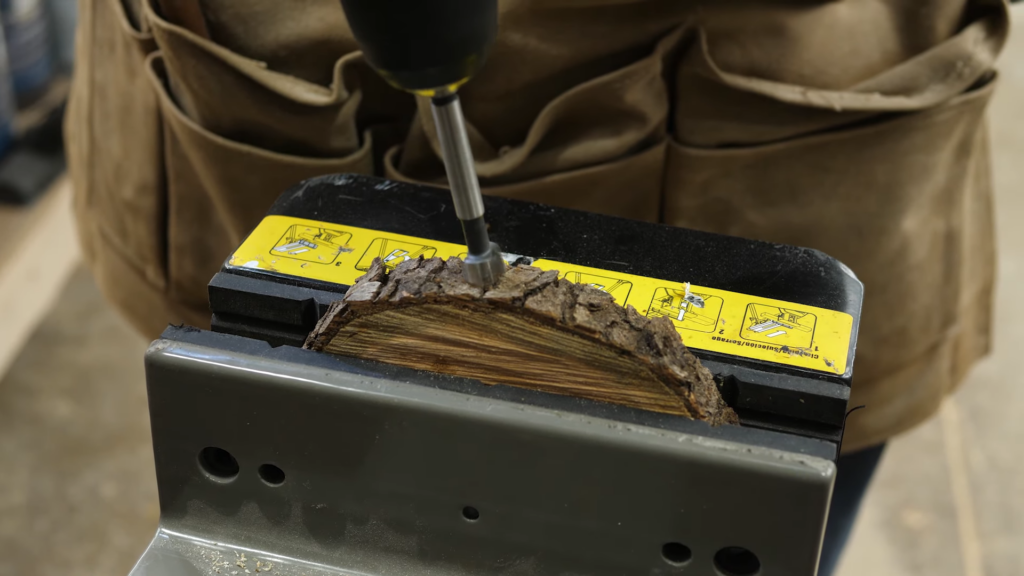
Next I clamped them in our Jawhorse and used a Forstner bit to drill a hole in the top of each one. This would let us use dowels for the stems on these.
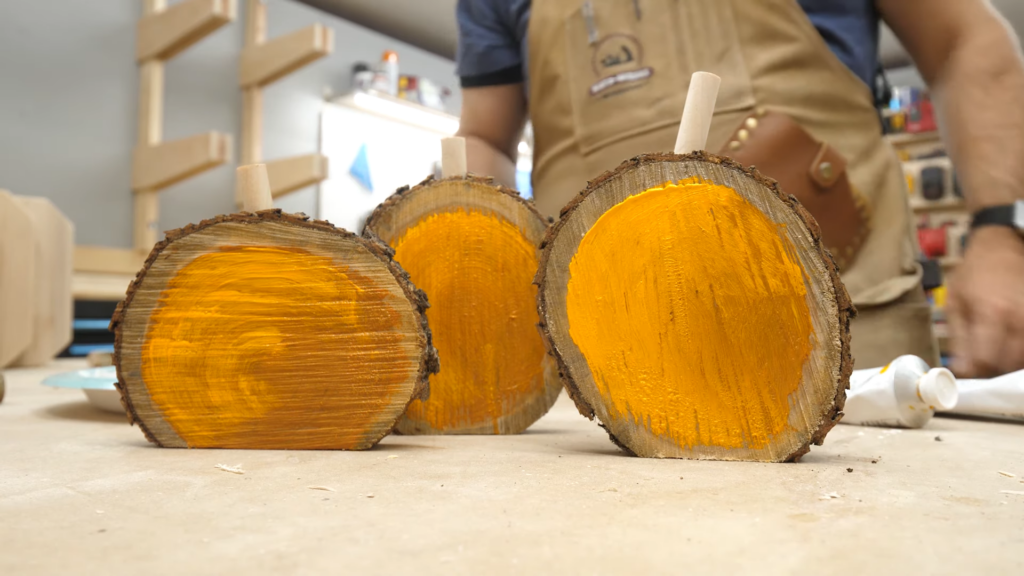
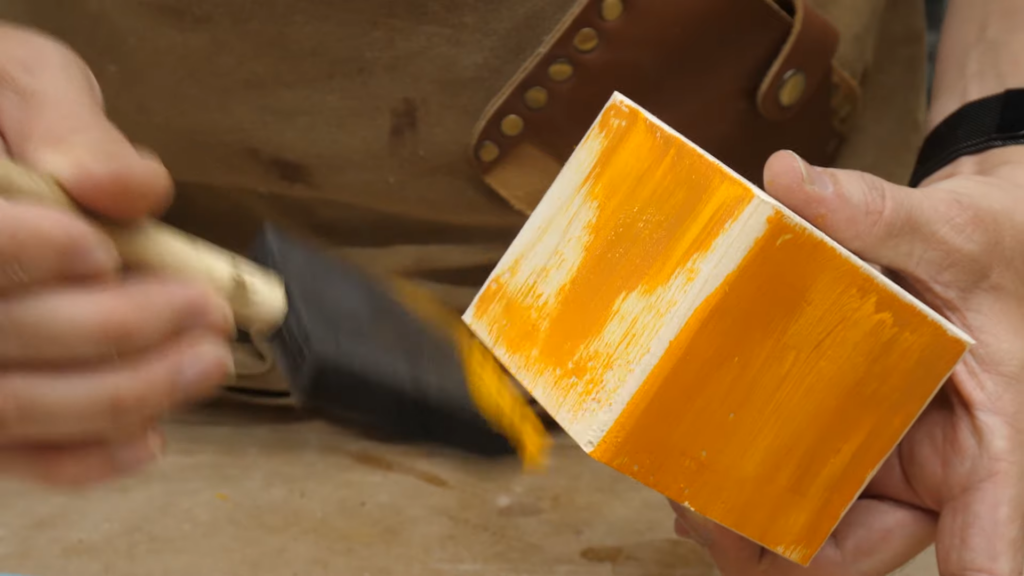
And with that, we had 4 different types of wooden pumpkins, all ready for paint. To color these guys we used some yellow and dark orange acrylic paint, and some bright orange spraypaint. Now the day we painted these, we were in a time crunch when we realized we had no brushes. So we had to make due with some foam brushes we had, which were… less… than idea. But we did our best.
The tree cookie pumpkins got their face painted with a combination of the acrylic paints. And they turned out pretty cute.
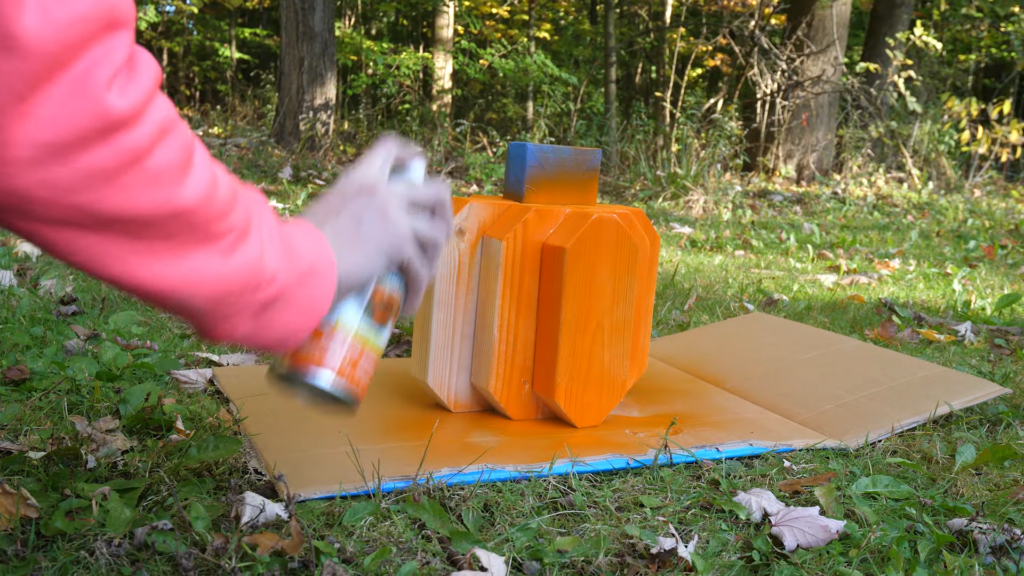
Next Sarah taped the stem on her giant 2×4 pumpkin, brought it outside under our beautiful yellow leaves, and sprayed it bright orange.
We left that outside to dry and came back in to start painting the blocks. We used the same acrylic paints and terrible foam brush for these as well. I painted 5 sides, mixing the colors as I went.
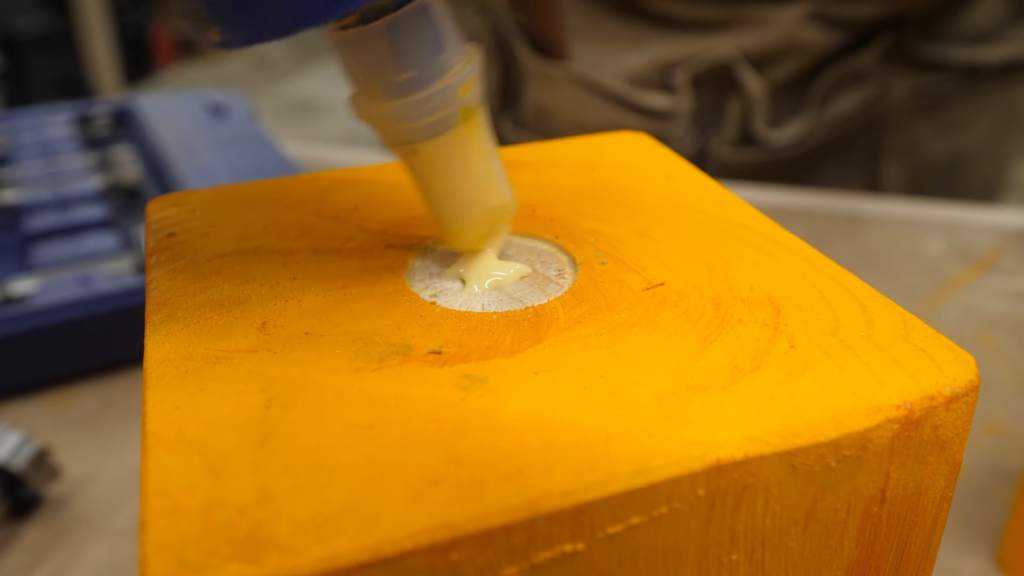
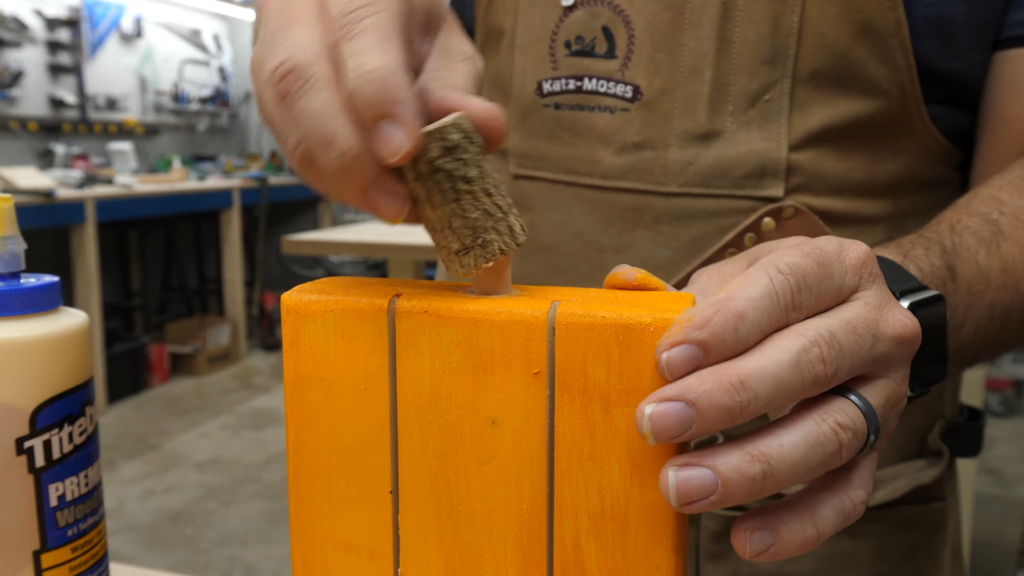
I’ll be honest, I didn’t really understand these ultra simple block pumpkins until they were painted. Even I have to admit they’re pretty adorable. We used a forstner bit to clear out a small indent for the stems on the blocks, and glued the stem in place.
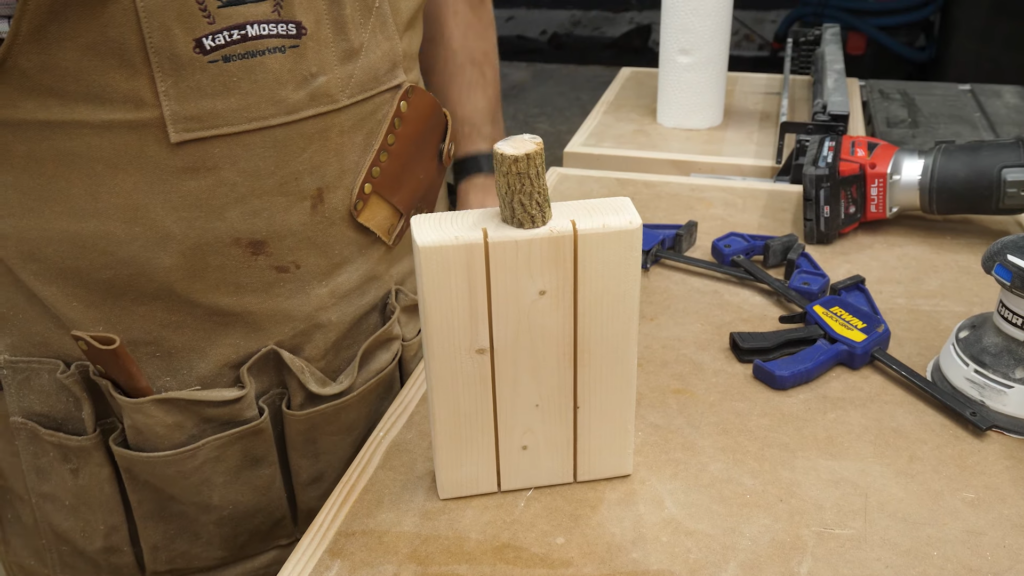
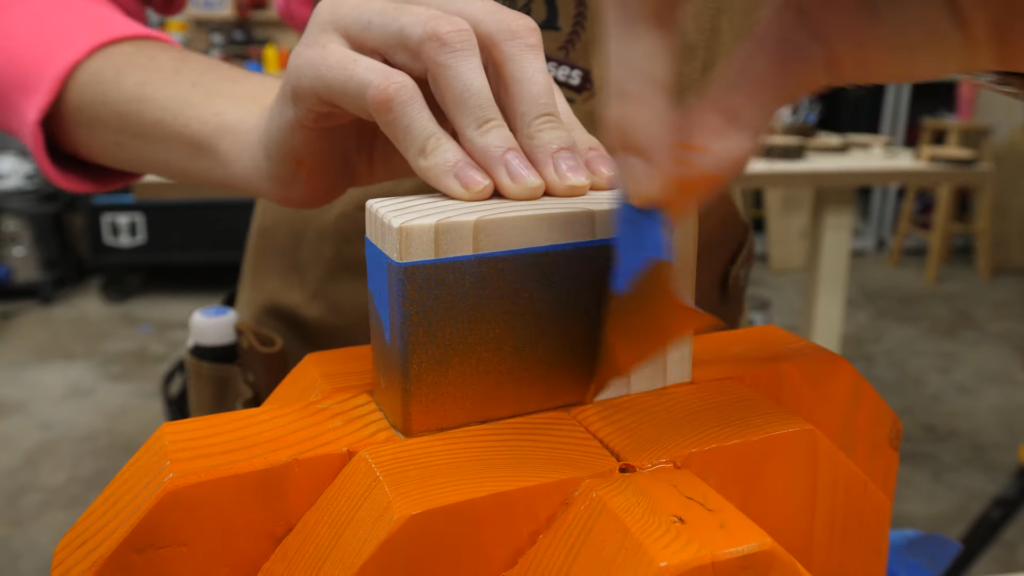
Finally, we grabbed the 2×6 pumpkin and painted it as well. Now for this design, we wanted the stem to float above the pumpkin, duplicating the gaps we cut in the front of it.
To do that we drilled out the pumpkin and the stem, and used a small dowel piece to keep them just barely apart.
When Sarah’s big pumpkin dried, we brought it in, took the tape off the stem, and were ready to paint it green. But when the tape came off, Sarah loved how it looked without any paint, so she left it that way.
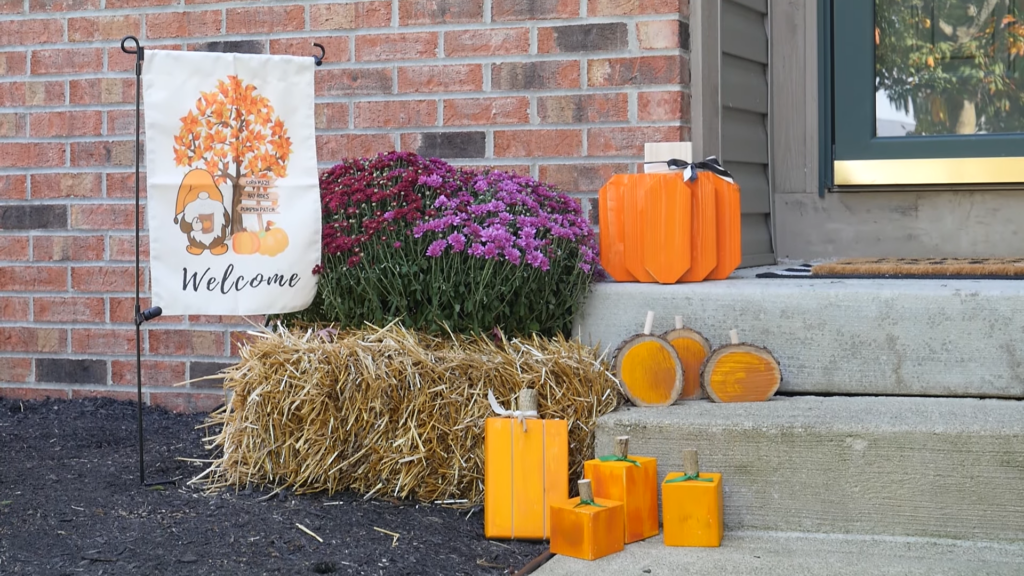
And that was it! Off camera we sprayed them with some sealer so they could live outside, and Sarah gave them a home in their new pumpkin patch on her porch.
Meet a Maker
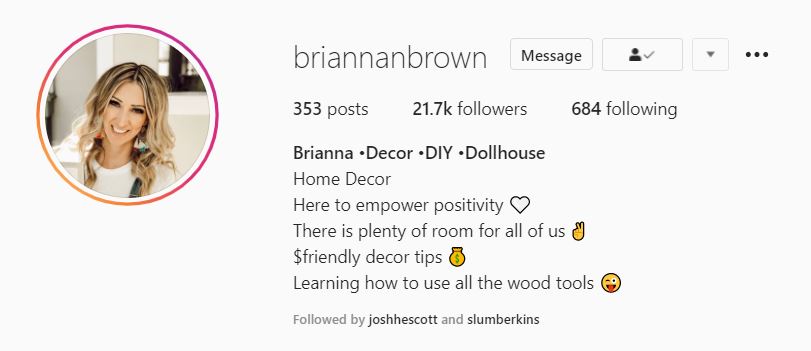
It’s time again to Meet a Maker, this week we’re talking with Brianna Brown, a DIY maker on Instagram, who in her own words, is “Learning how to use all the wood tools”. Just like us!
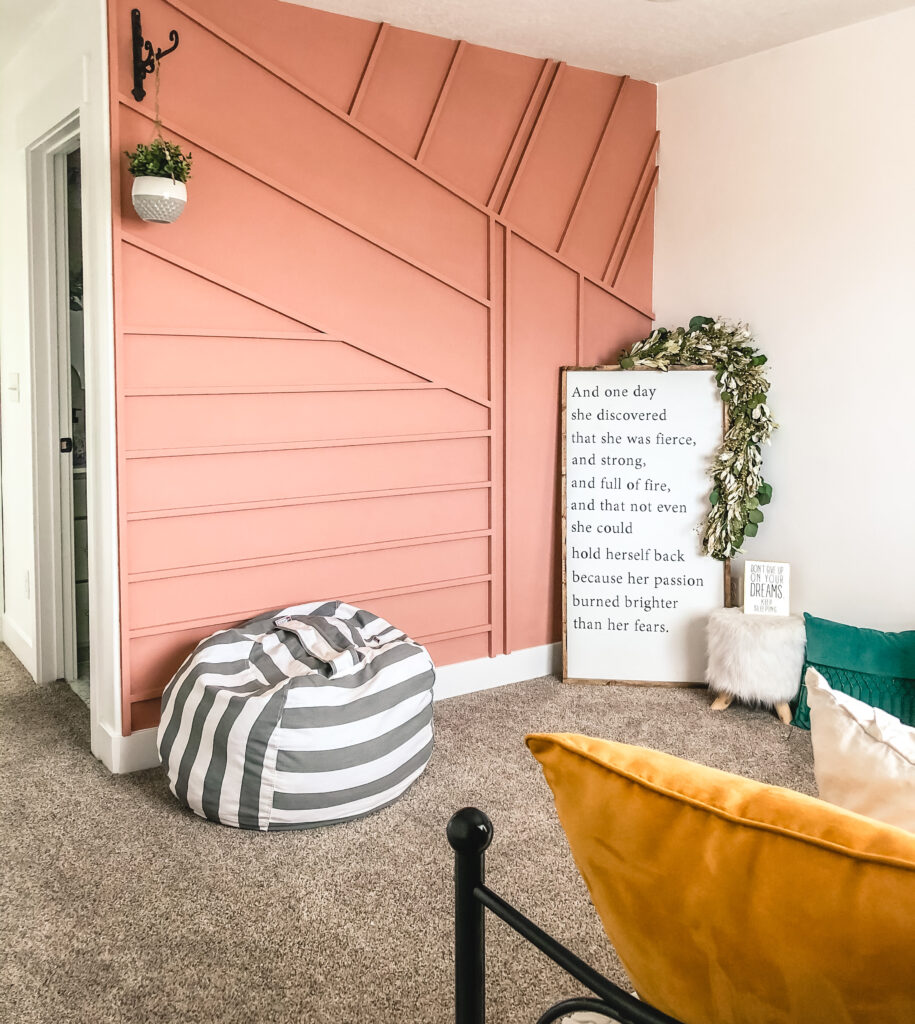
Brianna’s Instagram Channel
Favorite Maker Videos of the Week
Mike from Modern Builds make this amazing vanity out of epoxy! As if that wasn’t enough, he made the base out of steel, showing us some welding goodness along the way. A TON of fun to watch.
You guys know what a half moon bench is? Neither did I. But our buddy Hailey over at HonestWork Design built this beautiful example out of a few 6 quarter walnut planks, and not only do we like it, it’s pretty clear her doggos do too.
And finally, Ben Tardif made the cutest, roundist, bestest floating shelf I’ve ever seen. He made the quarter sphere by laminating a few piece of scrap wood, and then hung it with this amazing puzzle piece mount.
Thank you HART for sponsoring this episode!

