
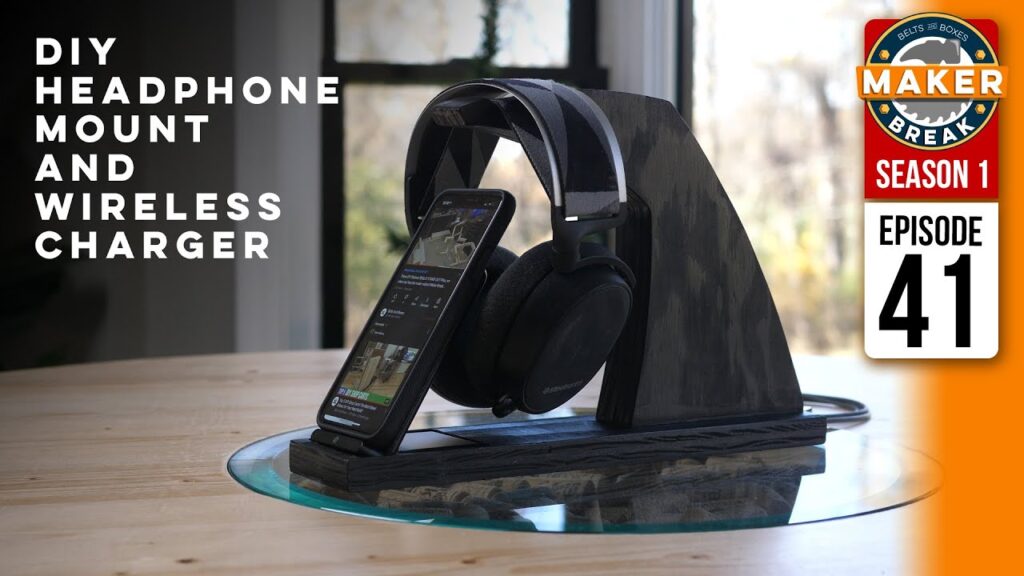
Sarah is on vacation this week so I had the shop to myself, so naturally I made something for me. It’s time for a Maker Break! This week I decided to tackle something I’ve wanted to make for a very long time. A headphone stand for my desk. Here’s how it went.
Project of The Week
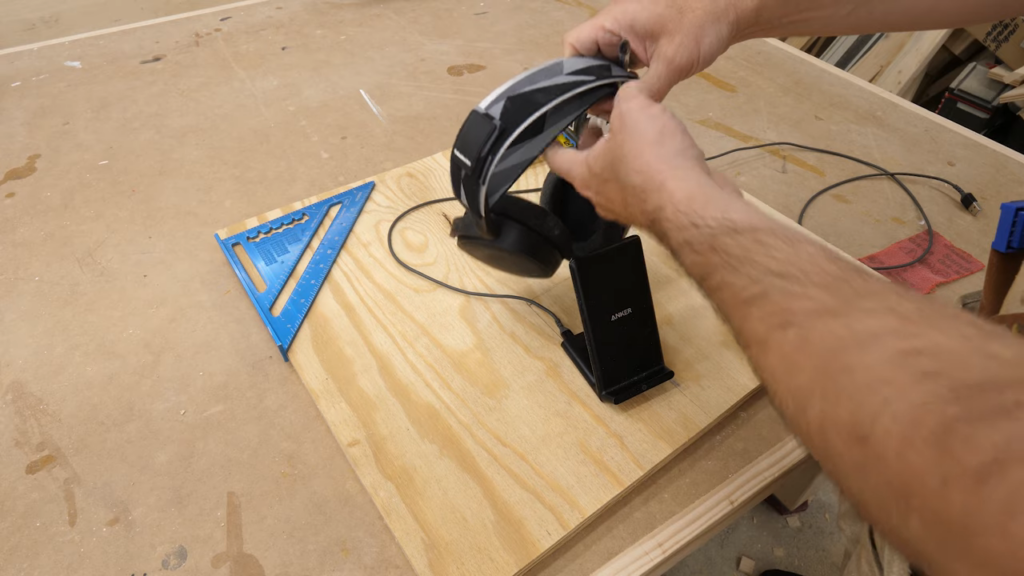
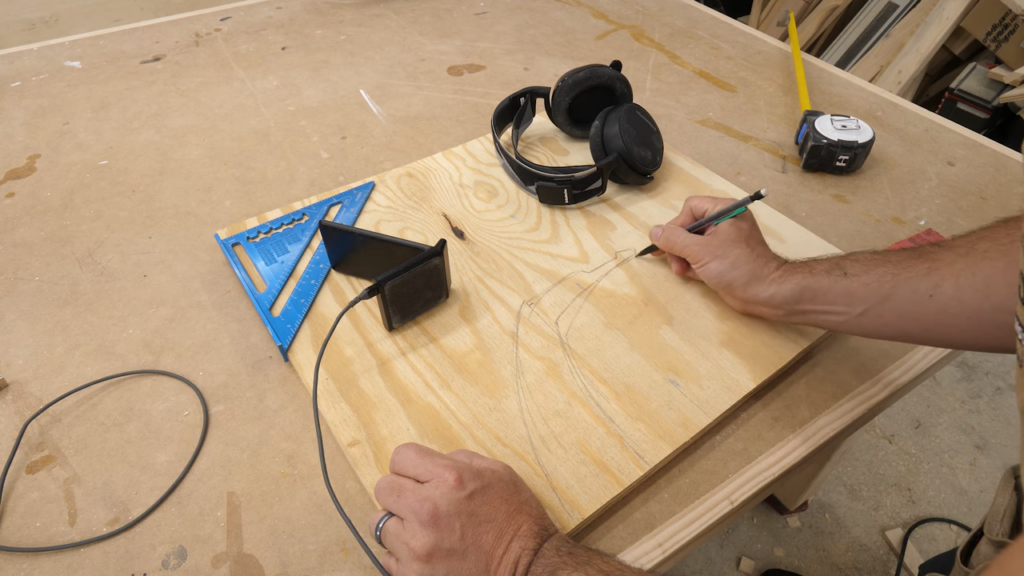
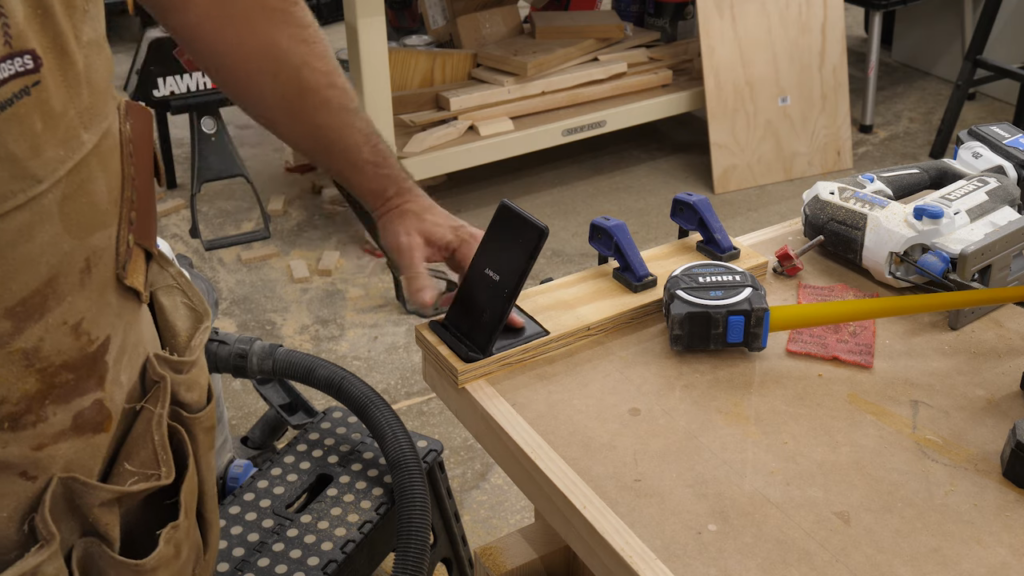
This is one of those rare projects where I started out with a basic idea, but zero plans. I knew I wanted a stand for my Steelseries Arctis 7s, and I wanted to incorporate my wireless Anker charger for my phone. So I grabbed both, and started sketching a shape on this scrap piece of ply.
Once I had my design drawn up, I brought it to the table saw to cut off the base. I figured I’d keep the base just a bit wider than my charging stand, so I could cut out a recess for the charger to sit in.
Now I didn’t have a good plan for routing this out, so I just marked it off, grabbed my trim router and dove right in. I intended to stay within the lines, and then use a chisel to clean it up. But that plan went right out the window, when the router jumped over the line.
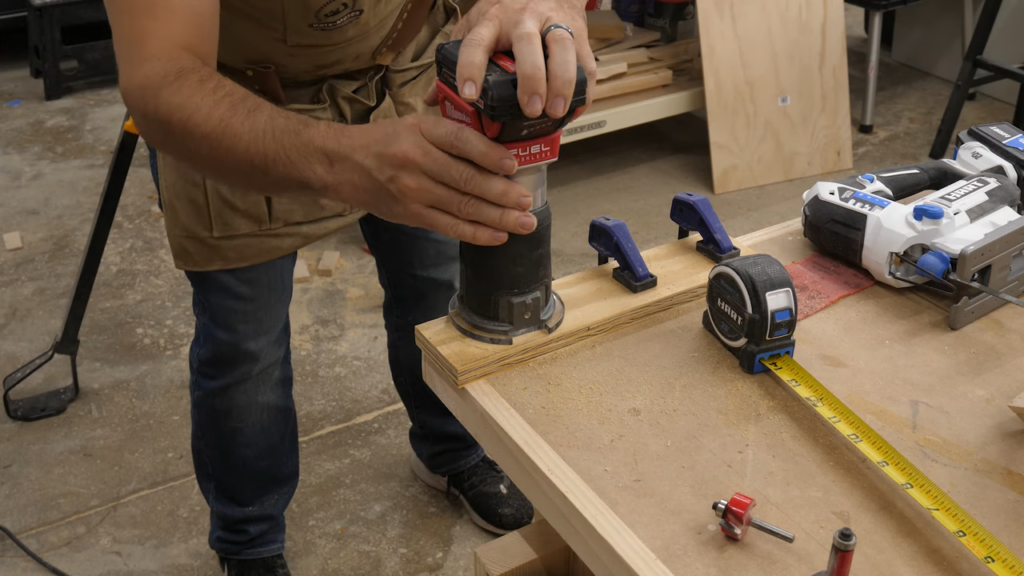
I honestly thought this was going to be a throwaway, and just continued routing it out as a test. It wasn’t pretty when I was done, but as it turns out, it was functional! The charging stand fit perfectly. I knew I was gonna paint this whole thing black, so I figured this was an area that didn’t need to be perfect. So I kept it.
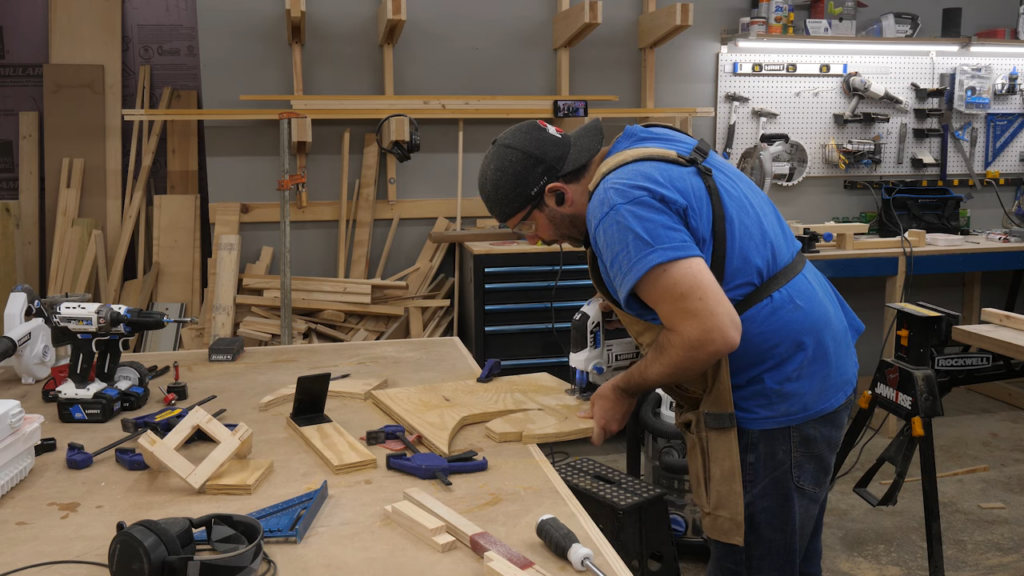
On to the vertical support. I started by carefully cutting out my shape with my Jigsaw. This went better than I expected. I went slow to keep my lines as clean as possible, and it turned out pretty good.

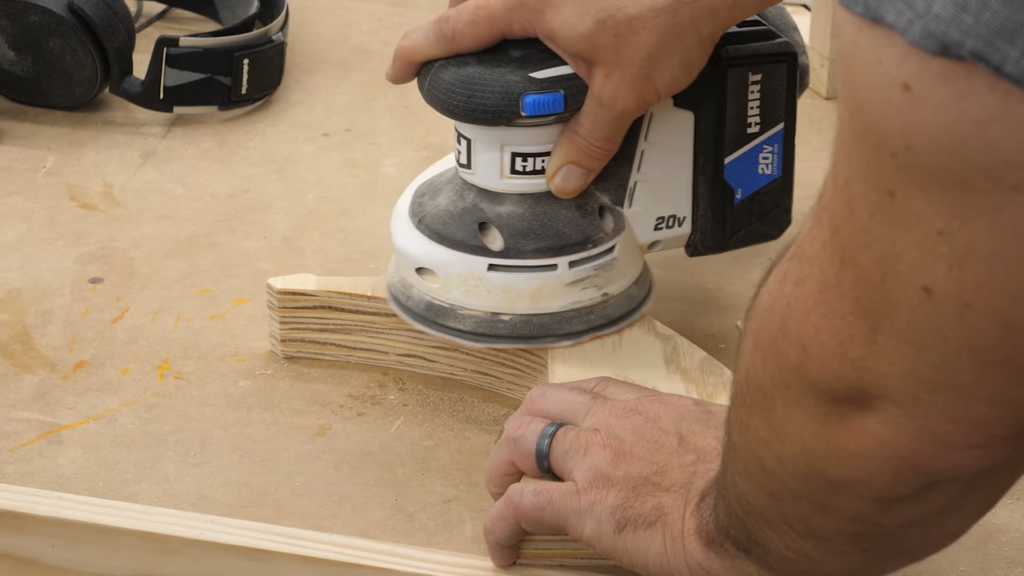
Next came a lot of sanding. I used my sanding block to work my way to the line, and spent extra time getting this pieces as nice as I could. That was important, because the plan was to cut another rough version, glue them together, and then use a flush trim router bit to match it to the nice copy.
Once my final copy was done, I traced around it to make the second piece. I actually cut out 3 pieces, but as it turned out two, at 1.5”, was plenty thick. I cut the piece out with the jigsaw, keeping a bit of space between the blade and the line.
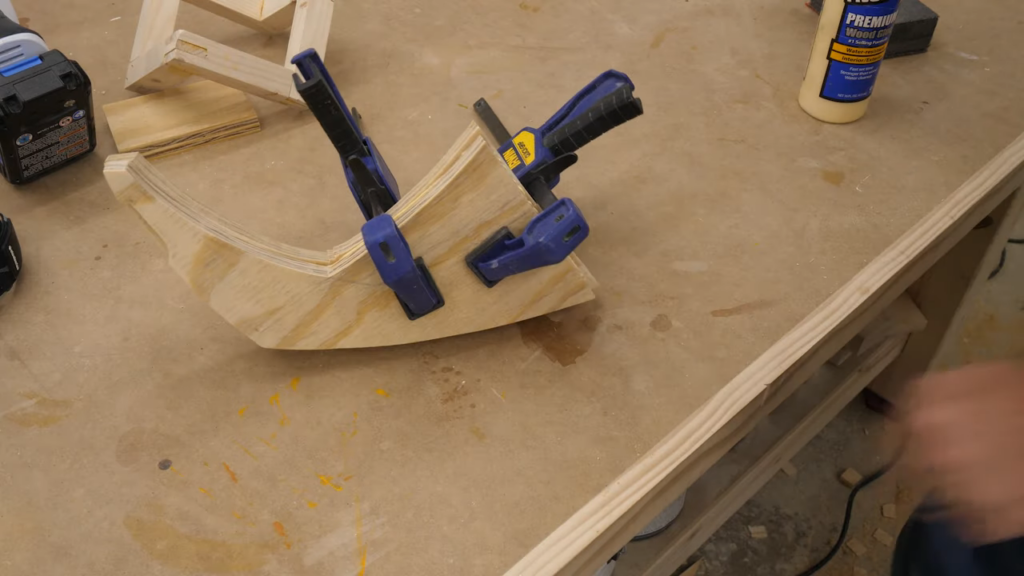
Next I glued them together, clamped them really good and left them overnight to dry.
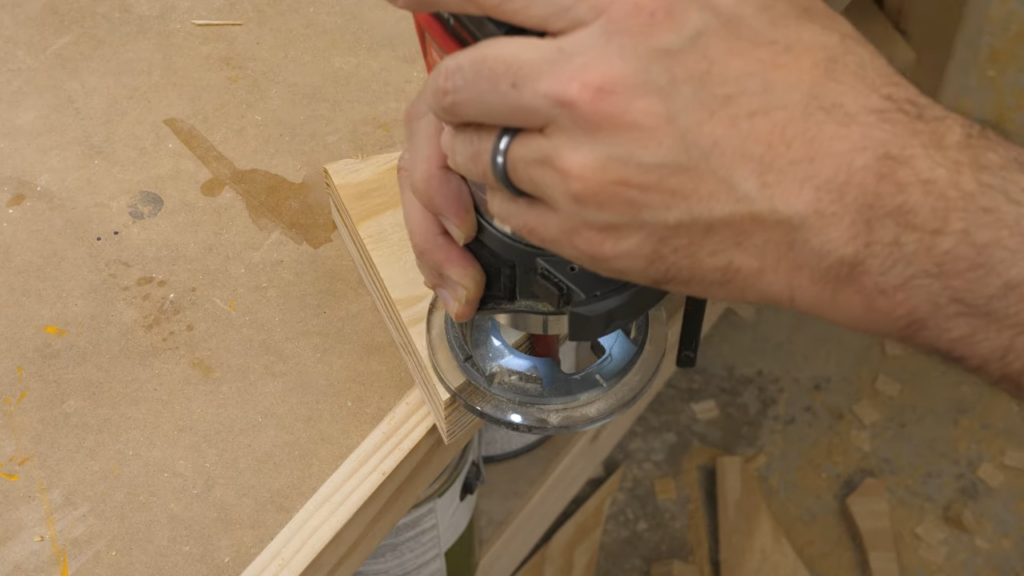
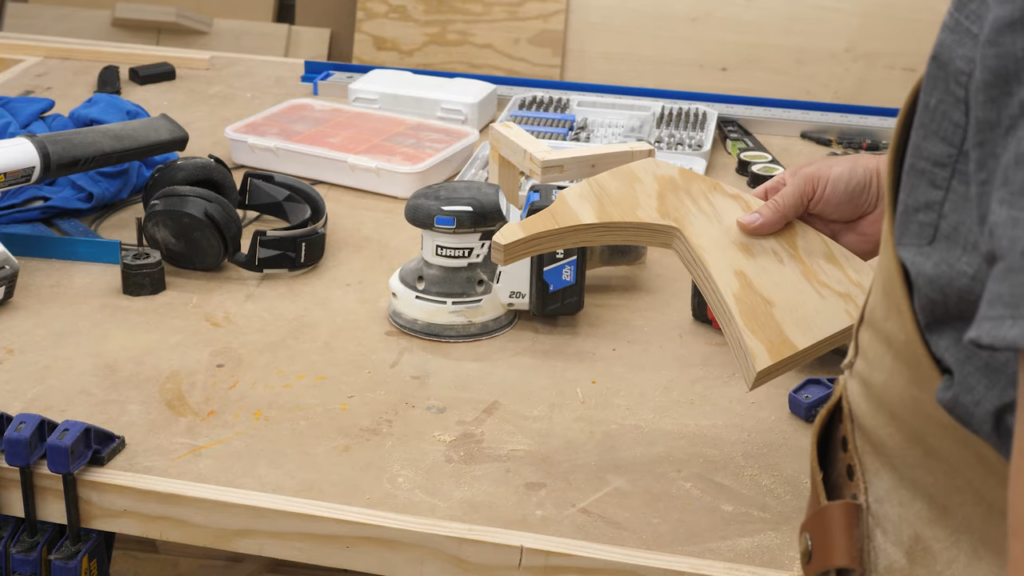
The next day, I took off the clamps, secured it to my bench and got the flush trim bit on the router. Then I carefully used the router to match the two pieces. This was really satisfying.
Once they were matched, I spent some more time sanding to prep it for paint. It was right around this point when I realized that this sort of looks like the head of an eagle. Why did I not think to make this whole thing bird themed? Anyways…
I then turned my attention back to the base. I wanted to carve out space in the bottom for the charging cable to reach the charging base, and cut a channel for the cable to go all the way to the back.
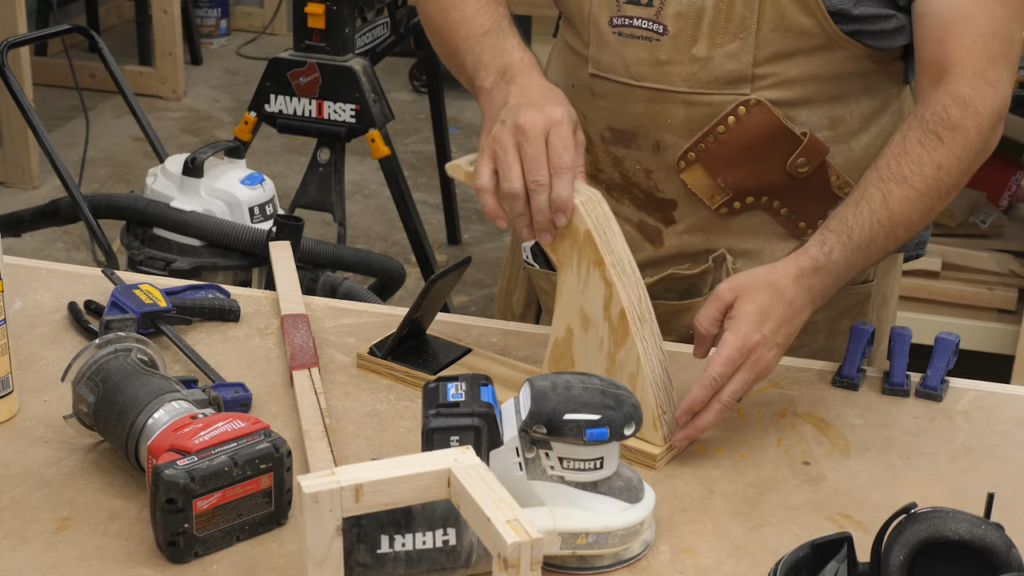
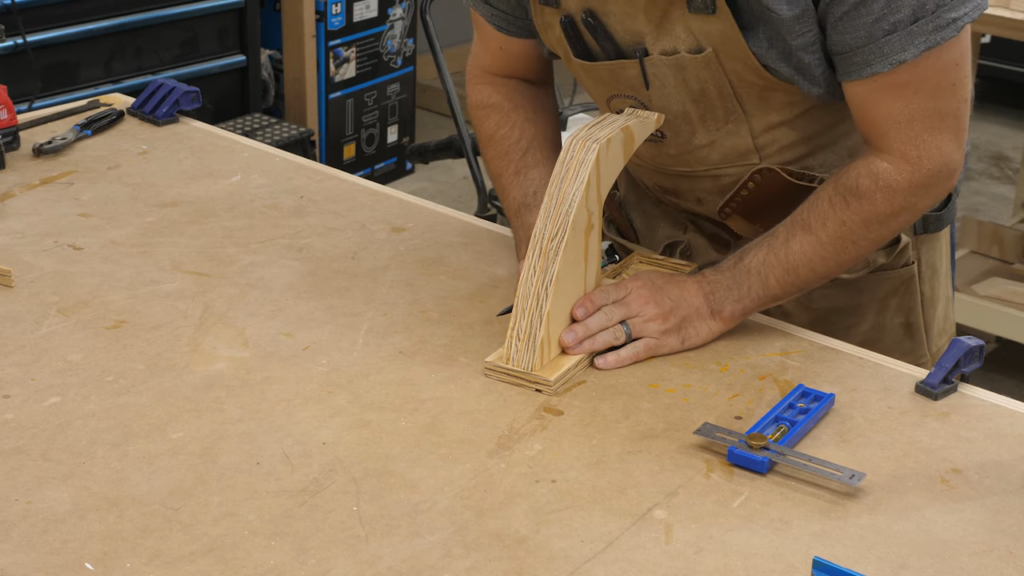
I sanded it a bit too, then it was time to attach the two pieces together. I wasn’t totally sure how best to do this. I decided to put 3, 3in screws in from the bottom. I first glued the two pieces together, and then clamped it upside down in my jawhorse. After a bit more alignment, I predrilled some holes and then screwed it together. It worked perfectly.
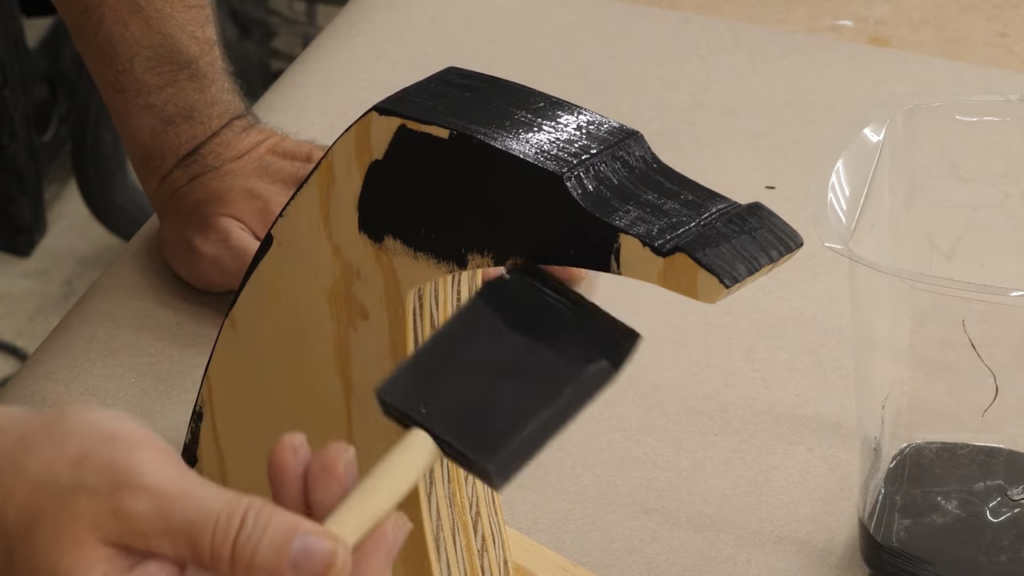
After I cleaned up the excess glue, and gave it one more sanding, I grabbed some black paint and applied it liberally, being sure to go over the end grain a couple times so it could soak in.
And that’s it!
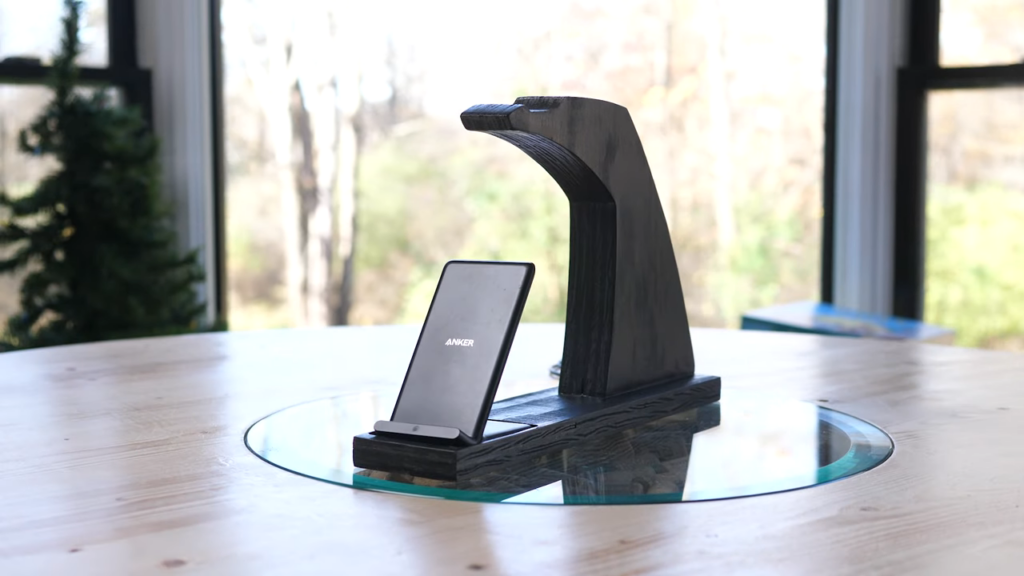
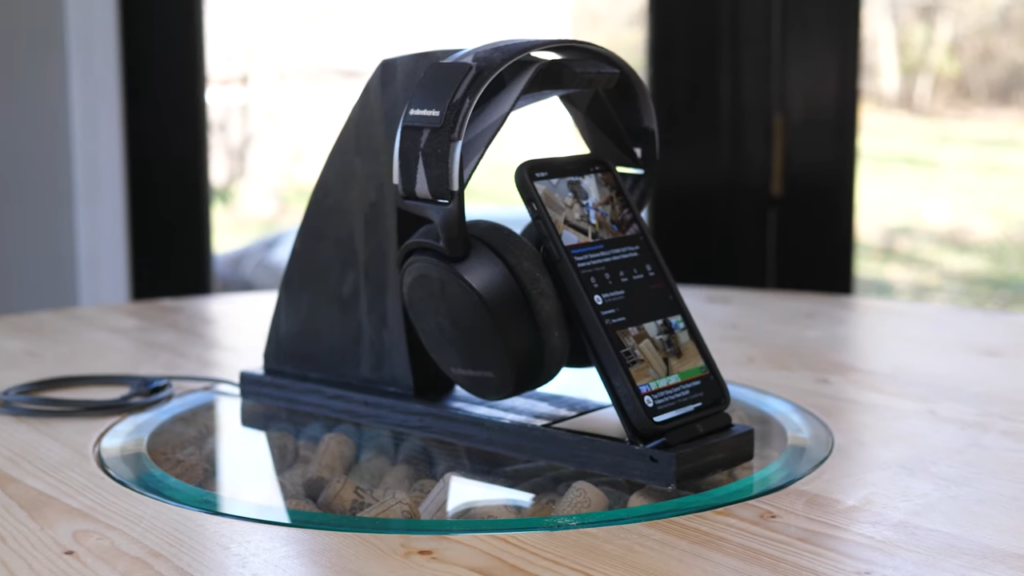
The cable routed through the channel just perfectly, and the headphones and phone look great! This was a pretty simple project, that brought me a lot of joy. And who could ask for more than that?
My ONLY regret, was after I realized that it looked like an eagle, I also realized that Sarah has our giant bag of googly eyes at her house. I’ll just have to put them on when she comes back.
Meet a Maker – John Malecki
You can watch the full interview in the video above!

If you guys are not already subscribed to John’s channel, you’re missing out on some absolutely incredible projects. Go look him up at John Malecki on YouTube.
Favorite Maker Videos of the Week!
First up, Donnie made this really cool table, which claims is easy to make, and features a hidden wireless phone charger, which is cool. Donnie is a ton of fun to watch make, which is probably why he has over 600k followers on tiktok.
Ben Tardif has been working on a super heavy duty workbench, and this week he added a few upgrades, including this amazing slideout stool, which I’m going to try to duplicate. It would be so nice to be able to sit down when you sand.
And last of all, Colin over at WoodWorkWeb shared this great video packed with advice for woodworking with pine. If you’ve been watching Maker Break for very long, you’ll know I build a TON of stuff with pine. Colin has a ton of tips for working with this cheap, abundant and very soft wood. Absolutely worth a watch.

