
This week we finish up our DIY Raised Garden Bed with the perfect Soil recipe, then we meet @Erin Spain, a long time DIY blogger with a ton of awesome projects!
Hey guys! Welcome back to Maker Break, where we share our favorite maker videos of the week, and challenge ourselves to build a project of our own! Last week, we built a raised garden bed, and it looks amazing. But now we need to get it outside, level it, fill it with soil, and then plant some veggies! Here’s how it went.

Last week, I took some inspiration from Maker Grey, and designed a simple raised garden bed. Using Cedar, I made it 3 feet by 12 feet, and about 18 inches deep.
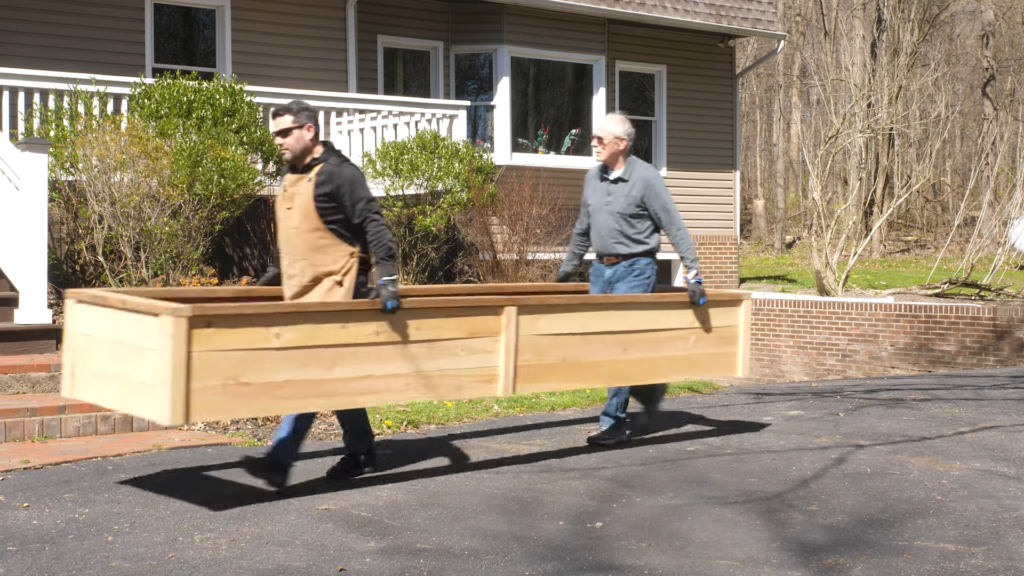
Now that it’s done, we needed to get it to the side of the house where it would be exposed to the most sun. Fortunately for Rob, his Dad is staying with us and was happy to help move it.
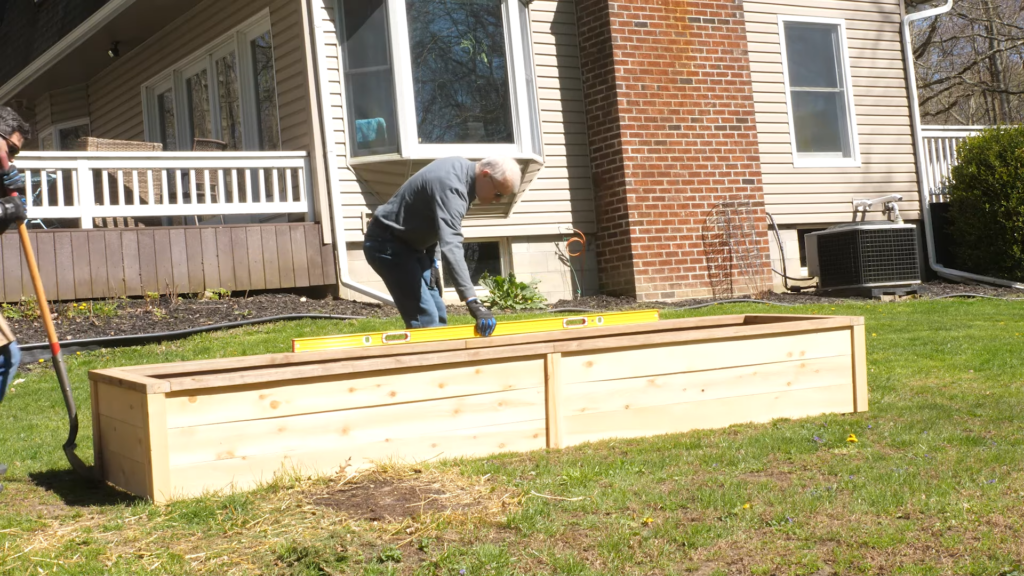
After we got it in place, we used a level to eyeball how much digging we should do, then we grabbed a couple of shovels and got to work. After we dug out the ground, we moved the bed into place to see how it fits. It wasn’t bad. A bit more digging and we had it level.
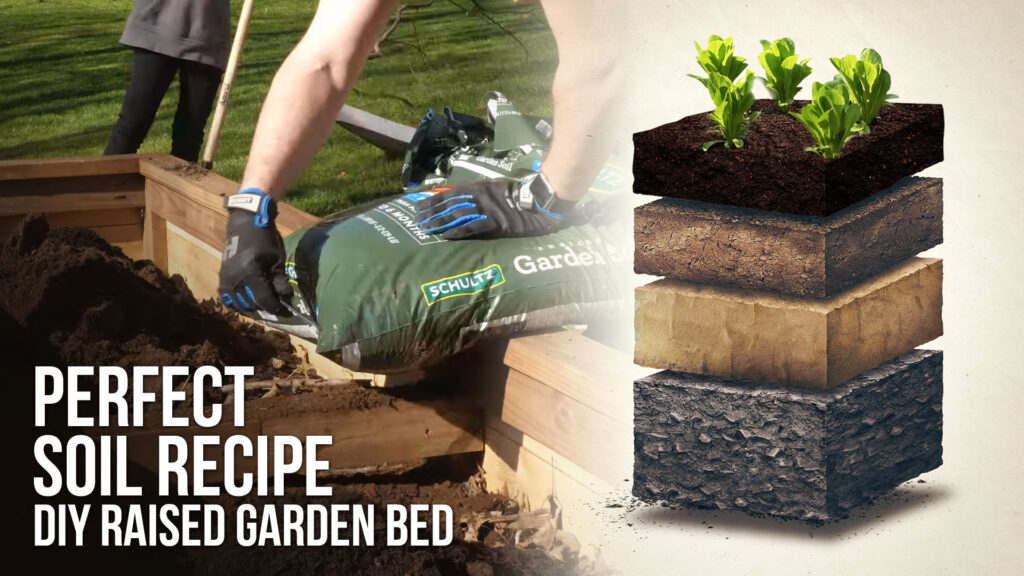
Now filling the bed is a lot more science than we thought. We looked up a lot of different guides and decided on a 3 layer plan. First I used a cultivator to break up the ground.
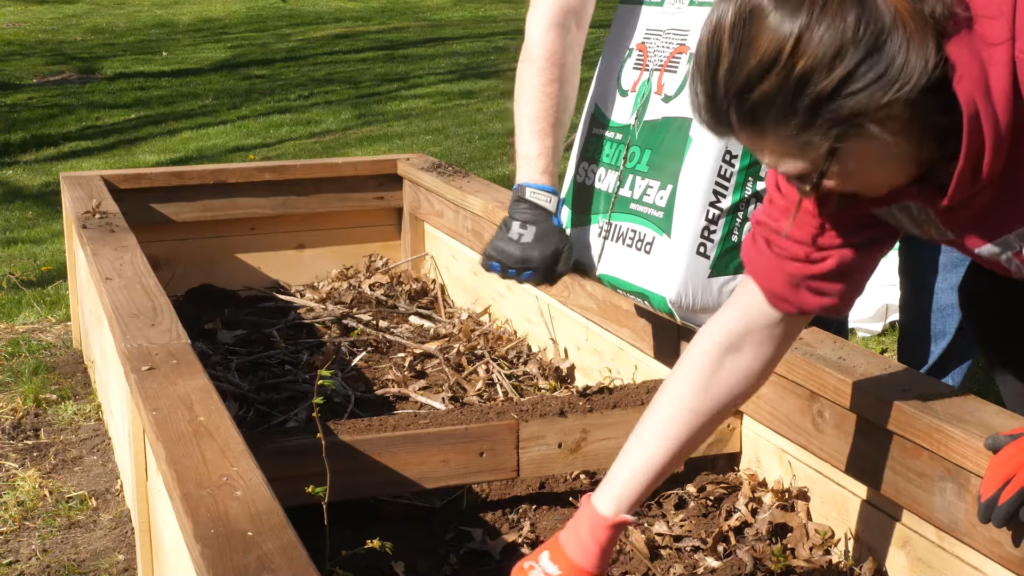
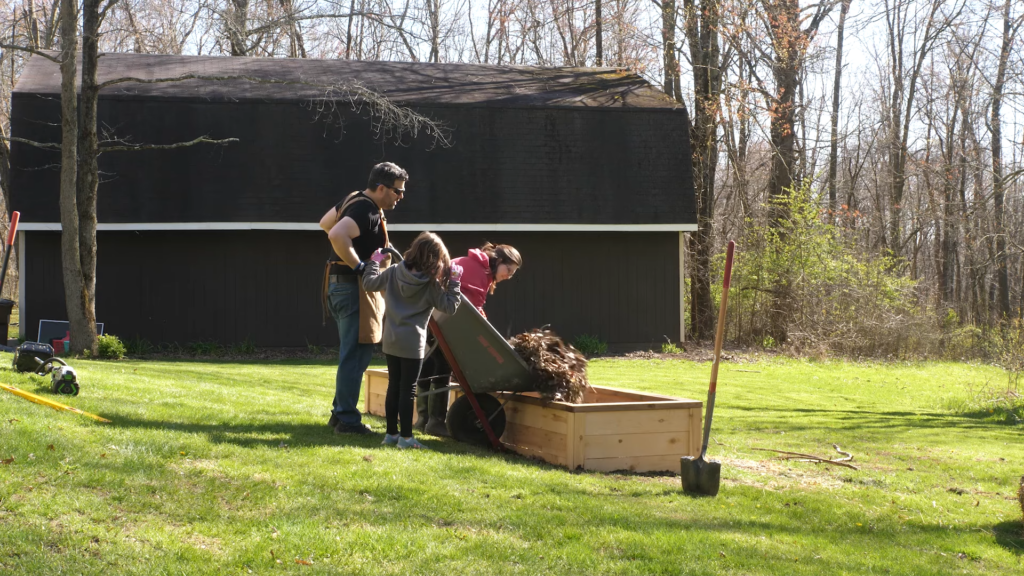
Then we gathered a layer of leaves and branches from around the property.
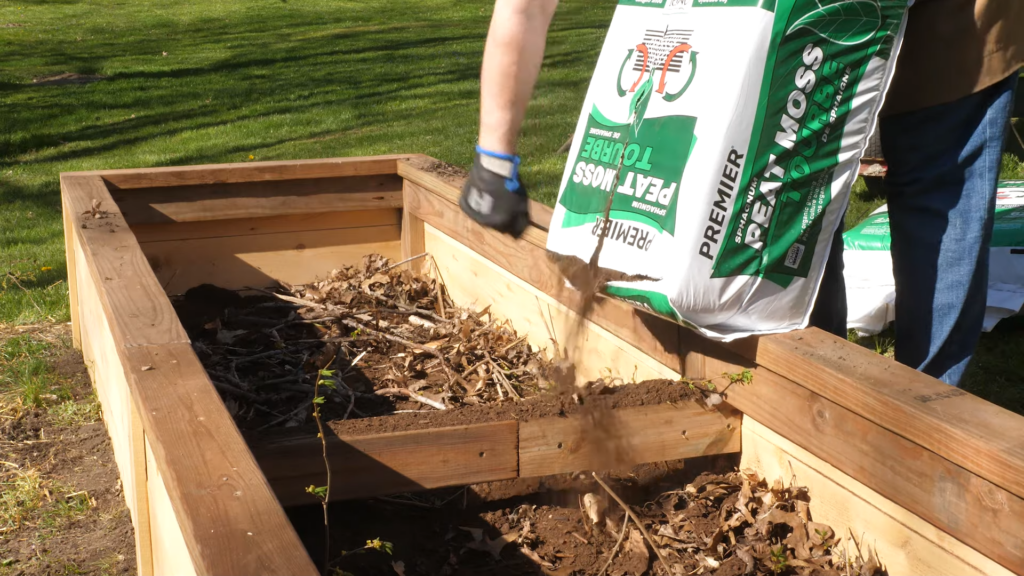
Next we purchased some peat moss and smoothed out around 4 cubic feet of it.
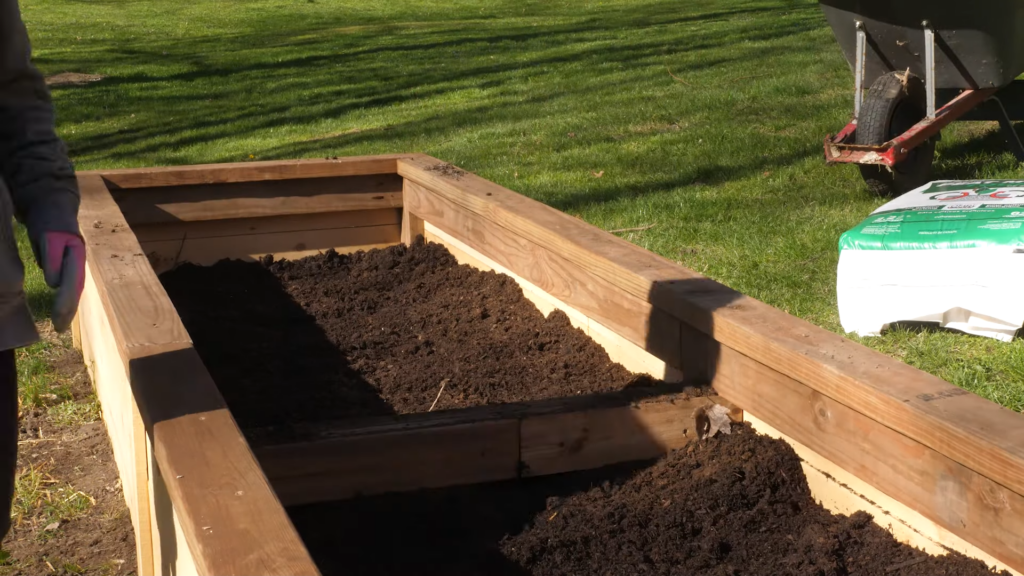
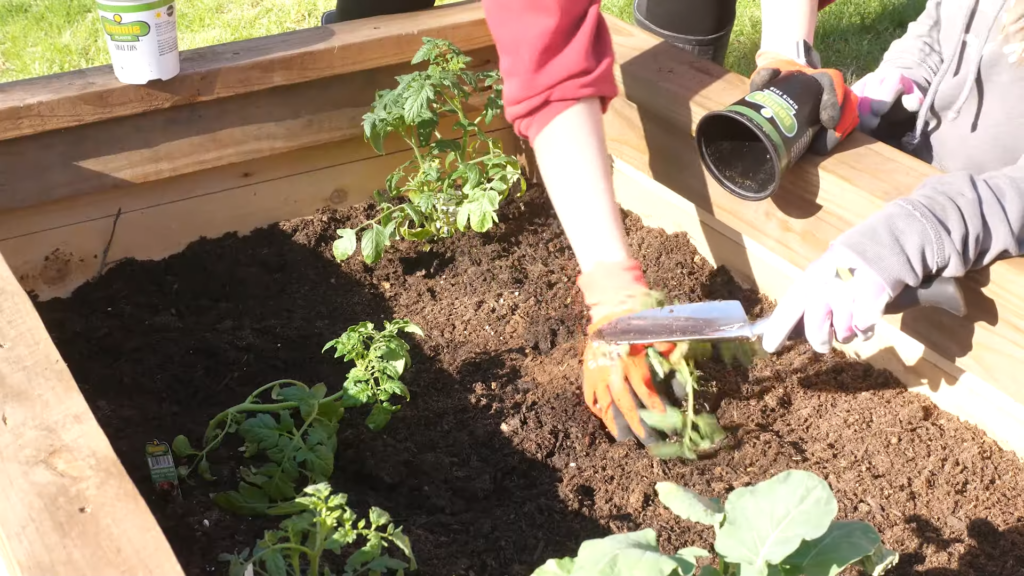
Then we finished it off with a layer of garden soil. And that’s it! This isn’t built to last a lifetime, but I figured it’s good enough to let us try gardening. And if we enjoy it, we’ll want to add more boxes, and we can improve the design with the next one.
Meet a Maker: Erin Spain
This week we got to meet Erin Spain, who has an AWESOME website at ErinSpain.com! Be sure to catch the interview in the video above.
Favorite Maker Videos of the Week
Ainsley from Small Fry Creations is getting ready for Market in Australia, where she sells her creations.
She has had great success selling her lazy suzans, so she decided to show us how she makes them. She uses nothing more than scrap wood from around her shop, and a simple router jig to cut out her circles. This would make a great project for you to try selling your own, or just a great item to make for your home.
Speaking of food, Johnny from Crafted workshop found a new job for an old table top.
This one came from the dining table he sat at as a kid! By cutting it into strips, he was able to turn this into an end grain butcher block top, which he used for the island in his kitchen. It really turned out beautiful!
We still haven’t tackled an epoxy project yet, but being stuck at home seems like a perfect time to try it out, and John Malecki was a step ahead of us.
This week, He shared his top 5 epoxy tips he wishes he knew as a beginner. Besides an excellent primer, he also hits on several common mistakes people make and helps you understand why there are so many types of epoxy, and how to choose the right one. This is a great video to watch If you’re planning to dip your toes in epoxy.
Thanks to HART for sponsoring this episode, and for reminding us that we can do anything if we #DoItWithHART

