This place just isn’t the same with little Zoe running around, and last week, she took ill, and of course that means Sarah had to stay home with her. So I had some time to myself in the shop, and decided to make something for Zoe.
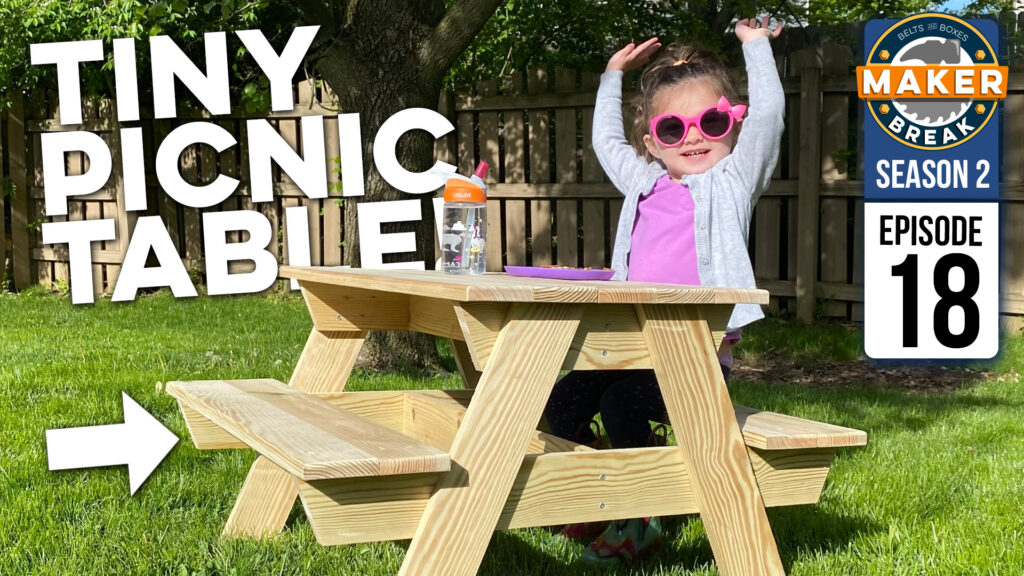
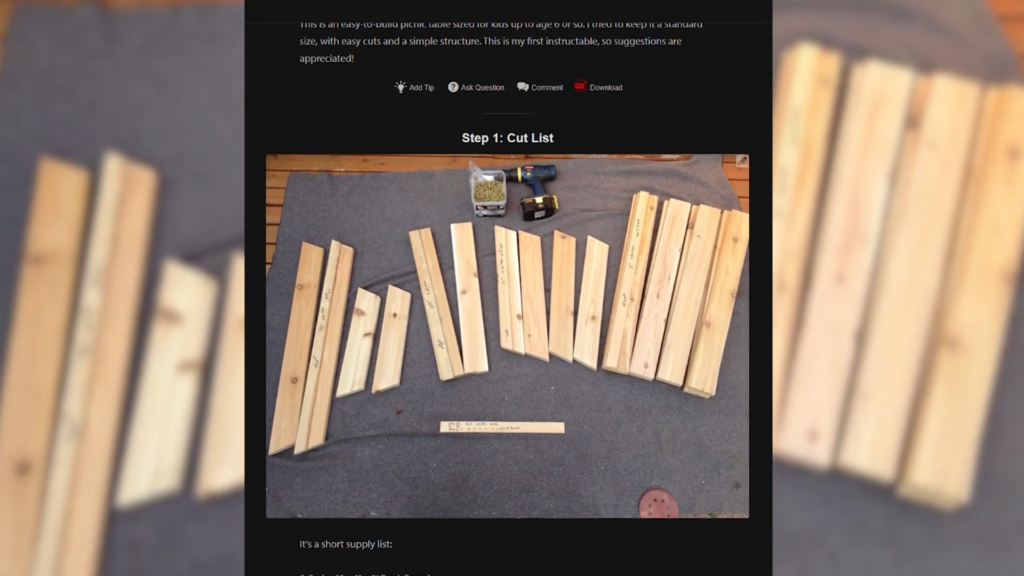
Sarah mentioned that Zoe wanted her own picnic table for their back yard, so I headed over to Instructables, and found the perfect plans shared by kputney, for this adorable picnic table for kids. All I needed was 8 1×4 8’ Cedar deck boards, which came out to only $8,500. I’m kidding.
These are Weather shield pressure treated board from Home Depot, which were only 5.47 each, which wasn’t so bad. I felt terrible for the guy buying OSB for $75 a sheet.
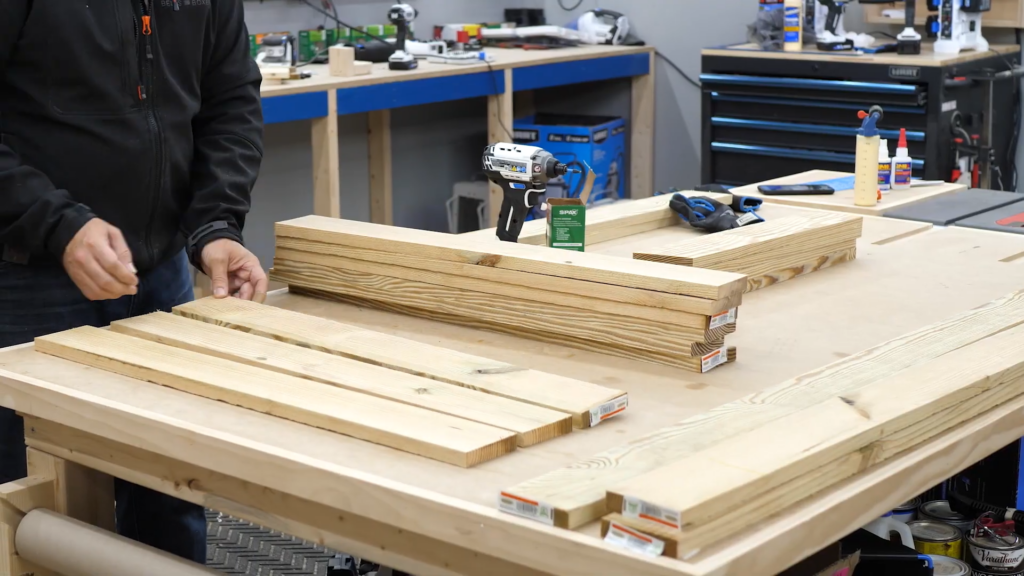
Anyways, I got my 8 pieces and started making cuts. The plans are super simple. You cut 2 seat supports, two table top supports, two center supports, four legs and 9 tabletop and bench pieces. To hold it all together, I used 1 ¼” outdoor decking screws from SPAX.
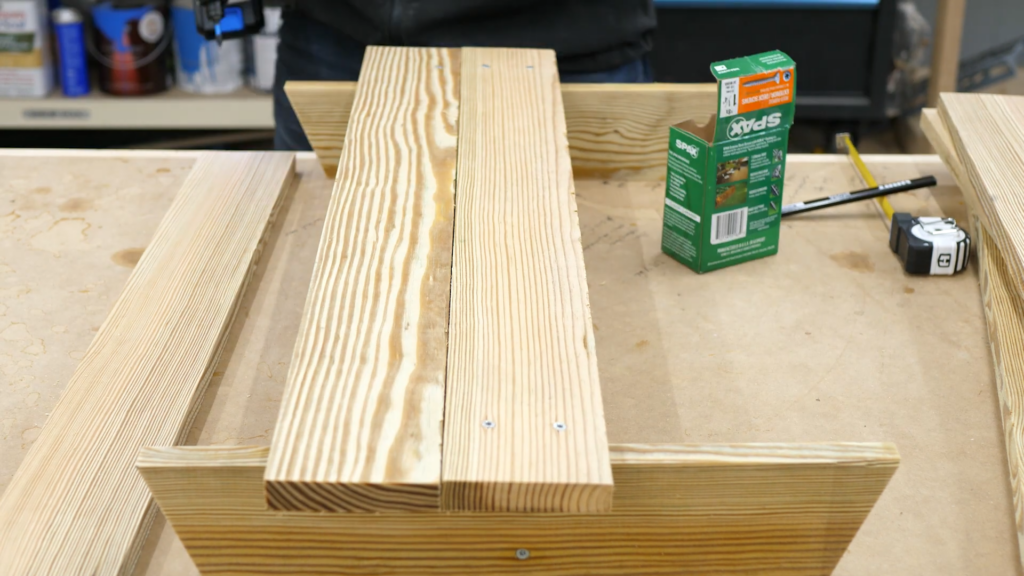
To start, I chose the best looking pieces for the table, and laid them out how I wanted them. Next, I setup the top supports, and screwed them together on the ends.
Then I flipped the support over, centered the first top piece, and screwed it down. The other 4 pieces came next, until the top was all screwed together.
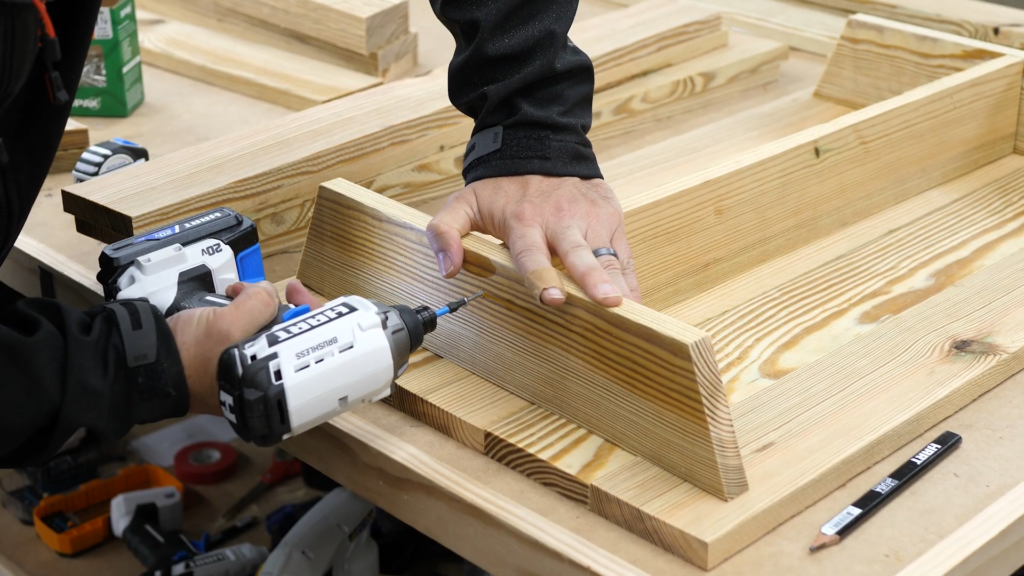
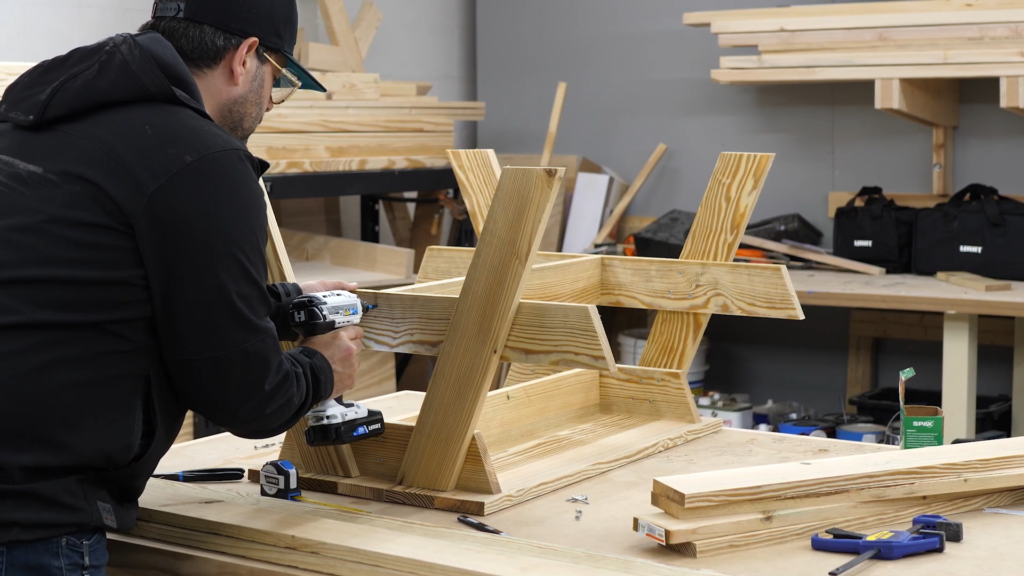
When that was done I turned the top over, and clamped the legs in place. Then I screwed them on from the inside, with 4 spax on each leg.
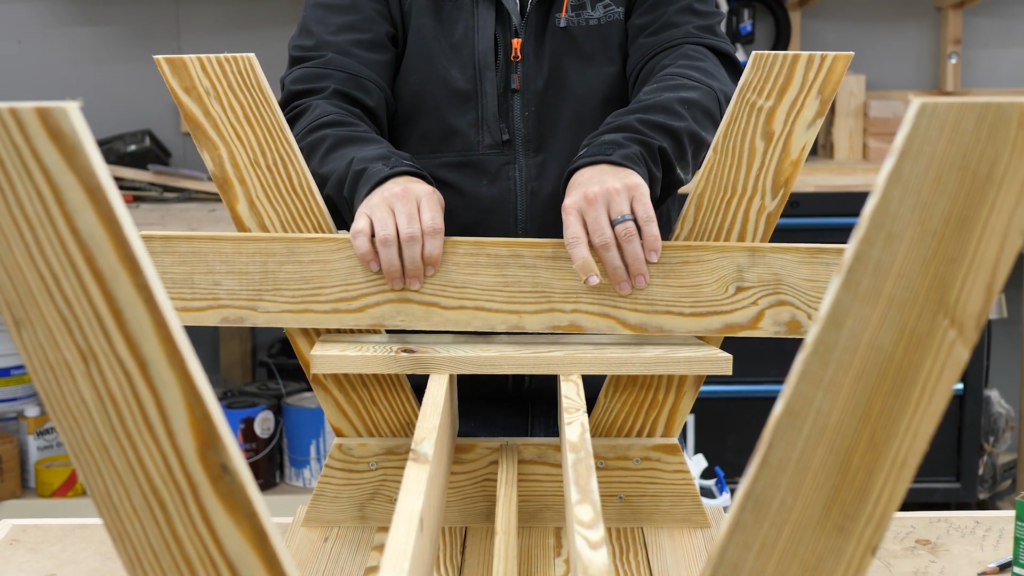
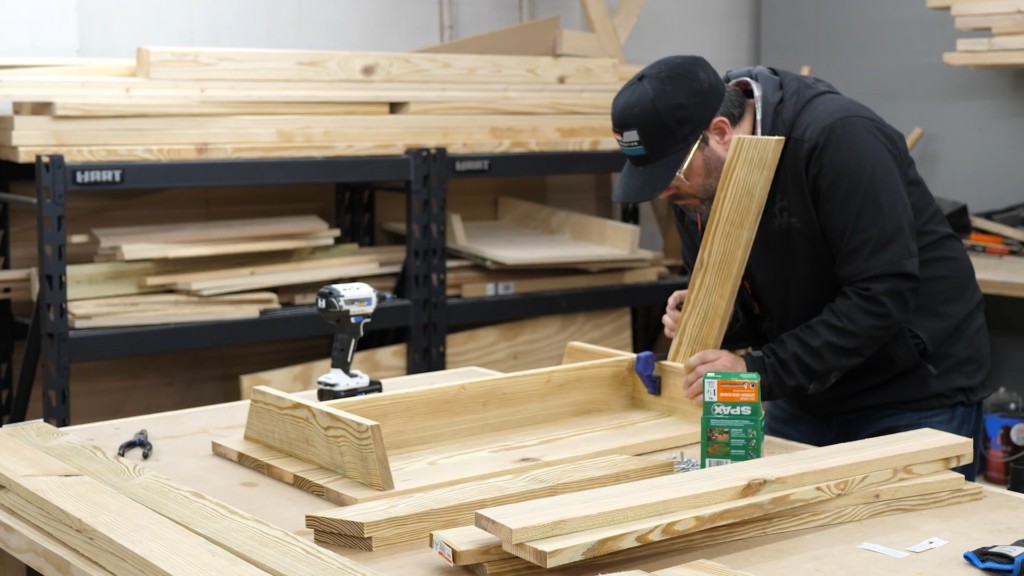
Next, I needed to attach the seat supports to the legs, and to get them in the right spot, I simple stood two scrap pieces vertically, and another on top, which held the support exactly where I needed to screw it in. I did the same on the other side, then screwed the cross support in.
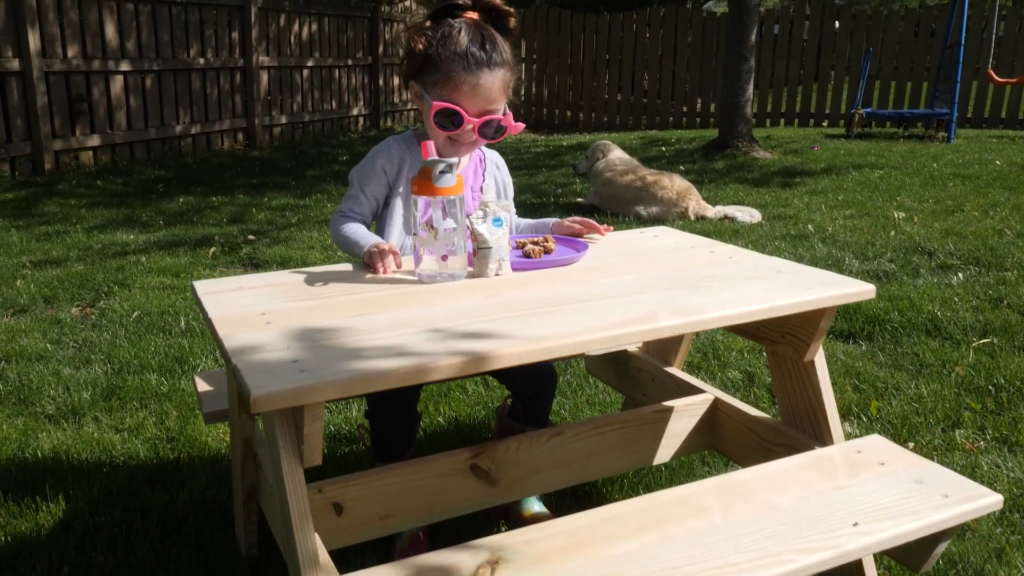
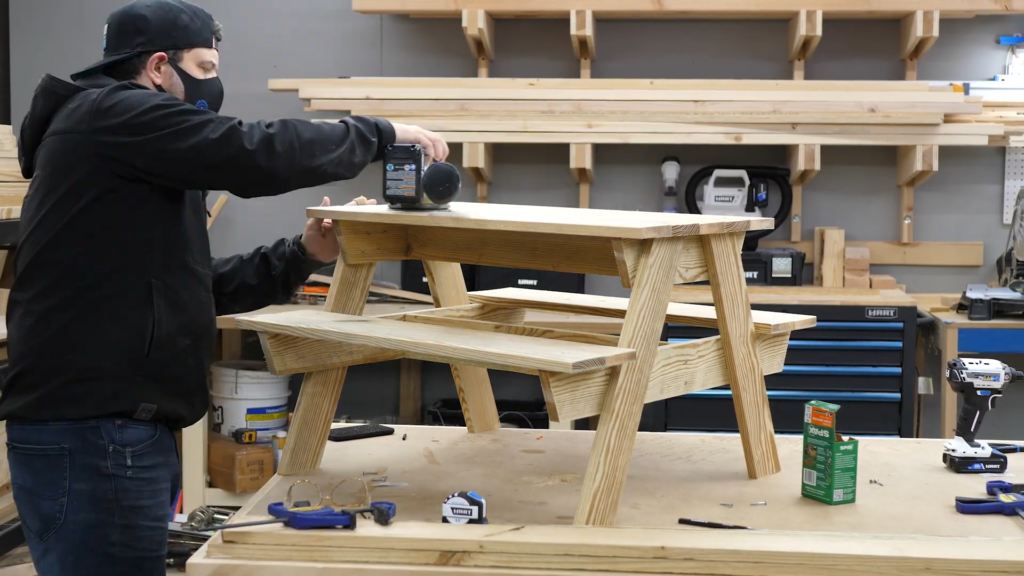
Next I flipped it over, and finally screwed the seat pieces in place. And that’s it. Look at that beauty. Now they recommend finishing this with Varnish, but Sarah wasn’t sure if she wanted to paint it instead, so I left it as is for now. It is pressure treated, so it’ll be fine until she decides.
This is a really inexpensive, and easy project that just about anyone can do. If you have a little one in your life that enjoys the outdoors as much as Zoe, I highly suggest you give this a try. I’ll link to kputney’s Instructable here.