
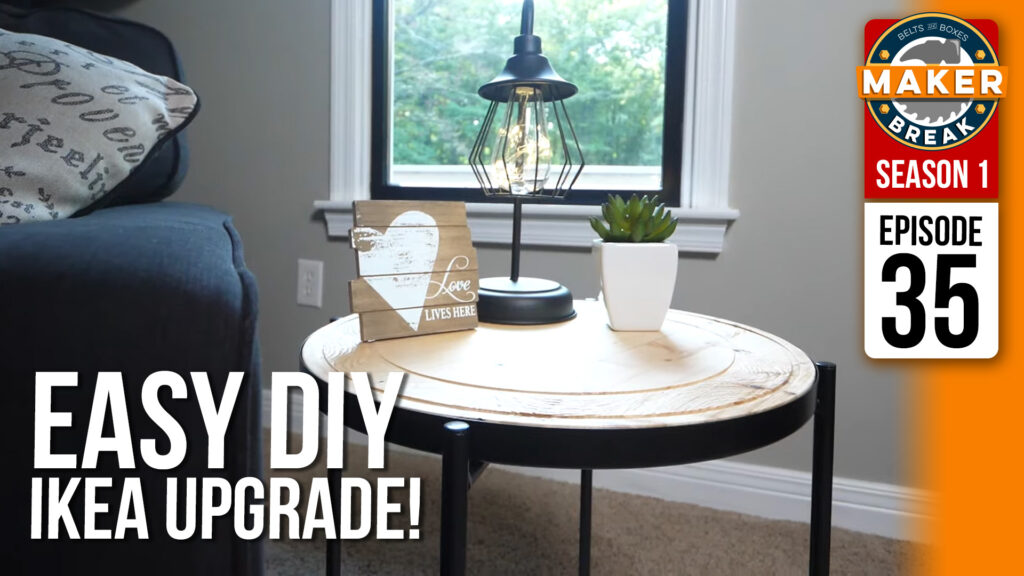
This week I finally got to use the HART rotary tool to carve details into my IKEA Hack table! Plus, we get to meet Ben from Virginia Home Improvements, and we’ll share a few of our favorite Maker videos of the week, but first It’s time for a Maker Break!
This week I tried something new with our HART rotary tool! I got some carving bits, and carved a design into a new circular table top for my IKEA end table.
Project of the Week
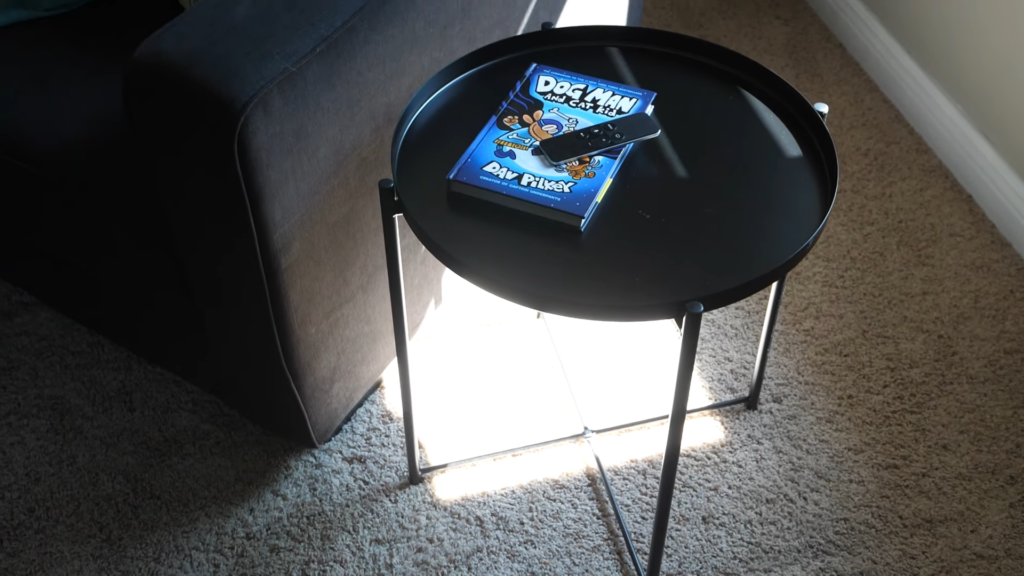
My wife bought this IKEA end table a couple years ago, and immediately asked me to make a round wood top for it, to which I replied. “Sure, as soon as I figure out how”. 2 years later, it occured to me that not only did I have the ability to make a perfectly round insert, but I had a rotary tool I had yet to use. So the project began.
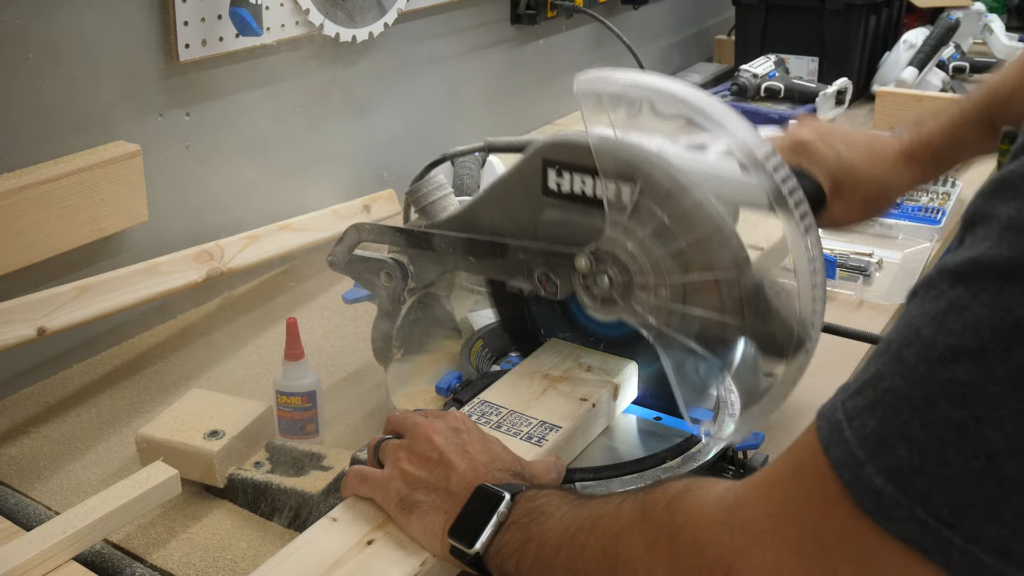
Now I wanted this top to sit flush in on the table, so I needed it to be 1 and ⅛” thick. Not having anything that thick besides 2x4s, I knew I’d need to rip a few on my table saw. I first cut them down to length on the miter saw to make the rips easier.
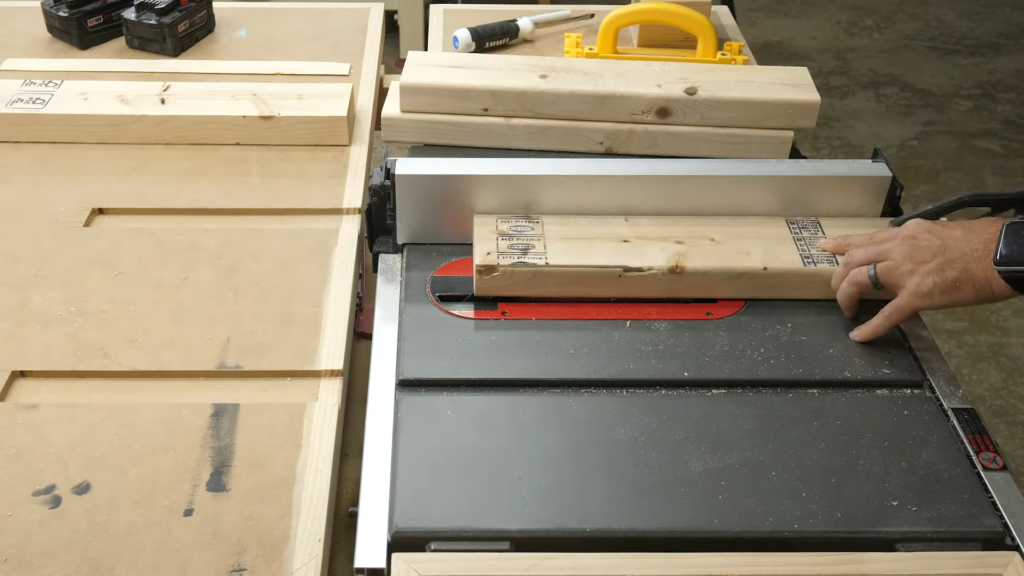
Next I used the table saw to square up the sides. Then I rotated each piece vertically to rip them down to 1 and ⅛”. Now my blade doesn’t have the capacity to cut all the way through 3 and ½” inches, so I had to run them through twice, once on each side.
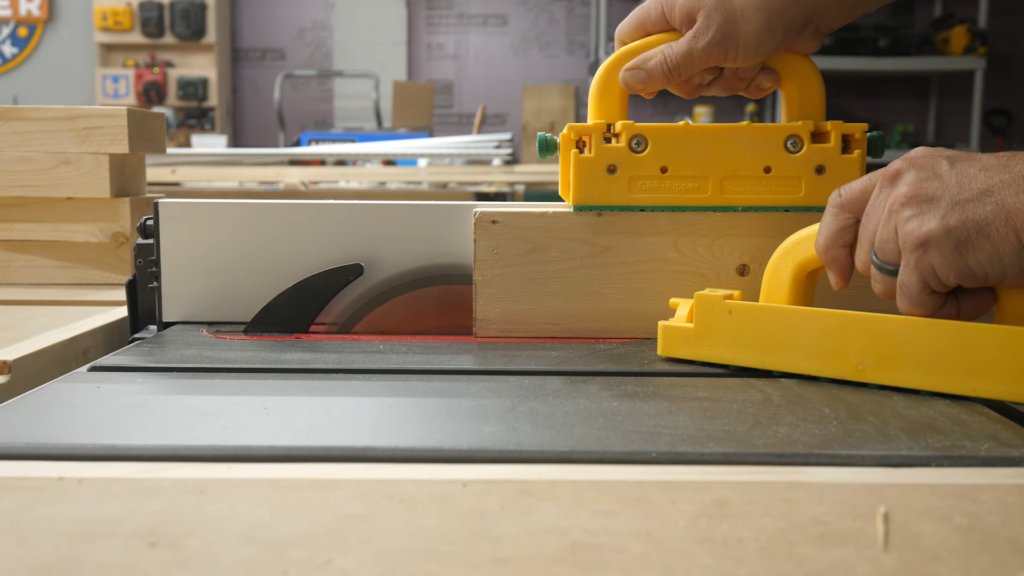
This worked fine. It was a little nerve racking, but I made sure to apply all three directions of pressure that Steve Ramsey taught us. Down, forward and into the fence. These Grr-Rippers helped a bunch.
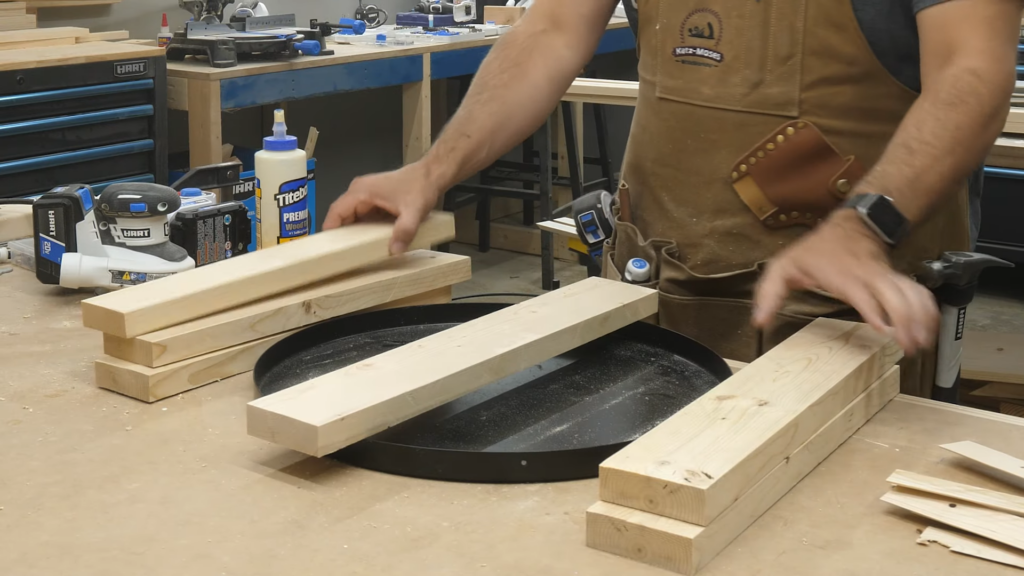
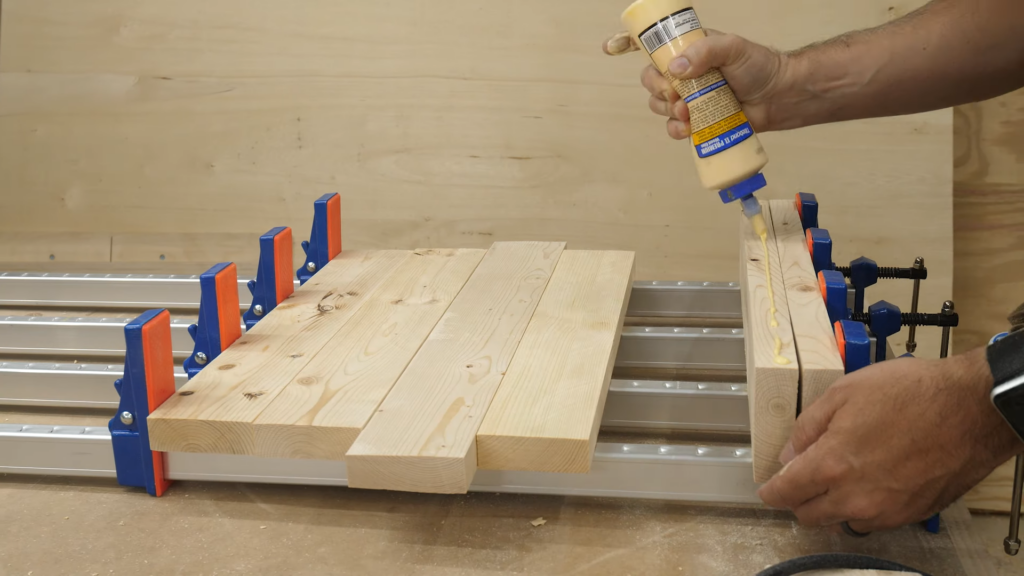
Once I had my pieces cut down, I arranged them on the table top to chose make sure I had a nice pattern between the pieces, and then I glued them up in our parallel clamps and let them dry overnight.
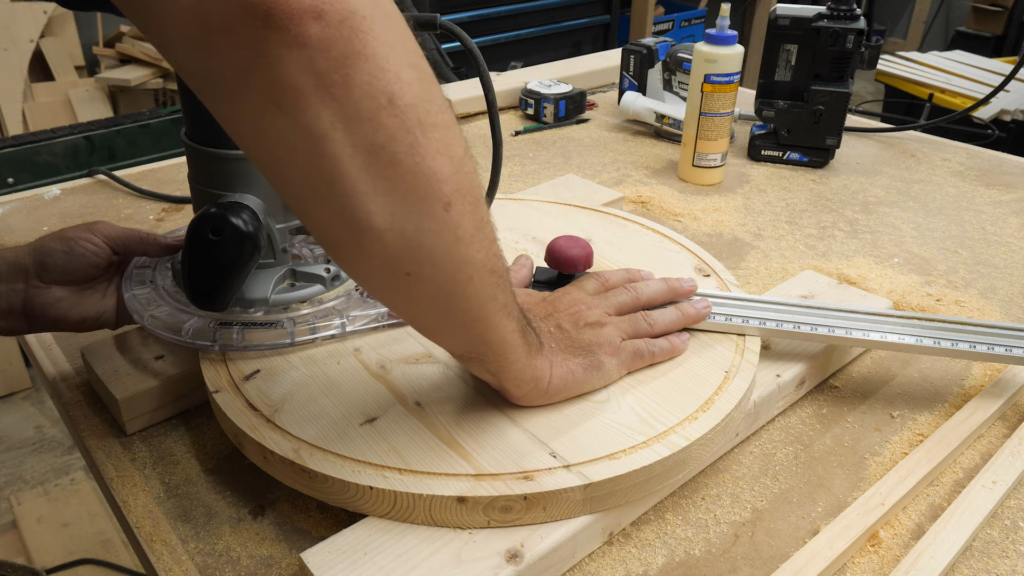
After sanding them as flat as I could, I used my circle cutting jig and my brother’s router to cut out the circle. I found my center point and screwed in the pivot piece. I was careful to cut a bit wide, measure, and then slowly move in to make sure the final piece would fit the top perfectly.

Once I got the diameter right, I slowly made pass after pass, lowering the bit a little each time until I finally had it cut out.

The results was a perfectly round table that fit beautifully into the top. I’d eventually have to route a ¼” roundover on the bottom once I realized that top had a routed bottom of it’s own.
Now part of my plans from the beginning was to cut a shallow “band” around the diameter of the table, and use it as a guide for the carving I wanted to do. So I adjusted the bit to only cut around ⅛” deep, moved it ¾” inside the circle, and cut a grove around the circle. Then I slid the router in again, and cut an inner circle.
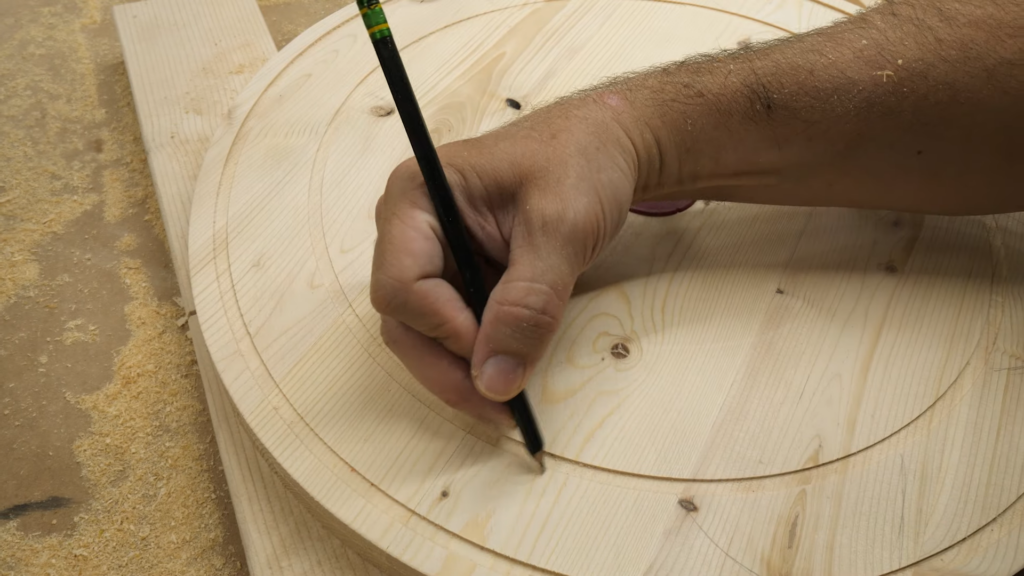
Next I used a pencil to make some guide lines for a wavy pattern I wanted to carve. Then I clamped down the top, and grabbed my HART rotary tool, and installed a round carving head that looks like it little ball, and started carving.
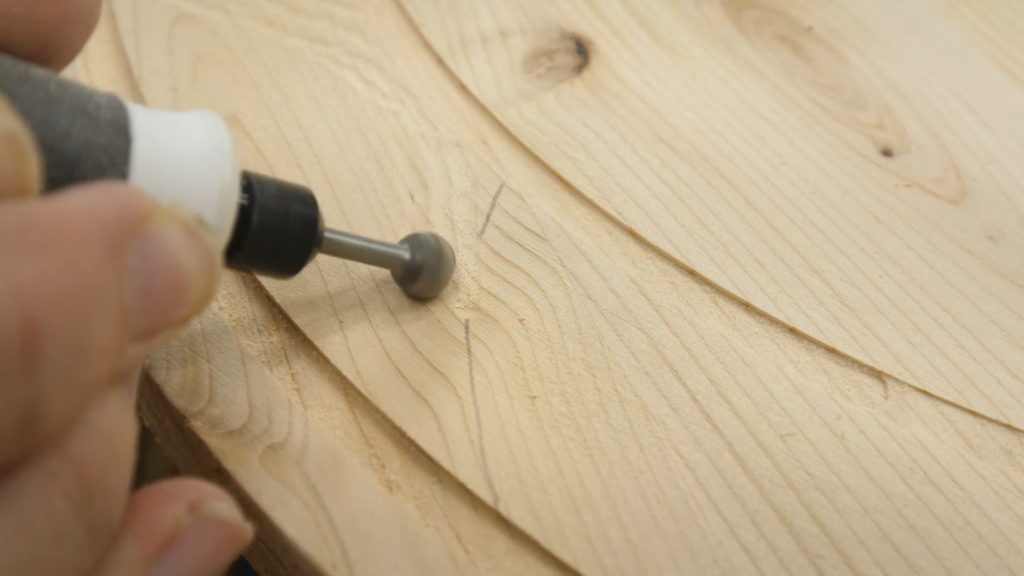
I made short purposeful cuts in the wood, doing my best to stay in the lines. This process turned out to be really fun. I didn’t do anything groundbreaking here. But the results, were even better than I hoped.
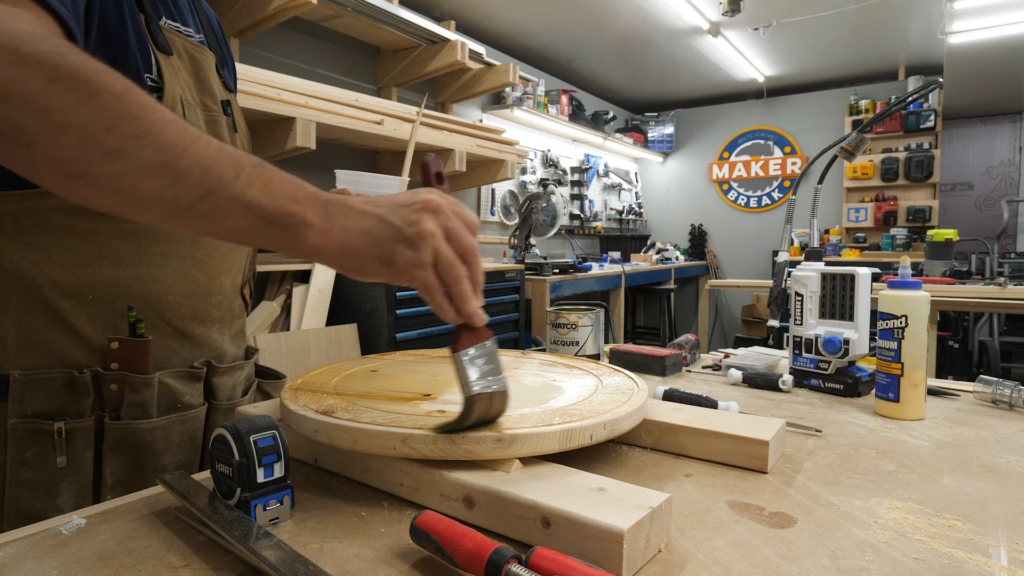
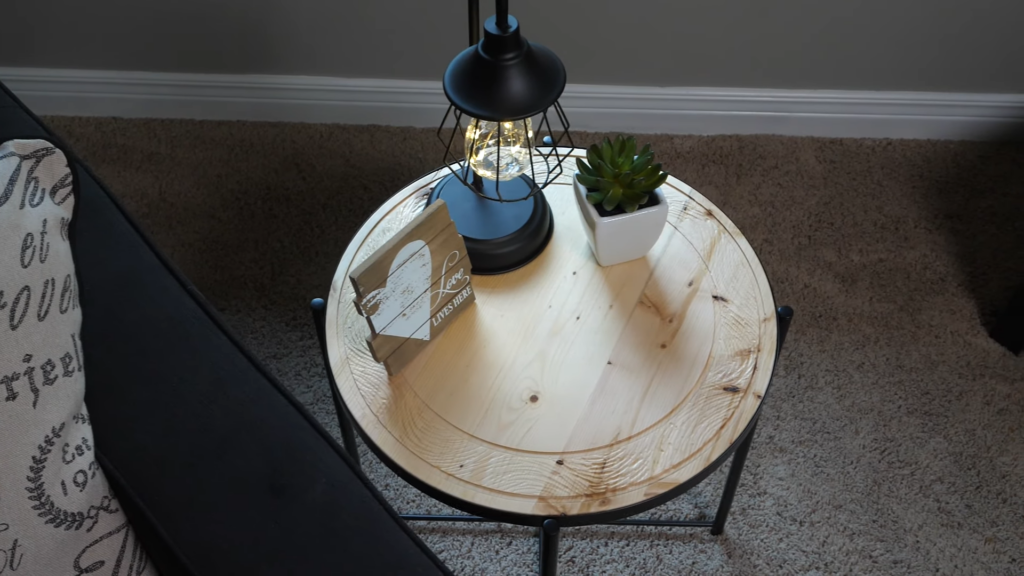
Last of all I applied a few coats of lacquer, and well, here’s how it turned out!My wife admitted later that when I first told her I was going to carve a design into the top, she was NOT excited about that, but when I was done, she loved the extra detail, and asked for another one.
Meet a Maker
It’s time to Meet a Maker. This week we got to talk with Ben from Virginia Home Improvements. To see his interview be sure to watch the video above, then check out his Instagram channel linked right here. https://www.instagram.com/virginiahomeimprovements/
Our Favorite Maker Videos This Week
Before we go let’s take a quick look at a couple of our favorite maker videos of the week. First up Chris Salamone shared a build for 2 or 3 desks, I can’t really tell, that should be easy enough for anyone to build
Heading over to Fisher’s Shop we find the 3rd and final episode of his 3 part series featuring Ultimate Table Saw Jigs. The dovetail jig is particularly genius.
And finally Paul over at Jackman works gave us a detailed tour of his shop, which always looks enormous on camera, but it’s only a 1 car garage! Now I feel spoiled.

