
This week I started work on our biggest project yet, but took time to make something small that my wife has been asking for. Plus we’ll look at a few of our favorite Maker videos of the week, but first It’s time for a Maker Break!
Hey guys! Welcome back to Maker Break, where we share our favorite maker videos of the week, and challenge ourselves to build a project of our own! This week I started on a huge project for my kids, but it turned out to be so big, I simply need more time. So for this week, I finally caved and made something my wife has been asking me to make since our first episode. Fortunately, it’s dirt easy to make. Here it is.
Project
So as I mentioned, I’m working on a rather large project for next week, so this week I decided to do something simple, and check something off my honey do list at the same time. My wife has been asking me forever for a simple plastic cup holder with a slot for a marker. So I headed into the shop to do just that.. With zero plans.
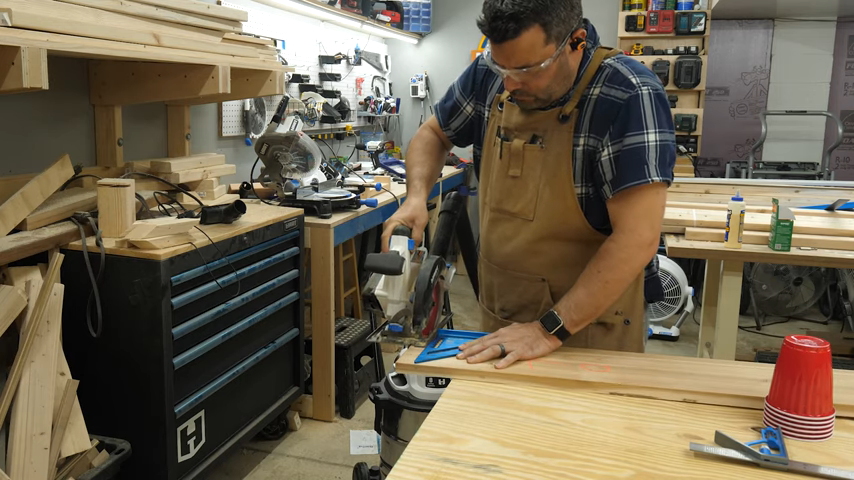
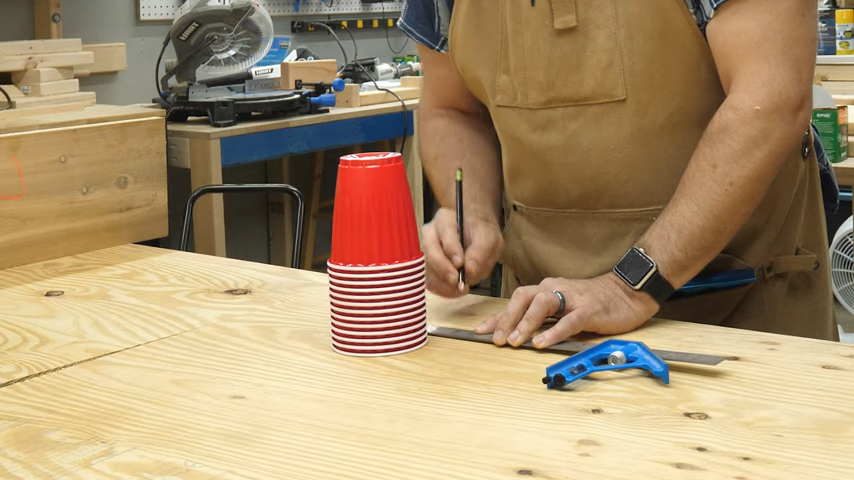
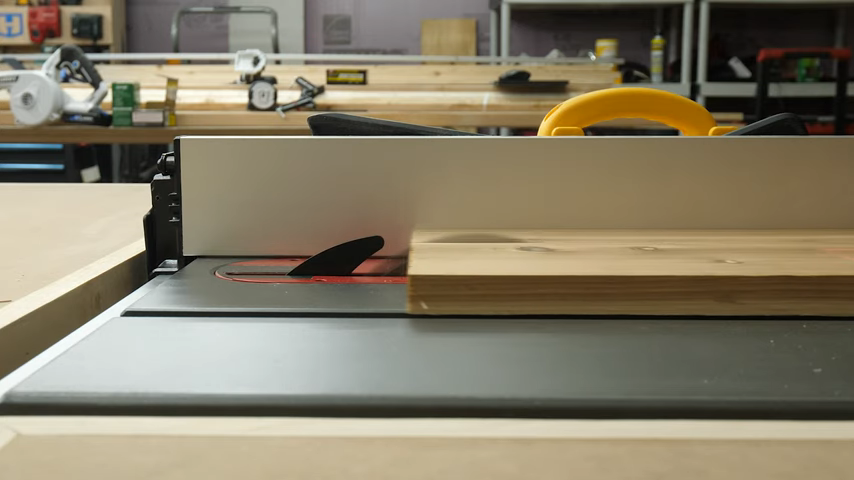
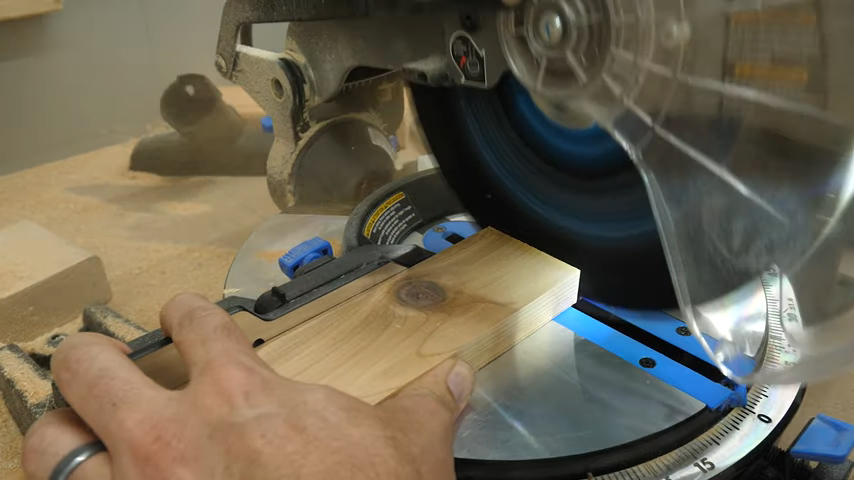
I started by measuring the cups, which were about 4in in diameter. I found this awesome ¾” thick piece of I don’t know what. I’m not good with species yet. But it’s pretty, so I figured it would do. I started by cutting one end of the board clean, thinking I’d make my next cuts on the miter saw. But nope. Too wide for that, so I brought it over to the table saw to rip it into a 2 ½” strip.
Next, I setup the miter saw to cut 4 and ⅞” pieces. Now cutting all 4 sides the same size means I’d have to stagger the joints, which isn’t to everyone’s taste, but I like seeing the end grain on each side. I feel like it gives it a bit of character.
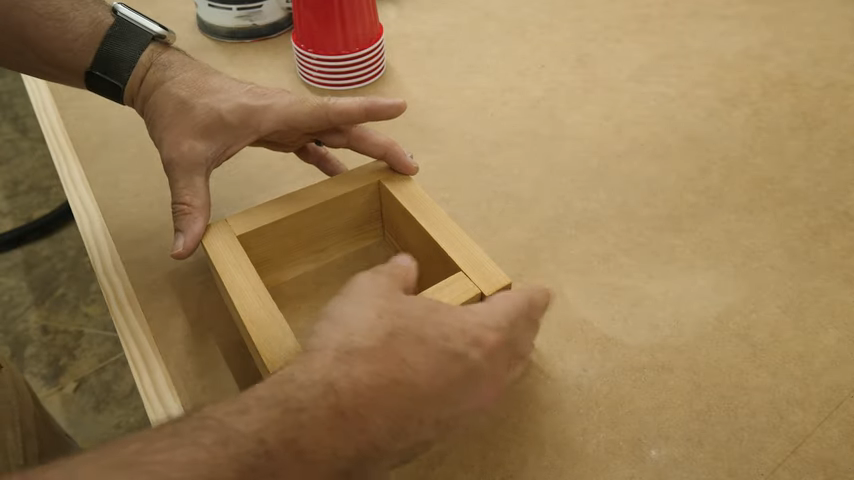
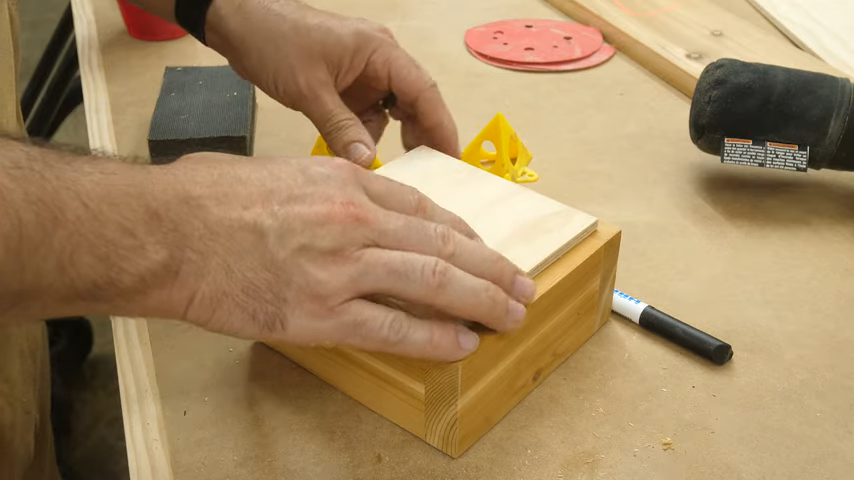
Once I had my 4 pieces cut, I geared up to do some sanding. One side of the board was rough, so I smoothed it out. After that I mocked up the 4 pieces to make sure I had the right sides out, and liked the way it all looked. I also tested the cups. Perfect fit. I’m a genius.
Now this piece will never see any stress, so I knew glue would be fine, and I used a Bessey 4 corner band clamp to hole it together. That didn’t work out so well. I think the clamp is intended for mitered joints. Anyways, I ended up adding a few clamps to get all the joints together.
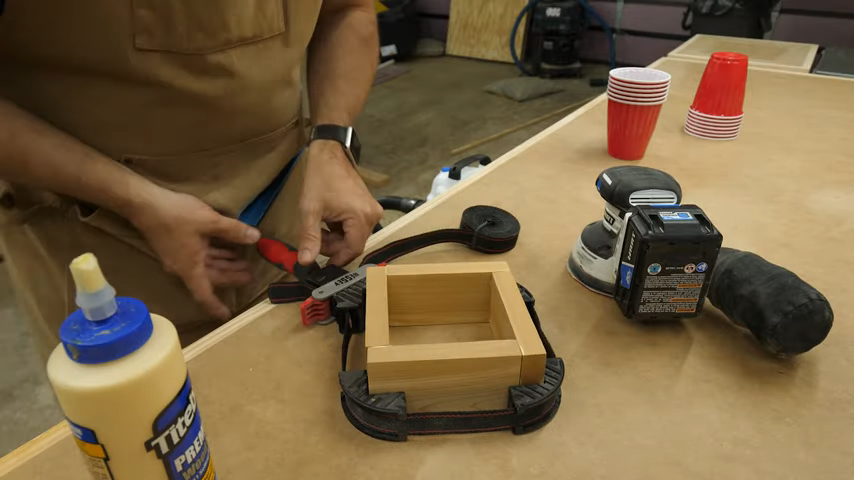
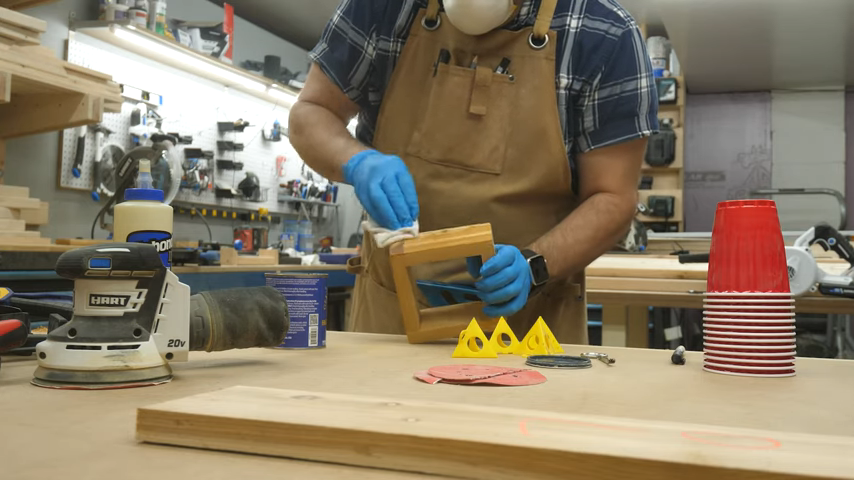
30 minutes later I came back, removed the clamps and did some more sanding, evening out each joint. It was looking good so far!
Next I figured I’d bore out the hole for the marker. For that I used this forstner bit, which made a REALLY clean cut.

Next I figured a coat of semi-gloss general finish would let this wood (whatever it is) look it’s best, without hiding any of the pretty grain. Look how pretty that is! At this point I was sure my wife was going to love it.
I was wrong. You see, I left a bottom out of it, thinking it didn’t need one. But my wife suggested that she’d be carrying this thing outside for picnics too, so I set out to find a bottom. I settled on a scrap piece of ¼” plywood I found, and cut out a 5×5 piece that I could glue to the bottom, but be small enough that you wouldn’t see it from the top, making it look like it’s floating off the table.
And it actually worked kind of great! I put a coat of finish on the bottom piece, and that was that! The wife was happy, I was happy, we’re all happy! The last step was to find a marker, and I found one in the shop, that just happened to be a perfect fit.

Meet A Maker
Usually at this point, we interview another maker, but this week’s maker had some technical difficulties, so we’ll have to meet them later. So we wanted to instead take this opportunity to remind all you makers out there, that we’d love to have you! Of course! If you have a maker channel on YouTube or Instagram, and you can handle answering 5 questions on camera, let us know! Or if you have a favorite maker, go tell them they should do a segment on Maker Break and point them to this video. All you need to do is send us an email request at [email protected]
Favorite Maker Videos
Before we go we wanted to point out a few of our favorite maker videos this week. We’re starting off with Ana White who built this really clever table and cart for a portable grill, making it easy to setup a grilling area, while neatly putting it away when you’re not cooking out.
Stumpy Nubs shared a piece of shop furniture I haven’t seen in years. He built a Sawbench. If you’ve never seen one of these before, a sawbench is kind of a short workbench designed to hold wood while you saw. There’s a split in the middle, giving you support on either side of the cut, and the height allows you to use your body to clamp your material. cool.
And finally, Ben from Home Made Modern documented a commissioned table from start to finish, and then takes us through the entire design process, and even his negotiation with the client. It’s a really cool look into the next level of Making.

