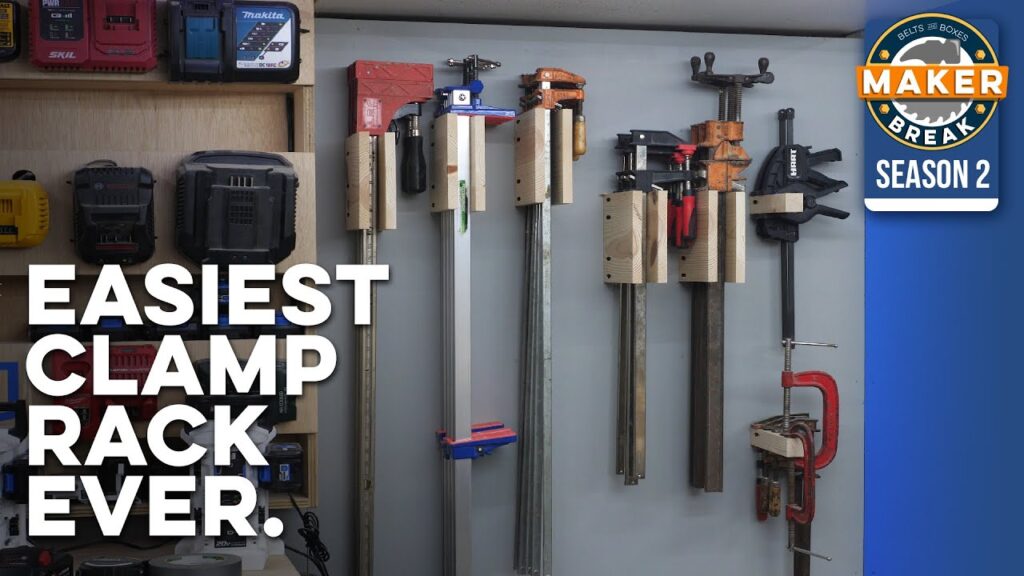
This week we find a new home for the mess of clamps in our shop. It is a crazy simple design that Rob’s dad helped us with, here’s how it went!
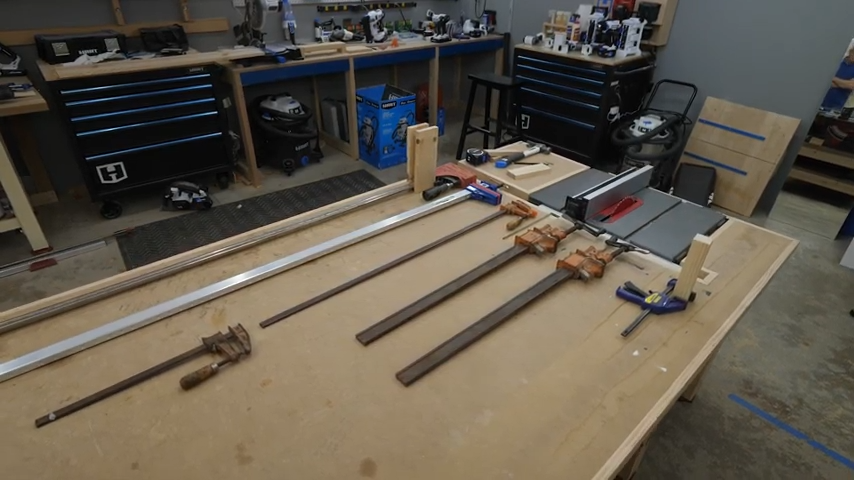
We do NOT have a lot of clamps. Like a lot of DIYers, we started out with a couple of quick clamps, and a handful of clamps I got from my Dad. Over the years I would grab a couple more when on sale, so I ended up with this random cluster of clamps.
And until now, they’ve never been organized. So today my Dad and I decided we would find a way to store them on this section of wall between our charging station, and our OPE.

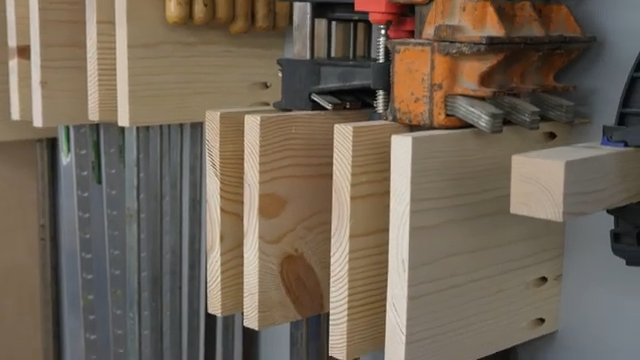
So my Dad told me he had this technique that would be really strong, and really easy to make. You essentially just need two identical pieces of wood, several inches thick, and mount them the same width apart as the bar on your clamps.
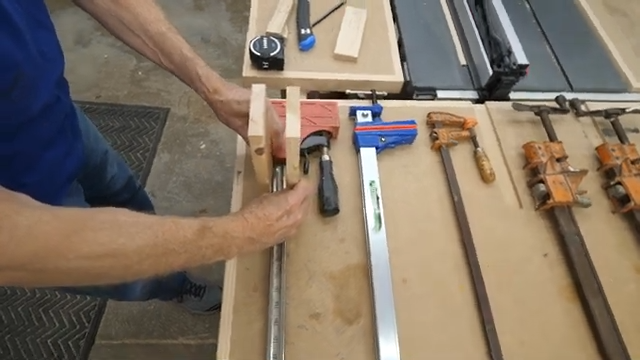
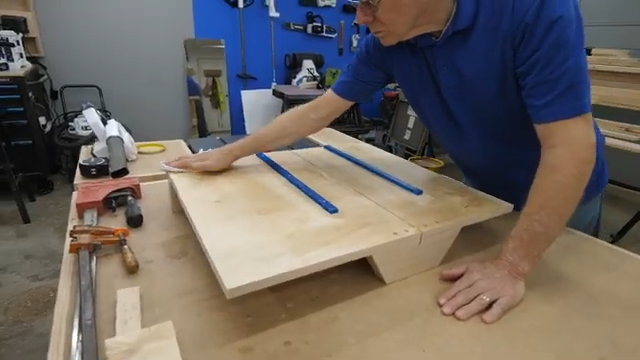
He wanted to use boards a bit thicker than what our miter saw could handle, so he waxed up the crosscut sled we made last year, and started cutting his pieces.
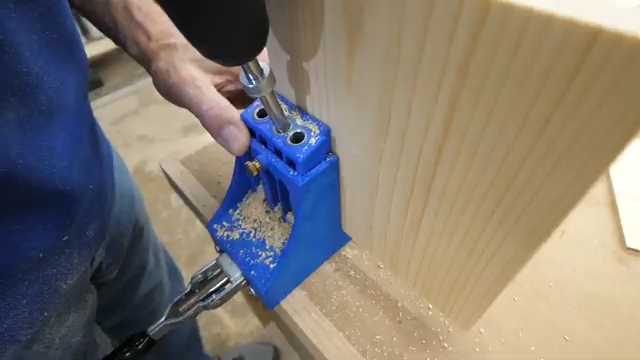
To make sure these were strong enough to hold several heavy clamps, we decided to use pocket holes to hold the pieces to the wall. The wall is a sheet of plywood, so we could screw them directly in.
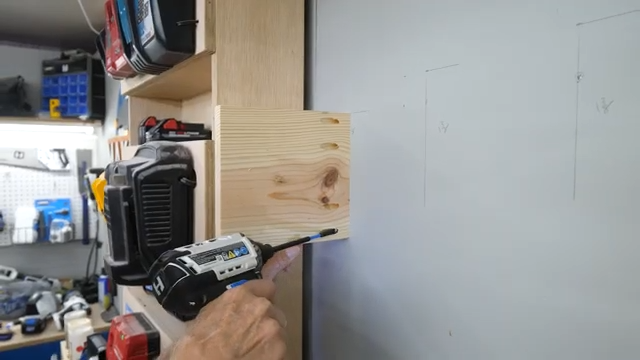
Next, we measured the wall, and marked off our locations, and then proceeded to screw them in. We used a spacer to make sure each set was the proper width. Then we just slid in the clamps!
But of course we had several smaller fast clamps and c clamps that wouldn’t work as well, so my dad’s solution was to simply add a few 2×2 bars that we could clamp, the smaller clamps onto! And that was it!
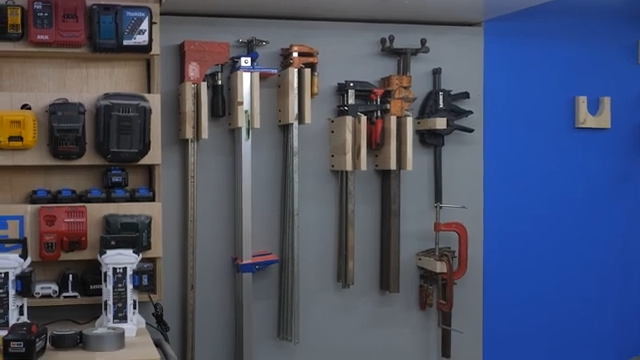
This was WAY easier than I thought it would be. And as we add clamps to our collection, it will be really easy to expand our clamp wall to accommodate them. As long as your two pieces of wood are wide enough, they’ll hold a ton of clamps.