
This week Sarah took away my project privileges and built a serving tray! Plus we get to meet a new Maker and we’ll share a few of our favorite Maker videos of the week, but first It’s time for a Maker Break!
Project of the Week – Serving Tray
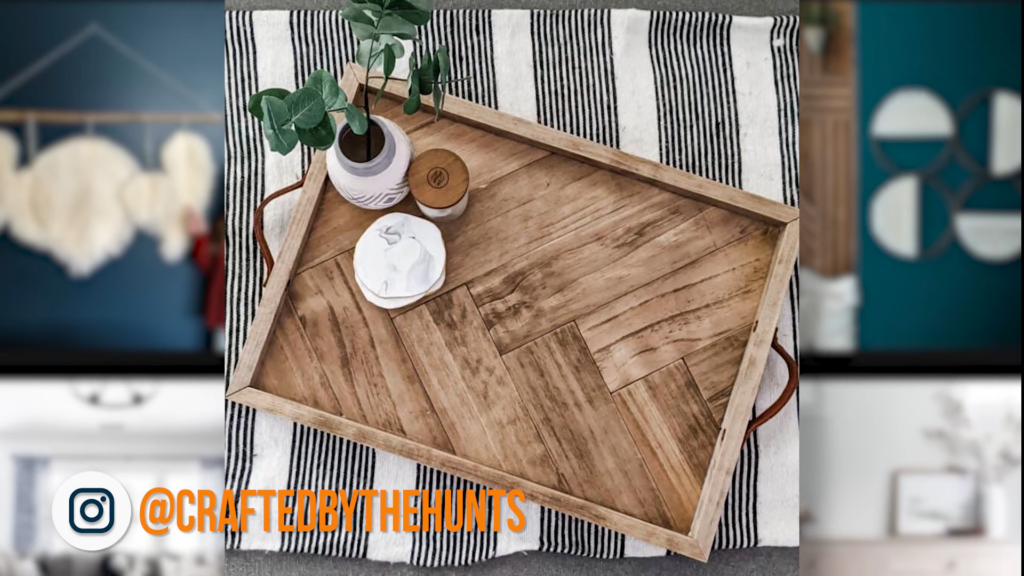
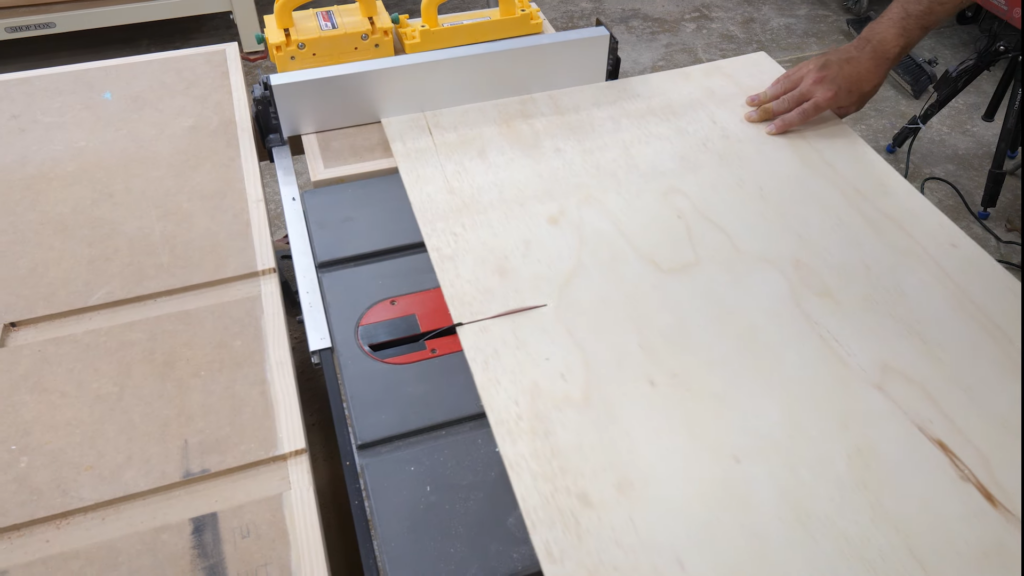
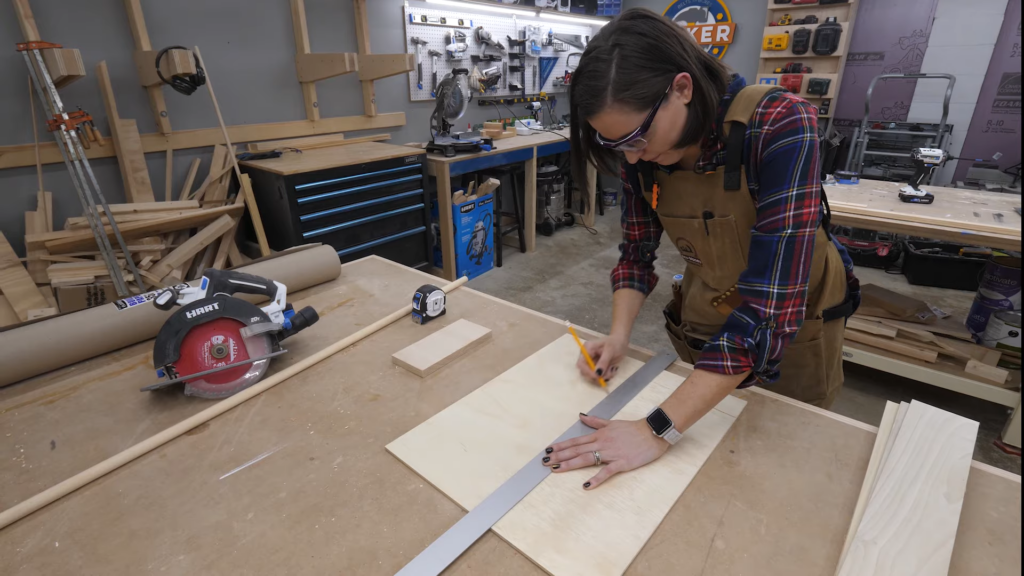
I ran across this adorable serving tray over on the blog at Crafted By the Hunts, and I knew immediately that I wanted to make one. To get started, I had to cut the base out of ¼” plywood. I’m still getting comfortable with our table saw, and the piece I started with was pretty big, so I asked Rob to make the cut for me. And because I’m the REAL boss around here, he said yes.
Next I grabbed some pine in ¼” thick and 4” wide strips. I measured out 2’ pieces and cut them on the miter saw.
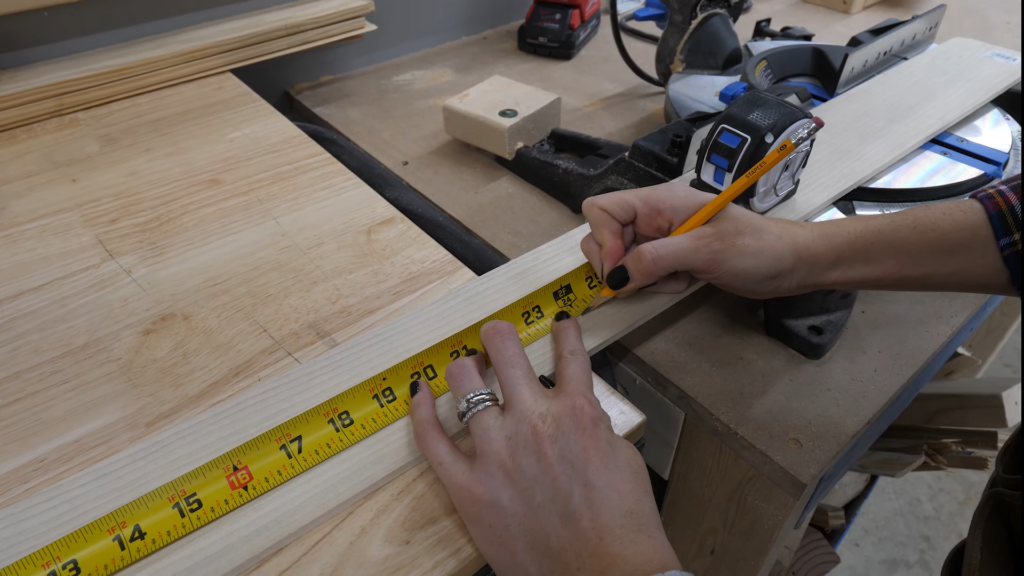
Next I cut those in half at a 45 degree angle. This gave me the 12 pieces I’d need to make up the herringbone pattern. I then found the center of my plywood base and marked it.
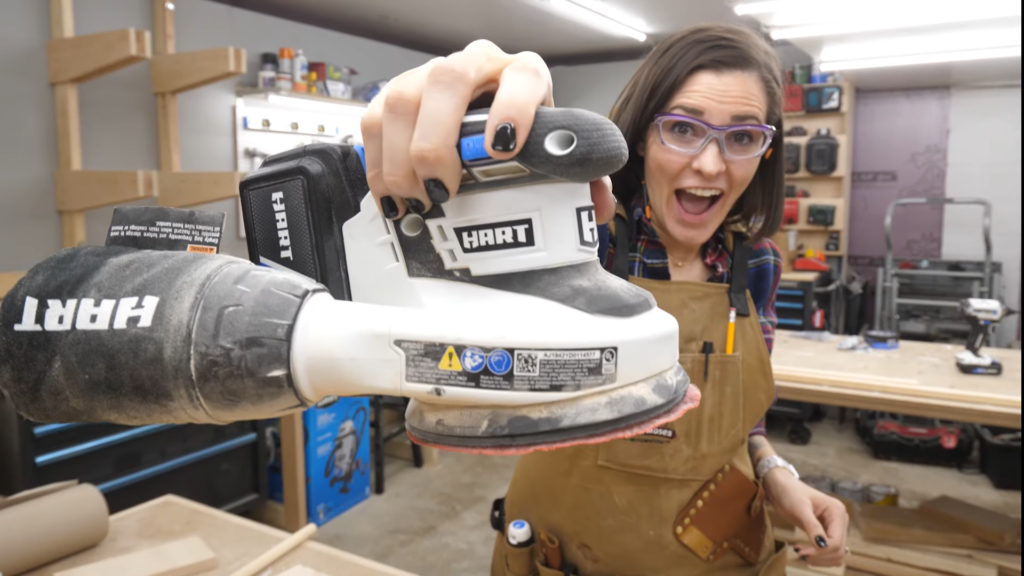
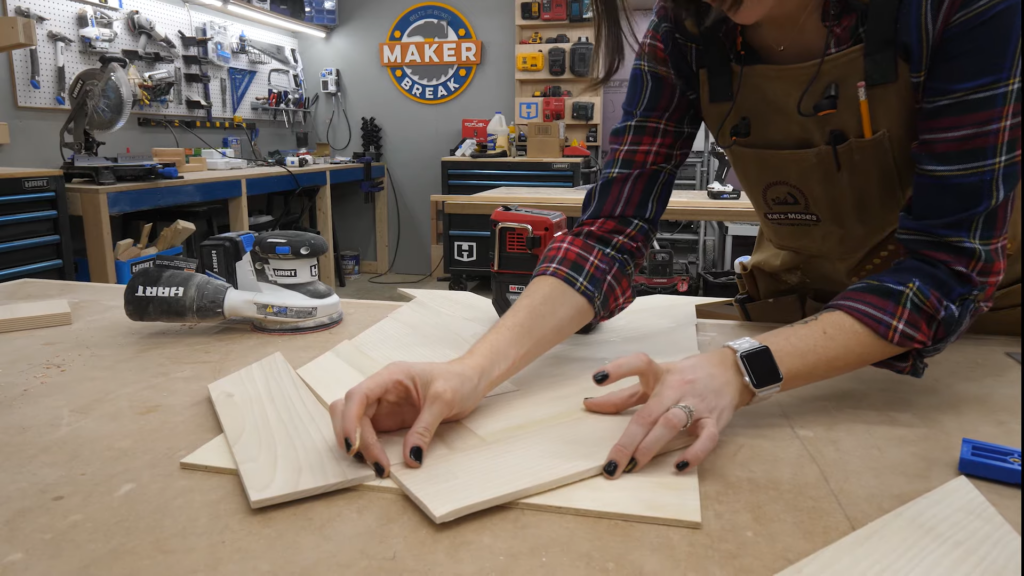
Then it was Time to sand! Do I look excited? I’m faking it. Sanding sucks. But hey, someone’s gotta do it. I sanded each piece, and then laid them out until I found the pattern I liked.
Then it was Gluing Time. This part I DO love. And not just because you get to pick the dry glue from your fingers later. I smeared it all over each piece, and then placed them on the base. Now the instructions said to put them all in place and then put something heavy on top of them, so I did. That was not enough, and while I don’t show it here, I ended up clamping it all down with a ton of clamps.
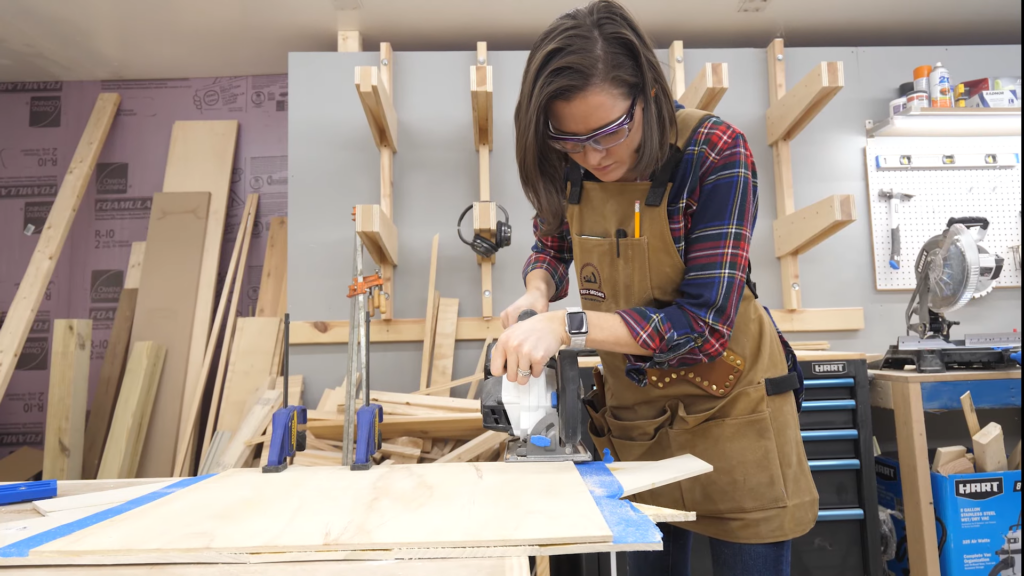
When it was dry, I flipped it over and put some painters tape down to reduce tear out, and to give me a better visual line for cutting off the waste. I was excited to use the circular saw again, which did a great job of giving me a clean straight edge.
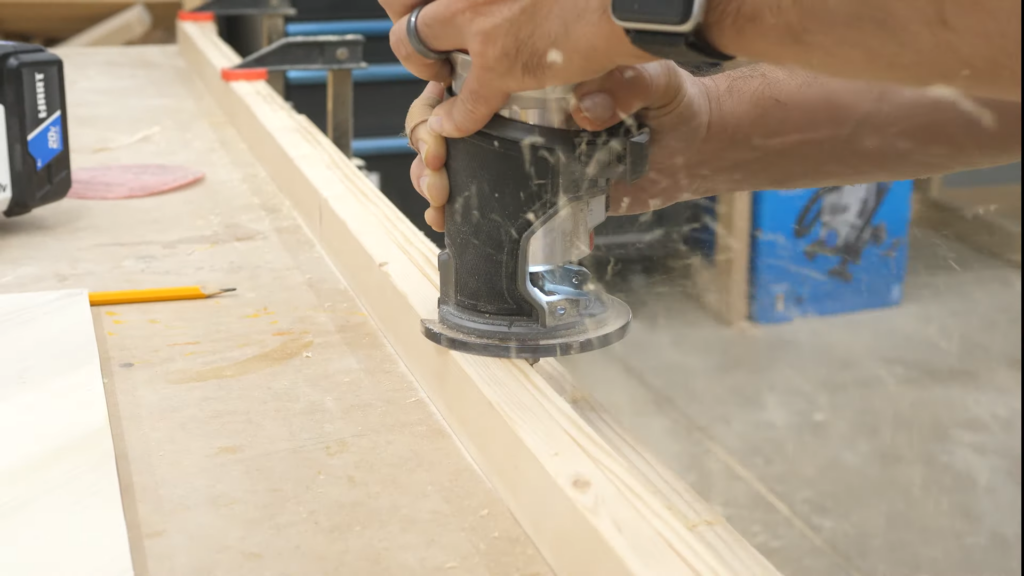
Now for the edge, I was using 1x2s, and Rob suggested I cut a rabbet into the bottom. I think he suggested it so he could use his router again, which I was happy to let him do. When he was done, I cut all 4 edge pieces to rough dimensions, measured where my miters would go, and then cut those on the miter saw.
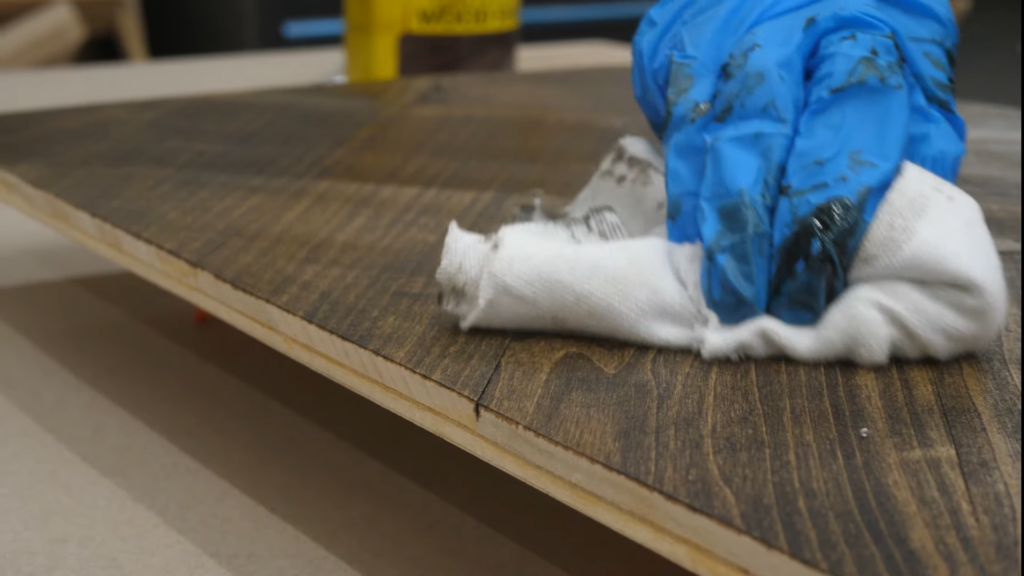
Next it was time to apply a finish. I rolled out some paper and setup my pieces. I used some Dark Walnut wood stain which I applied against the grain with a rag, and then brush off the excess along the grain.
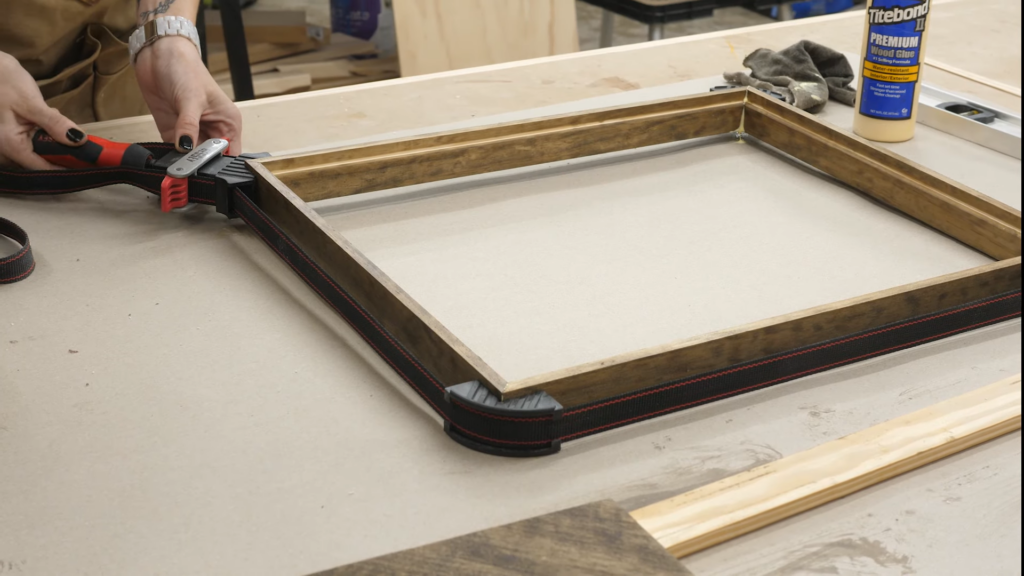
When it was all dry I put the edge pieces together in a band clamp and glued them up. I then applied some wood glue to the rabbet, and Dropped in the base.
It fit perfectly! Then I used a pin nailer to make sure it stayed in place as it dried.
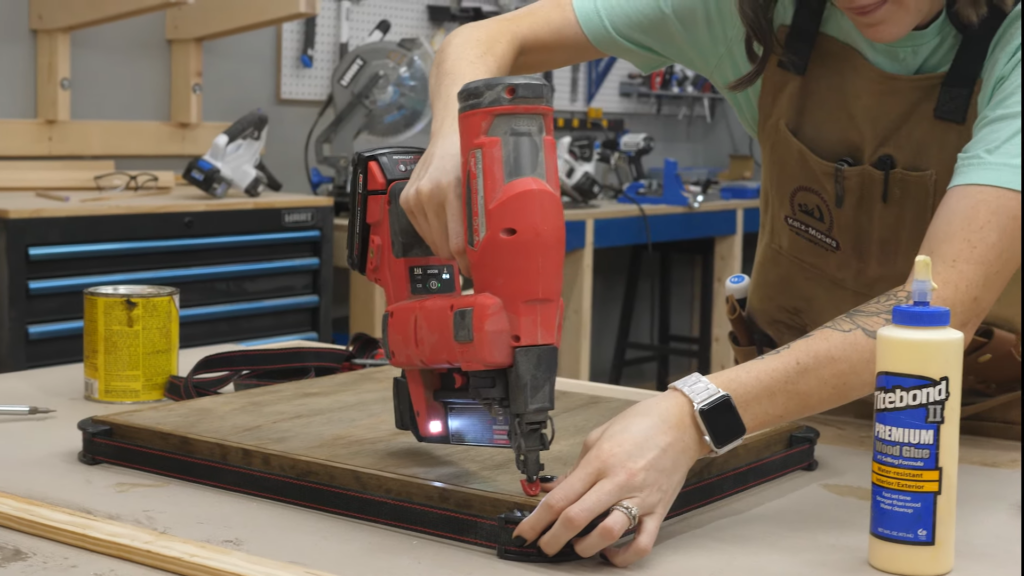
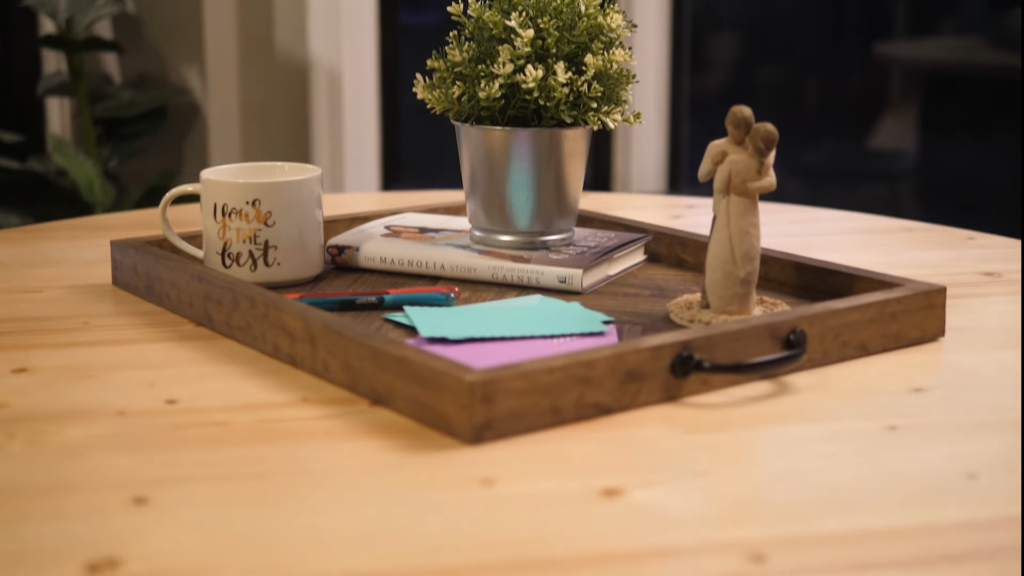
Finally, I screwed on some handles I found at Home Depot, and that was it! I was done, and look how pretty this turned out! Now I have to decide who gets it.
Meet a Maker – 1776 Faux Farmhouse
We share the maker space with a ton of awesome Makers and content creators! This week we got the opportunity to meet Nicole and her account at 1776 Faux Farmhouse!
Favorite Maker Videos of The Week
Ok on to our favorite maker videos of the week. First up, Andrew from Molly Wolly Woodworking make this amazing white oak table, with a stunning campfire steel base.
John Malecki continues his non-stop train of hyper creative epoxy builds, with this amazing carved tree nightstand. I love how he actually dipped the legs in the epoxy so they show up on the top. Super cool idea.
And last of all, Rachael from Living to DIY shared this amazing fireplace makeover she did for a friend, and I have to tell you, it’s amazing, and as always, Rachel makes you feel like you could do this too.

