
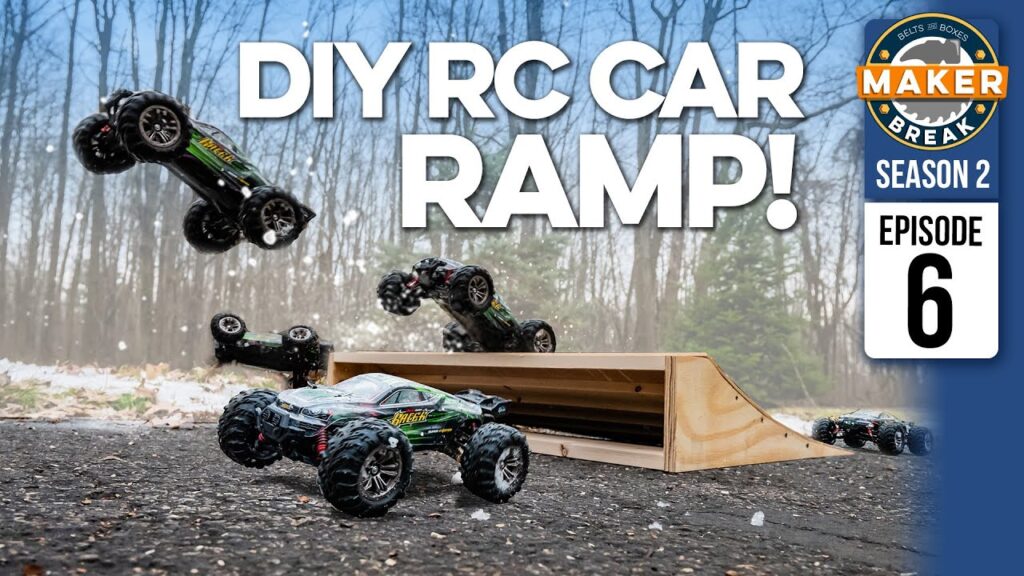
This week my son asked me to make a ramp for the RC Car he got for Christmas, and it was just as fun to make, as it was to jump! It’s time for a Maker Break
Hey Guys, welcome back to Maker Break, I’m Rob. Happy New YEAR! If you’re like me and hoping 2021 is an improvement over last year, hit that like button for me. This week my son Cameron got a new RC Car for Christmas from his grandparents, and he asked me to make him a ramp. Here’s how it went.
Project Of The Week
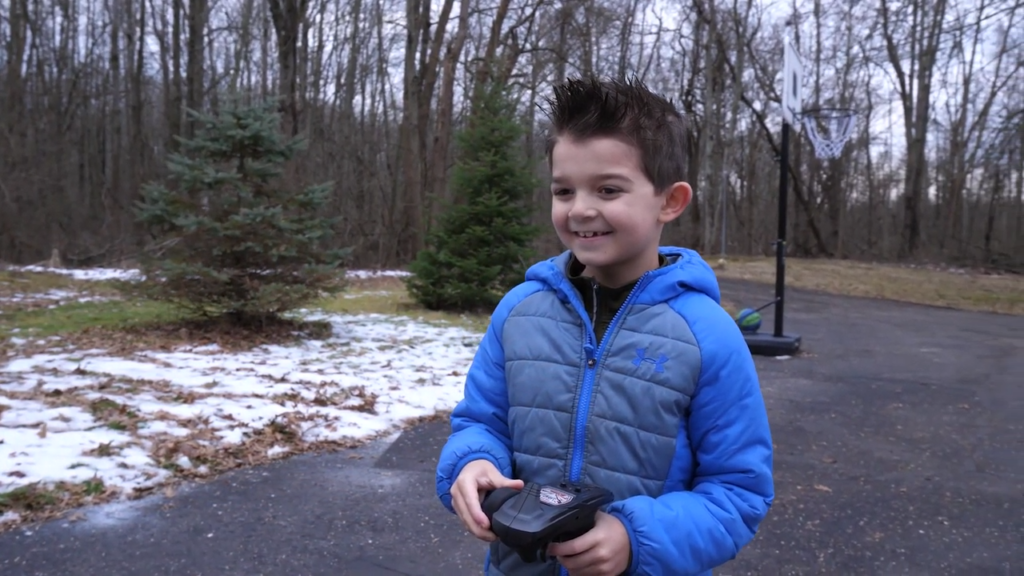
THIS, is my son Cameron, and that, is his new Remote controlled car that he got for Christmas from Nana and Granddad. This thing was an immediate hit, and Cameron was quick to ask me for a ramp. So naturally I headed down to the shop to find some scrap.

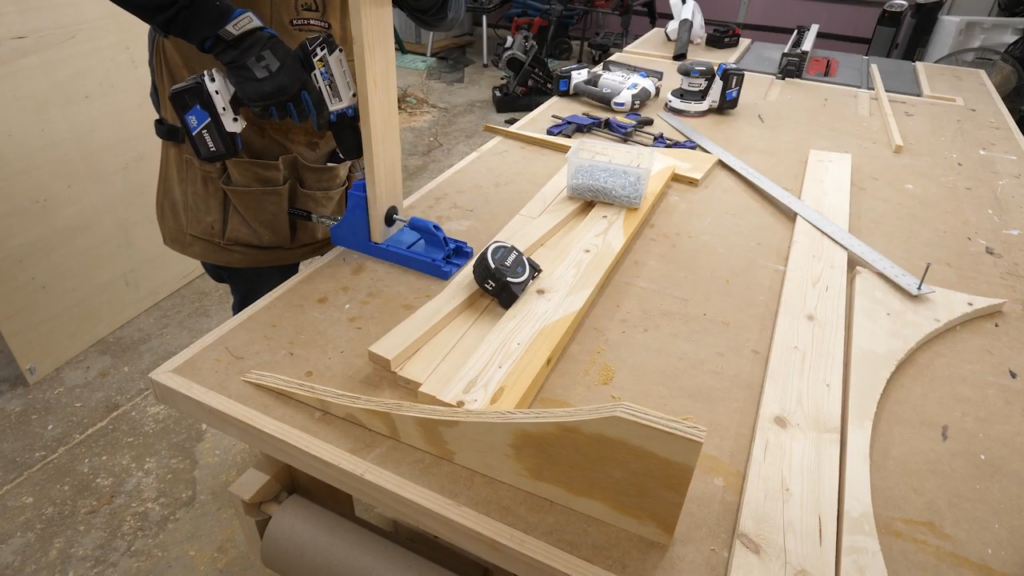
I started with this piece of ¾” plywood, and used a 3ft straight edge to draw out a smooth ramp. I’m sure there is some clever math out there to make the perfect jump, but for now, we just wanted to get his car off the ground, and I figured a smooth transition would work.
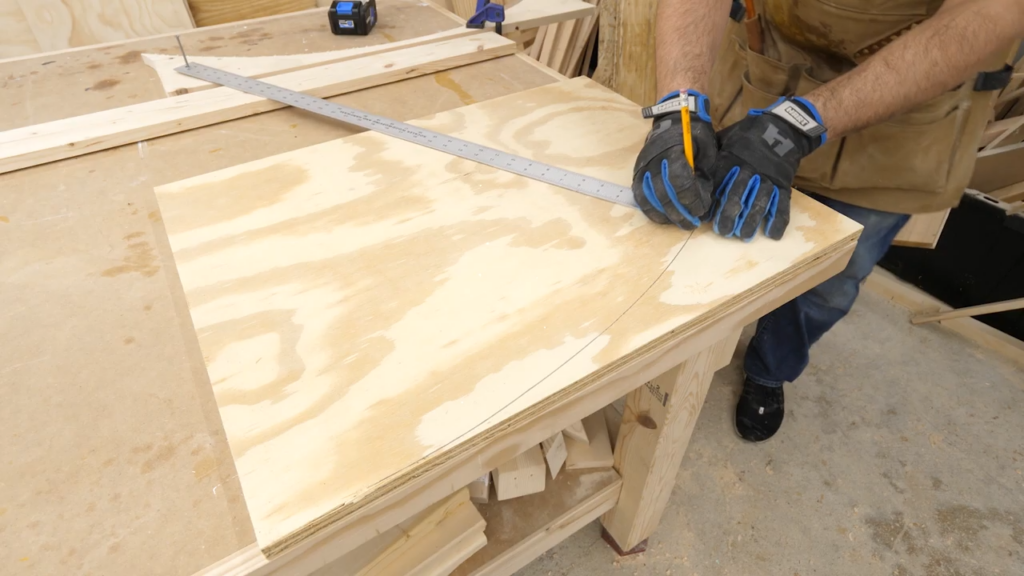
After I cutout one side, I copied it onto the remaining piece and cut it out too. I wanted this ramp to be fairly wide, so I measured out some cross supports at 32”.
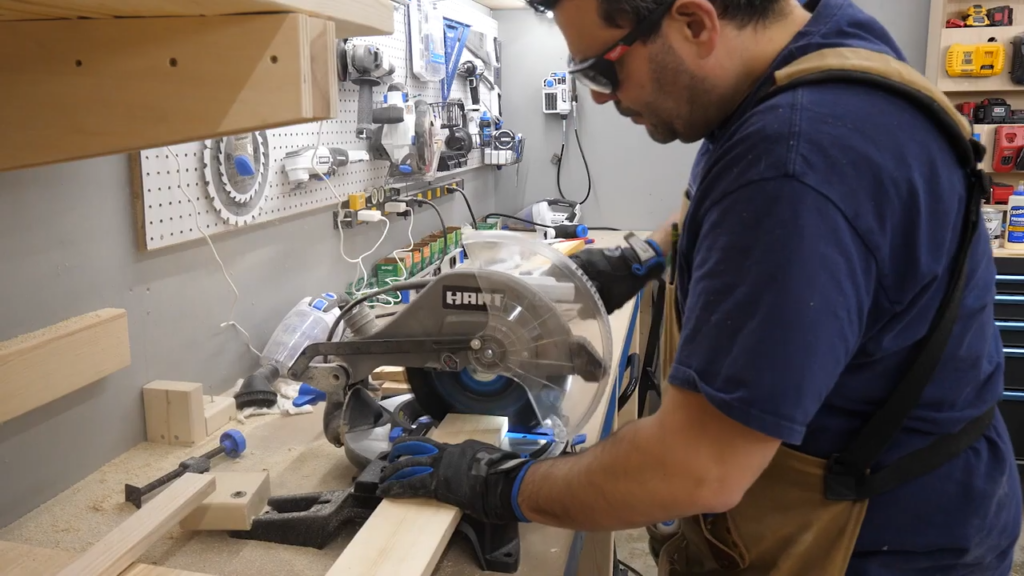
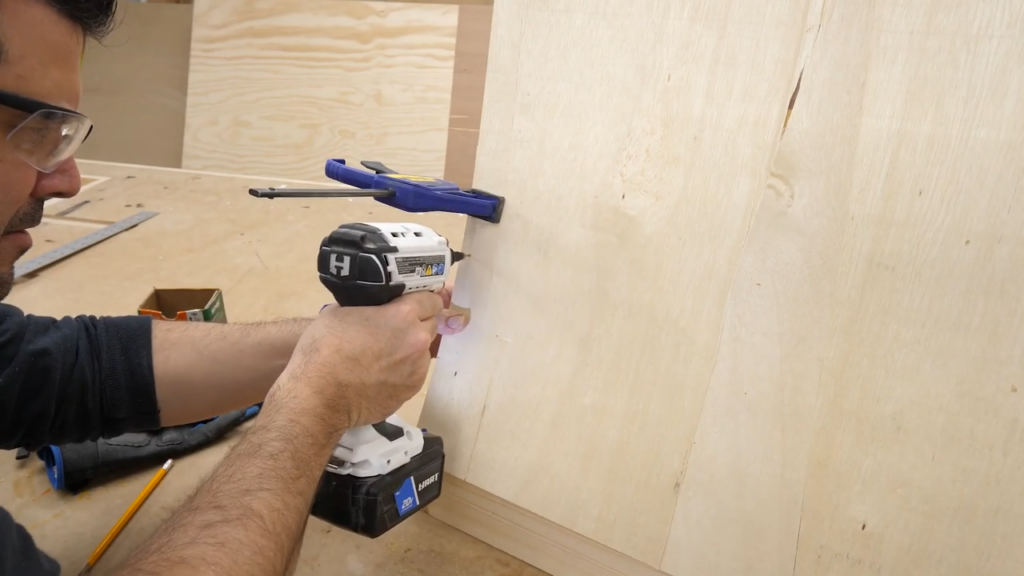
To connect the two wider supports I used pocket holes. I didn’t need to do this, except the scrap I picked out already had pocket holes on one end, so it was just easier this way.
I glued up the two wide supports, and screwed them in place. Next I marked off where I was going to put my smaller supports and started screwing them in.
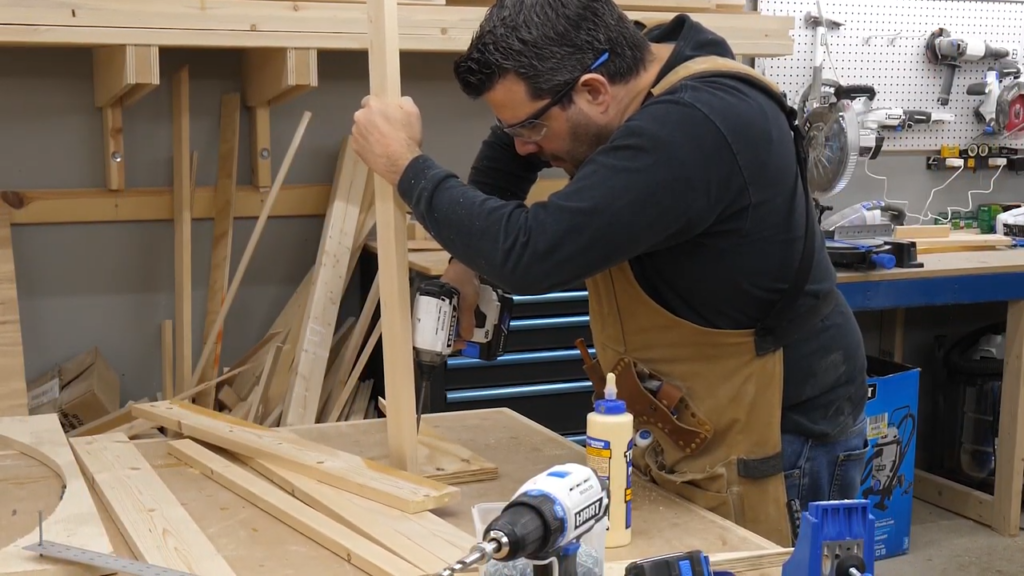
Now I made a mistake here. I think I should have used thicker supports, because as you’ll see in a minute, when I screwed on the ¼ plywood for the ramp, it bowed a little at the base of the ramp, and I think that’s because those smaller cross supports were bending too.
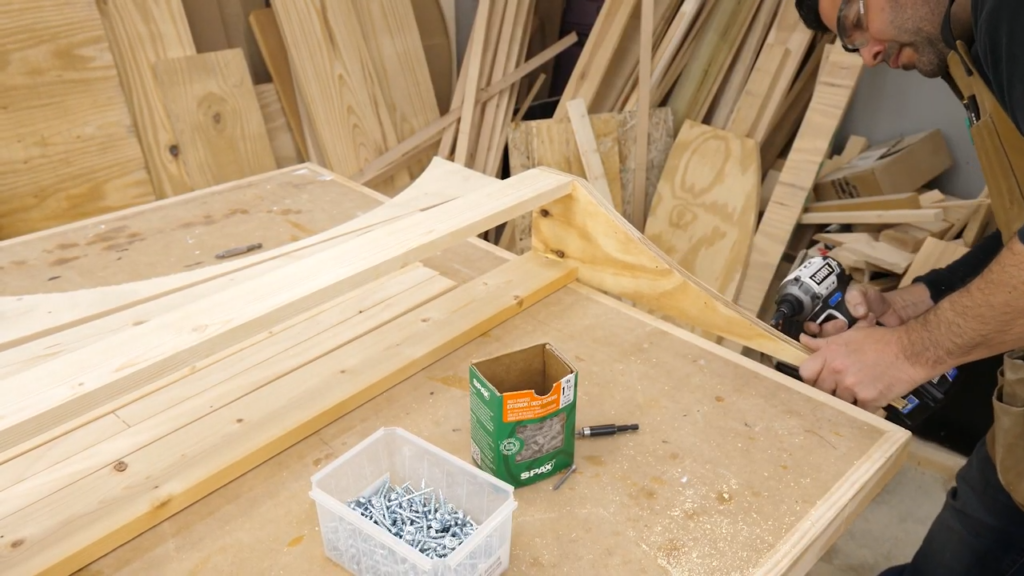
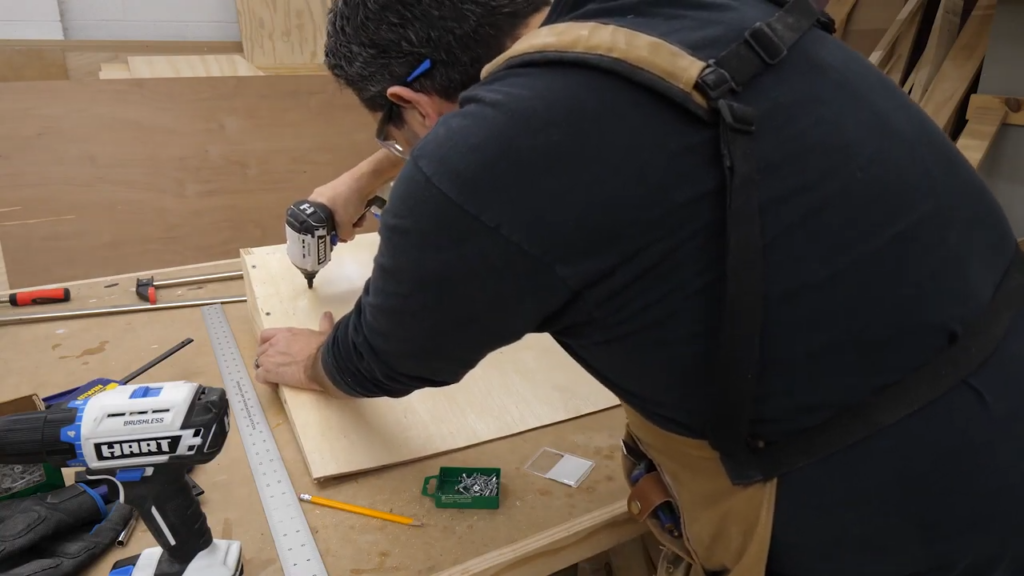
Next time I’ll use 2x2s. On to that top. As I just mentioned I used a sheet of ¼” plywood.
To get it in place I first clamped the frame to the bench, and then used quick clamps to start forcing the sheet into the bend. The ¼” cracked a little, but still worked.
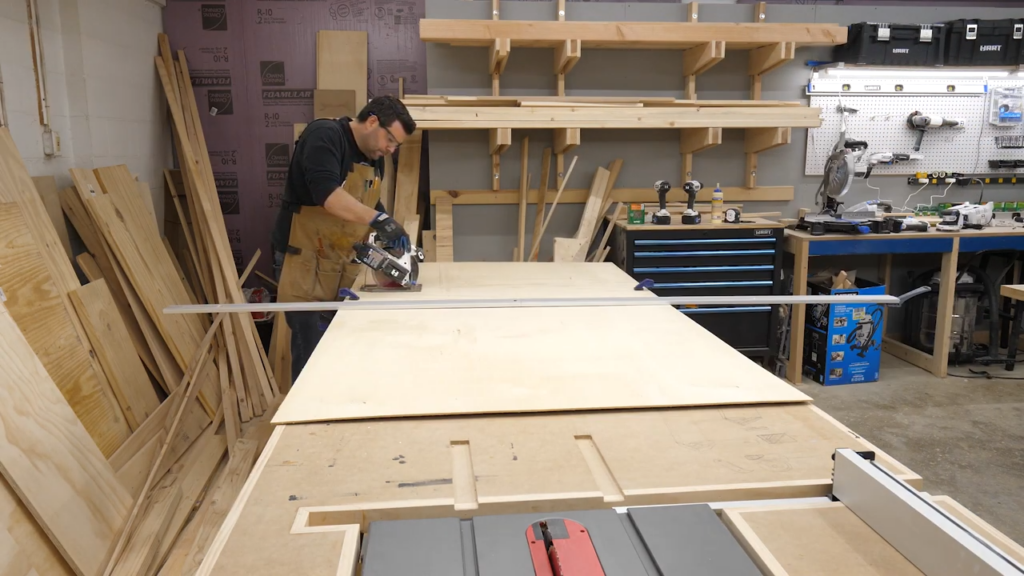
I slowly started predrilling holes and countersunk each one so the screws wouldn’t stick out. You can see that bend I was talking about at the bottom of the ramp. Next time I’ll try larger supports, and I may use a third vertical support right in the middle of the ramp. But again, this still worked fine.
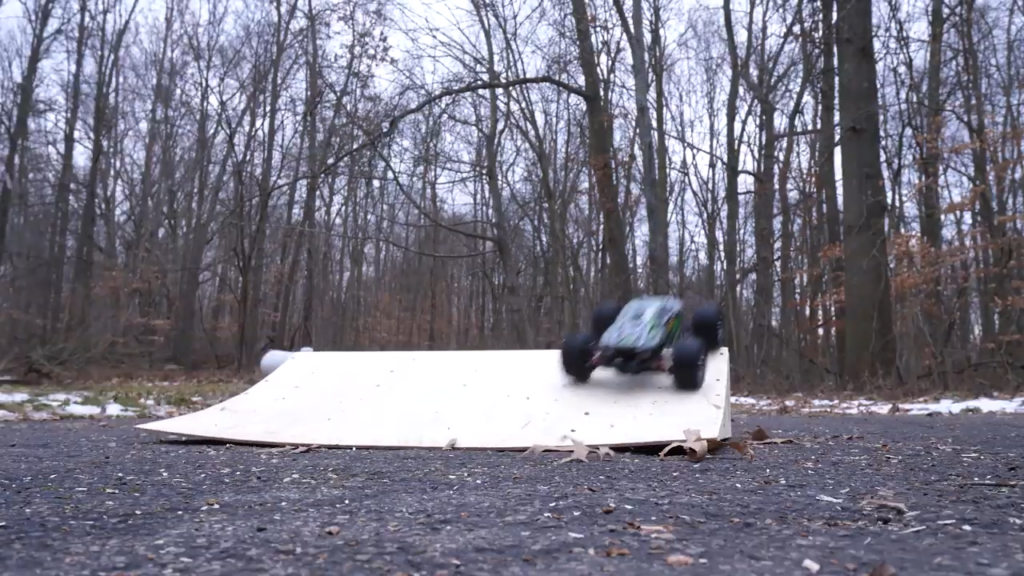
After I finished screwing the thing together, it was time to take it out for a test drive. And let me tell you… this thing was hysterically fun. Of course now, Cameron needs a full track full of these things. And yeah… Dad wants one too.
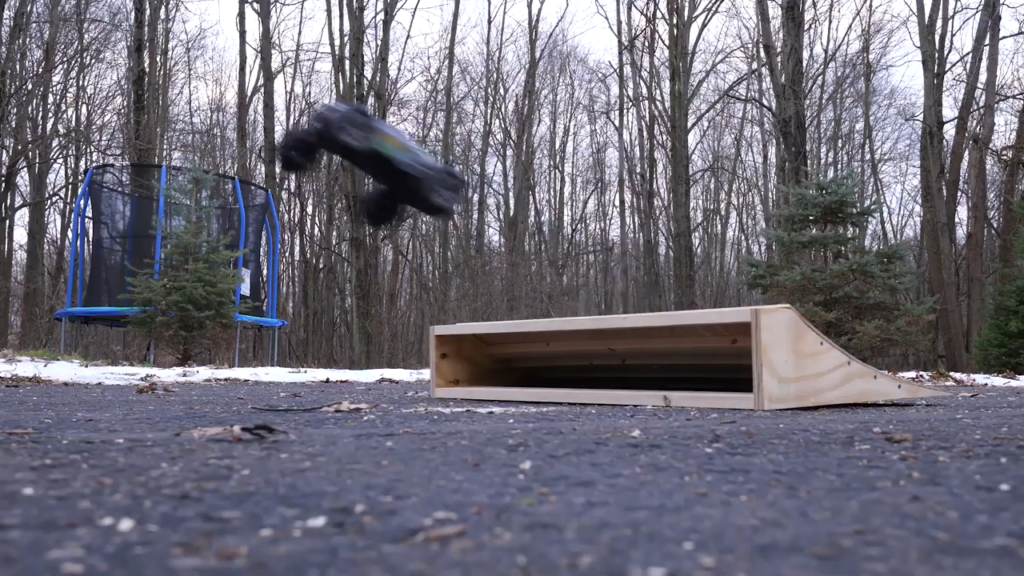
I’ll tell you what, that little car was only $150 on Amazon, so I wasn’t expecting much, but that thing hauls! We’ve has so much fun with it since Christmas, that I ordered another one so we could race. If you’re thinking about dabbling in RC cars, this guy is a great place to start, and as I showed you, building ramps and other obstacles are just as fun. I’ll include a link below.
If you’ve got an idea for our next RC build, or any other project you’d like to see us make, let me know in the comments below.
Thank you HART for reminding us that we can build anything we set our minds to, if we #DoItWithHART

