

Hey guys! Welcome back to Maker Break, where we share our favorite maker videos of the week, and challenge ourselves to build a project of our own! This week Sarah went to Rob with an interesting problem. Her and her husband just moved into their first home! Which is excited, but they also have a curious 2 year old who needs a baby gate that can span two different doorways. So we designed something that looks good, but also functions well. Here’s how it went.
Project Time – Sliding Magnetic Baby Gate
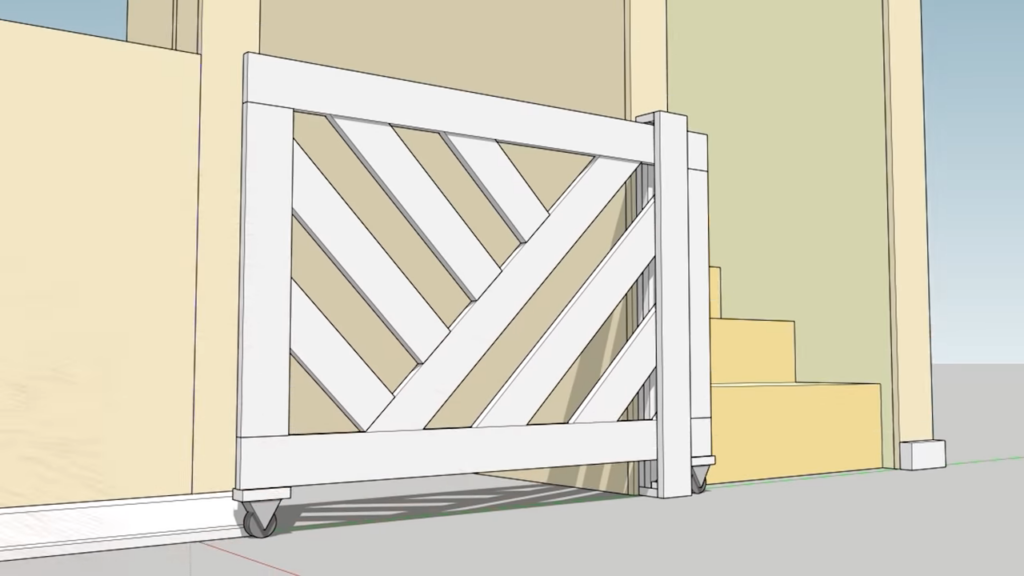
To make this baby gate cover two side by side entrances would be easy. Just hinge it right in between, and you’re done right? Well Sarah didn’t want a huge gate swinging through the kitchen all the time, and she thought we might be able to make one that slides between the two.
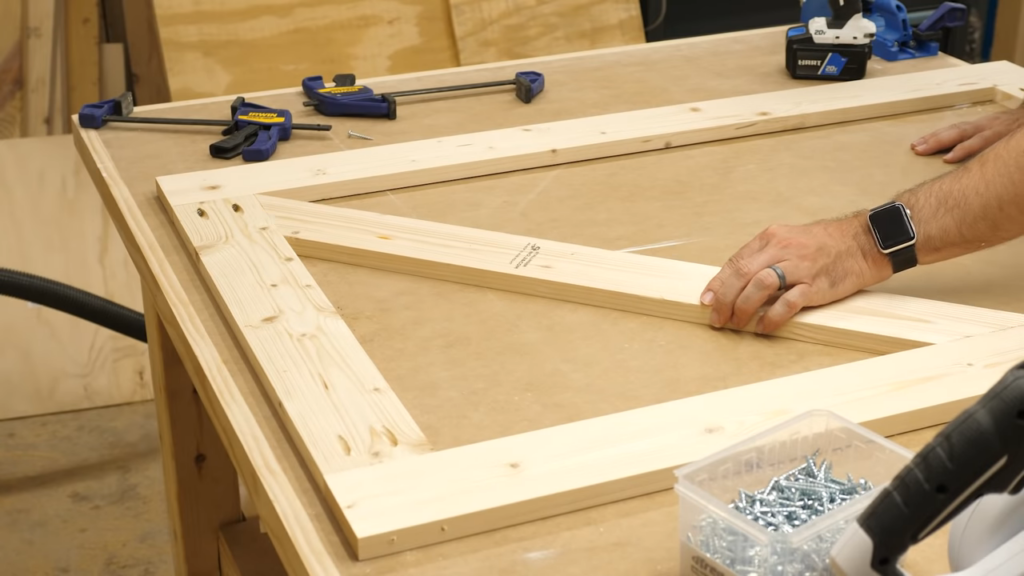
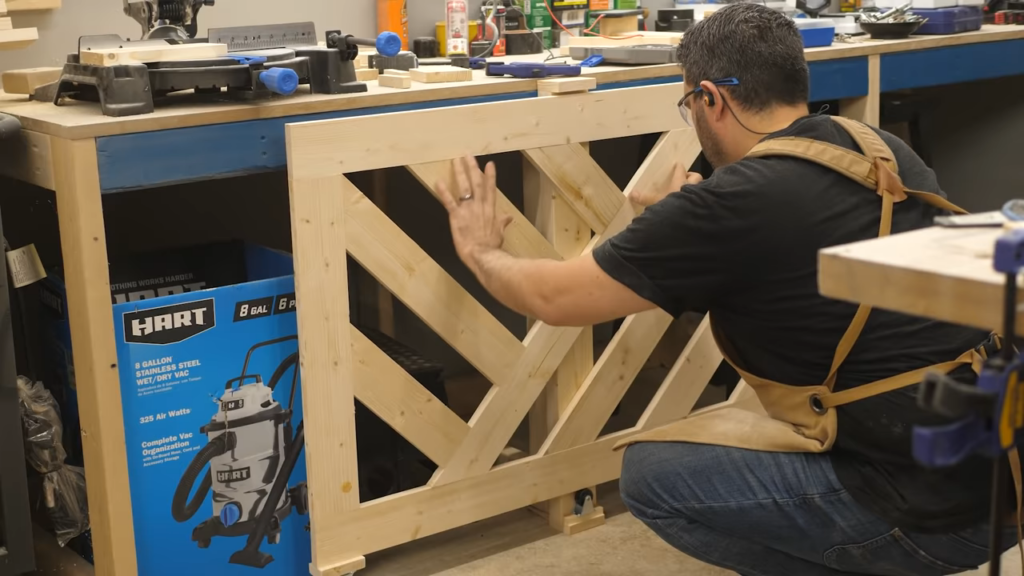
To start I set out to make the gate. I knew I wanted to make it out of 1x4s to keep it thin, but sturdy. I’ve seen this pattern in baby gates before, and mocked up my own based on the dimensions of the gate.
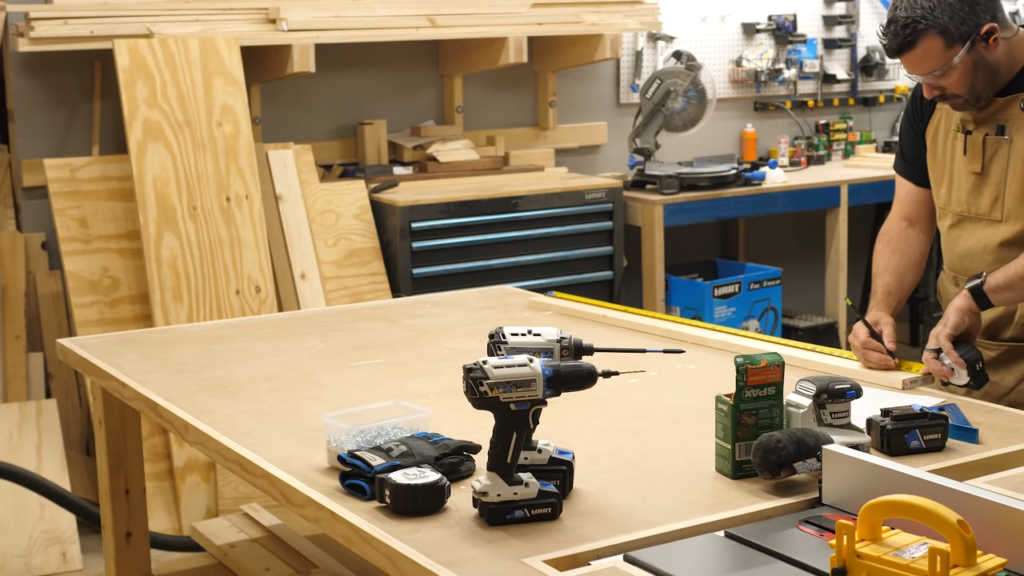
I first cutout the frame and then used pocket hole screws to hold it together. After that I started cutting 45 degree angles to make the pieces fit just right in the frame. Once I had all the pieces cutout, I screwed them together with pocket holes as well.
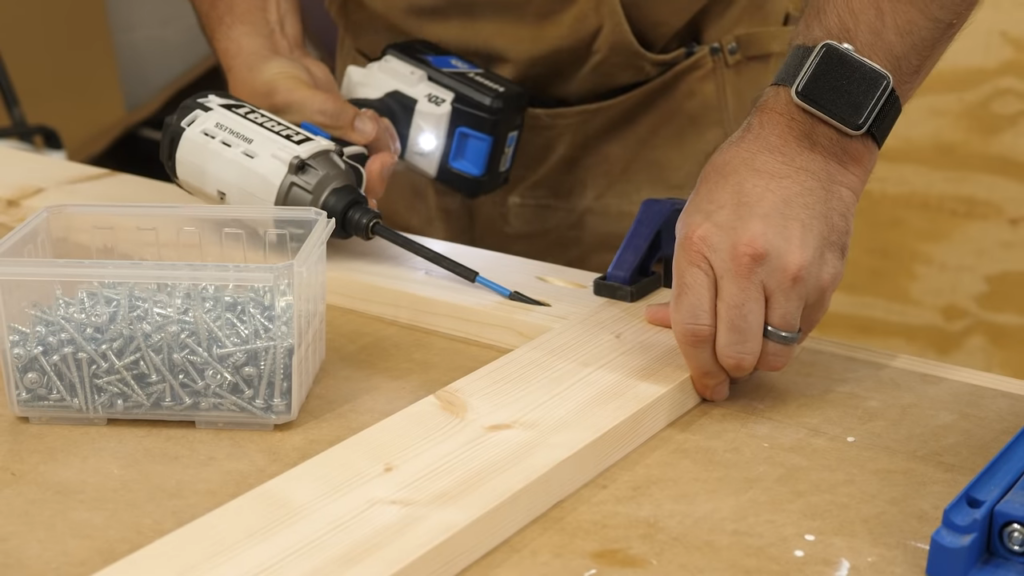
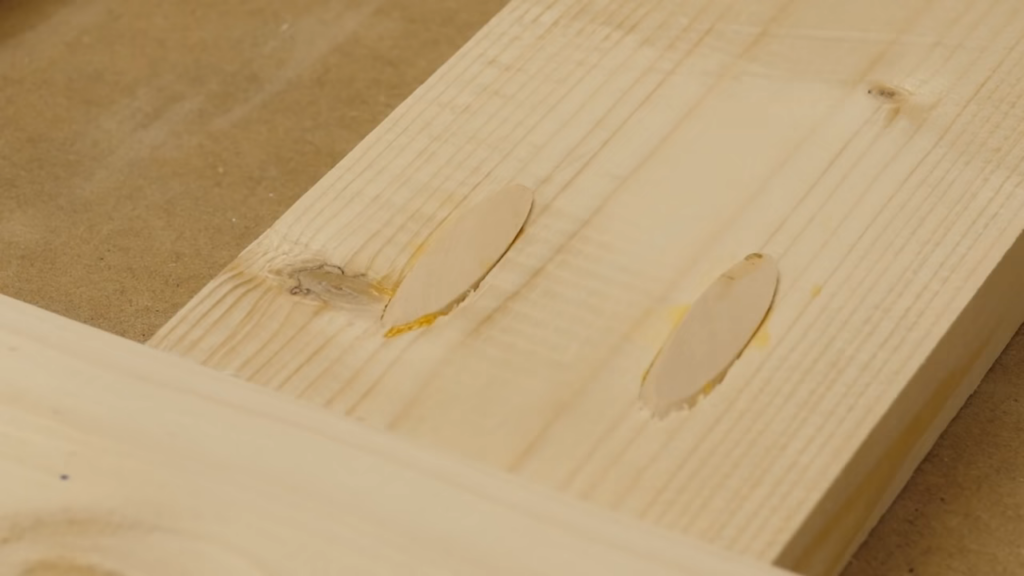
Now Sarah plans to paint this white to match her trim, so it didn’t matter that I was putting all these pocket holes in there, since I could easily fill them with plugs. Unfortunately, I setup my pocket hole jig to the wrong dimension, and ended up needing to make NEW holes, giving me SO MANY HOLES. So it took me a while to plug them all, and sand them down, but once it’s painted, it won’t matter.
Remember guys, measure twice, drill 50 times.
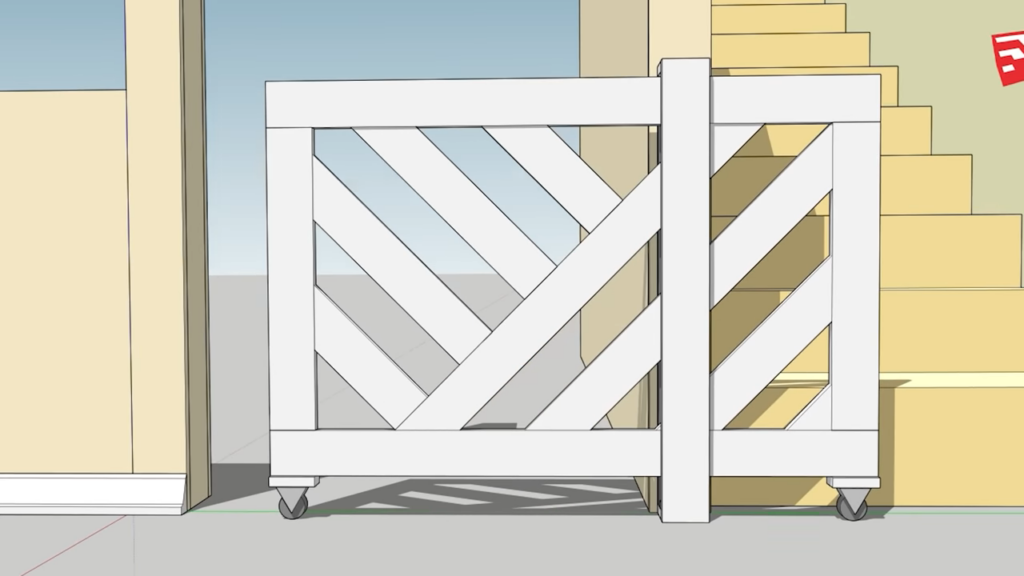
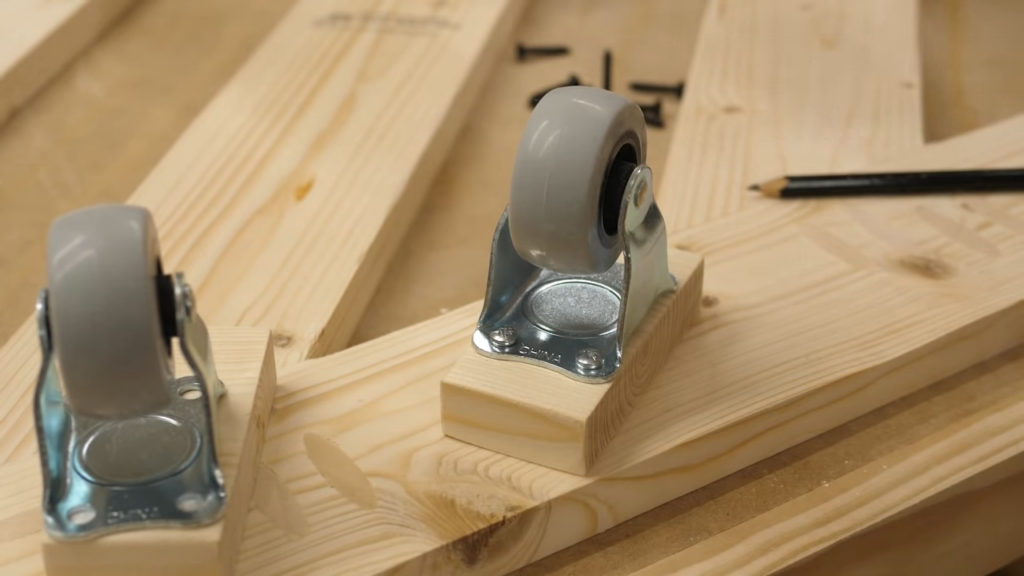
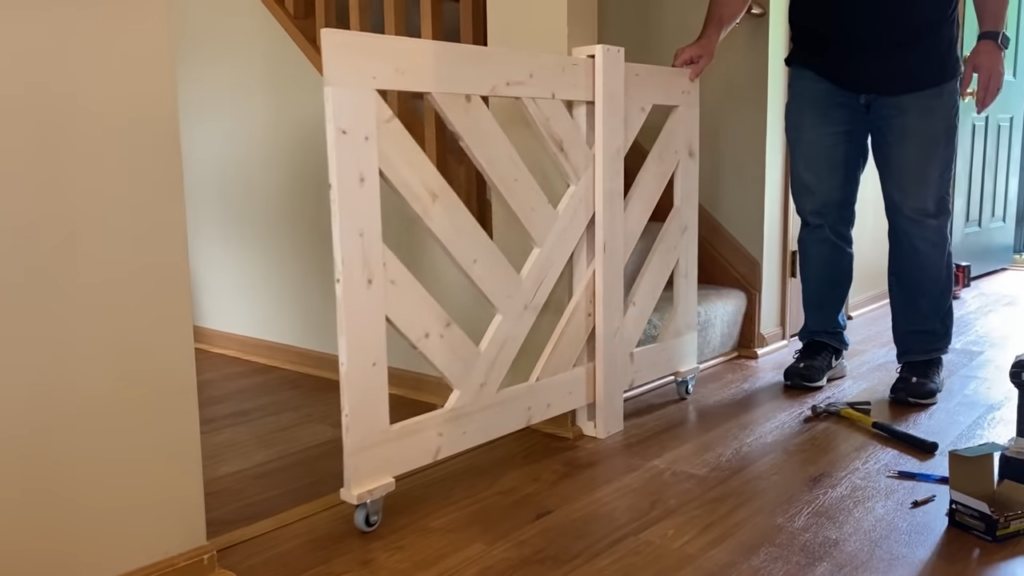
Ok the gate looked good, now I needed to attach some wheels so it could roll back and forth. I used these 2” hard rubber, fixed casters I found at Home Depot for a couple bucks each. The base was than the ¾” 1x4s, so I had to screw on mounts. I made them the same width as the vertical pieces, so it looked like it belonged in the design.
Next I moved on to the wall bracket that would keep this gate in place.
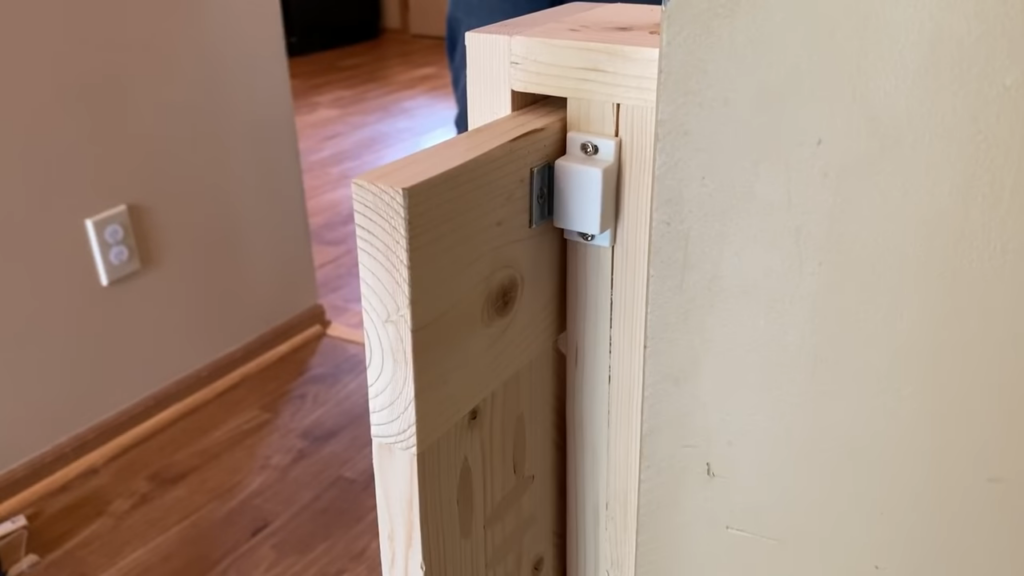
I used more 1x4s to create a sort of box that the gate would slide through. To make it stand out from the wall I glued two pieces together, and then cut these tiny top and bottom pieces to support the front piece that would wrap it all together.
At this point, I tried to add a smaller wheel to the inside bottom of the box to give it something to glide on, but as it turned out the base for that tiny wheel was just too wide. As it turned out, the gate is so sturdy, the wheels at either end were more than enough to support it anyways. So I’d just skip that part next time.

Since Sarah will be painting these on her own, all I had to do at this point was to bring it over to her new house for installation.

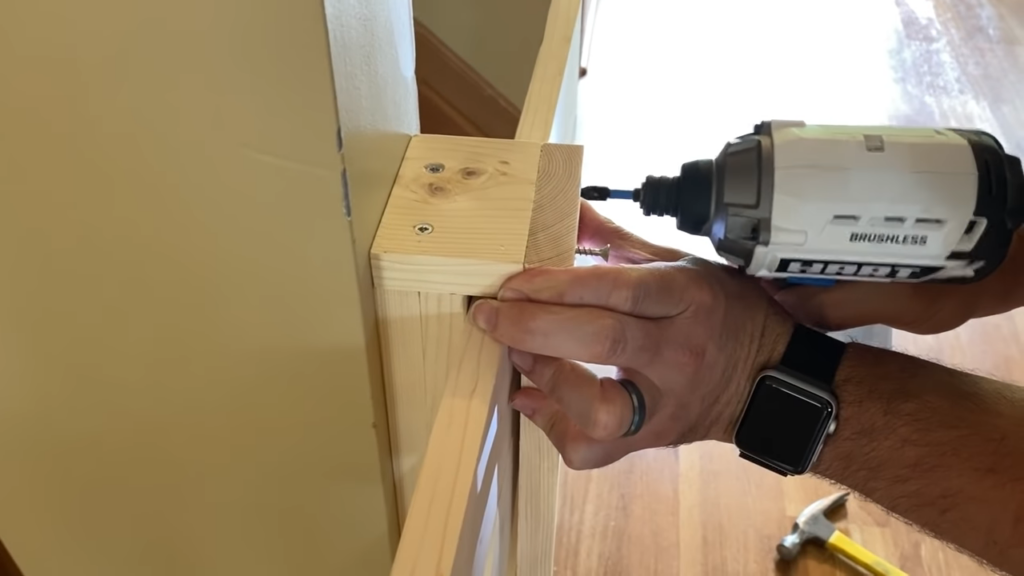
I used our HART multi-tool for the first time, to remove the baseboard, and it was dirt easy. I then confirmed stud locations and screwed in the back half of our bracket. Next I put the gate in place, and screwed on the front piece locking it all together.
It ended up sliding super easy! It does have some room to flex out from the wall, so we think we’re going to make small top corner pockets for the other walls, giving the gate something to slide into.
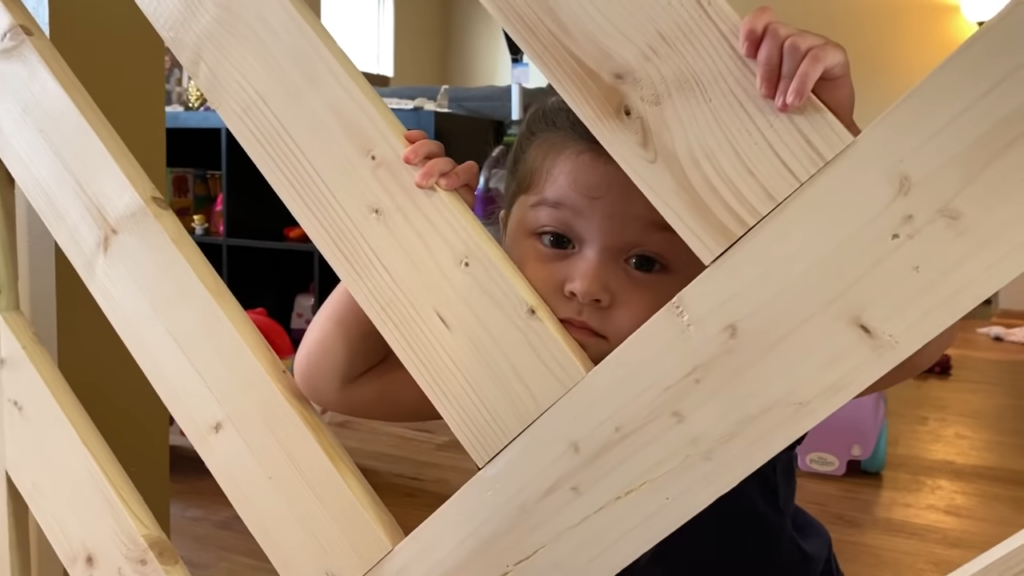
Finally, we had to give it a latch. We wanted this part to be super simple, so we tried thes cabinet magnets. One wasn’t quite enough. Sarah’s daughter could still slide it open on her own. So we put two on either side of the support, and that did it! When you close it either way, it snaps into those magnets with a nice thunk, and her little girl could no longer get the gate open without asking for help.
For piece of mind, we also put a small loop and hook lock on one side for those rare moments when you need to leave the room and don’t want to risk an escape. And there you go! Now they can easily slide the gate between entries, and easily lock it. Sarah likes it, but I’m not so sure her daughter does.
Meet a Maker
This week we got the privilege of meeting Dylan and Molly from Woodbrew! To watch their interview be sure to click on the video above, and when you are done go check out their channels linked here.
One of my personal favorite projects they did! DIY Kid’s Table and Chairs!
Woodbrew Instagram
If you have a favorite maker on YouTube or Instagram, and think we should meet them, let us know! Or if you’re a maker with a YouTube or Instagram channel, and you can handle answering 5 questions in front of a camera, we’d love to feature you! You can email us at [email protected]
Favorite Maker Videos of the Week!
Before we go we wanted to point out a few of our favorite maker videos of the week. Pask Makes, showed us how to build these adjustable bar stools that caught my eye for several different reasons, including it’s clever mechanics. The best part was watching him use this huge manual threader to create threads for the seat stand, making the stool adjustable with a simple twist! So cool!
Since we moved into our new house back in December, my wife has been painting, everything. Walls, Trim, railings, windows, you name it. She’s taught me that a little paint can make a HUGE difference to a space. This week I ran across a maker called Rollin’ with Anita, who embraced the same concept, and simply painted her dated oak railings, and the conversion was remarkable. I hate to admit this, but you can do cool things without a power tool. Sometimes.
We really need to get a SnapMaker! It’s a CNC machine that does woodcarving, laser cutting and 3d printing, especially when you can do such cool stuff like Nils of LRN2DIY. In a video he shared this week, he used his left over Amazon boxes to carve out Mandala Art, which is A 3 dimensional design made by stacking multiple layers of material.
That’s like one of 10,000 reasons to get a CNC machine. Alright Maker Friends, that’s all we’ve got. If you saw a Maker Video that should have been mentioned, do us a favor and link it in the comments below. If you link it, we’ll watch it! Thanks to HART for sponsoring this episode and reminding us that we can build anything we can imagine if we #doitwithhart. Be sure to like and subscribe so you don’t miss a thing! Alright break’s over, let’s make something!

