
This week we made a new dog food stand for Sarah’s doggo. Plus, we get to meet Holley from Oak and Copper. But first, It’s time for a Maker Break!
Project of the Week!
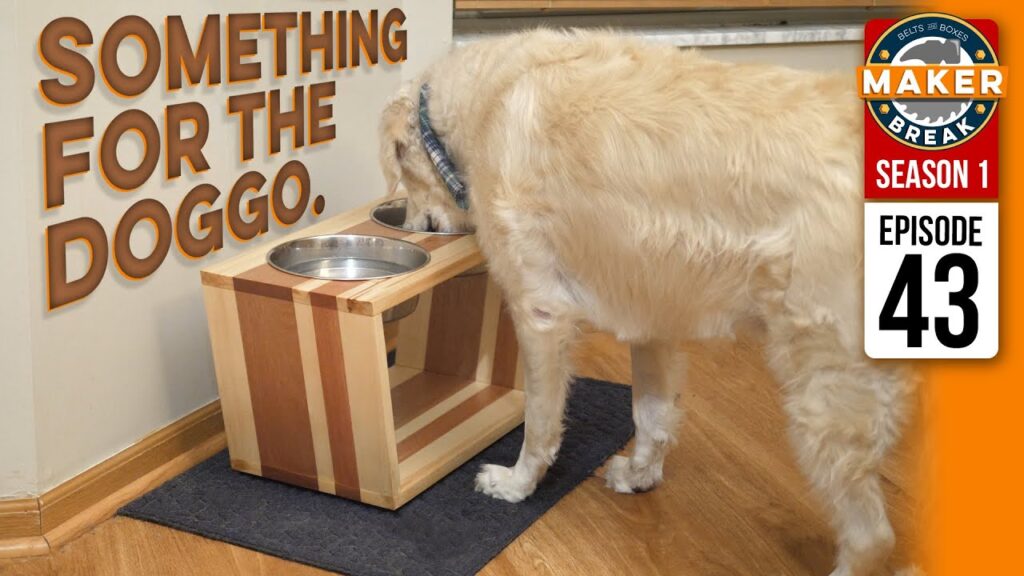
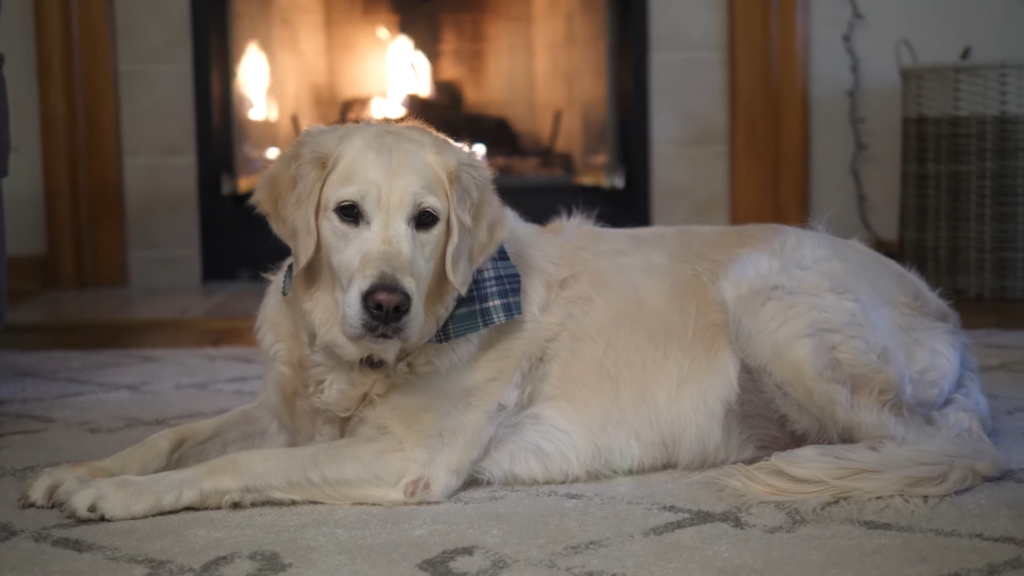
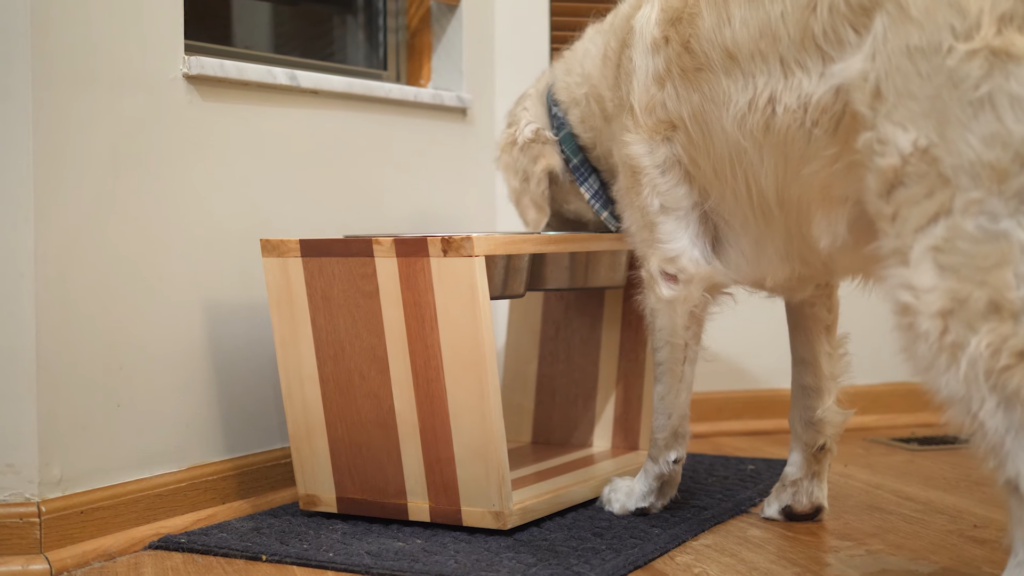
I have a big doggo named Maui. I’ve always had his bowls on the floor, and wanted to raise them up about a foot to make it easier for him to eat.
We figured this was a good opportunity to try some new wood species, and choose some Aspen and Mahogany. After I measured the dog bowls I sketched up our plans on the desk to figure out how much material we’d need.
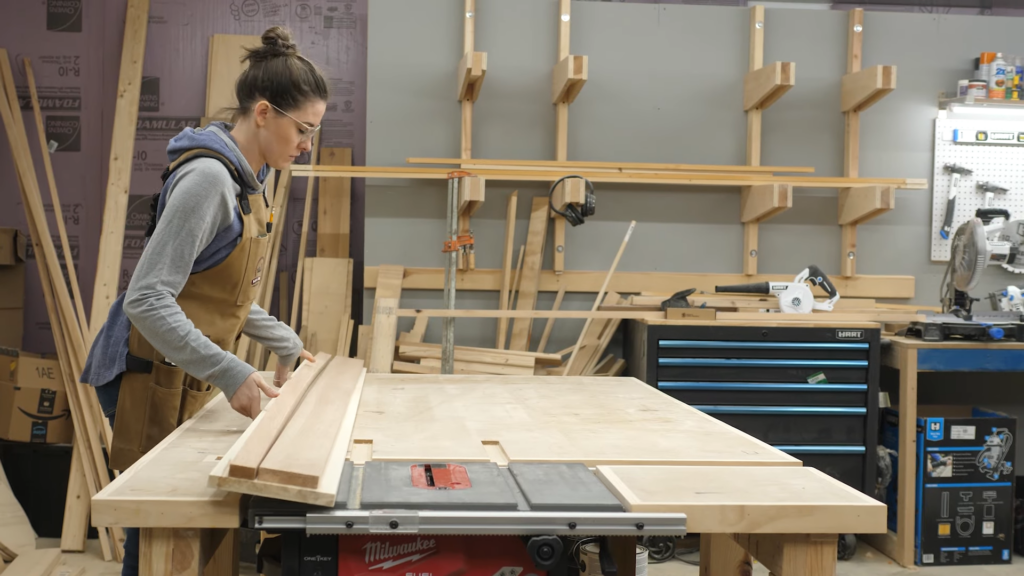
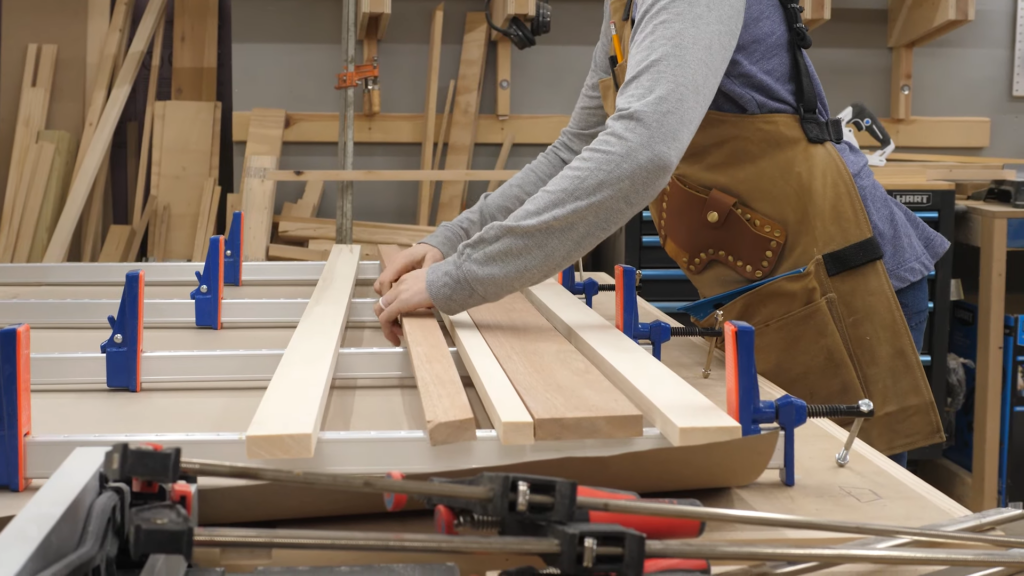
We measured out 68” and Sarah cut them down with the circular saw. Next we wanted to cut the aspen down to 3 smaller strips. Rob took care of that on our table saw. After laying them in place, we knew we were off to a good start.
Then it was time for the glue up. I started by pulling out some paper to protect the bench, and laid out our bar clamps. Next we glued up each piece, and did our best to flatten them all out as we clamped them down. We wiped off the excess glue, and then waited for it to dry.
A few hours later we took off the clamps, and I started the 10 year process of sanding it all down.

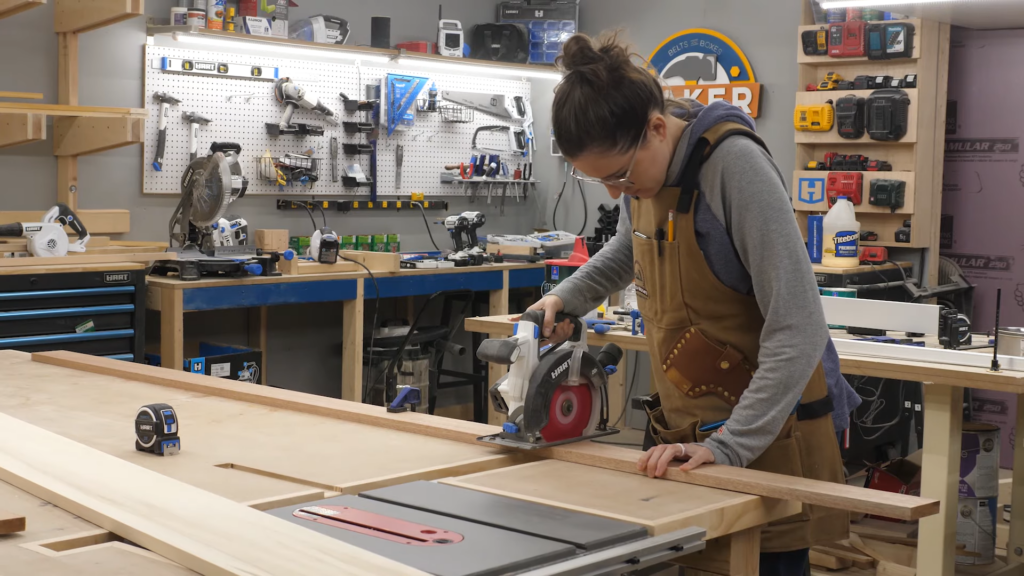
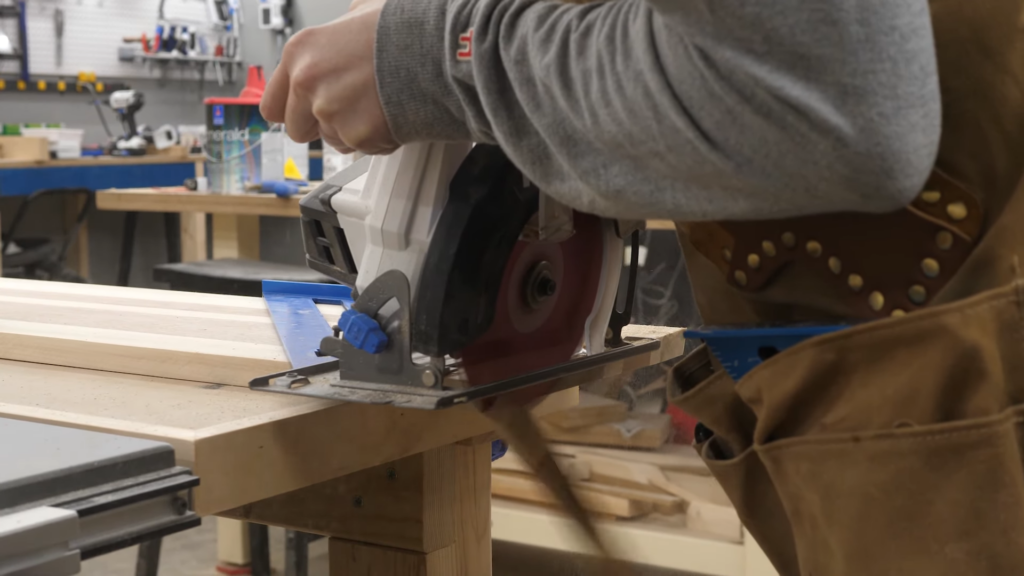
When I was done, I had to start making our cuts. Now this design calls for 10 degree angles, so we adjusted the circular saw to 10 degrees and got cutting. I started by cutting off the end, and then measured out the rest of my pieces and cut.
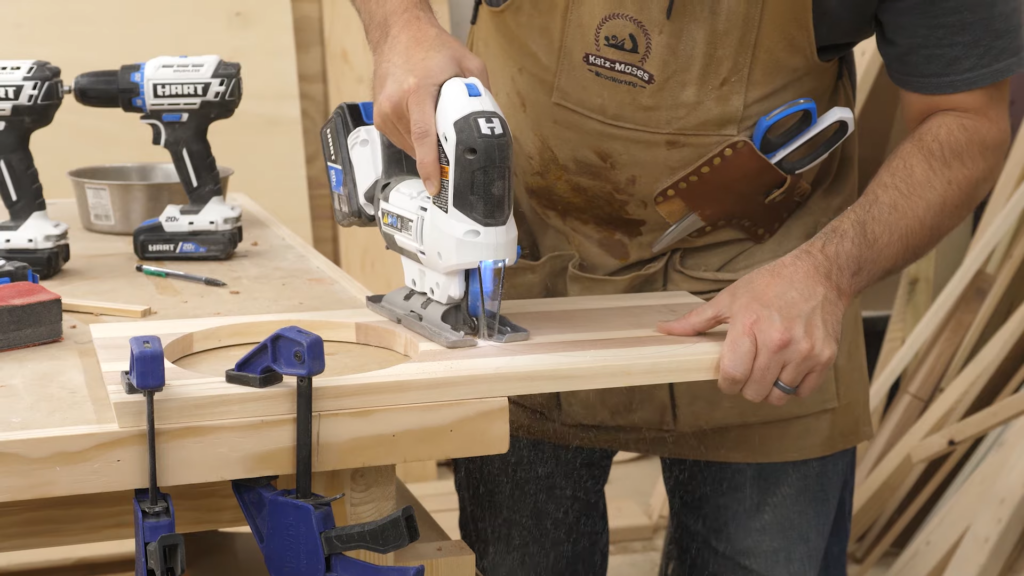
Now this stand needed cutouts for the bowls, and for some reason we didn’t have a protractor, so I used a scrap piece of wood, screwed it into the top and drilled a hole for my pencil, and that worked perfectly. Then we drilled a starter hole with a forstner bit and then Rob cut the circles out with our jigsaw.
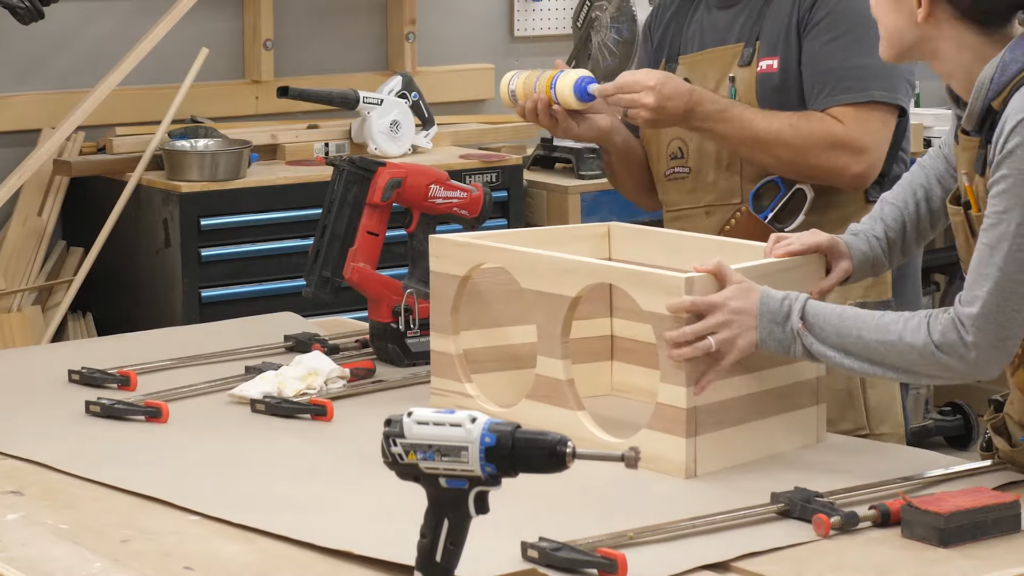
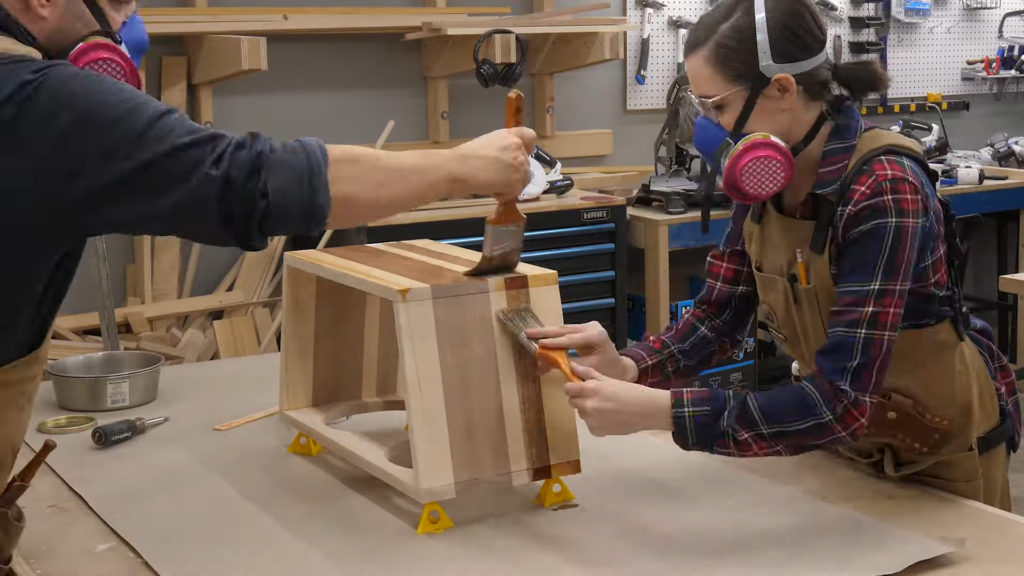
Then it was time to glue these pieces together. Our plan was just to use butt joints and hold them together with brad nails until it dried. But as you can see, our board was less than flat. And the warped wood and odd angles made it super hard to clamp together. But we eventually figured it out, dropped in some nails and left it to dry.
The next Day it was all dry and stable, so Sarah sanded it all down. Yup, and then we got to put on our respirators and apply a thick layer of lacquer. Funny story, I forgot to open our garage door to air the room out, so instead my whole house smelled like lacquer for the rest of the day. When it all dried, Sarah screwed on some feet, and that was that.
Then Sarah took it home and Maui loves it.
Meet A Maker

Alright it’s time to Meet a Maker, and this week we’re joined by Holley, an Instagram maker that goes by the name Oak and Copper.
Special thanks to HART for sponsoring this episode, and for reminding us that we can do anything we imagine, if we Do It With HART!

