
On our other channel, Belts and Boxes, we recently were challenged to test a ridiculous claim from a drill bit company called Spyder. To do so, we’d need a small, but strong workbench to support steel plates while we drilled through them, hundreds of times. I’ve wanted a smaller, more mobile workbench for a while anyways, so I thought now was a good time to build one.
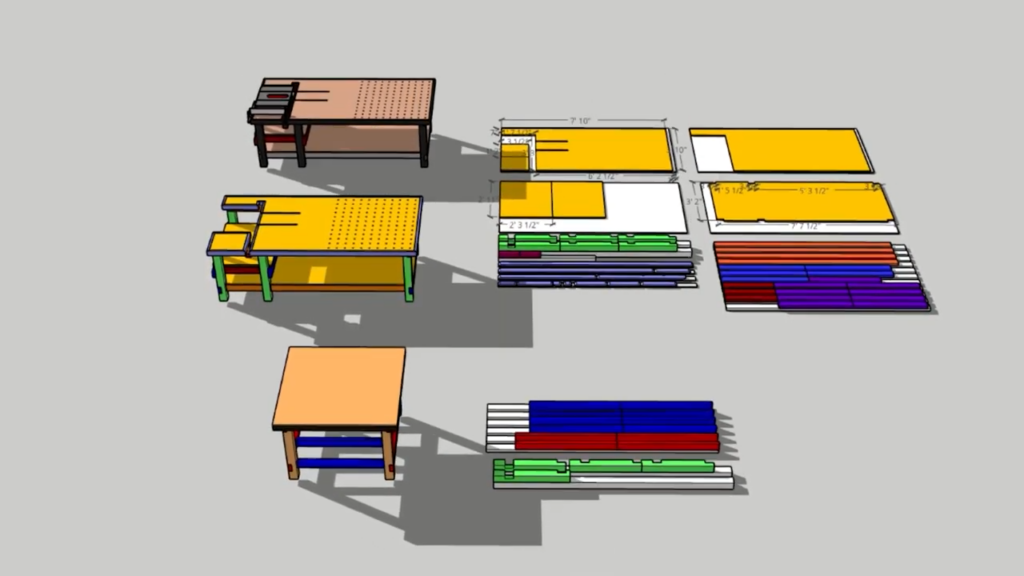
We based the design on our Milwaukee Table Saw workbench, but scaled it down to a 4’ by 4’ square bench. To build it we only needed some 2x4s and a couple 4x4s for the legs. My brother pitched in this week to help me build it on time.
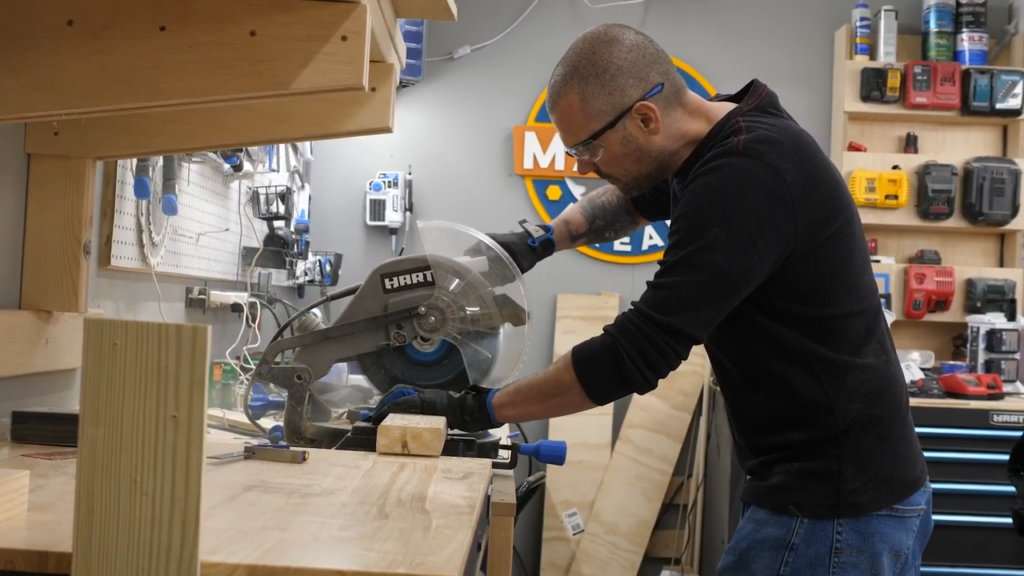
The first thing we did was measure out our cuts, lined them up with the miter saw and then used a stop block to make the duplicate cuts consistent.
Next we did the same for our 4×4 legs. Now Just like we built our big bench, this one would be sturdy because we use dado joints. These are slots in the 4x4s that the 2x4s rest in. To cut our dados accurately, we used our circular saw, and adjusted our blade to the depth of a 2×4.
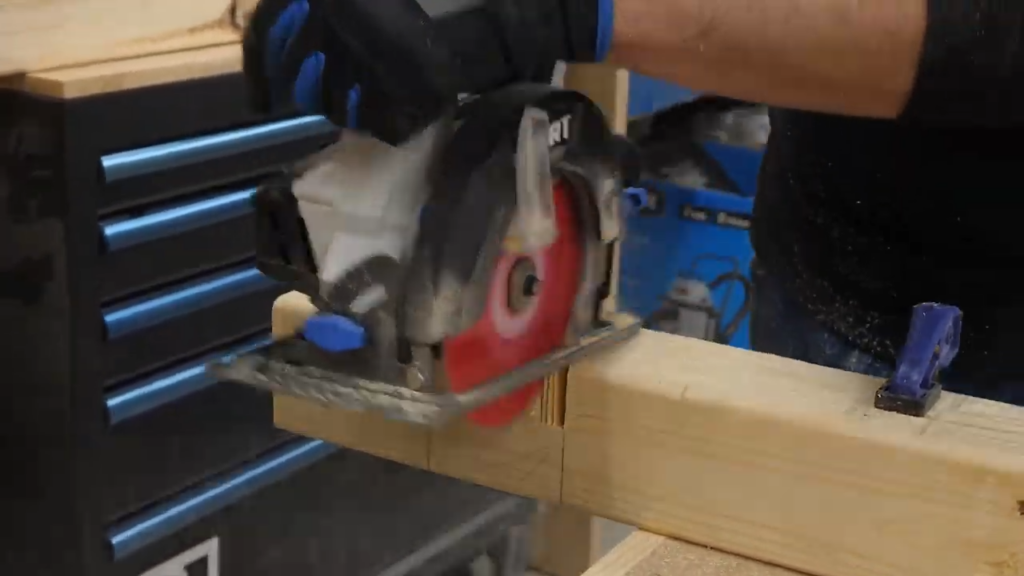
Then after we marked our legs, we made a bunch of repeated cuts until we could break out the waste.

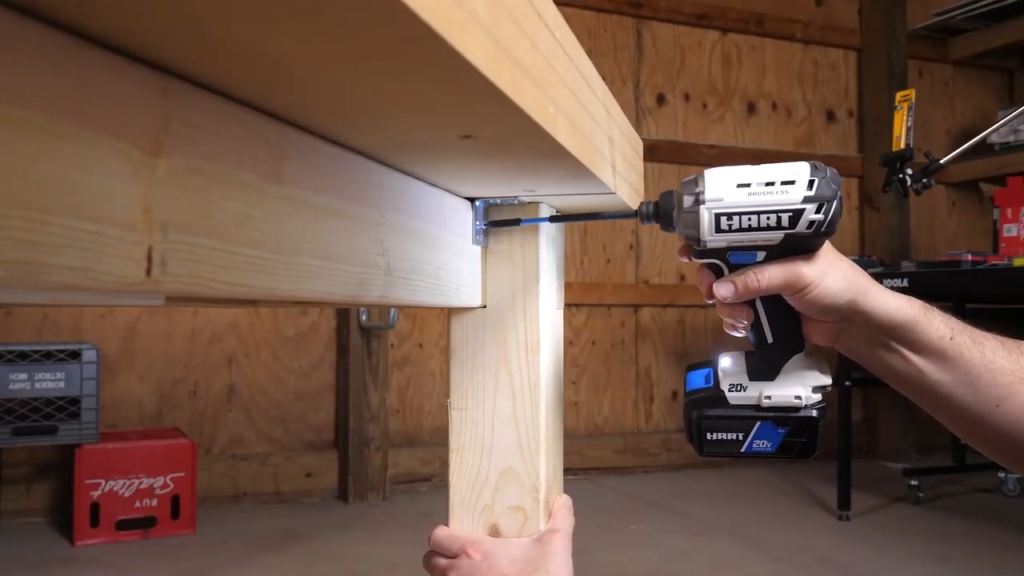
When all the dados and rabbets were cut, we screwed the 2x4s together into a frame for the top and lower shelf. Then before we screwed on the legs, we thought now was a good time to put on the adjustable feel. We found these at a Rockler store, and they were pretty cheap.
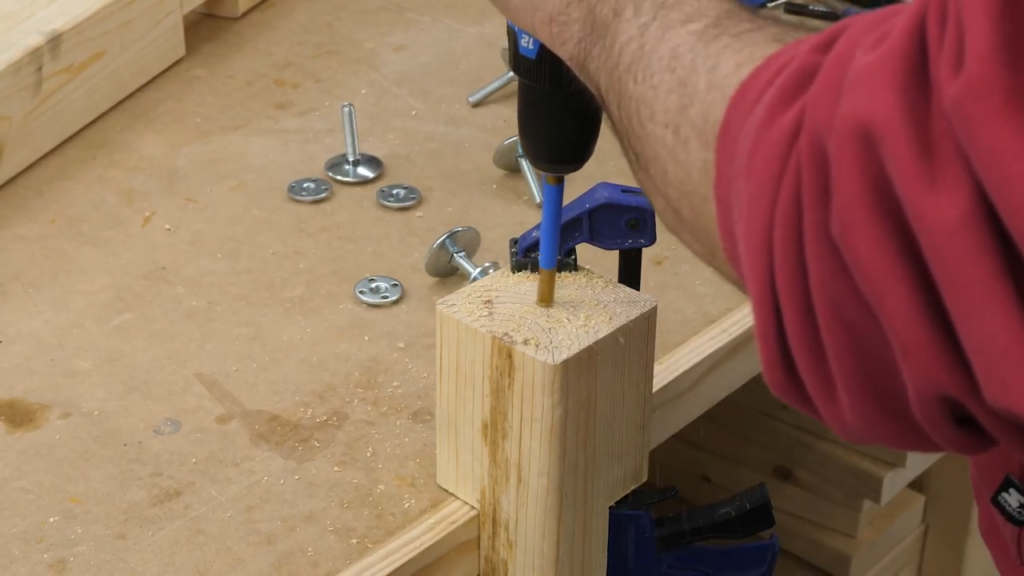
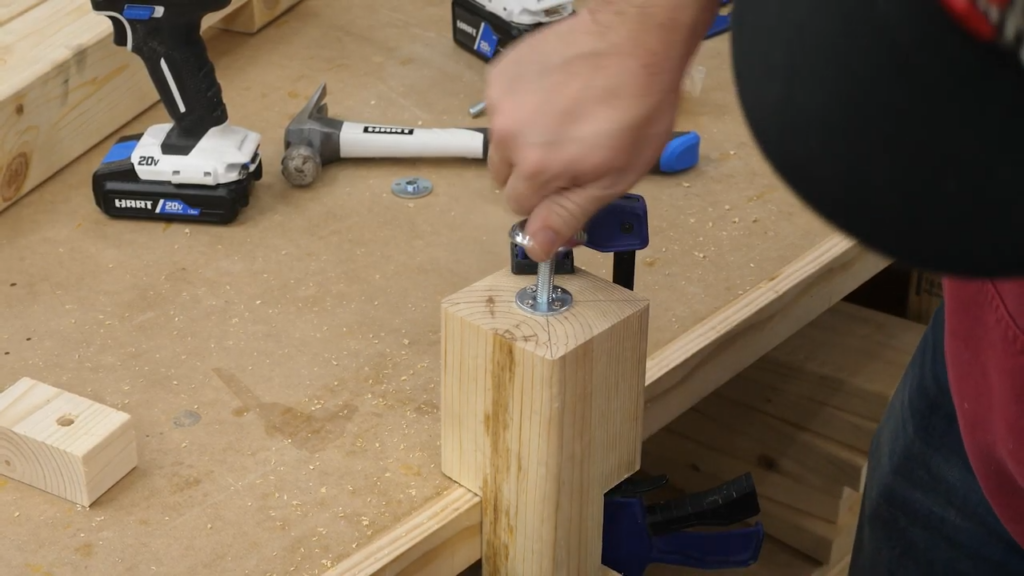
We just had to drill a hole in the center of each leg, and then drive in the threaded insert and attach it with a few screws. After that it was as simple as screwing in the feet.
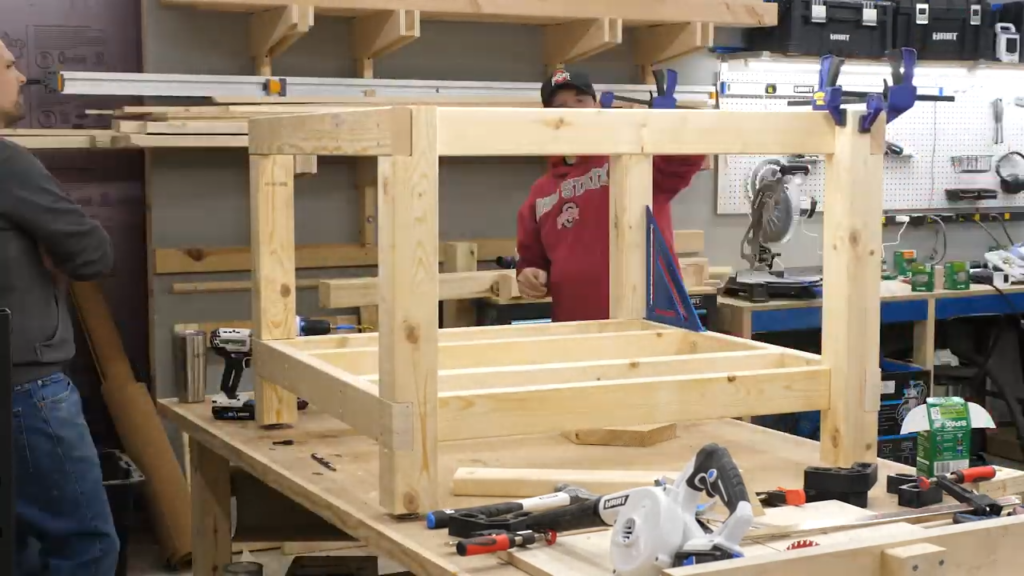
Then we hammered the frames into the dados in the legs and screwed them in place. We really need to make mallets. Anyways, we did the same with the top of the bench, and used some clamps to hold it all square as we screwed it together.
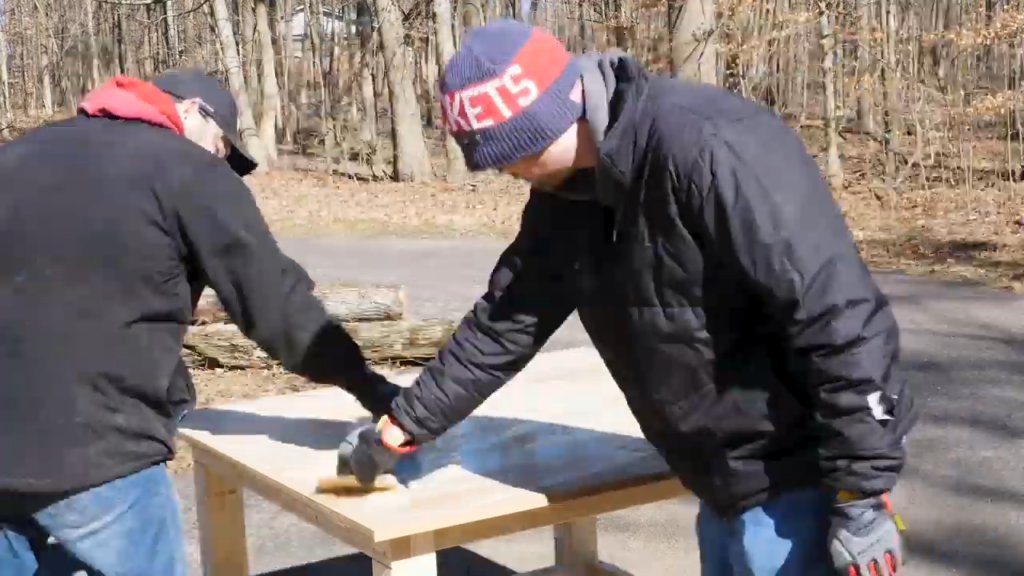
After the frame was done, we carried it outside to work on the top. For the top, we decided to get some ¾” MDF, which is very flat and very heavy, and cut a full sheet in half.

Have you guys ever worked with a sibling before? For some reason it always leads to bad safety practices. Don’t do this. Just get a saw horse. For those panicking right now, my hand wasn’t anywhere near that saw. I promise.
After we made our cuts, we glued 4 pieces together to make a seriously solid 3” top.
After the top dried, we moved it into our studio building, where I attached some casters that engage with a pedal, and we attached the top with a few angle brackets and some screws. And that was it. We had a small, portable, but mighty workbench that worked great for our drill bit testing, and I’m sure we’ll find many more uses for it moving forward. I did end up buying some 1×4 that I plan to use on the edge of the table to protect the edge and to make the whole thing look nicer, but it’s not something you have to do.
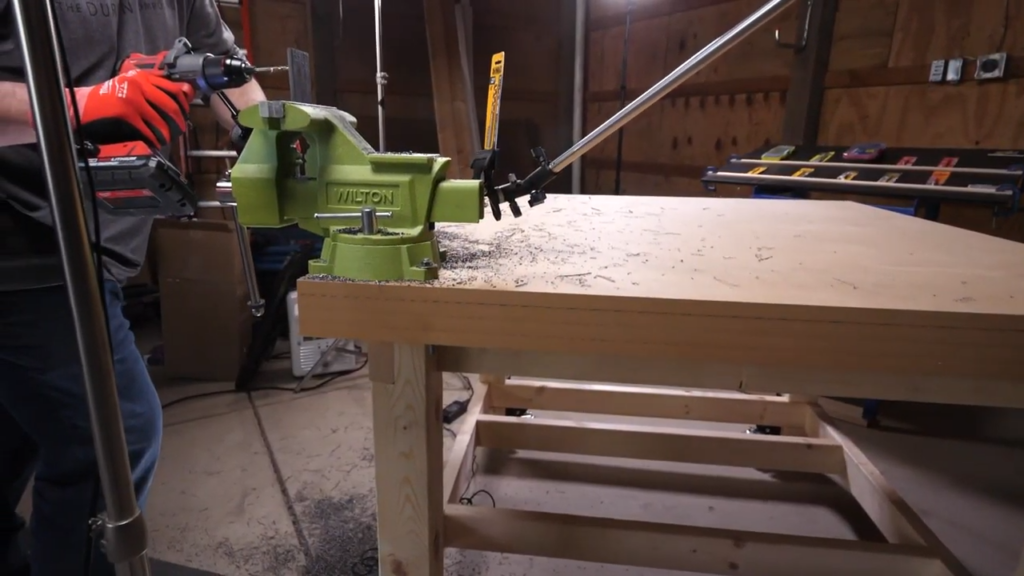
If you find yourself needing extra work space, a small workbench like this could come in really handy.

