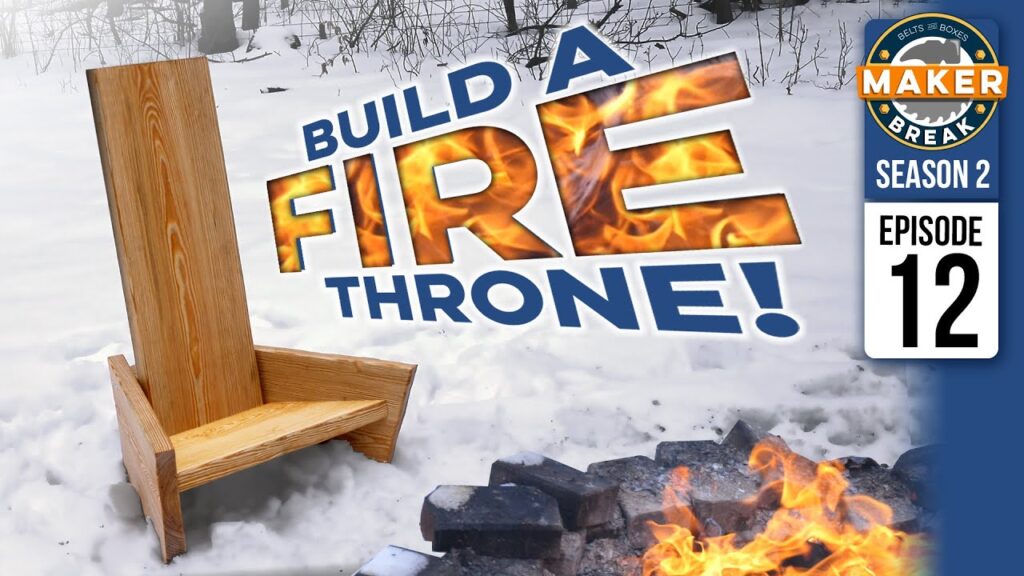
This week we found the perfect chair to use by the fire, but not at the perfect cost. So we made one of our own out of a $20 piece of pine! Now we just need to make three more for the rest of the family. Put down your tools, it’s time to take a Maker Break!
Project Of The Week | The Fire Throne

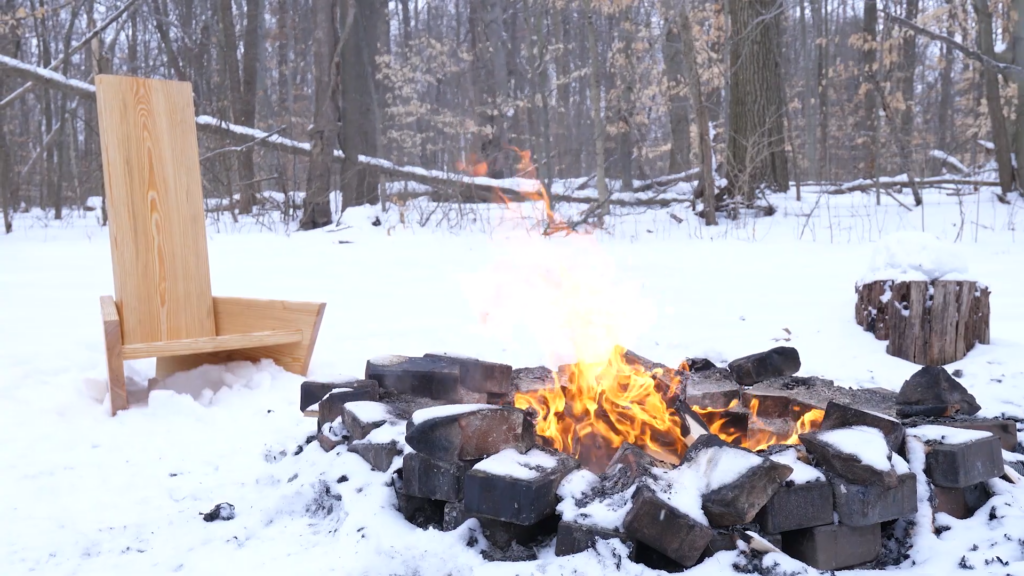
Living out in the country, we have a lot of bonfires. We have a few stumps we sit on occasionally, but they’re not that comfortable. While flipping through pinterest, Sarah and I found this awesome outdoor chair for fire pits, but it was $350, and I figured we could make our own out of a single $20 piece of 2×12 pine. But first I’d have to figure out the math.
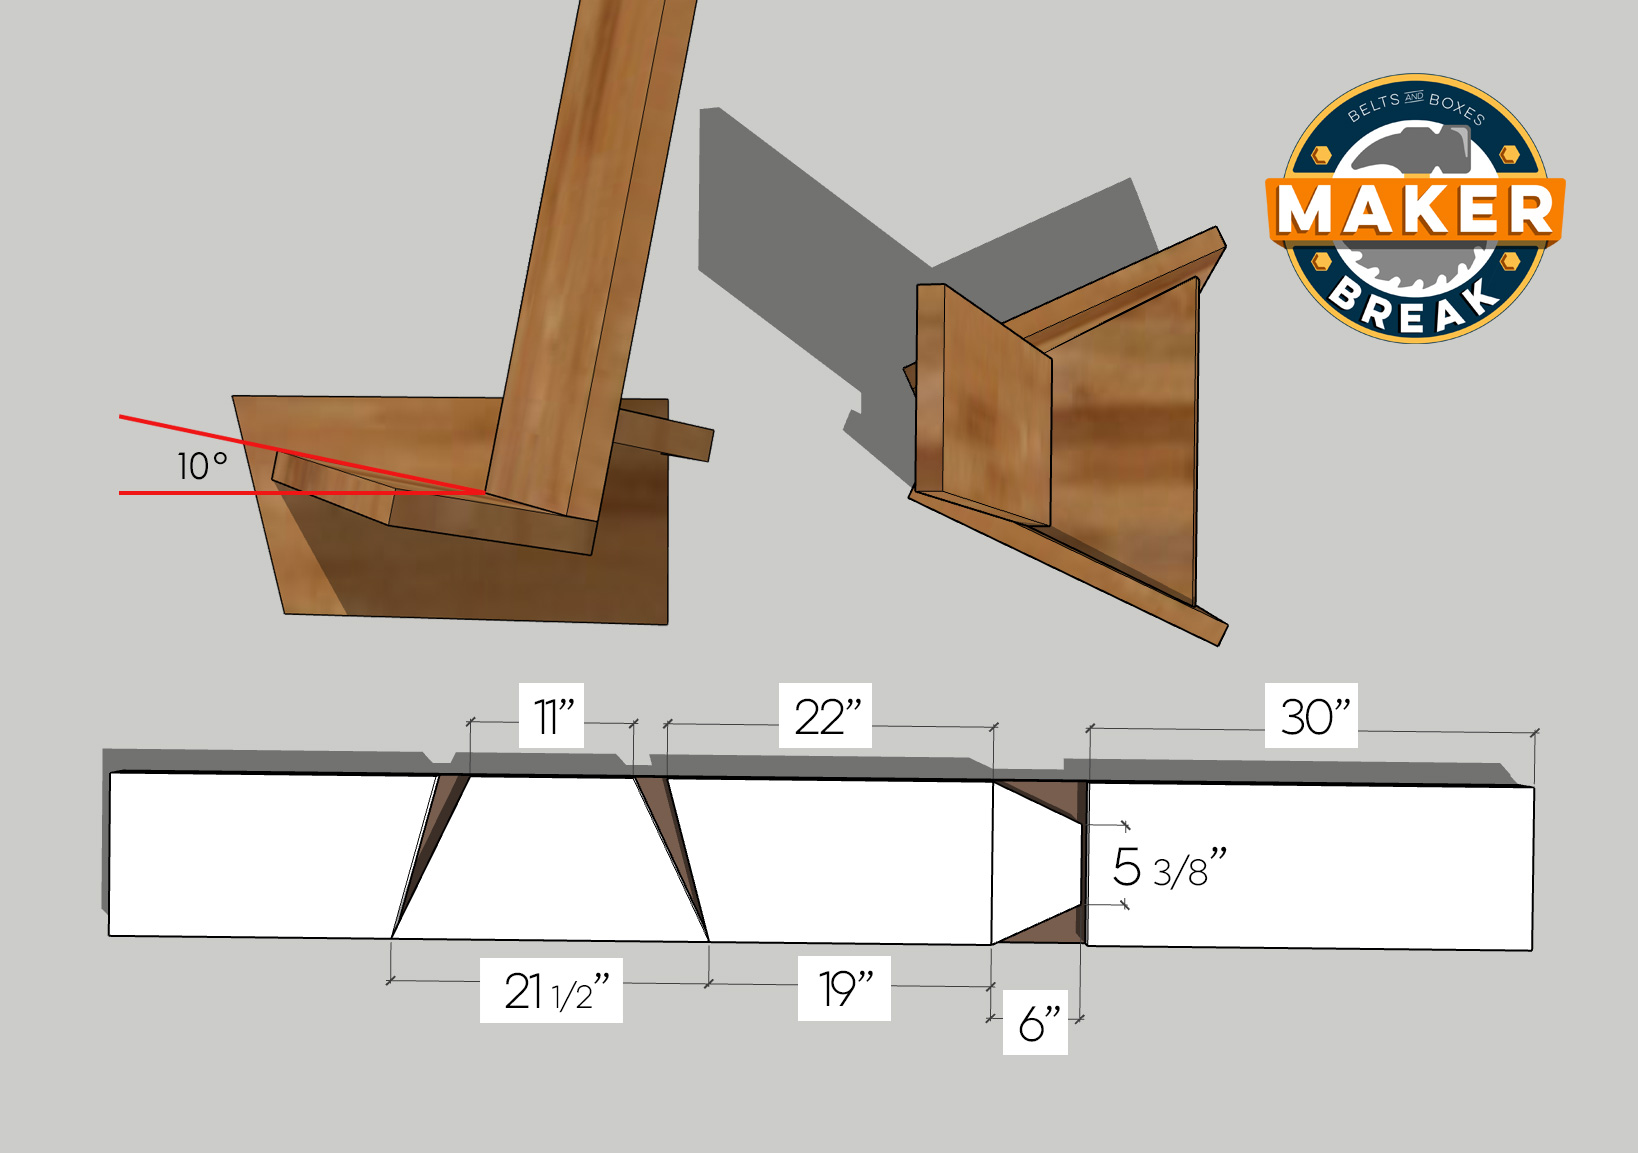
I actually built this little model out of scrap, to help me understand how it might go together, and then jumped into Sketchup where I came up with this. Now the outside legs are at an angle. What I didn’t realize, was that the angle happened naturally when you reclined the seat into position. So essentially, there are zero beveled edges in this design, so we could cut it all with just our HART circular saw without a problem.
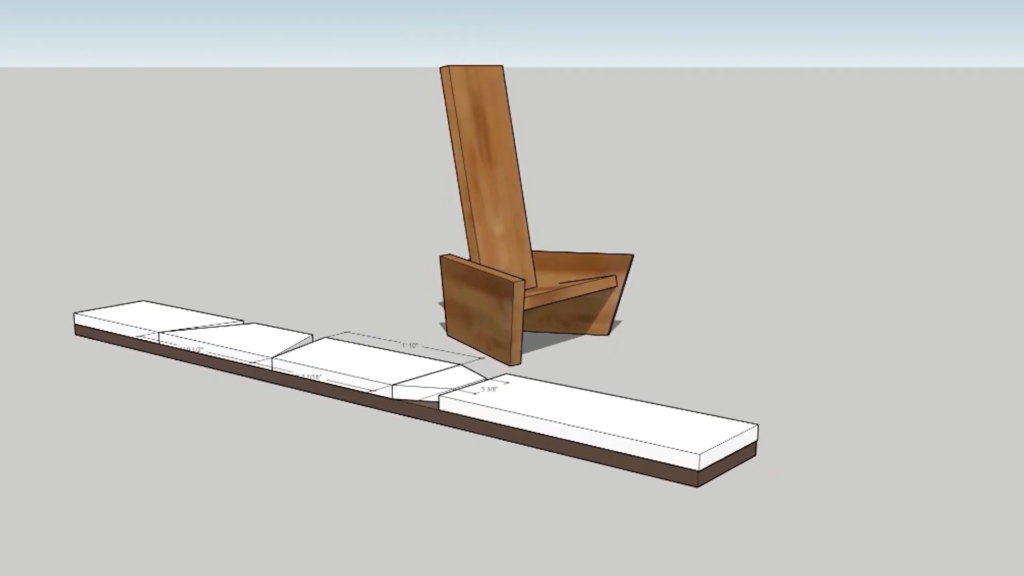
With my design in hand, I headed down to the shop, grabbed my 2×12, and started marking off the pieces. I used a few spare pieces of foam insulation to support the board, and it didn’t matter if I cut through it. Highly recommend you keep a few pieces under your work bench.
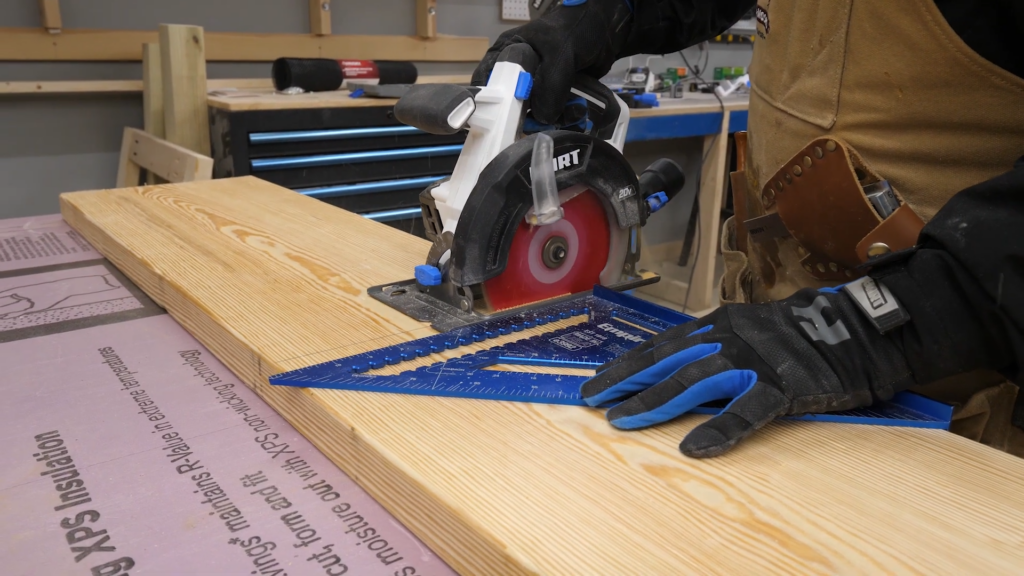
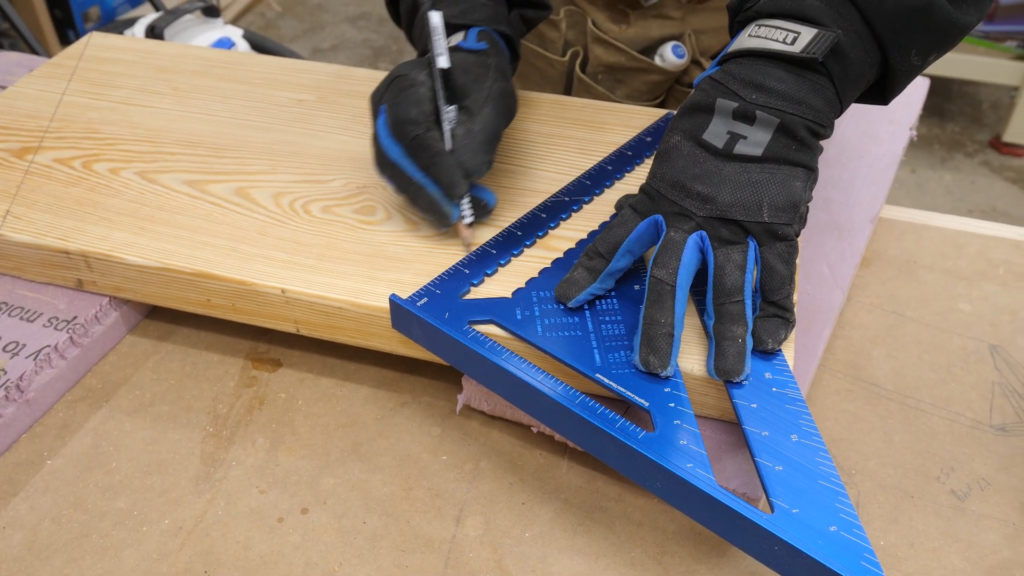
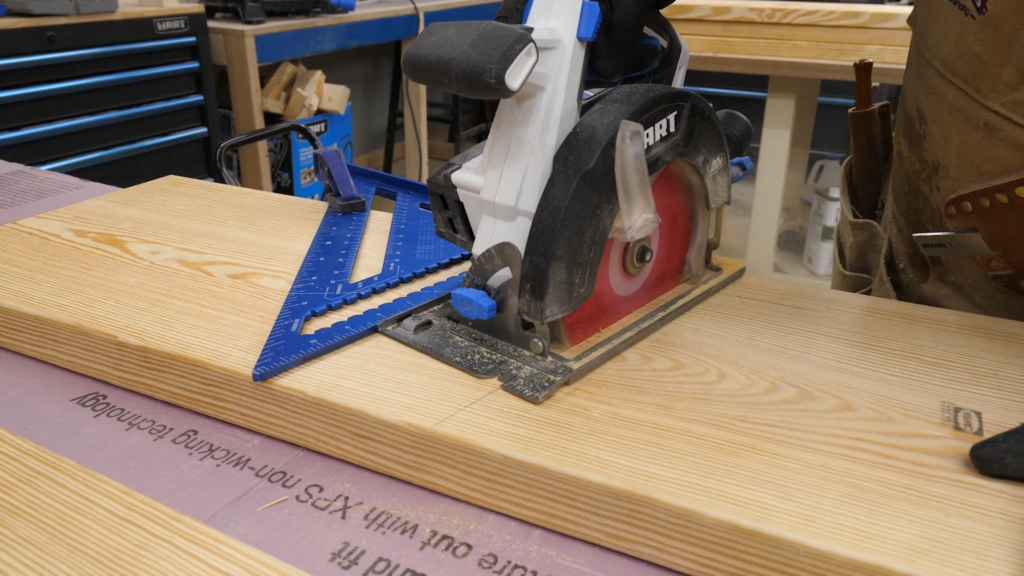
Then I started to make my cuts. Easy as pie. Now the seat, the legs and the back support all have angles. Either 25 or 15 degrees. To mark those, I simply used my square to rotate from my cutting point, until the edge of the board lined up with my desired degree. This is incredibly easy, but you also want to be careful to be as accurate as you can, so the pieces go together in the end.
And then I did more cutting, and more cutting, and more cutting. The back support was a little more complex, but with a steady hand and some patience, I was easily able to cut it out.
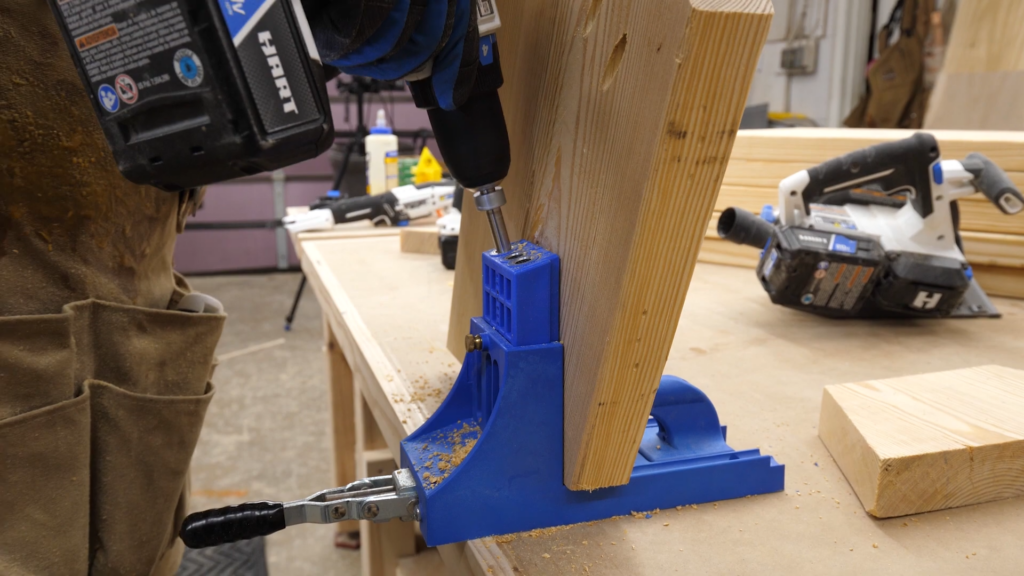
Now I decided to use pocket holes to hold it together, which worked great for the seat, but not so much for the back support. I’ll show you that in a moment. I attached the back to the seat with 3 long construction screws, and that felt pretty secure.
Next I measured out the location of my back support, and screwed it onto the back. I then marked the side pieces and made sure they were identical, so the seat would sit level. Then I screwed them on.
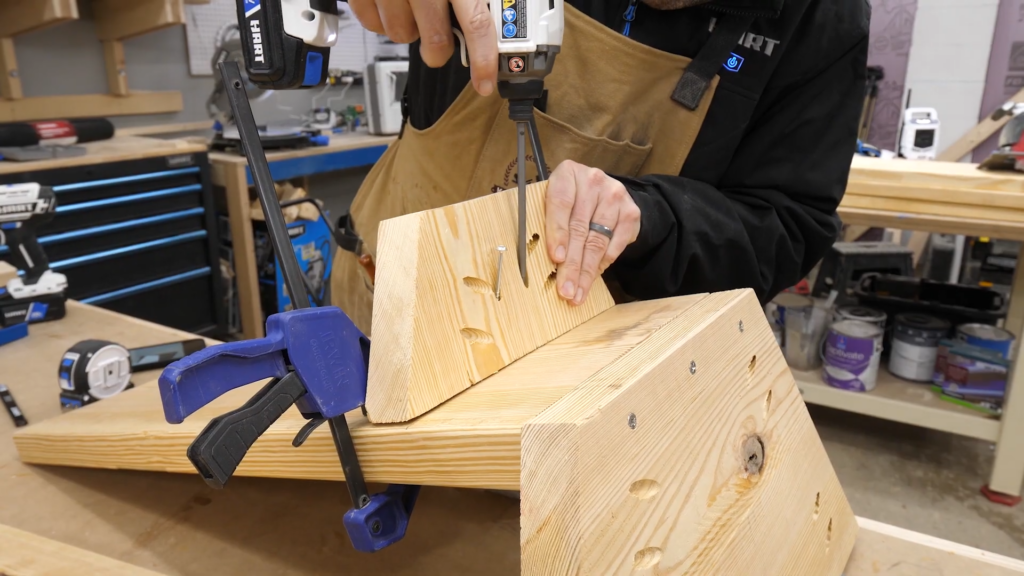
This is where I realized the error of my ways. I didn’t really have room to get a drill inside the chair to attach that little back support. So I left it unattached for now.
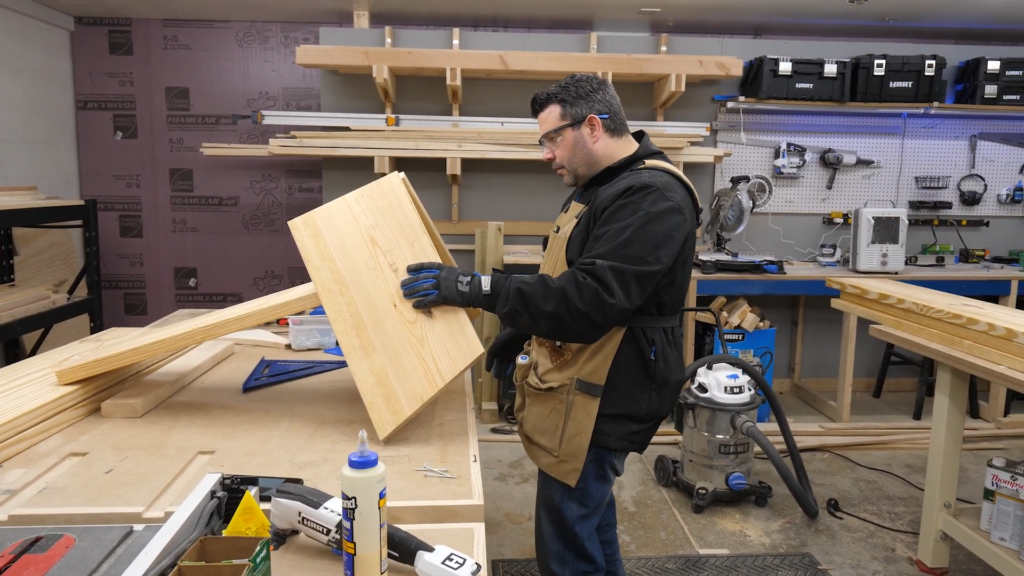
I set the whole thing on the floor to test it out, and it was pretty amazing. Without the back support screwed in, it creaked a little, but I had a plan to fix that.
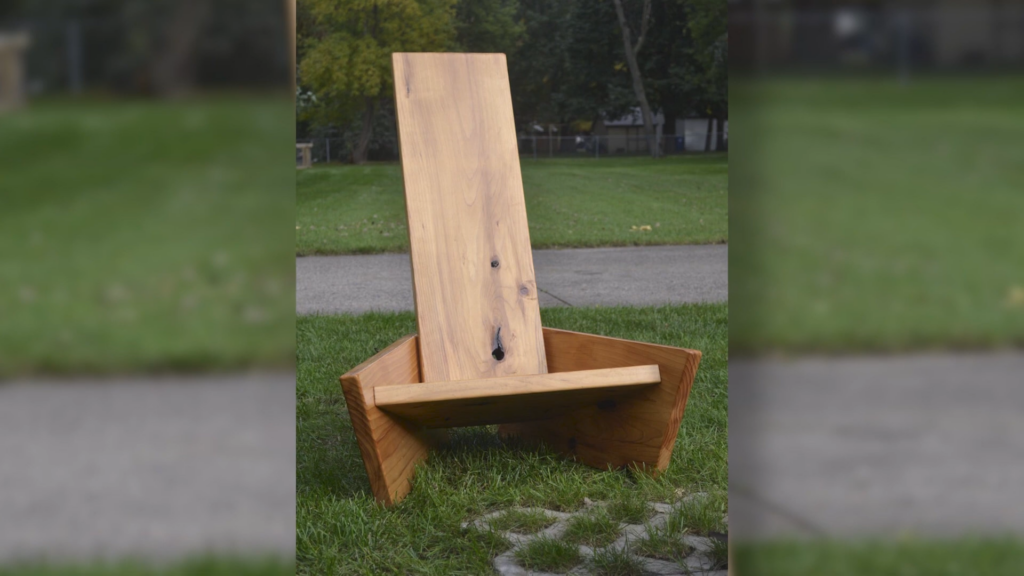
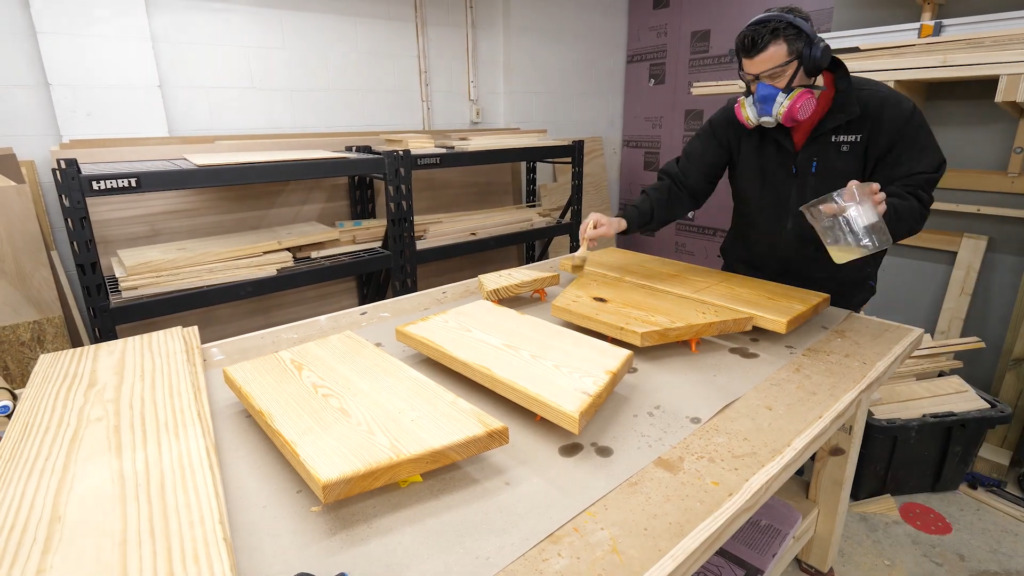
Knowing it all worked, I took it all apart, rounded some edges, sanded it a ton and set it up for finish. I decided to use some Thompson’s water seal I had left over from a previous outdoor project, and that ended up not only being functional, but left this pine a pretty reddish color that looks a bit like cedar.
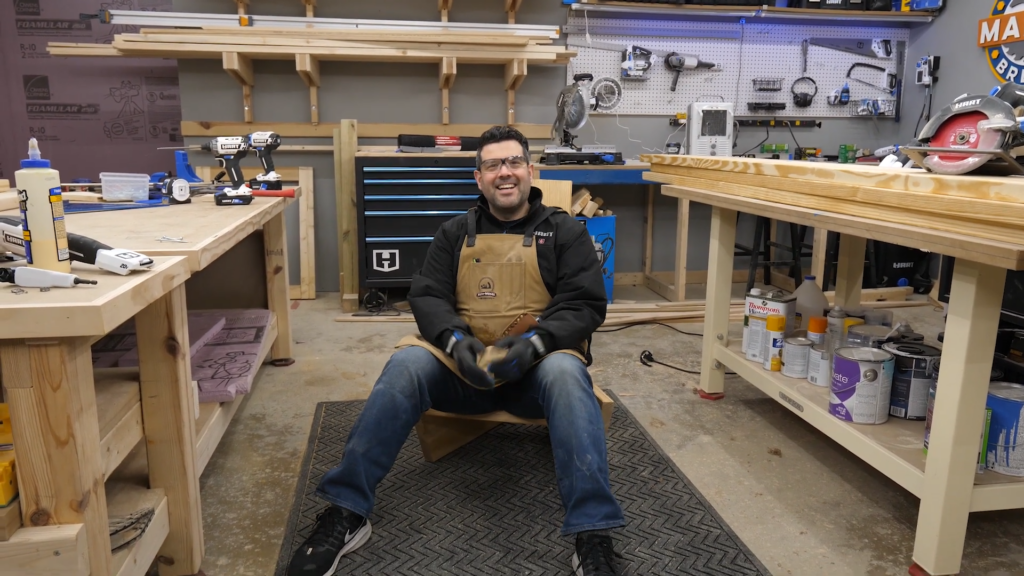
When it was dry, I carefully reassembled it, and this time around, I secured the back support with a pair of screws from the outside. Not ideal, but it still looked ok. Then, just as the snow started falling, I headed out to the pit, make a quick fire with some scraps, and tried out the fire pit throne.

This turned out so much better than I actually thought it would. It’s comfortable, and puts you right next to the fire. Being that low means less smoke ends up in your face, and it’s perfect for cooking hotdogs.
Now I just need 3 more. But instead of spending $350 each, I can grab another $20 piece of wood, and make it myself. I’ll be sure to share the Sketchup file in the description in case you want to make one yourself.
Special thanks HART for sponsoring this episode and reminding us that we can build anything we can imagine, if we #DoItWithHART