
Hey guys! Welcome back to Maker Break, where we share our favorite maker videos of the week, and then challenge ourselves to build a project of our own! I’m Rob, and my co-host Sarah is working from home. I just finished my biggest project yet. But first, let’s take a look at our favorite maker videos of the week.
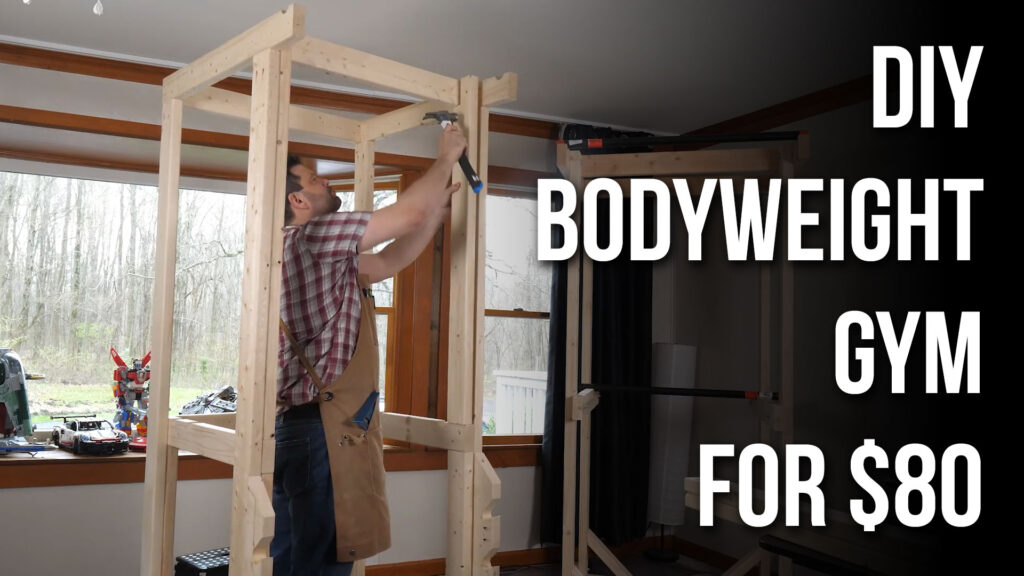
I decided as long as I’m going to be stuck at home, I’m going to get in better shape. So I built a body weight gym!
This Week’s Project
This is the gym I built. I simply followed a plan posted on Instructables by a guy named Simon. (You can find it here).
It only took a couple of hours, then I posted it to Instagram. I immediately started getting compliments and requests for plans. That was until a guy named David Andrew Brent reached out to tell me what a terrible design it was. Yeah, this guy:

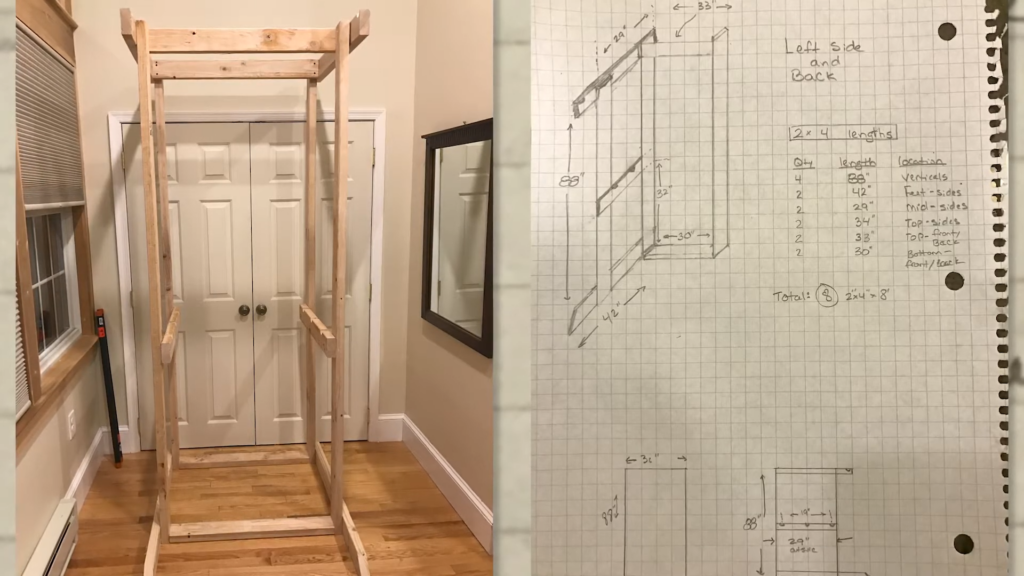
As it turns out, he’s a stand up comic, AND a framer. So he knows what he’s talking about. He was nice enough to walk me through some improvements and helped me with a design of my own. All I had to do after that, was build it. You can download my Sketchup File here.
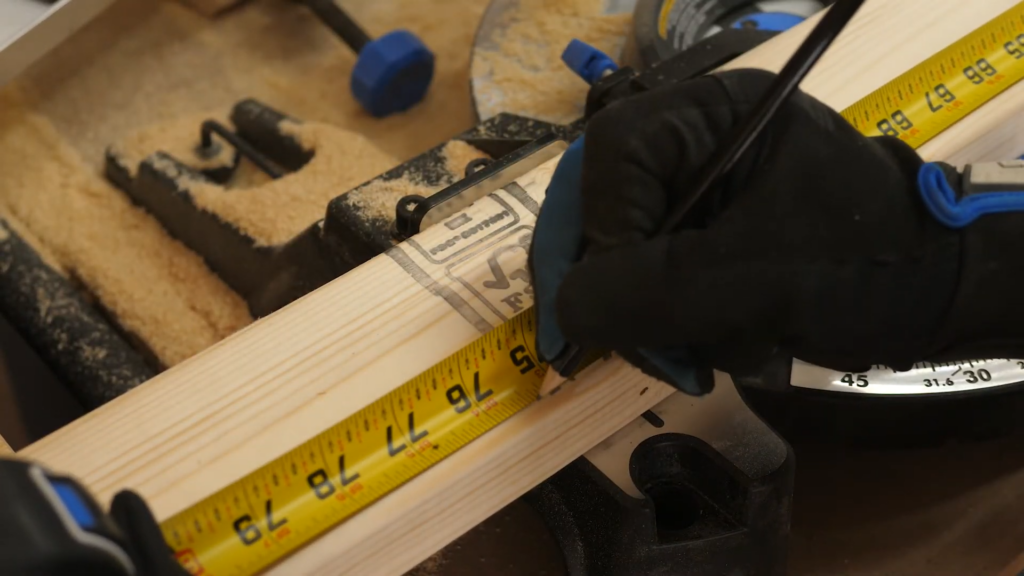
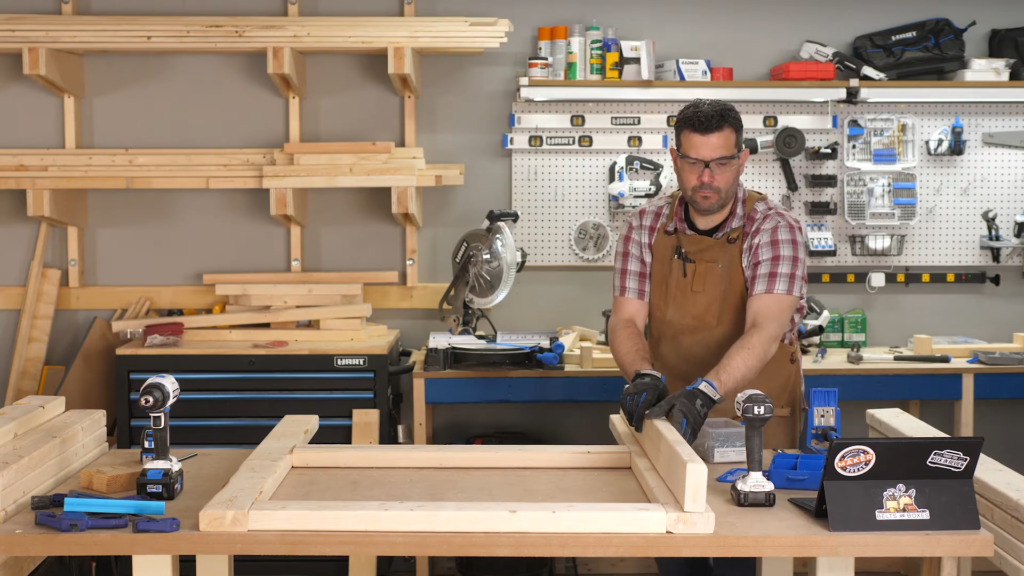
I started off by cutting all of my pieces to length. I went out of my way to buy the expensive 2x4s this time, expecting some deluxe quality. What I got was… less than that. But we’ll get to that later.
I specifically designed the new gym to keep the number of different cuts to a minimum. Then to keep things consistent, I used a stop block that I would either clamp down or screw in place.
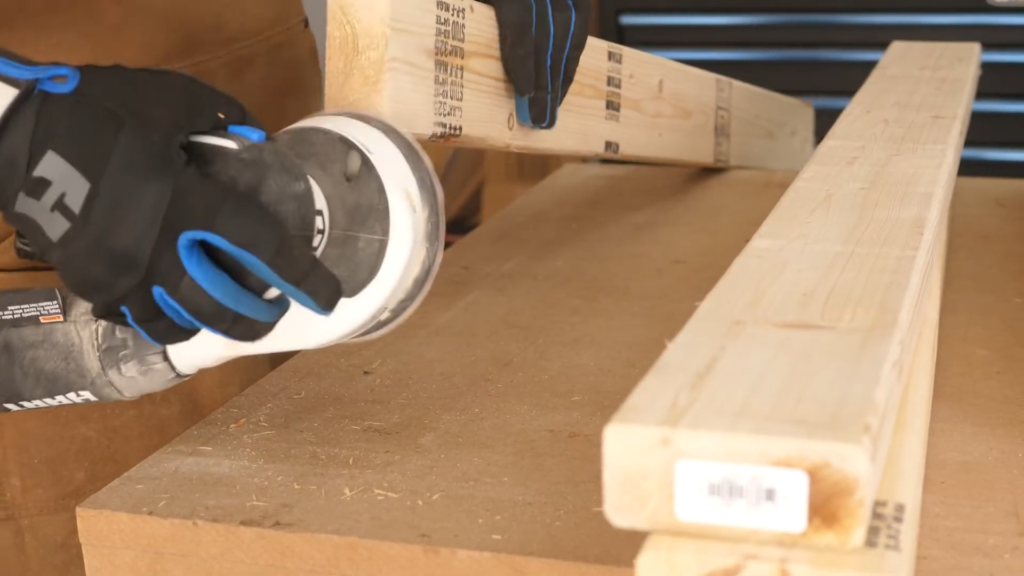
I ended up with 27 pieces. After that, I did some quick sanding to clean up the ends. I really love the HART 10” miter saw. It’s done a great job, but I really need to get a finishing blade for that thing.
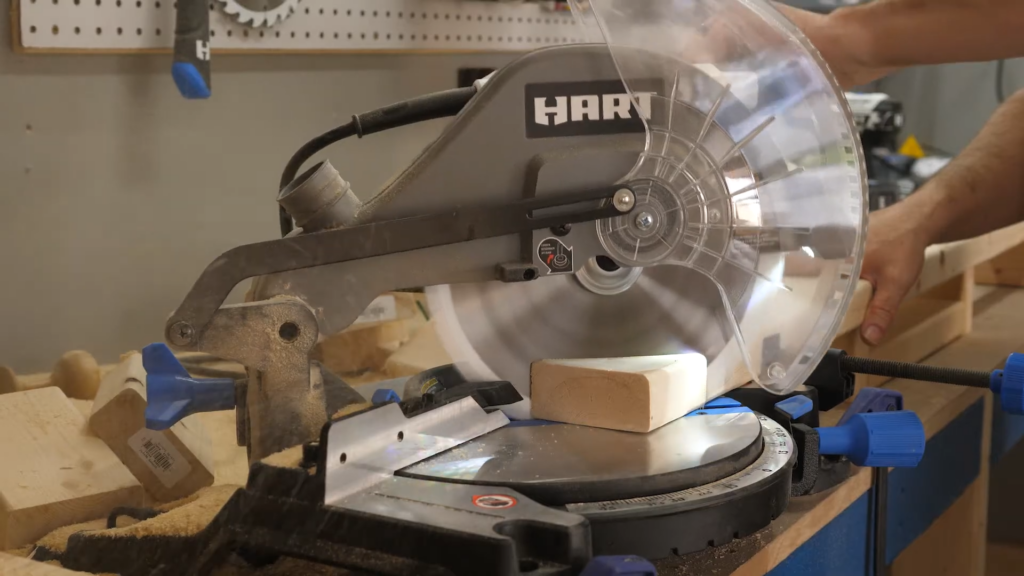
4 of the pieces have a 45 degree miter on the end for aesthetic purposes, so I cut that next.
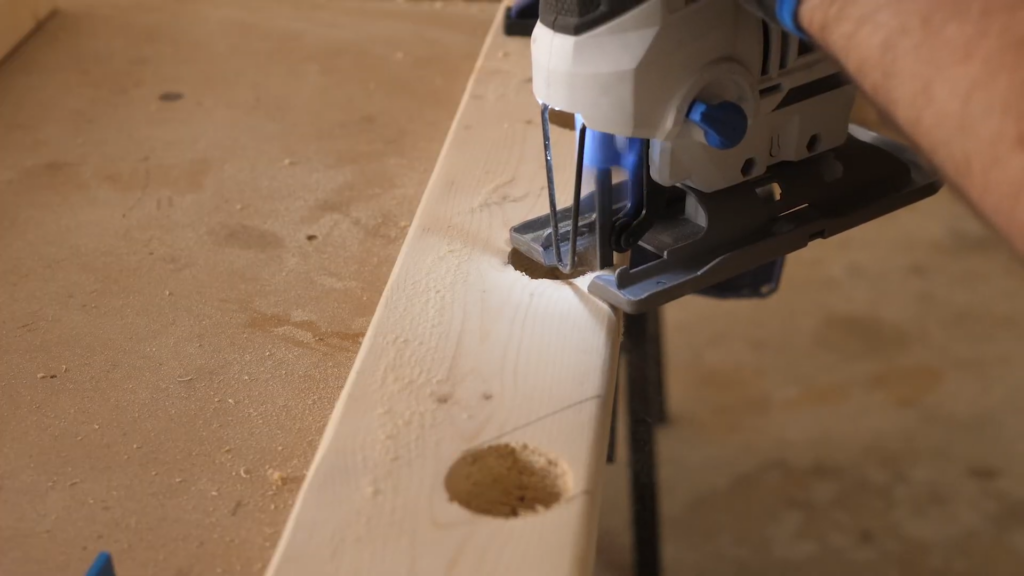
I added two vertical pieces that will work as a multi stage rack for assisted and modified pushups. To do that I marked off 4 spots, 6 inches apart, and drilled out a 1 ½” hole, then used the jigsaw to cut out the slot. This will all make more sense when you see the final build.
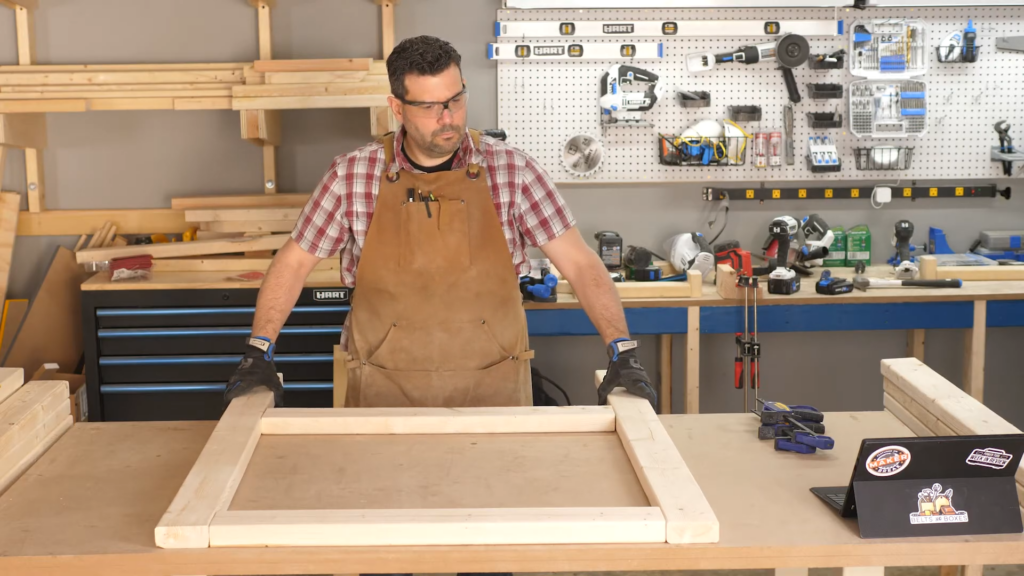
Then it was time to start the assembly. With the first version, it had to be built in the room where I’ll use it, which is carpeted and NOT level. It was really frustrating. So in my design the base is a self contained frame I could build in the shop on my level work bench.
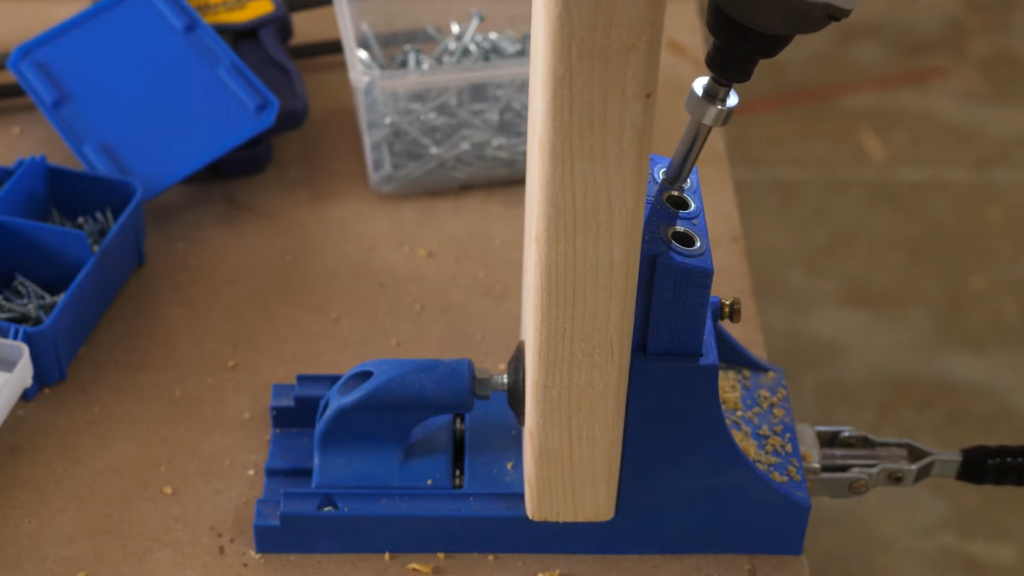
I used pocket screws whenever I could, which worked really well.
To make sure this thing would be stable, I added these second feet mounted perpendicular to the lower rails. I attached them first, to use as my guide later when I attach the verticals. I again used pocket screws, and some scrap to make sure I was attaching it in the right place. Once I got the base together, I moved on to the sides.
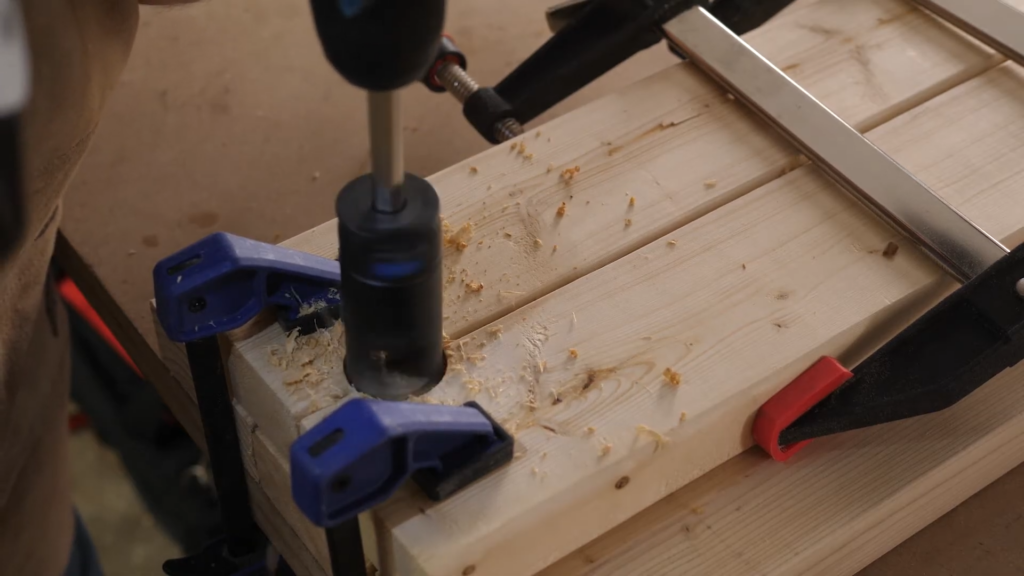
I first drilled slots for the iron bars to rest in. To do this, I used a 1 and ½” hole saw. I found the slower I went, the better my cut. By placing the matching pieces together, and drilling between them, I got two perfectly aligned half circles.
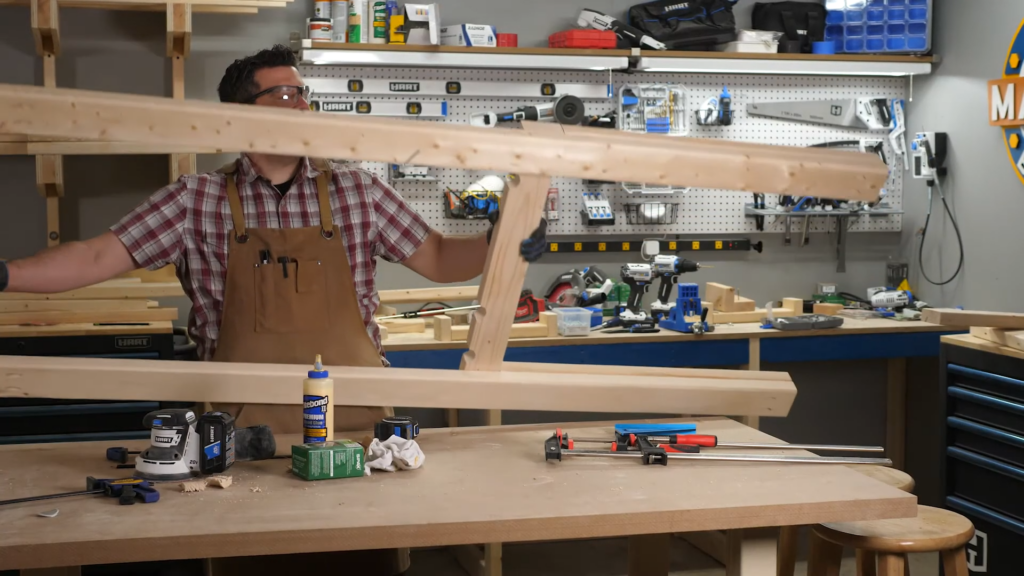
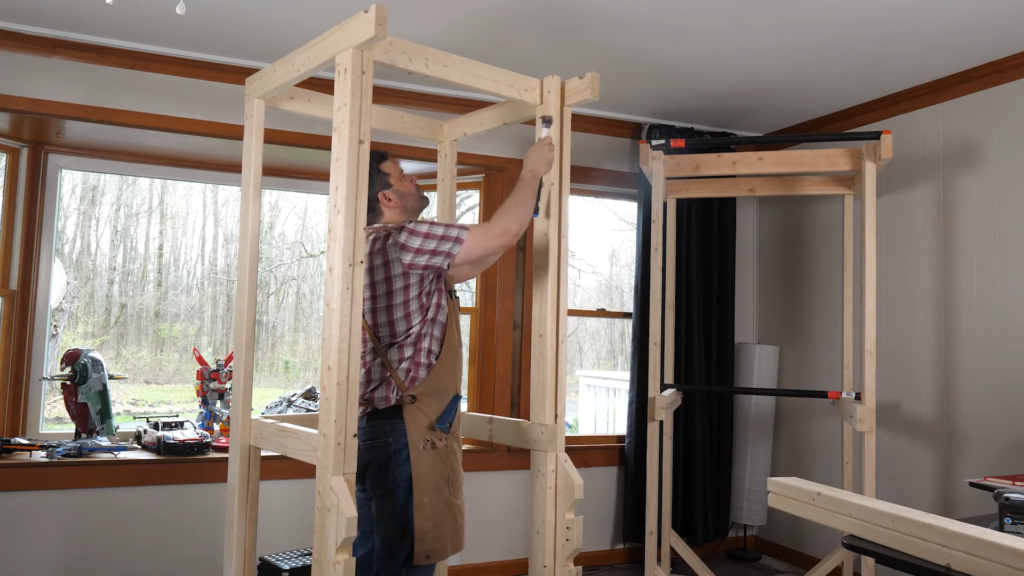
Then I assembled the two side towers, using additional vertical braces for the mid rail. Once assembled with pocket holes, screw and glue, it was ready to bring it all upstairs to assemble it in our other studio where it will live.
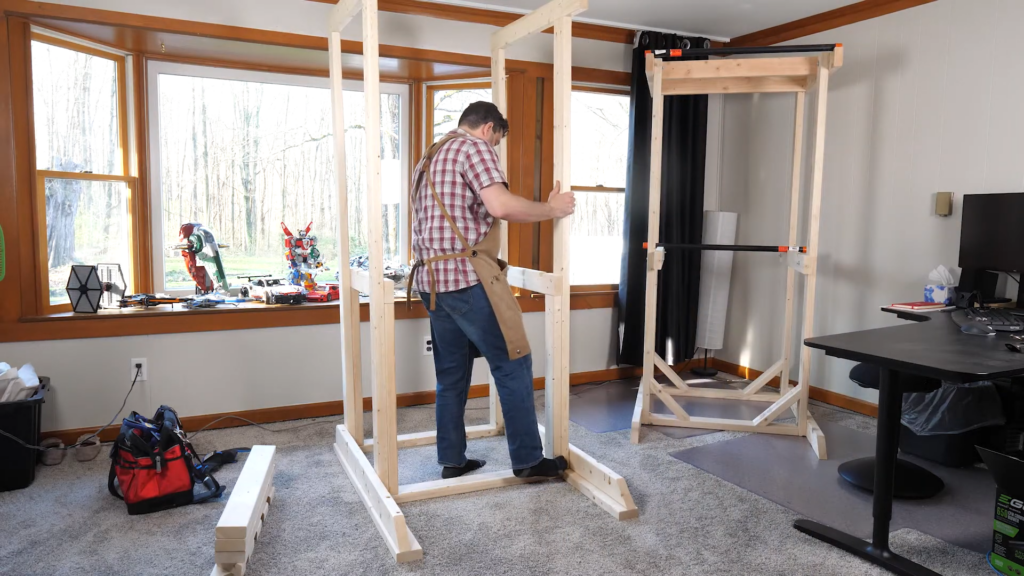
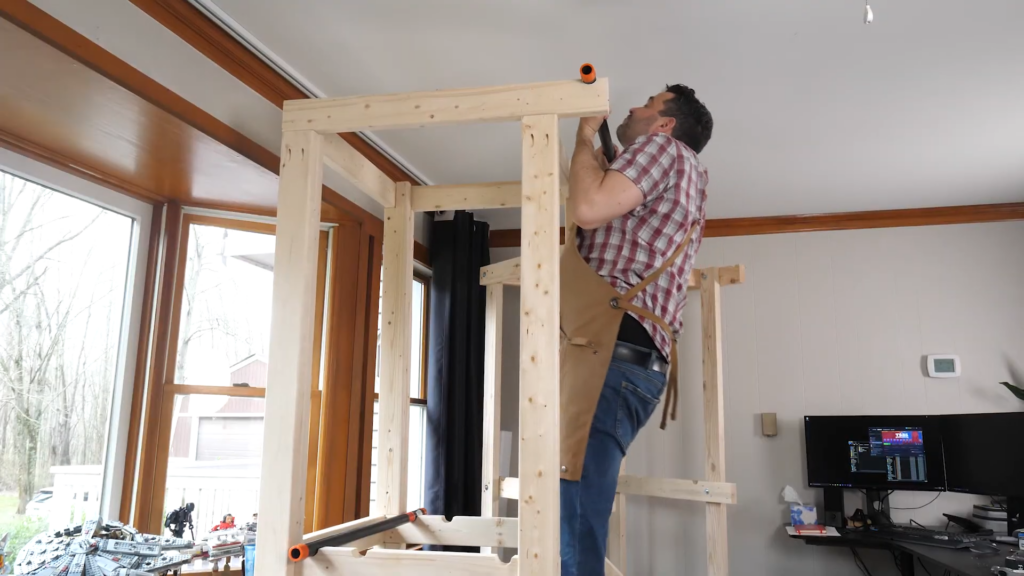
Once I got it upstairs, I attached both side towers to the base, then screwed in the spacers for support, and finally attached the pushup rack along the front edges.
These last four pieces were to add additional support to the top rail, and add a bit more structural rigidity so I wouldn’t need to use the corner braces found on the original design. I had to notch them out before adding them.
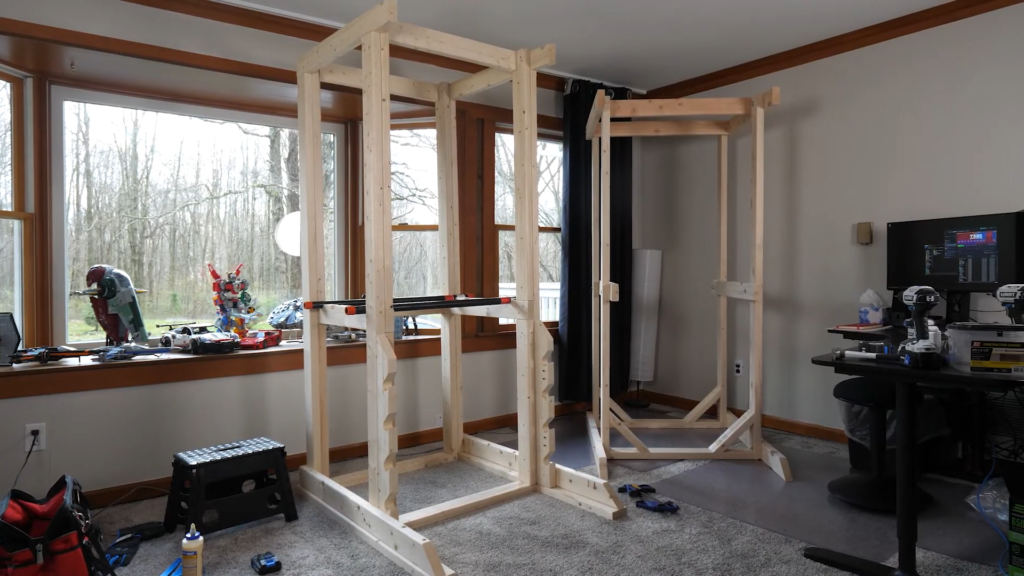
And that’s it! For less than $100 I have a small gym that allows me to do pullups, chinups, dips, modified pushups and once I add some resistance bands and rings, even more! Now the real work begins.
The final bill was just $80, and that’s only because I bought the expensive 2x4s, which turned out to be only “ok”. Unless you really need this to be pretty, I bet you could do this for around $50 if you’re really thrifty.
I built this gym because I want to use this time in lockdown to work on my own health. I have a long way to go yet, but I’m on my way. There’s an amazing bodyweight fitness subreddit, that has a fantastic workout plant I’ll be following. I’ll let you know how the gym holds up as I use it.
If you’d like to build one of your own, you can download my Sketchup File here. You can use it to grab dimensions, make changes if you’d like, and organize your cut list. Be sure to send me a photo if you do it!
MAKER BREAK
Laura Kampf has been a favorite of ours for a long time. Her videos have this really awesome laid back feel, and typically skip narration in favor of creatively spaced signs that help fill you in on the action. This week she built a dining table with a clever insert that converts it into an office desk with a stand for her tablet. Honestly, even if you don’t need one, it’s just fun to watch her build. You can find her at Laura Kampf on YouTube
I’ve never done any restoration projects before. Maybe because when I see something like this…I don’t think “Hey I should restore that” so much as , “Hey, how’d that get out of the trash”. Fortunately, TysyTube Restoration found it, and saw the potential I couldn’t. After restoring the hardware to it’s original finish, he filled the missing body with a resin mold. The result was simply amazing. You can watch the whole thing at Tysytube Restoration.
Christiana from Get Hands Dirty needed a place to put her dirty laundry, and found some space over her bathroom door. Using nothing but thin plywood and her x-carve, she built these awesome laundry baskets that mount on the wall. She’s quick to point out that if you don’t have a cnc machine of your own, you could also create a simpler pattern using small circles, and simply use a drill. Check it out at Get Hands Dirty.
Power carving is another technique that we’ve yet to try. We’ve got the grinders, and apparently we only need a few carving wheels and a cool idea. This week the Awesome orange had both! Sadie Mae wanted a bread bowl, so she glued two different pieces of hardwood together, giving her a 4” block to work with. From there, she tried out her new Saburtooth burrs and slowly removed everything that didn’t look like a bread bowl. The results were beautiful, but holy cow this technique makes some serious sawdust. Her poor truck. After adding some texture, and then sanding, she ended up with a really unique piece. You can see it at The Awesome Orange
Finally, Ben over at Woby Design showed us what we can do with our thousands of left over skateboards. Wait, you don’t have thousands of skateboards laying around? Odd. But Ben does! And he shares this really amazing technique to laminate the old decks together using total boat epoxy, and then mills them down into some of the most unique lumber I’ve ever seen. From there he turns them into all kinds of things like hammers, bats, donut clocks, and even skateboards. That totally makes sense.
That’s it for this week. I had a ton of fun building the gym, and I want to thank HART for supporting us and helping me Do It With HART. This week I’m going to be building my first raised garden. No clue how that’s gonna turn out. Alright. Break’s over. Let’s make something.

