
This week we built a french cleat Lego display wall for our studio. Then we get to meet Mark the builder! But first, It’s time for a Maker Break!
Hey guys! Welcome back to Maker Break, where we share our favorite maker videos of the week, and challenge ourselves to build a project of our own! This week, we built a display wall for our lego kits that can adapt as we buy more! Here’s how it went.
This Week’s Project!
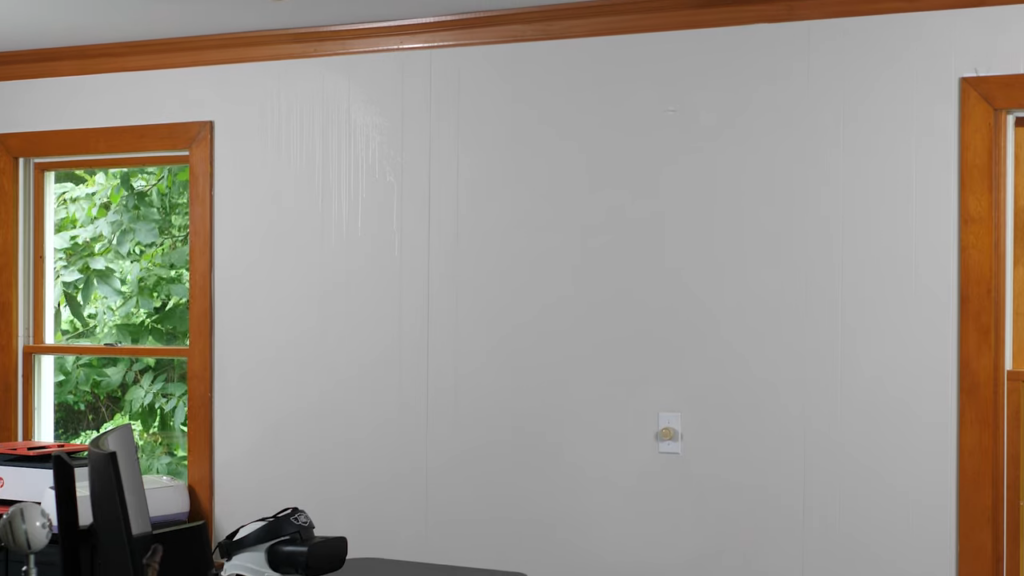
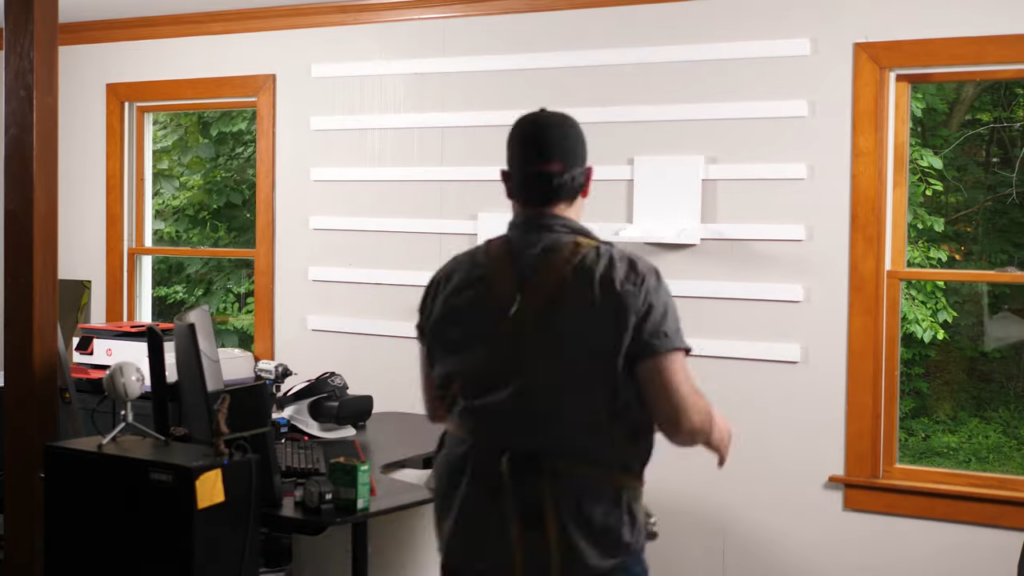
So this is a big blank wall in our studio, right behind my workstation. I’ve had plans for a long time to display our LEGO collection on it. I figured this was a good week to do that.
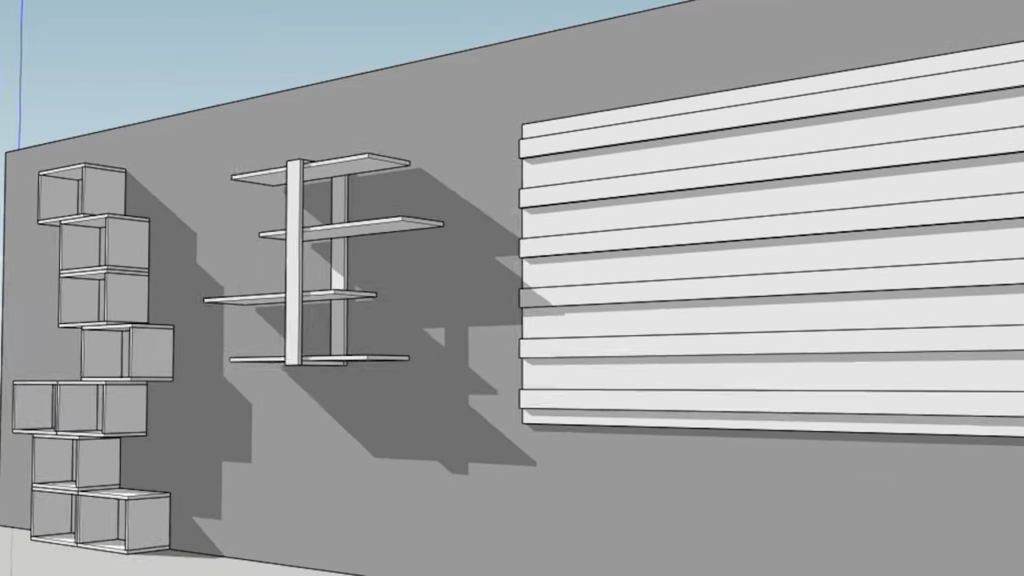
I played around in Sketchup with a few ideas, but it was my wife who had the best one. She suggested I build a wall of french cleats, so I could not only display all of our kits, but I could easily rearrange them or add new ones.
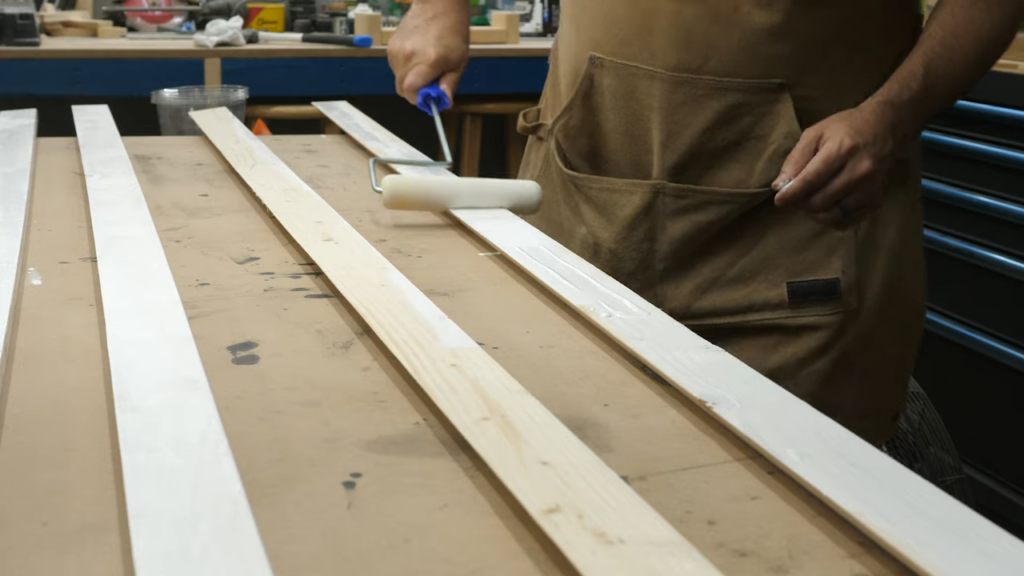
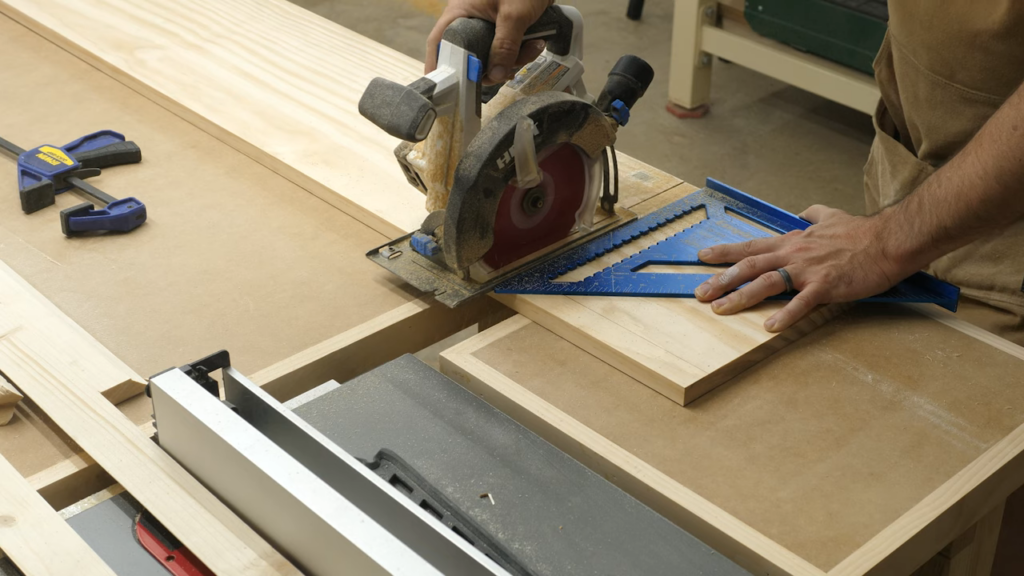
The first step was to make the cleats. I grabbed a couple 1 by 4s, adjusted the table saw to 45 degrees and ripped them in half. Easy enough. I knew I wanted both the rails and the shelves to be all white, so the kits could stand out. So I painted them white.
While they dried, I moved on to the shelves. Each one was going to be custom sized to the kit it would support. I started with the Millenium Falcon, which fit nicely on a 10” wide piece. After cutting it, I cut a back piece that was 11 and a quarter inches tall, as that would nicely overlap the rail below it for support. You’ll see what I mean in a minute.
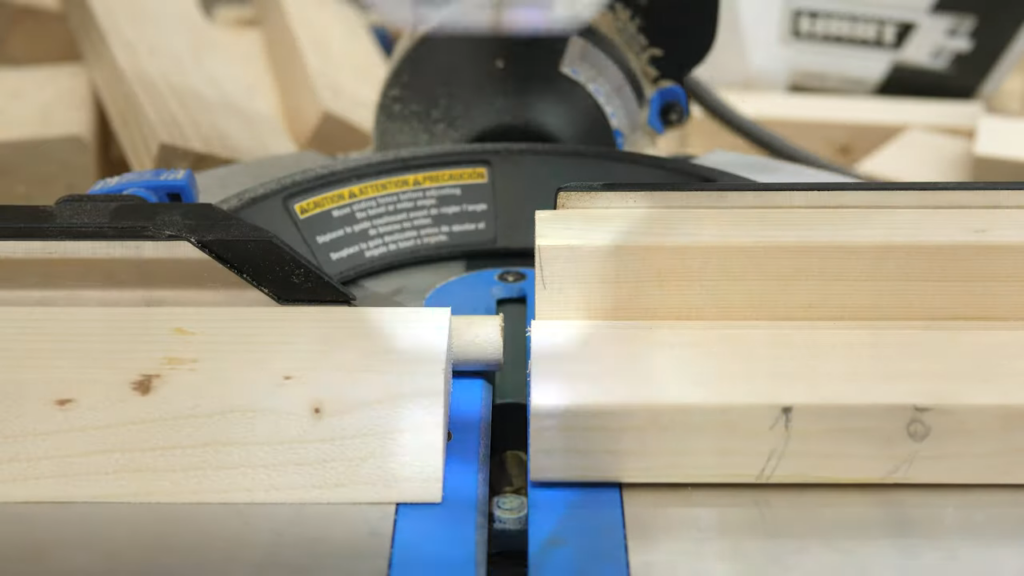
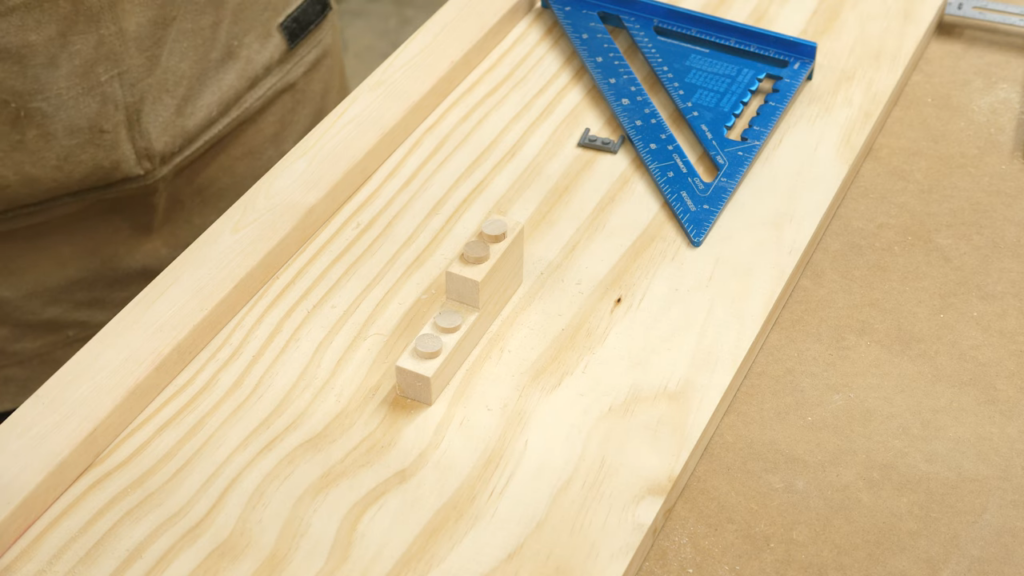
I screwed the two pieces together with a couple pocket hole screws, but I wanted a corner brace for better support. I got this idea to make the corner braces look like a couple LEGO pieces. To do that, I grabbed an extra dowel rod, and tried cutting off studs with like 3 different tools. The smoothest cut came from the miter saw, but each one I cut off was randomly shot across the shop. If anyone has a better idea, let me know in the comments. And no, I don’t have a bandsaw or scroll saw that probably would have helped.
Anyways, the studs fit perfectly on a 1 by 2 I had laying around. So I used my Jigsaw to cut out the shape of a couple LEGO bricks, and then glued and screwed them into the corners. After that, I simply glued on the studs. These ended up looking a lot cooler than expected. After that, I just needed to paint them.
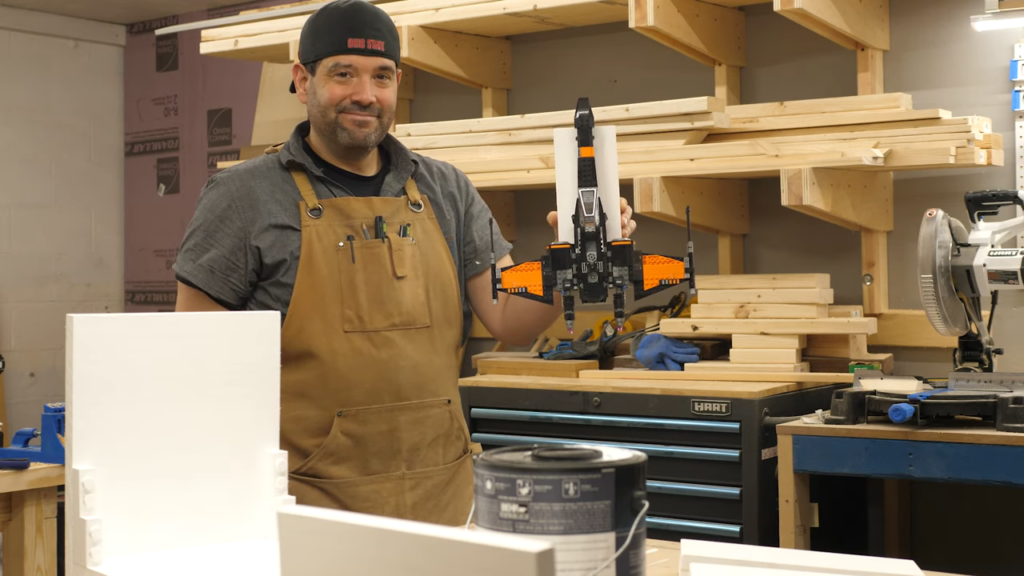
While most of the big kits got a custom shelf, the X-Wings and Y-Wing each got a vertical plaque, as I wanted to hang them up. I just like the way they look when hung up vertically. For that, I added a special brick with holes in it to the back of each vehicle, and then hung them on a nail. Super easy.
After they were all painted, it was time to get the wall ready. I ended up hanging up 6 horizontal rails. I used my new studfinder, which is WAY nicer than any studfinder I’ve had before. This thing can show you exactly where the stud is, which is awesome. It also warns you if there’s a live electrical wire in the wall, which is useful for me as the previous owners of this home were crazy amateur electricians, who put 20 outlets in every wall. For some reason. Don’t ask. I didn’t.

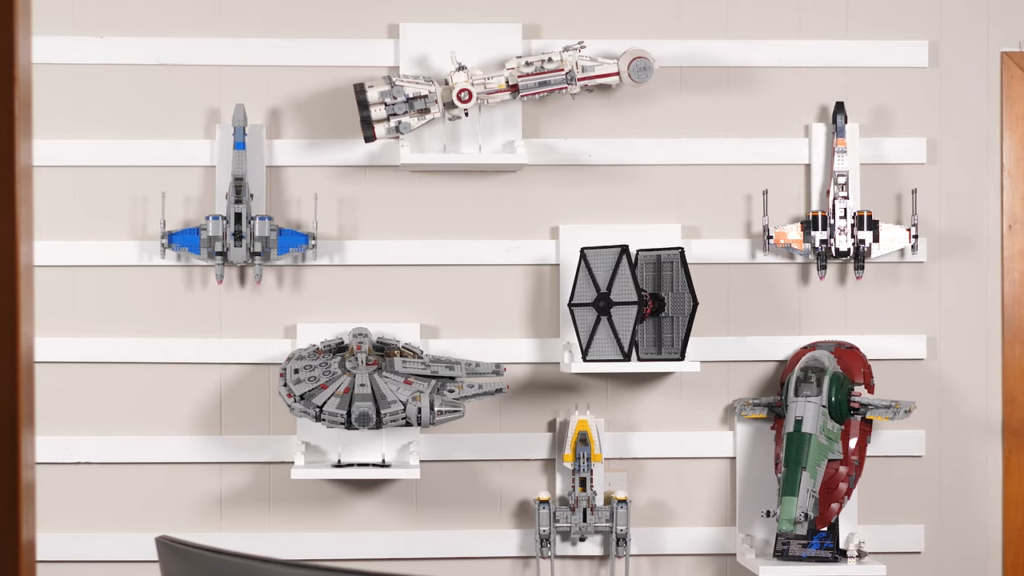
Once the rails were firmly in place, it was time to hang the shelves and put up the LEGO kits. And here they are. Not bad right? And of course thanks to the french cleat system my wife suggested, I can easily add new ones as I get them.
I think I was right about the white paint. I know some of you are going to poke a voodoo doll of my likeness for painting over wood, but I didn’t make these for you. I really just wanted the lego kits to stand out. I love these things. And now I get to see them everyday.
Meet A Maker – Mark The Builder
This week we got to meet Mark The Builder! You can find the interview in the video above. And don’t forget to check out his channels!
Our Favorite Maker Videos Of The Week
Ok it’s time for a few of our favorite maker videos of the week. First up, one of my long time favorites (and probably yours too), Simone Giertz is back again forcing two things together into one awesome thing. This time around she’s forcing a lamp and a pair of scissors into an unholy mix of convenient lighting, and dangerously sharp things. I love watching Simone work, because she gets just as frustrated as I do when making stuff. But of course her projects always turn out beautiful, and this awesome lamp is no different.
I don’t have a Youtube nemesis, I can only assume it’s because we’re not popular enough. But if I did have one, it would be Glen from DIY Creators. Want to know why? You know that body weight gym we built? 8 Days after I posted that, Glen posts a WAY better one. You remember my first workbench from last week? Glen’s is better. Glen has been making insanely cool stuff for years now with no workbench. And SUDDENLY… he decided to build his first one, and it’s awesome. You think you’re awesome Glen? Well…. So does everyone else.
If you haven’t yet, you need to check out this awesome new video from Jonathan Katz-Moses! Jonathan is a remarkably talented woodworker and maker. While making all of his amazing projects, he’s always wearing his shop apron. Which full disclosure, he’s the reason we wear them too, and this week Jonathan revealed his own shop apron, and it’s AWESOME. It’s made with 20oz Waxed canvas, and features his trademark leather holsters for a marking knife and precision 6” square! I HAVE TO HAVE IT. He has a pre-sale going right now that makes them no more expensive than these cheap things we wear now. So yeah, I ordered 2. If you guys want one of your own, we will put a link to his store in the description.
Alright guys that’s all we’ve got. If you saw a Maker Video that should have been mentioned, do us a favor and link it in the comments below. If you link it, we’ll watch it! Thanks to HART for sponsoring this episode and reminding us that we can build anything we can imagine if we #doitwithhart. Be sure to like and subscribe so you don’t miss a thing! Alright break’s over, let’s make something!

