
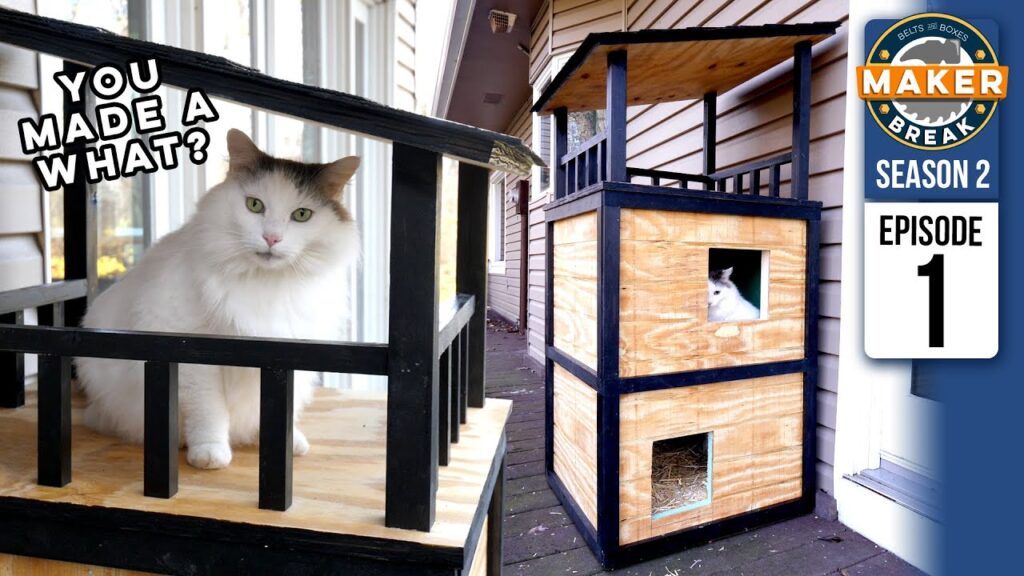
This week we made cat condo for Murder Cloud. Plus, we launched our new channel! Welcome to Season 2! It’s time for a Maker Break!
As you can see, after spending our first Season on Belts and Boxes, we’ve moved to our own channel where we can focus on Maker stuff and DIY. You’ll still find this show here every week, just moved to Friday’s instead of Saturday. And you’ll also find Sarah’s Top 5 DIY and our new show Meet a Maker, both of which will rotate on Tuesdays. We also have several more surprises coming up, but for now, let’s get to this week’s project. The true owner of our property, Murder Cloud, was born here, and he does a great job of keeping pests away. But the poor guy had to live in this box when it gets really cold. So we decided to make him an insulated condo that will be on the deck, and easily heated if necessary. Here’s how it went.
Project Of the Week
THIS, is Murder Cloud. He’s an adorable, affectionate, cuddly ball of death. He was born here on the property, so he came with the house. He hunts all kinds of vermin, but in the evenings, he comes in to watch TV with us.
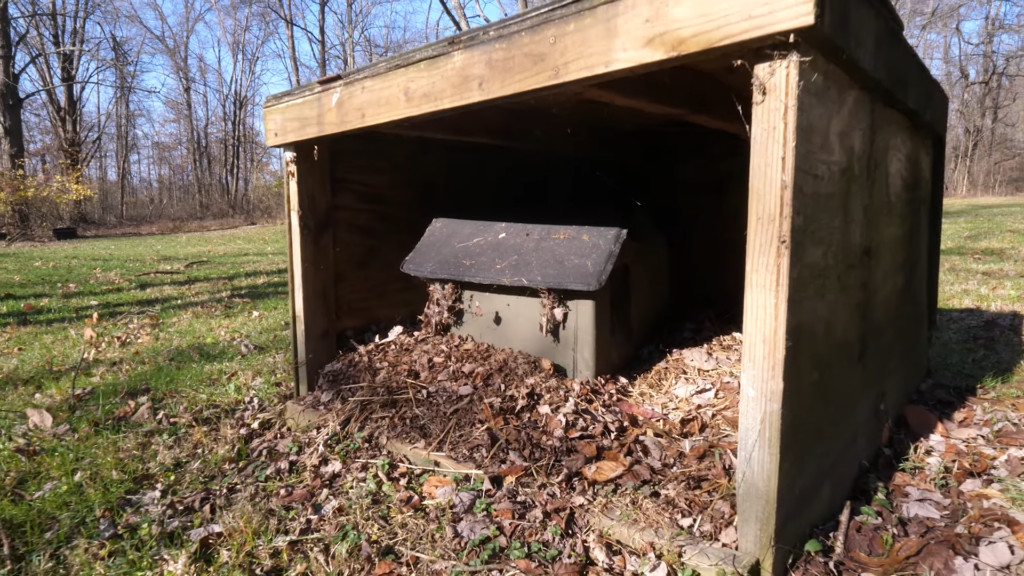
But living outside means he’s out in the bitter cold at times. He has this tiny house way out in the yard, but we thought we could build him something nicer on the deck, where we can check on him and even provide some heat if it gets too cold.
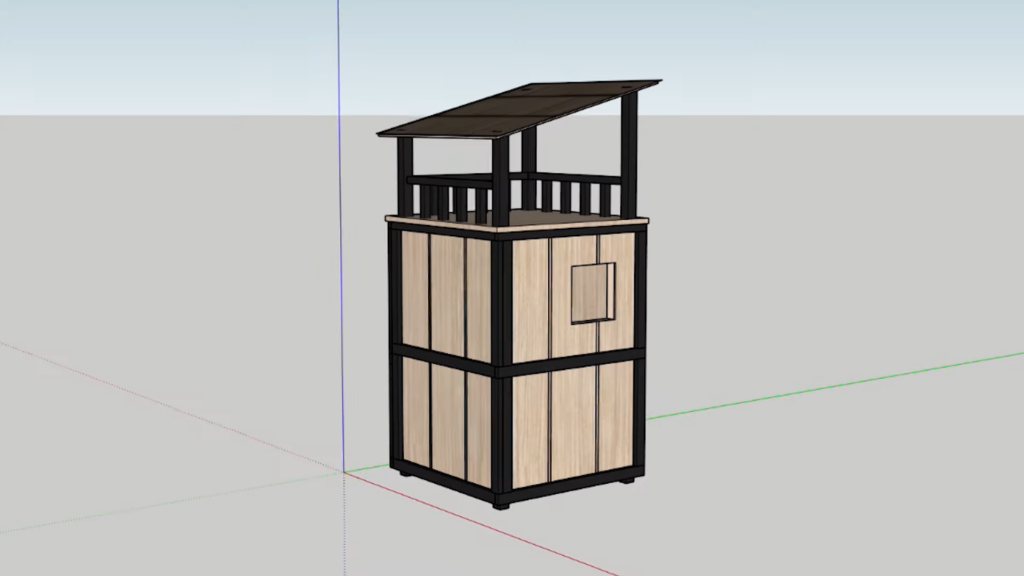
So I designed this. Looks simple enough right? I thought so. Figured this wouldn’t take any time at all. I was super wrong. It took forever. First things first. Sarah and I got all of the lumber we’d need, including a bunch of 2×2 furring strips. These were not in good shape, but we figured they’d be fine for the frame. But as soon as we got them into the shop I realized that not only were they warped like crazy, but they were also covered in bugs.
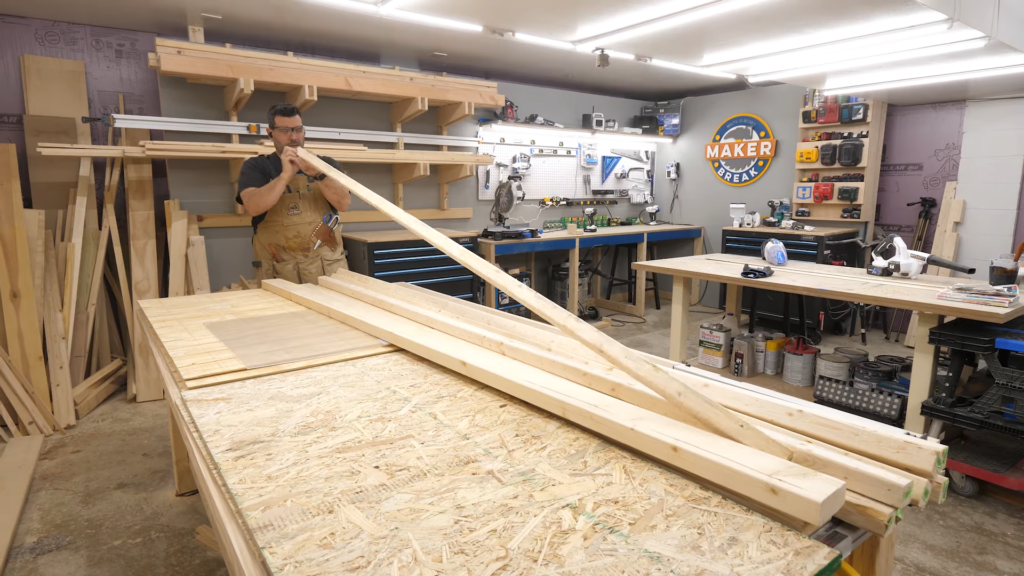
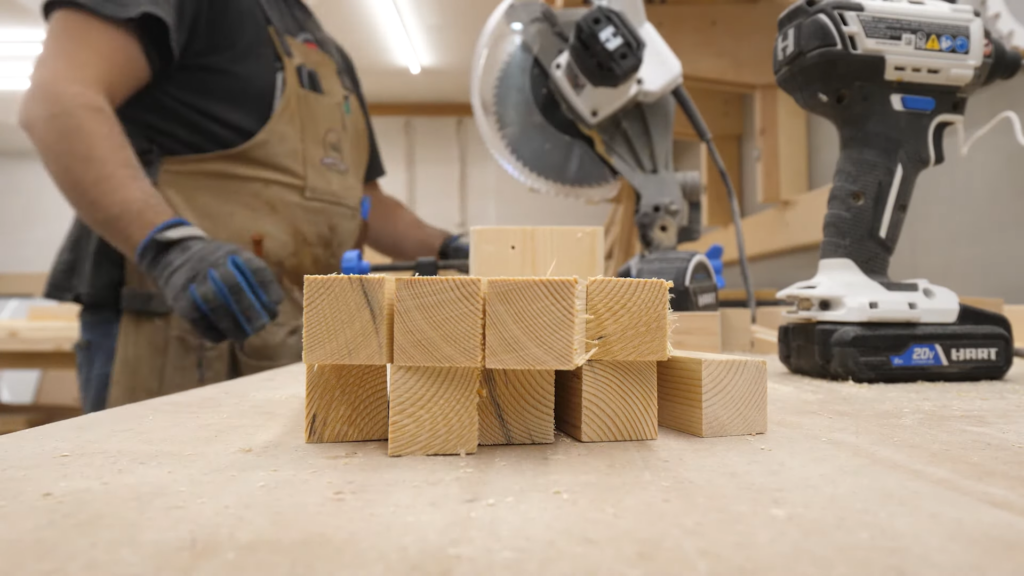
So instead of buying more, I knew I had some extra 2x4s, and decided to cut them down to 2x2s myself. This is pretty easy with a table saw. You first cut off about a ¼” to get rid of the rounded edges, then adjust your saw to 1.5”, and run it through twice giving you 2, 2x2s.
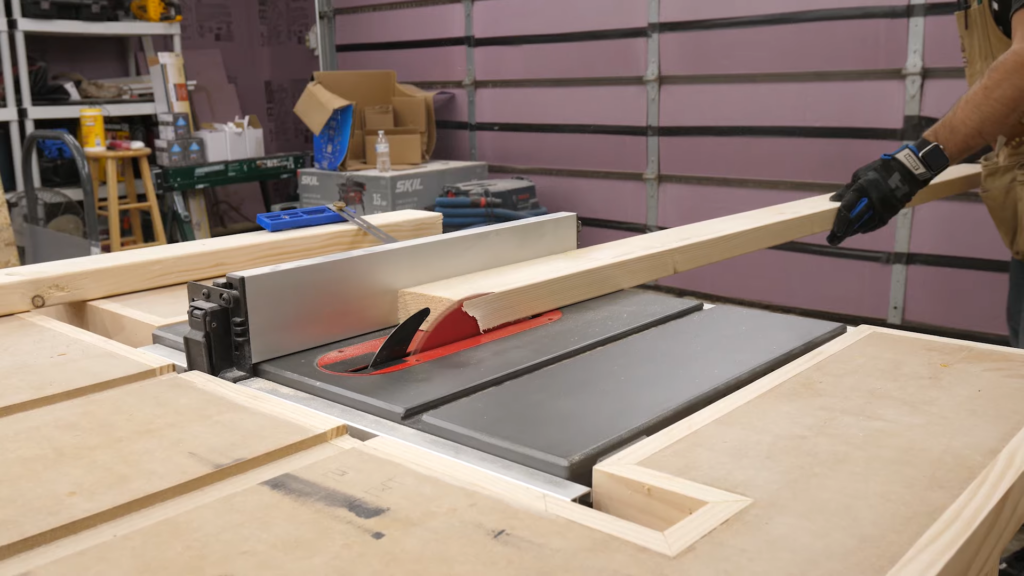
Next we cut all of our 2x2s down to size. The supports for the roof had to be cut to 15 degrees, to match the pitch I wanted for the roof.
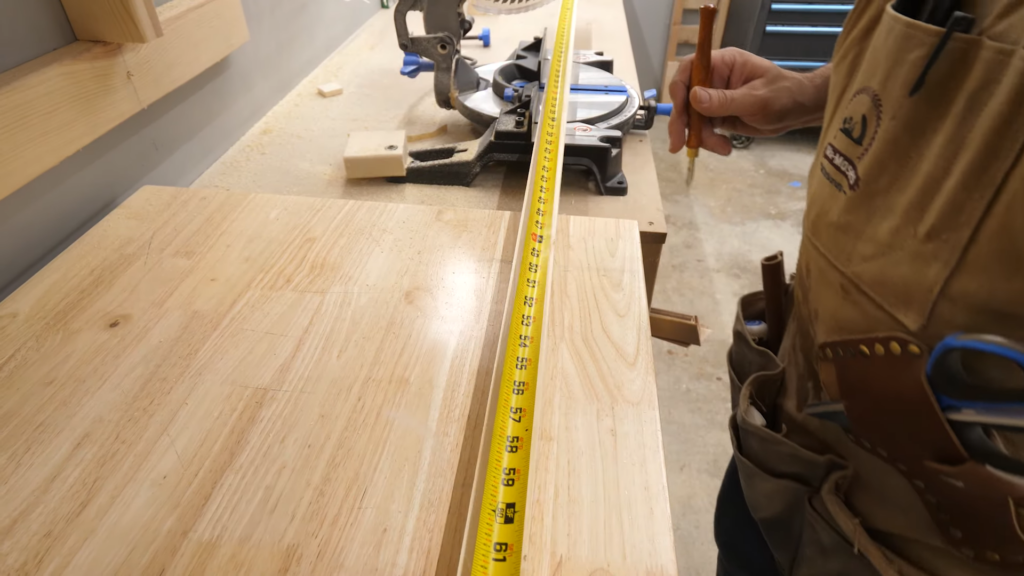
Next I cut the siding to size. We decided to use T1-11 with 4in slots, just to make it look nicer. Fun fact, 4in t1-11 and 8in t1-11, which is what I designed my model with, are different thicknesses. That’s important if you change your mind mid project, and don’t go back to adjust your cut list. That bites me later.
After those were done, I ripped some more 2x4s down to actual 1x1s for the railing.
When I finally had all of my pieces cut, it was time to do some painting.
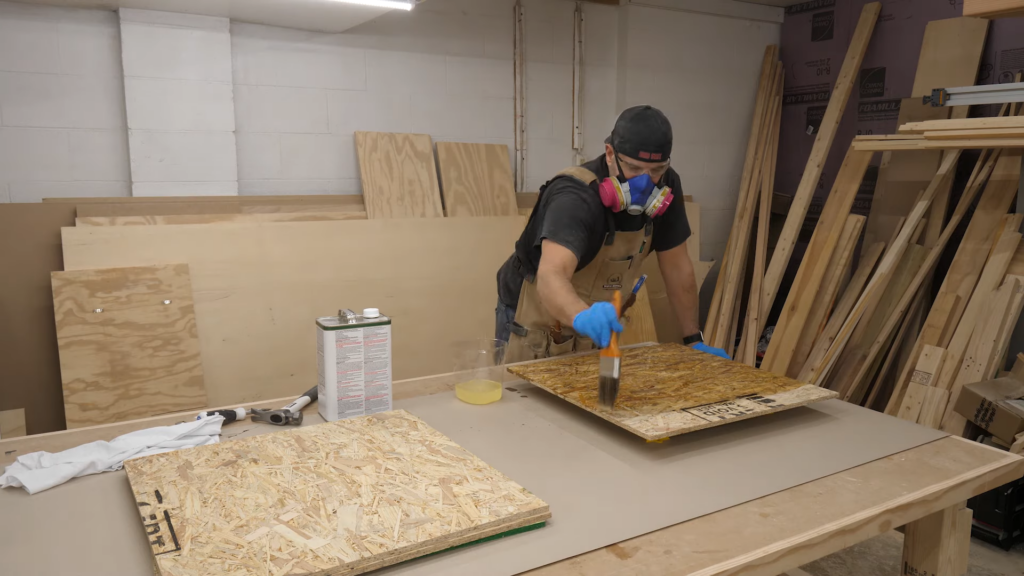
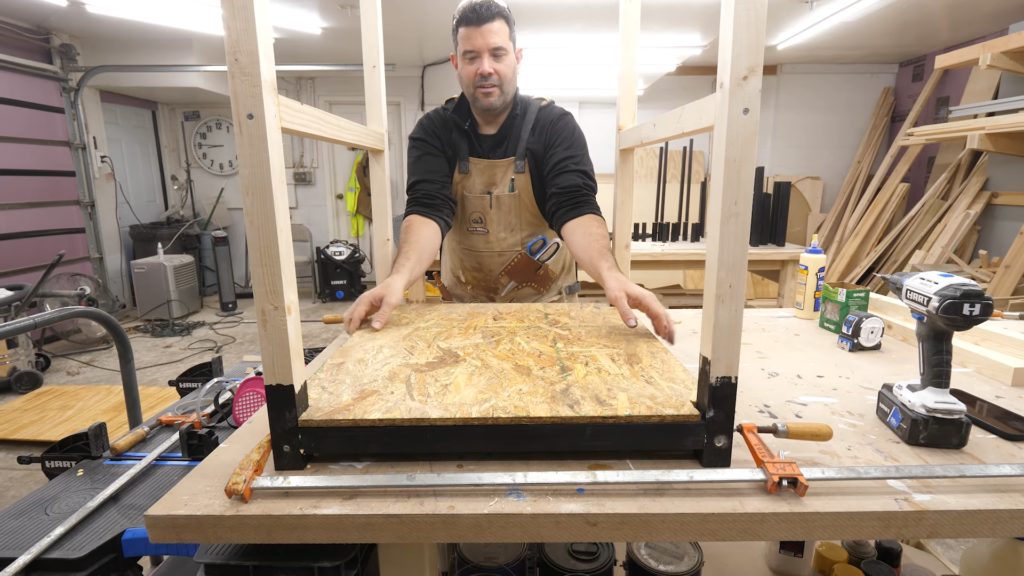
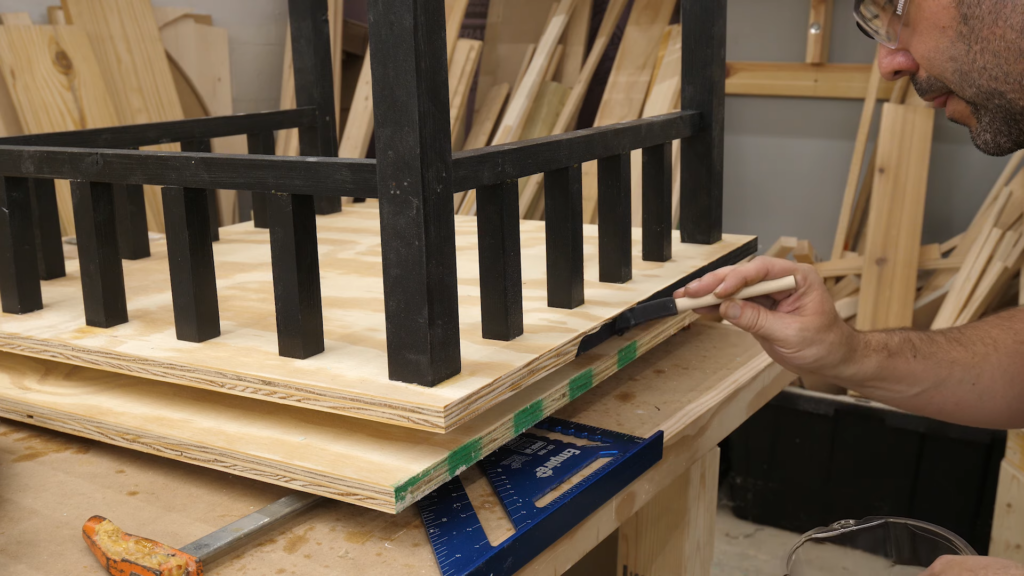
I started with flooring. We cut those from some OSB. I used Thompson’s water seal, as I wanted to keep the natural color of the wood. All the trim would be painted black.
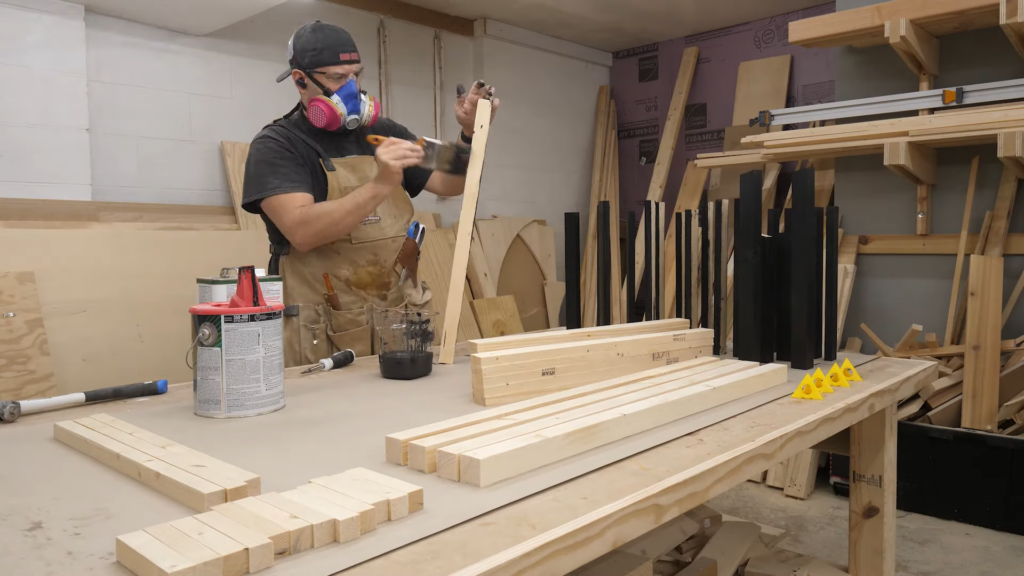
I used the same sealer on the siding as well, and it really looked great. Then I started painting all of my trim and railing black. There was a lot of it. This was when I realized how big of a project this was. There are so many pieces!
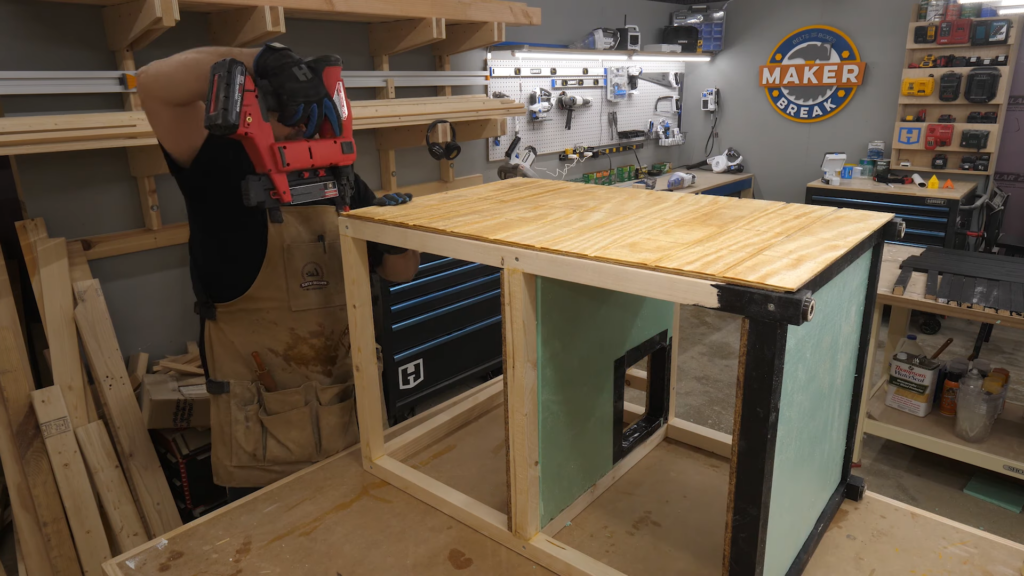
When it all dried, I started the assembly. After dropping in the first floor, it finally started taking shape.
The whole point in this little cat condo was to give Murder Cloud an insulated home that would help keep his heat in, so the first floor will have a door, and the second floor will be sealed up except for an opening in the floor for him to use to get in.
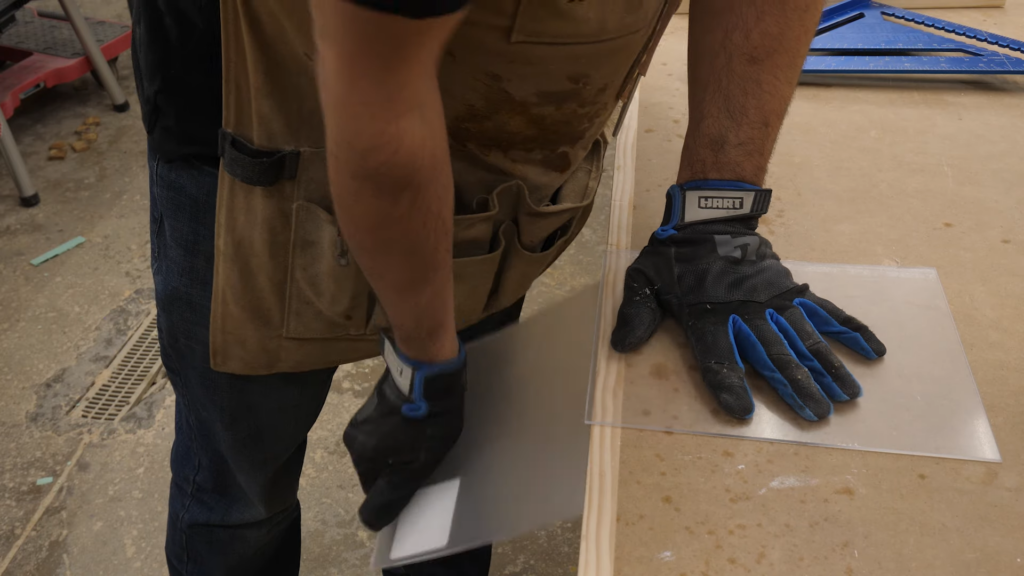
For now I planned to leave the door and second floor window open until Murder gets used to it. I also built a dual pane plexiglass window for the second floor, that I’ll install when it gets colder.
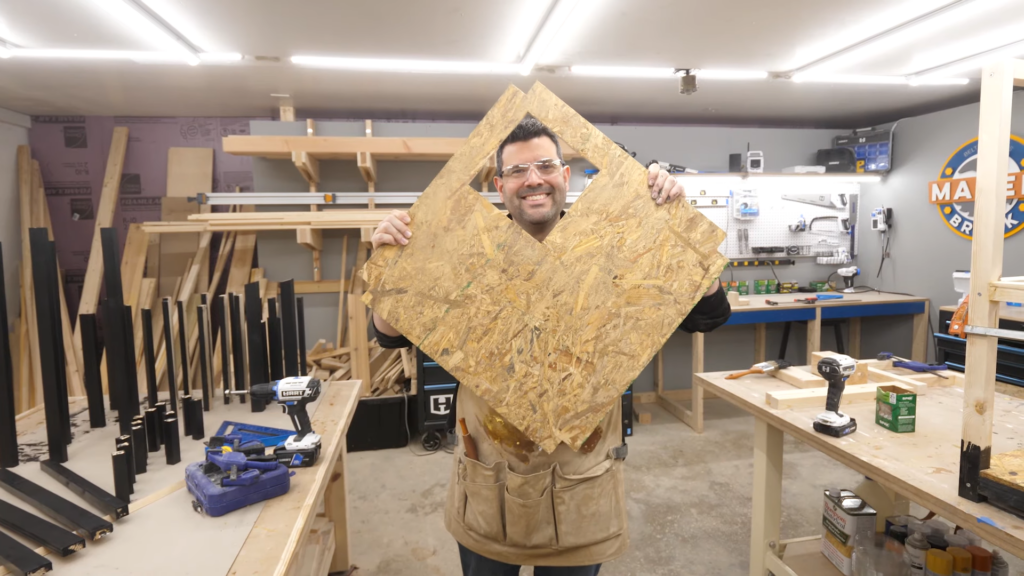
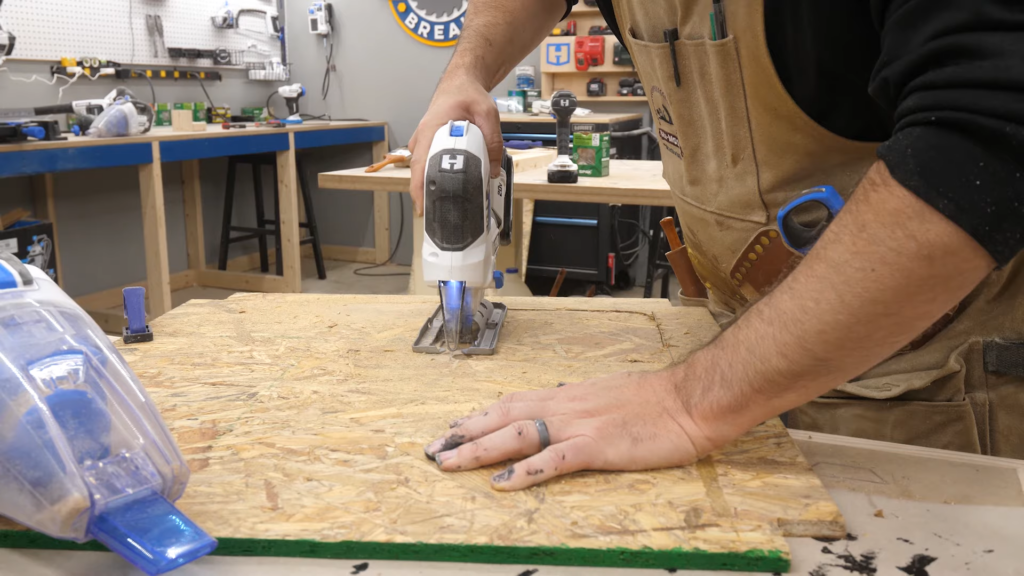
I used my jigsaw to cut out the opening in the second floor so he could jump up, and hopefully keep the heat inside. To attach the floors I simply put down a layer of glue and then held them in place with brad nails until they dried.
Sarah had an extra set of feet from her dog bowl stand that worked great.
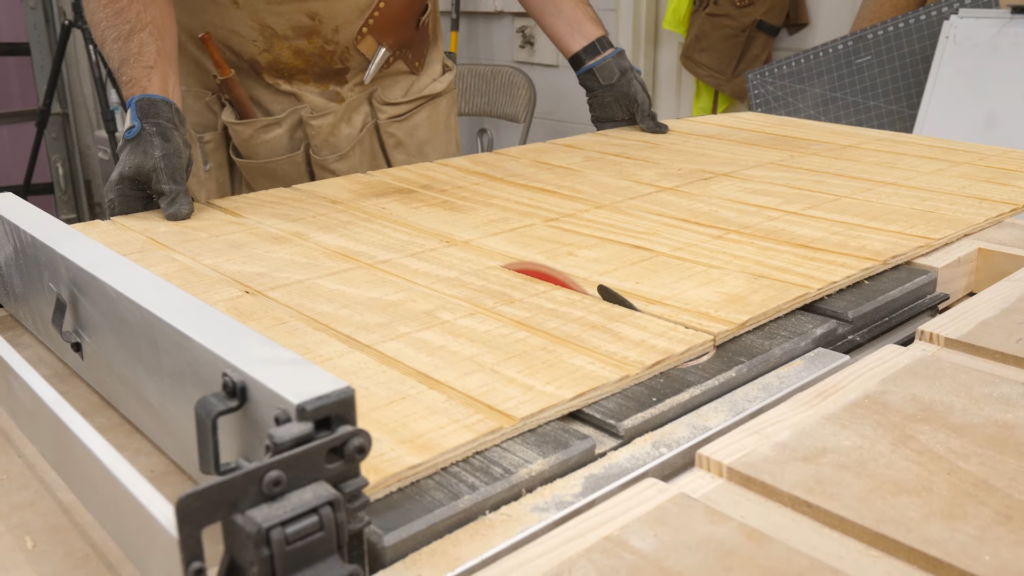
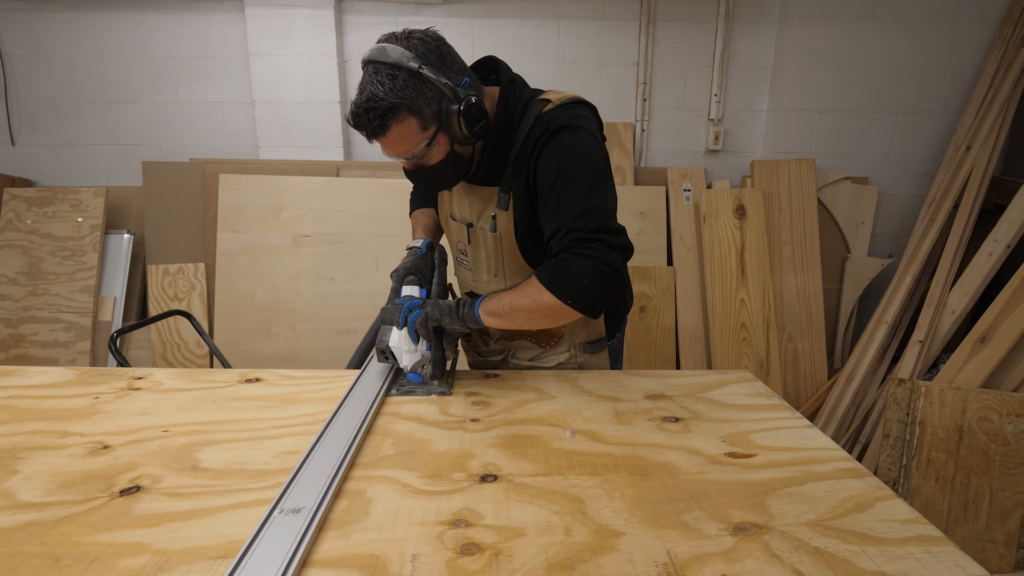
I didn’t want to use OSB for the top floor since you’d see it, so for that I used some ¾” plywood. I also used it for the roof. Sarah helped me get these panels cut.
I framed out the window opening for the second floor. Again, I plan to add a plexiglass window when it gets colder.
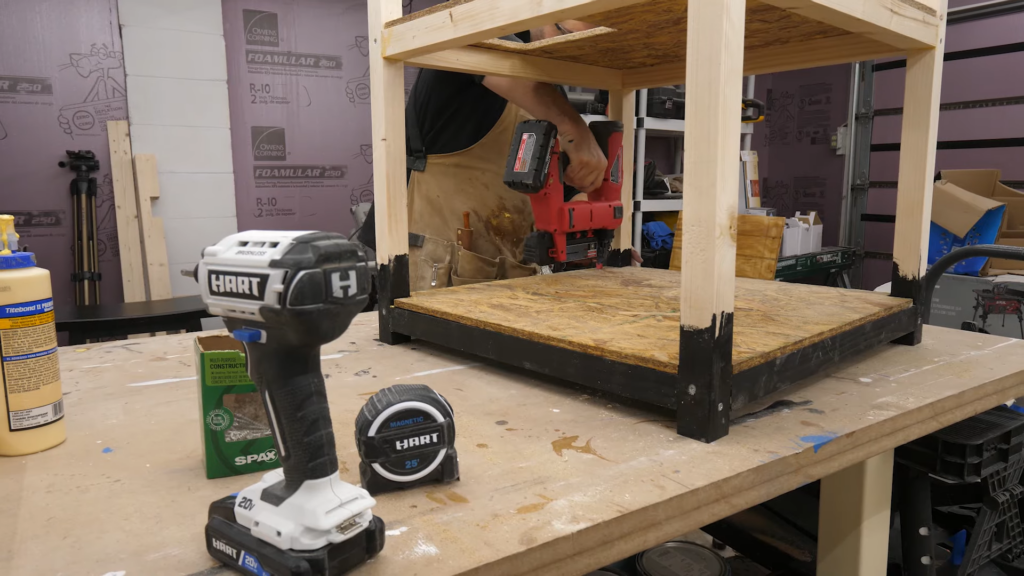
Next I moved on to insulation. I bought some 1” and ½” foam insulation. I’m going to monitor the temperature inside this things as things get colder, and if it doesn’t stay warm enough, I can easily add another half inch of insulation. I put 1” under each of the floors to start. I used this adhesive specifically for foam board, as the guy at the big box store recommended, but it didn’t hold. A quick google search suggested I just use Titebond wood glue, and that worked way better.
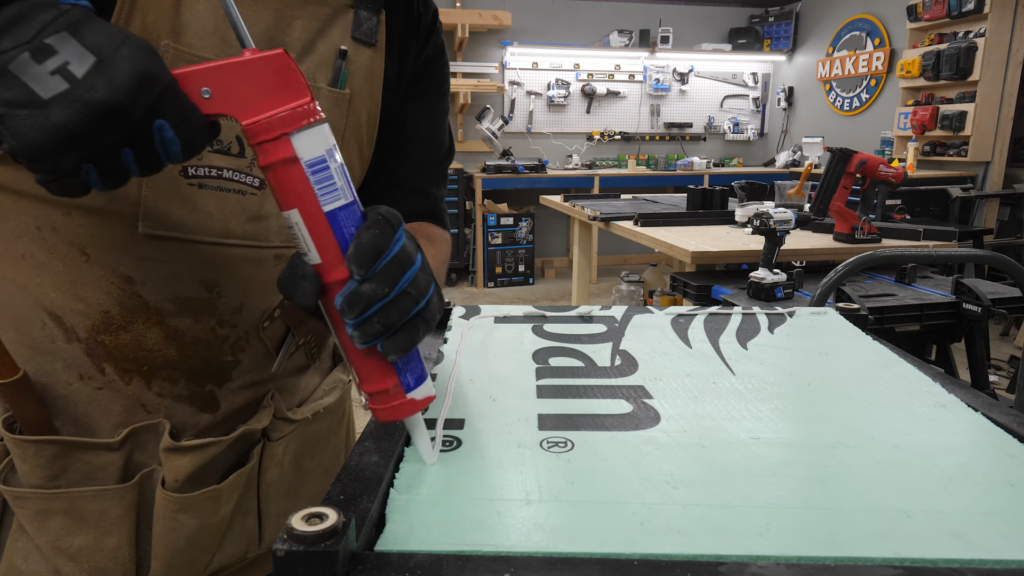
It was finally time to start putting on the siding. These I glued on and nailed into place. After each panel went on, I cut out insulation and glued it in.
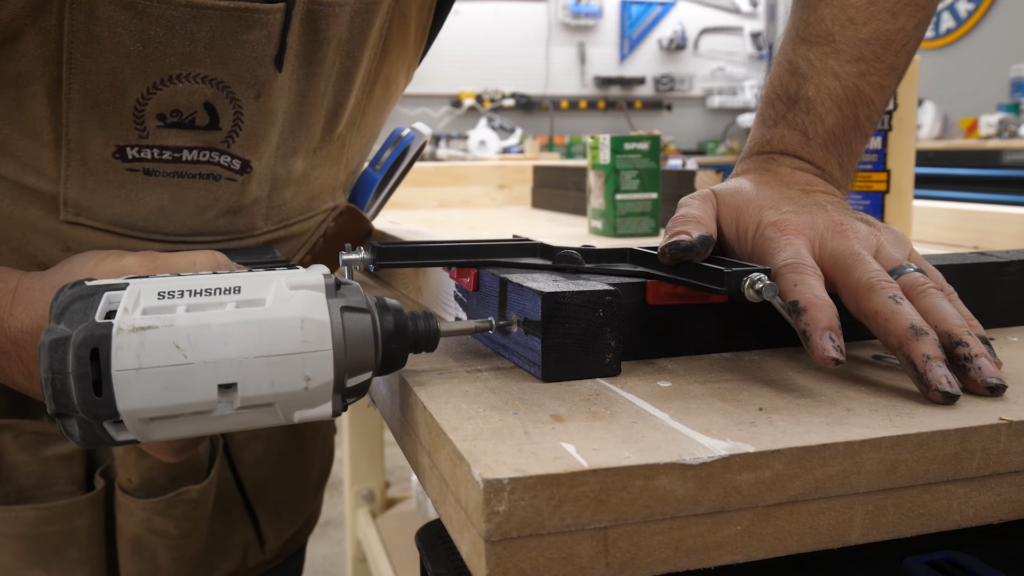
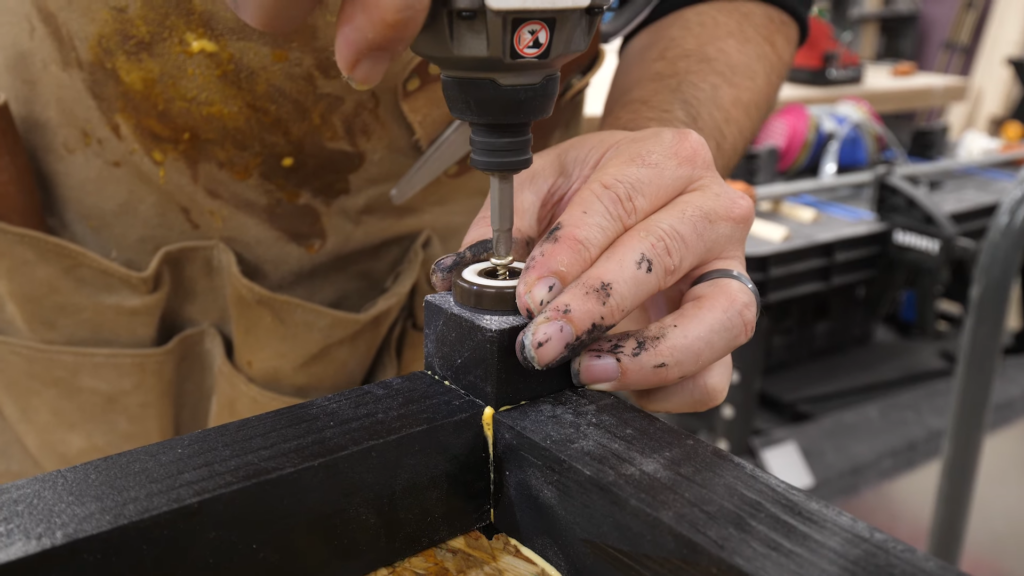
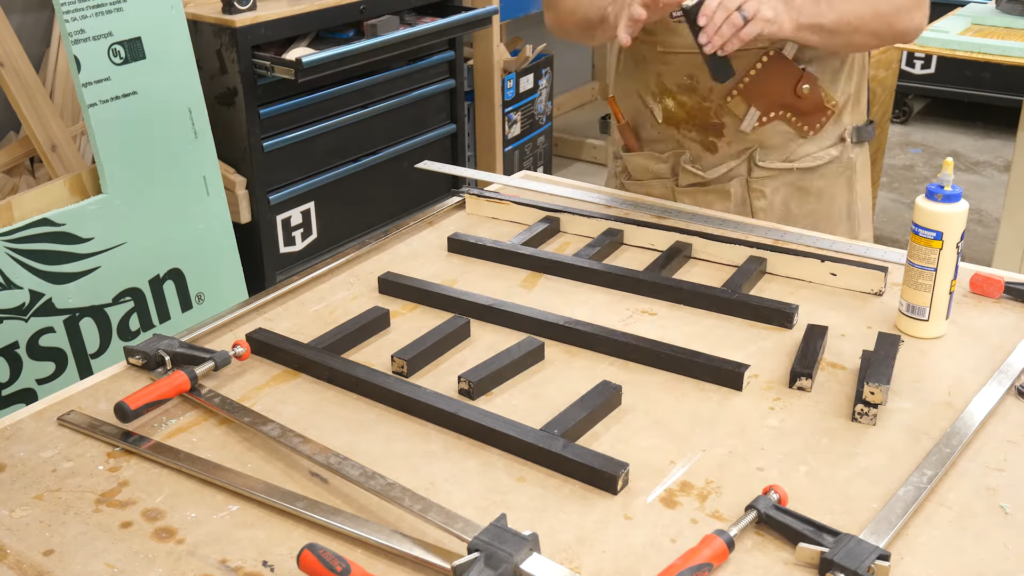
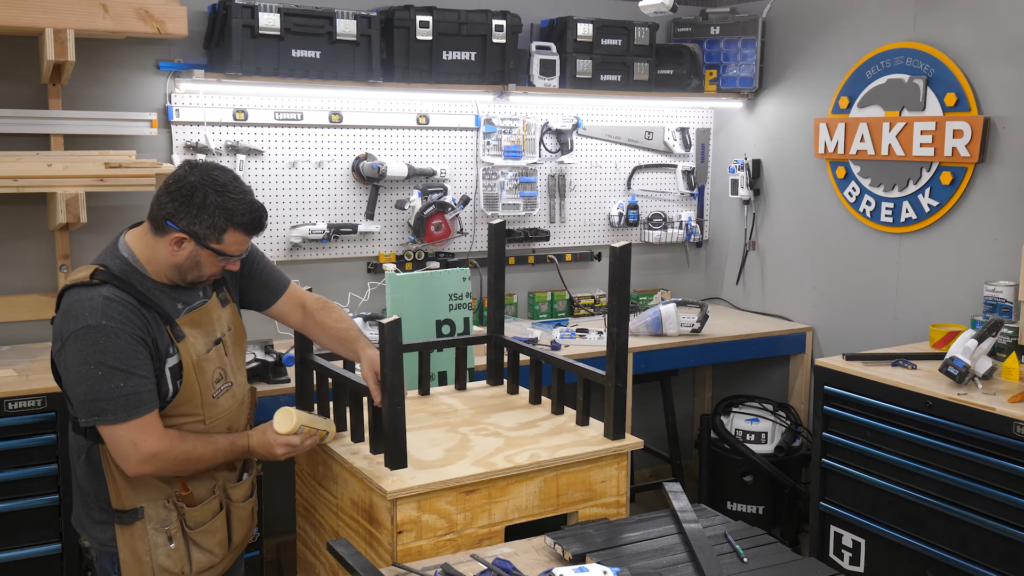
Next I glued up the railing. These are not going to be under a lot of stress, and are mostly decorative, so I just glued them up, and clamped them all together to let them dry.
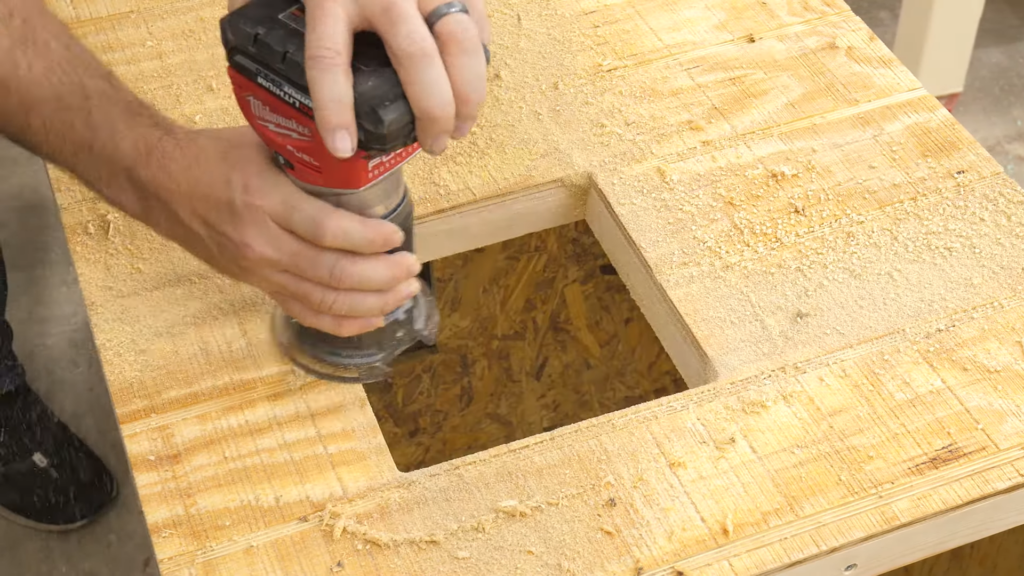
Back to the siding, I drilled a hole where the window would be, and then used a flush trim bit and my router to cut it out. Using that bit is always so gratifying.
Next I assembled the railing and roof support on the top piece. I decided to keep this whole piece separate so I could lift the entire thing off to get to the second floor to replace straw.
Then it was time to put on the trim. Remember how earlier I switched to T1-11 with 4in slots? Yeah, this is where it bit me. Fortunately, that just meant all my trim was too long, so I could just cut it all down to size.

Now that the trim was installed, I moved on to the door. I marked it off, drilled a pilot hole and then tried to cut it out with my jigsaw, only to realize the trim wouldn’t let me get the jig saw where I needed it. So I switched to my router, and did my best to keep my cut straight. Eventually when I install a door, this will be covered with trim anyways.
Next I finished the top piece by painting the edges black, and using the thompsons weather seal on the rest.
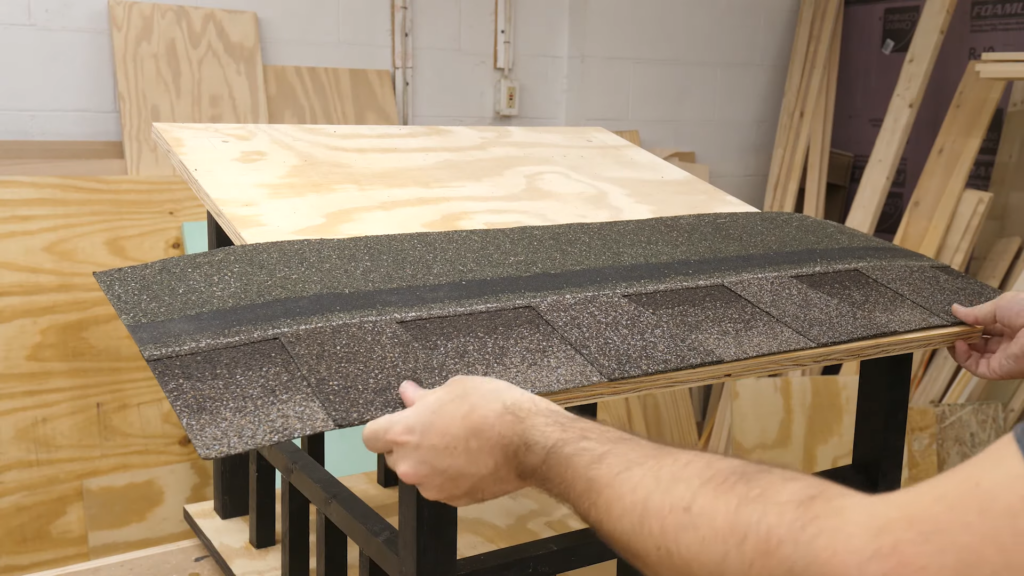
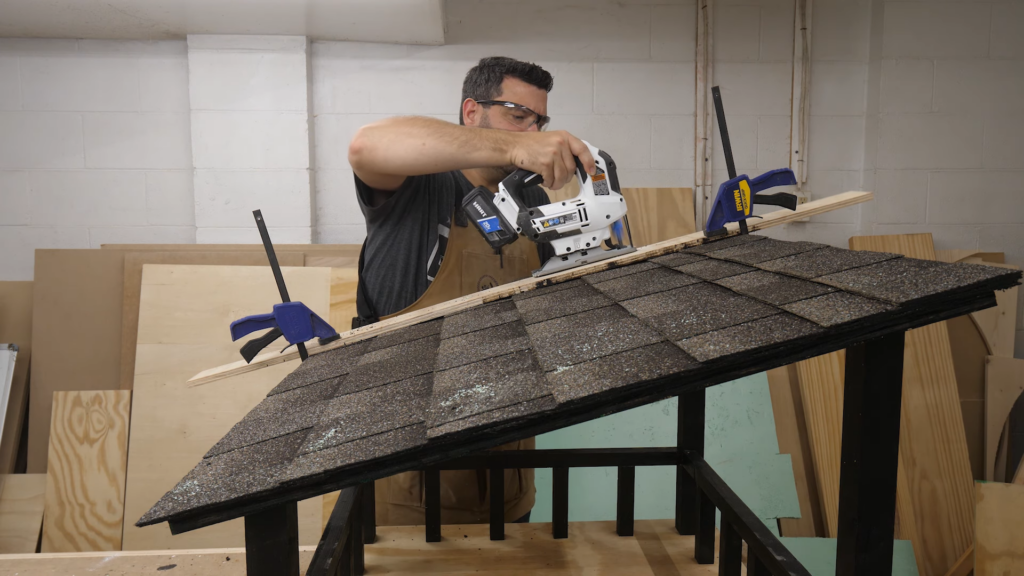
Finally I screwed on the top, and then layered on some spare shingles we had laying around. I didn’t have any nails so I used screws, carefully, and I trimmed it with the jigsaw. Every video I watched told me to cut them with a knife, but that was leaving a less than perfect edge, while the jigsaw not only cut straight, but the friction melted the layers together and looked great. I’m pretty sure I ruined a blade, but I have more.
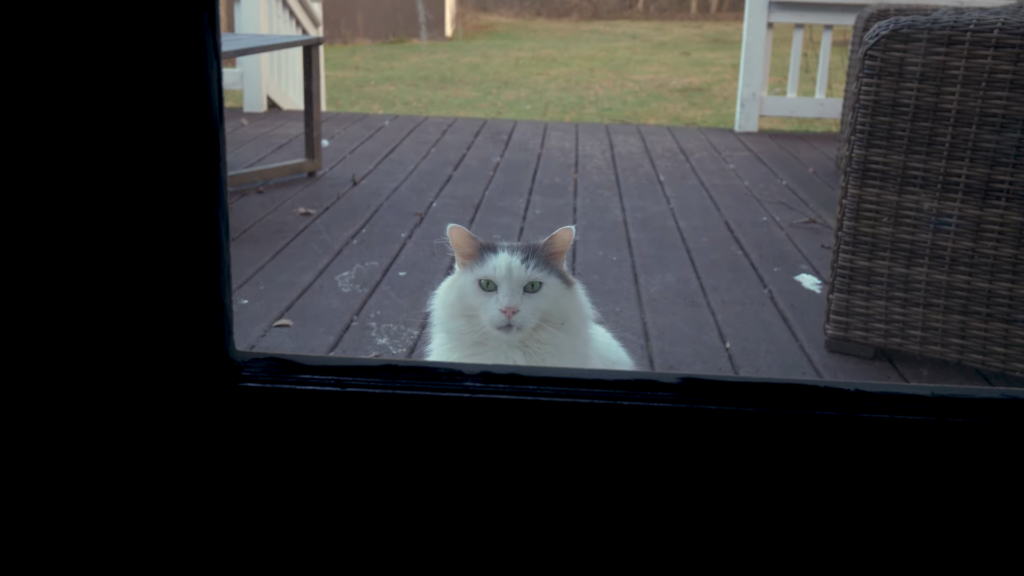
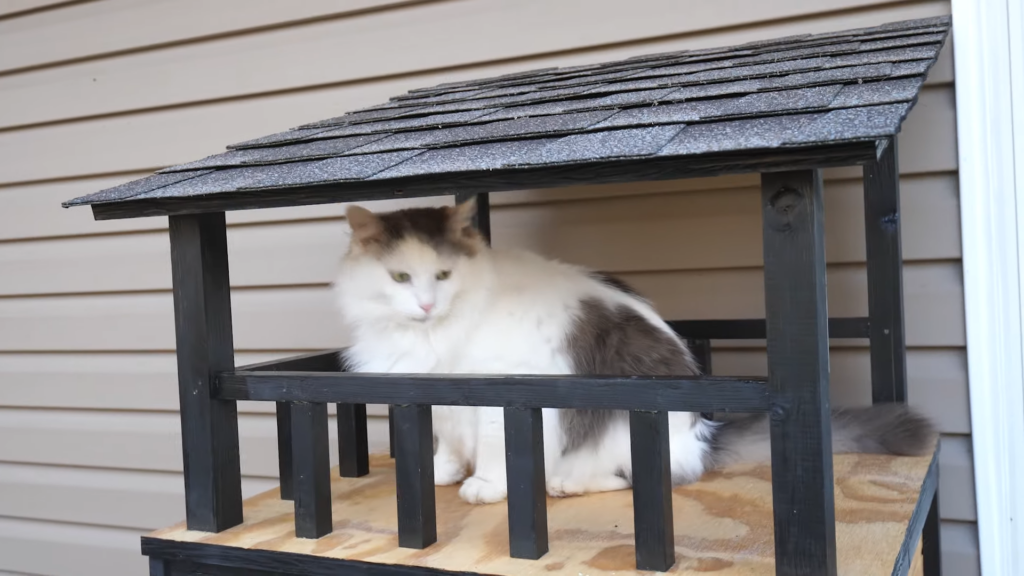
The condo was ready to go outside. Did you know there’s a difference between hay and straw? I didn’t. But your cat needs straw, so that’s what I got. I put a good layer of the stuff on both floors, put the top on, and waited to see if Murder Cloud would ever go near it.
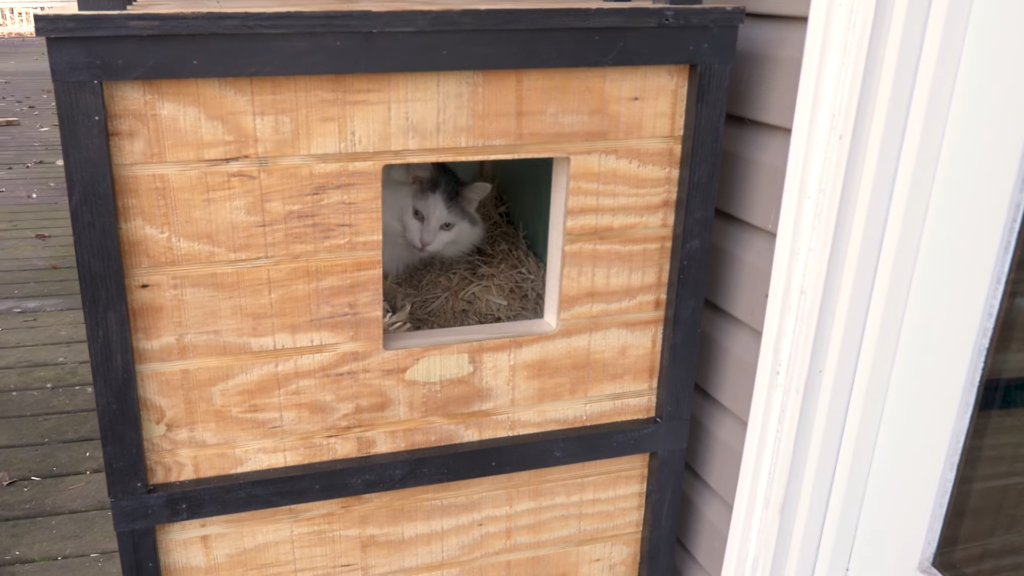
He was hesitant at first, but thanks to a few strategically placed treats, he eventually wandered in to explore. He even worked his way up to the second floor! We put his food on the deck and he seemed to really like his new perch.
As it gets colder, and Murder Cloud gets more comfortable with it, I’ll eventually add the door, the second floor window, and if we need to, it sits right in front of an outdoor outlet, so I can easily add a heated pad for those really cold days. I’ll tell you what. This project took way longer than I expected, but boy was it worth it.
Favorite Maker Videos
This week I picked Paul Jackman’s hilarious giant articulated hands. He got a new X-Carve, which Rob still won’t buy me, and the first thing he built was these huge wooden hands, and promptly used them to go trick or treating.
And my pick this week was from Matthias Wandel who was tired of blowing leaves around like a mere mortal, and instead built his own leaf blower using an old 1 horse power electric motor. The results are awesome, but easily the best part is watching Matthias’ face each time he tests it out. This guy is a happy maker.

