
This week I designed and built the perfect place to study as home. Plus we get to meet THE STEVE RAMSEY, and we’ll look at a few of our favorite Maker videos of the week, but first It’s time for a Maker Break!
Hey guys! Welcome back to Maker Break, where we share our favorite maker videos of the week, and challenge ourselves to build a project of our own! This week we designed and built something completely new. Rob and his wife decided that considering the uncertainty of the current pandemic, we’d enroll our kids into an online school for the coming year. And if they’re going to be learning at home, we figured they needed a place to work with as few distractions as possible. So we decided to design and build a pair of study pods, for their kids, and here’s how it went!
Project of The Week – Study Pods
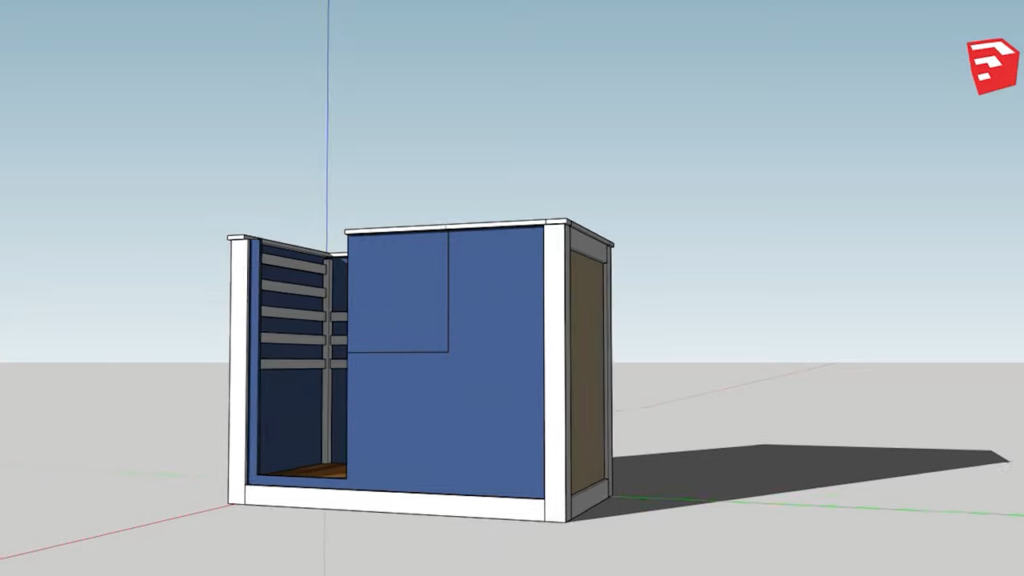
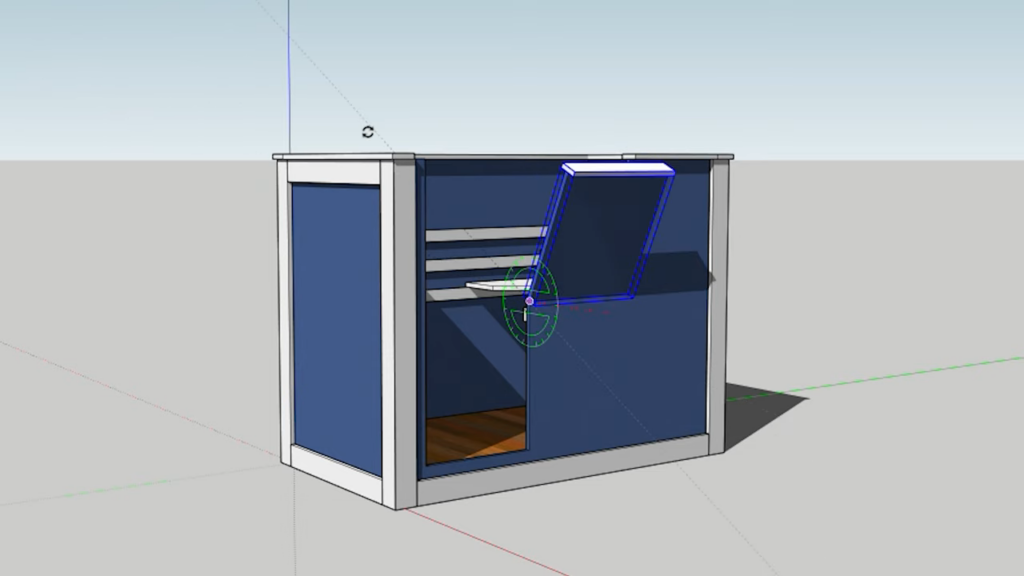
While I let you take a look at my model, I need to explain what this is, and why I’m building it. With all the uncertainty in the way kids will go back to school this Fall, after a lot of research, my wife and I decided to enroll our kids in an online school for at least this coming year.
That means they’ll be teleconferencing with their teachers, and even fellow students. It’s going to take a lot of extra attention from my wife and me, and we’re ready for that.
Anyways, we needed to decide where in the house the kids would do their schoolwork, while I was working out in our studio. I wanted them to have a specific place for school that wasn’t used for anything else. A place with no distractions. So I designed this. This is a study pod. It’s a small booth that stays in thier room, and keeps all their school stuff in one place. Here’s how I built it.
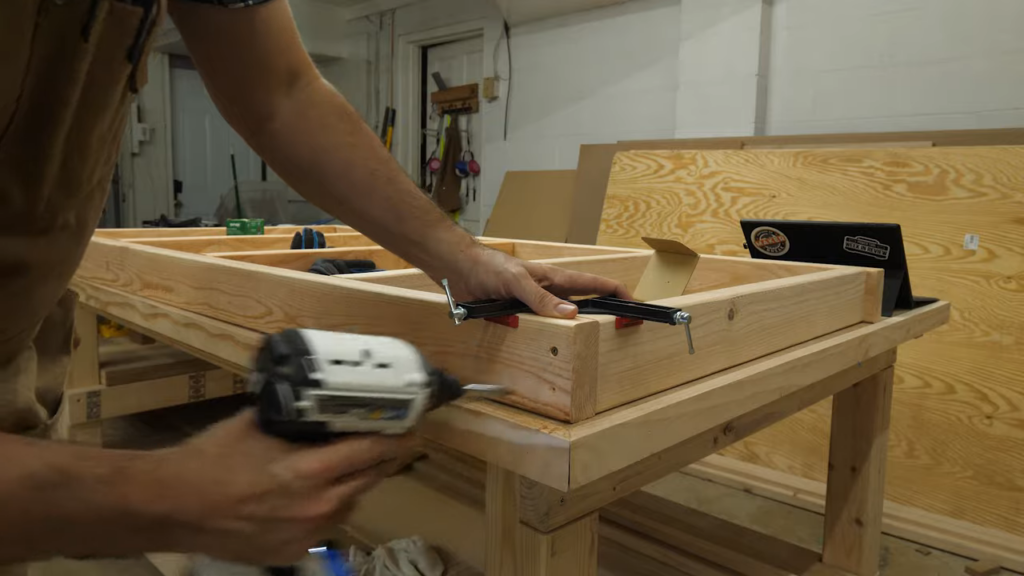
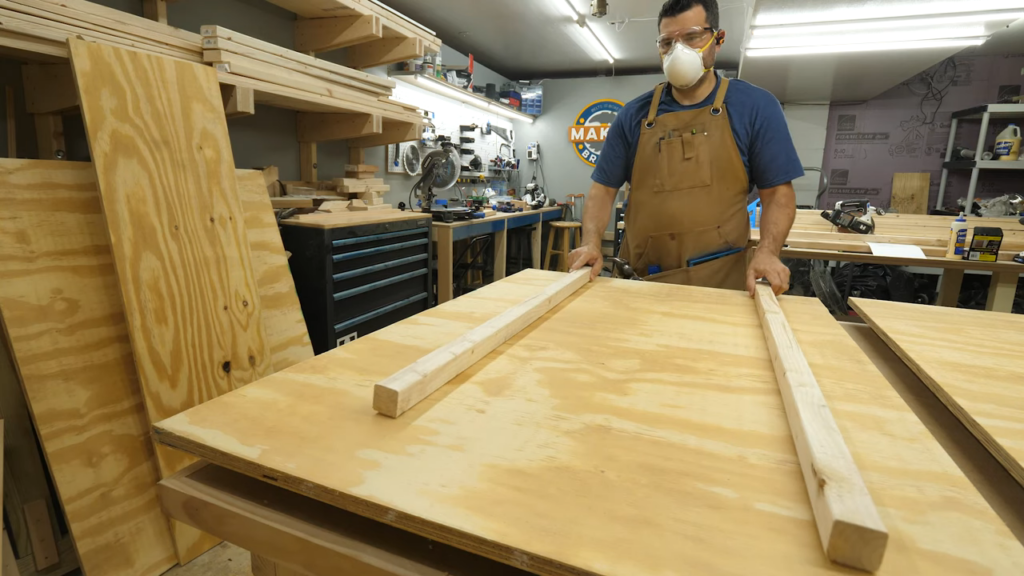
I wanted the base of this thing to be elevated, even if it was only by 4 and quarter inches. I felt needing to step up into the pod, would help with the mental transition to school each day. To do this I designed a simple frame with studs 16 on center. Then I covered it with a cheap piece of plywood.

I guess I should point out that I choose all the cheapest wood I could from Lowes. I know there will be parents out there that can’t spend a lot, so I wanted to keep this affordable. But because of that, you’re going to see more than a few blemishes on the project. I’m not worried about that, because I expect my son to trash this himself soon enough.
After the base was done, I started on the walls. Now this pod will be 32” wide, and 60” long. The walls are all 48” tall, mainly because that allowed me to cover all 4 sides with just two sheets of plywood.

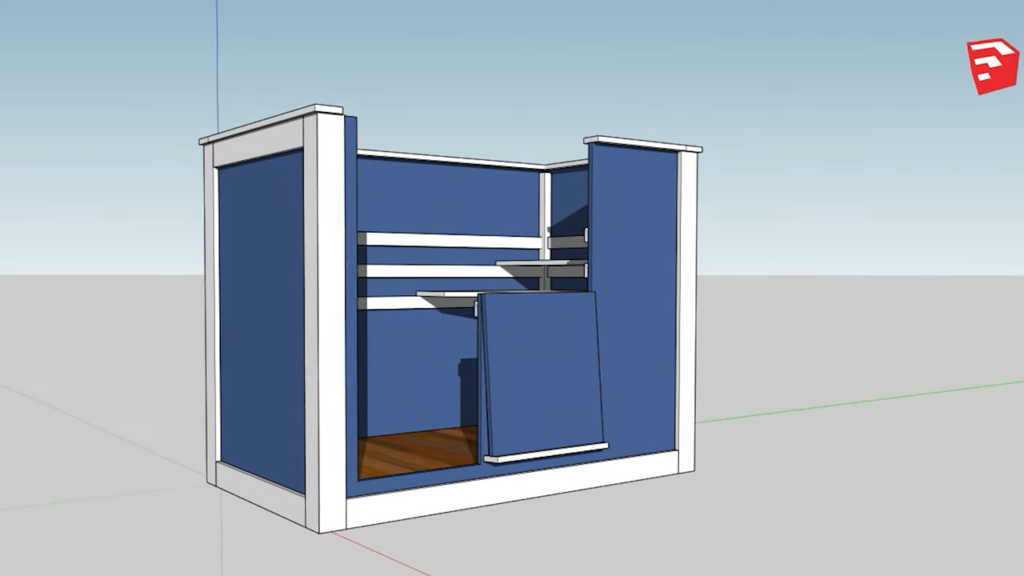
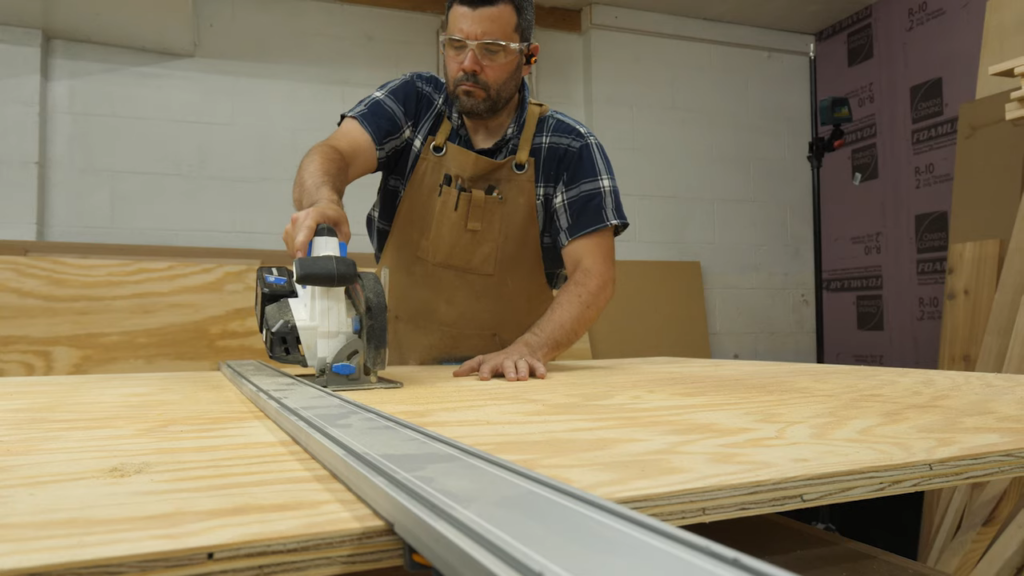
I used my straight edge and my circular saw to cut each wall to size. Now the walls will all have french cleats on them, just like the once I used for my lego display. This is going to make it easy to float a desktop in there, and we plan to build several book, and supplies holders that will hang on the cleats and move wherever the kids need them.
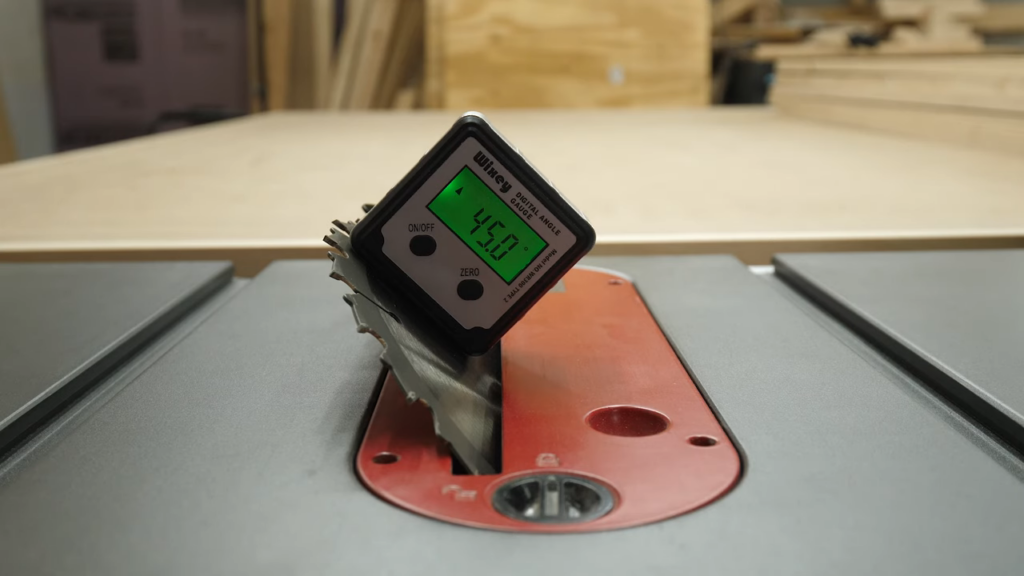
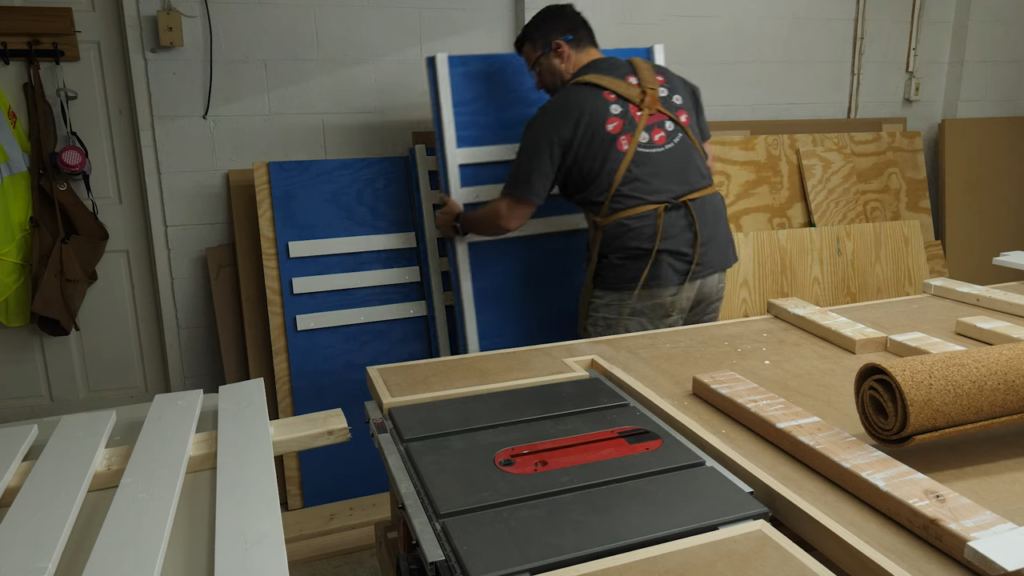
On all 4 corners, I’m using 2x2s to help me securely screw the panels together. I decided to screw these in place first to make sure it would work. I also wanted to test fit some cleats, so I set my table saw at 45 degrees and ripped a ton of 1 by 4s right down the middle.
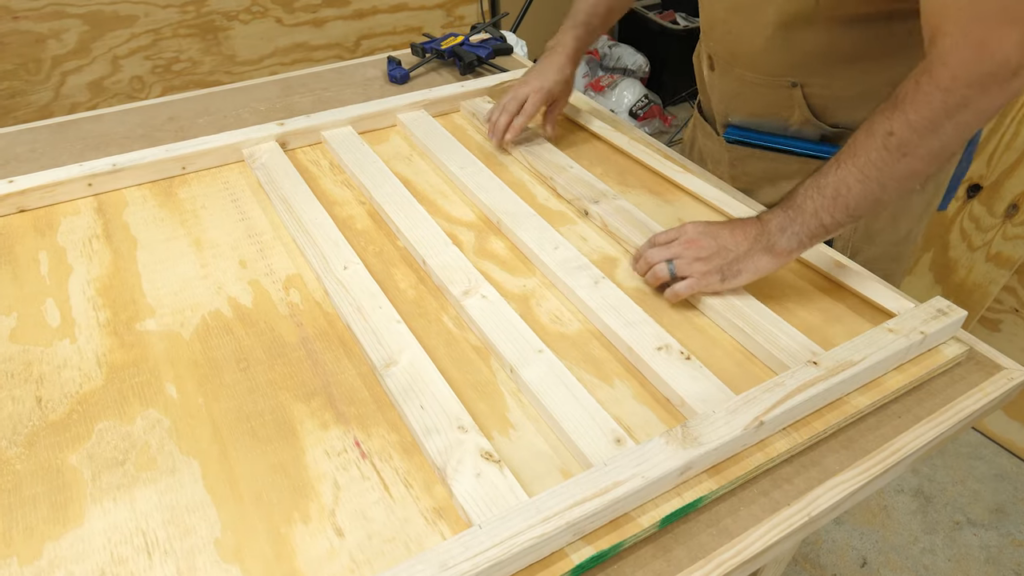
Next I marked out the locations on my wall and laid out the cleats and supports, and they looked good.
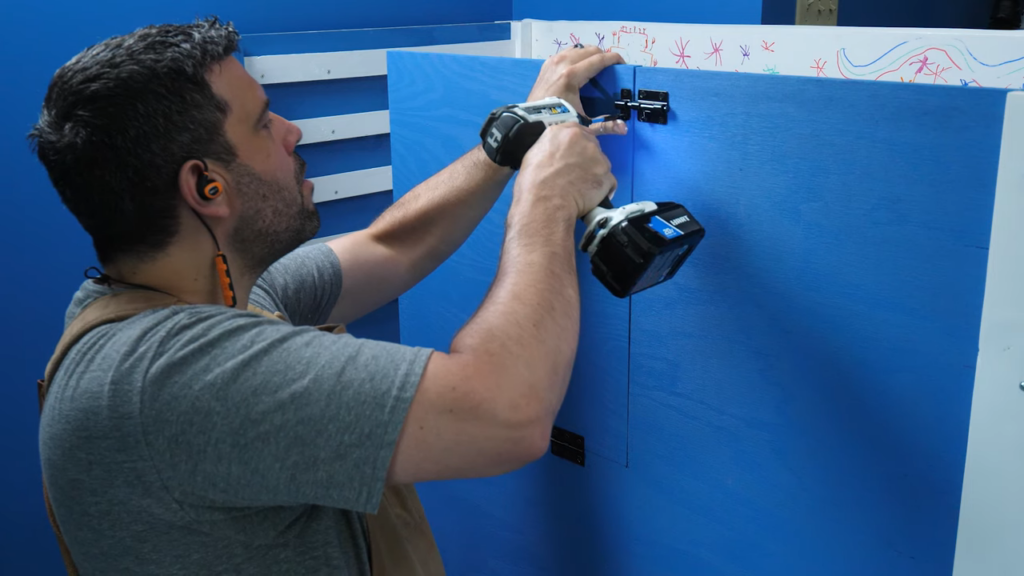
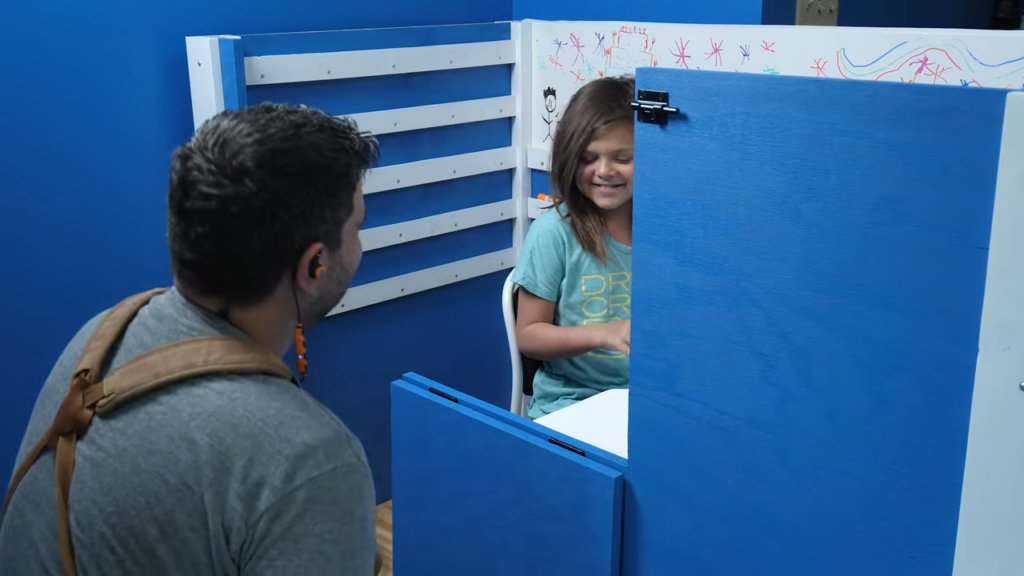
Next I cutout the side wall that will have the walk thru area. I cutout an additional square that will end up being on a hinge, so I can lay part of the wall down, letting me sit and work with my kids when they need help.
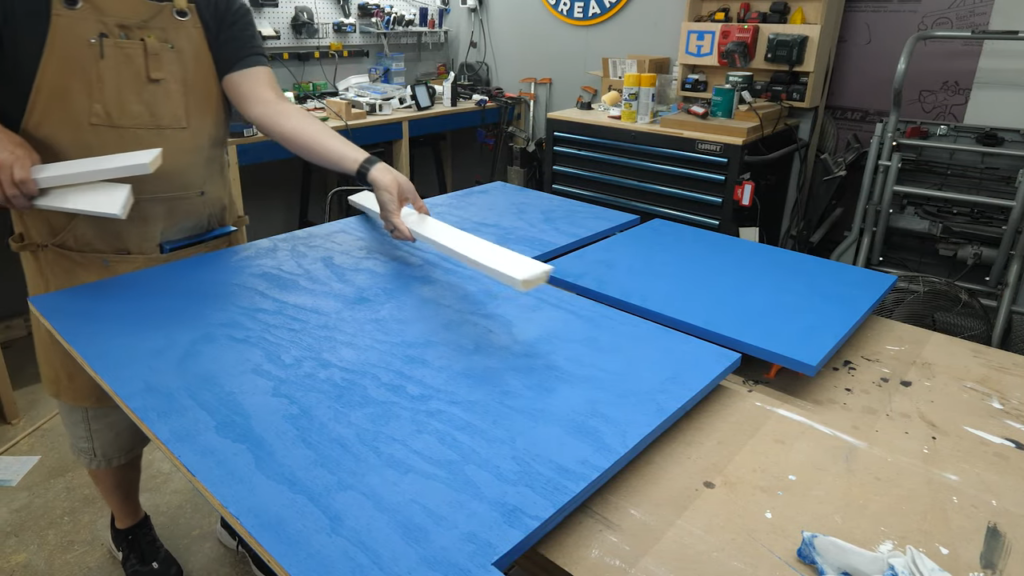
I went ahead and finished cutting all the pieces I needed, and then it was time to paint. Fortunately my wife agreed to give me a hand, because thats a lot of painting. All of the cleats and trim are white, while the walls are a blue my wife just used to paint my son’s bedroom. I DO realize this look an awful lot like HART blue, but it was just a coincidence. A happy one, but still.

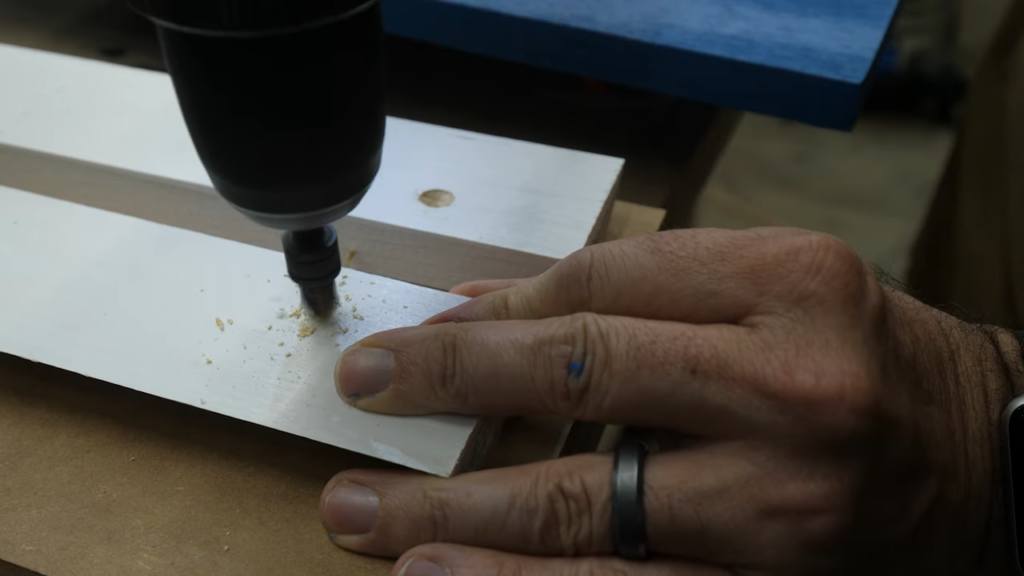
Boy that’s a lot of blue! Once it was dry it was time to start screwing things in place. I was going to simply paint over all the screws, but my wife suggested I use silver ones, and leave them exposed. The thought it would look cool as long as I space them all consistently. So I measured each spot out, pre drilled and countersunk each hole, and then screwed them in place.
Now the plan was to build each wall, then bring them upstairs to assemble in Cameron’s room, but that meant I was doing a lot of measuring, and trusting my measurements were right. Don’t do that if you don’t have to.
On the outside of the pod on one end, my wife suggested we put a layer of cork board over it, so they can show off their work. So I found this roll of ¼” cork on amazon for about 40 bucks and it should cover both pods. No I tried to hold it in place with spray adhesive, which wasn’t doing a great job, and I ended up using woodglue, because you know, titebond is tight! And that worked great.
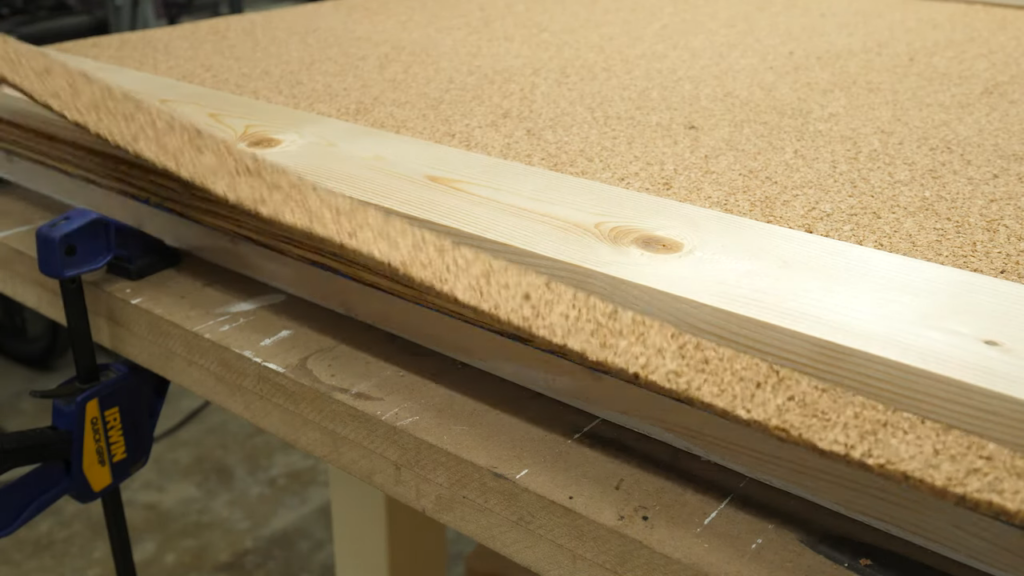
I cut the cork to size, and that side was done. I still had to flip it over, and screw in the cleats. Once again, I’m trusting my measurements. Fingers crossed.
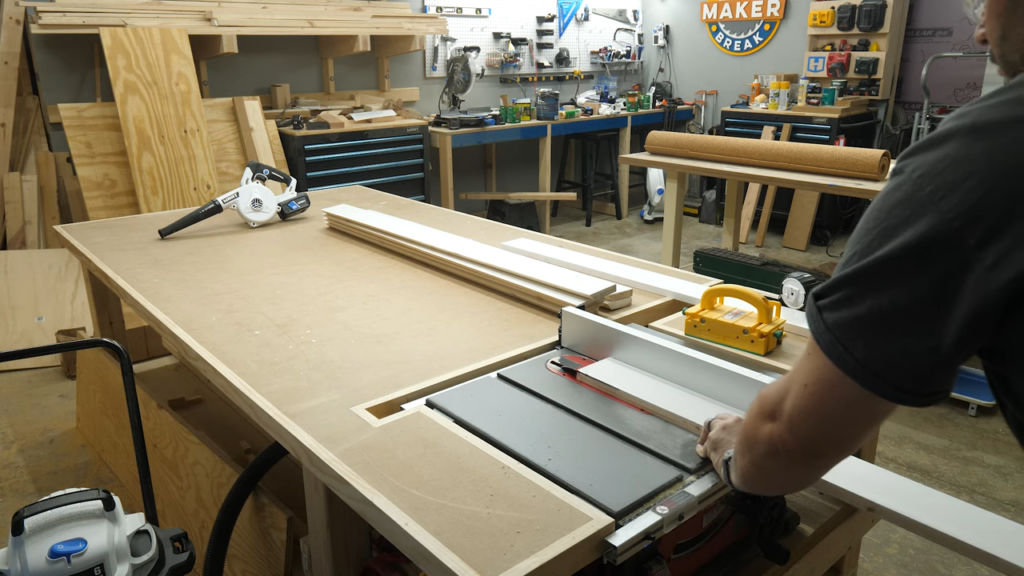
Once I had all the walls done, I set them aside and set out to cut some of the trim. I painted a bunch of 1x4s, and needed to cut a 45 degree miter on each one, so they could nicely wrap around the corners.
Then it was time to head into Cameron’s room. This area next to his bed will make the pod nicely separate his sleeping and school area from the other half of the room where his toys are. Of course you may find a different place in your home for your kids, but this pod would still help maintain focus. I hope. I first brought in the base, and then slowly brought each wall upstairs.
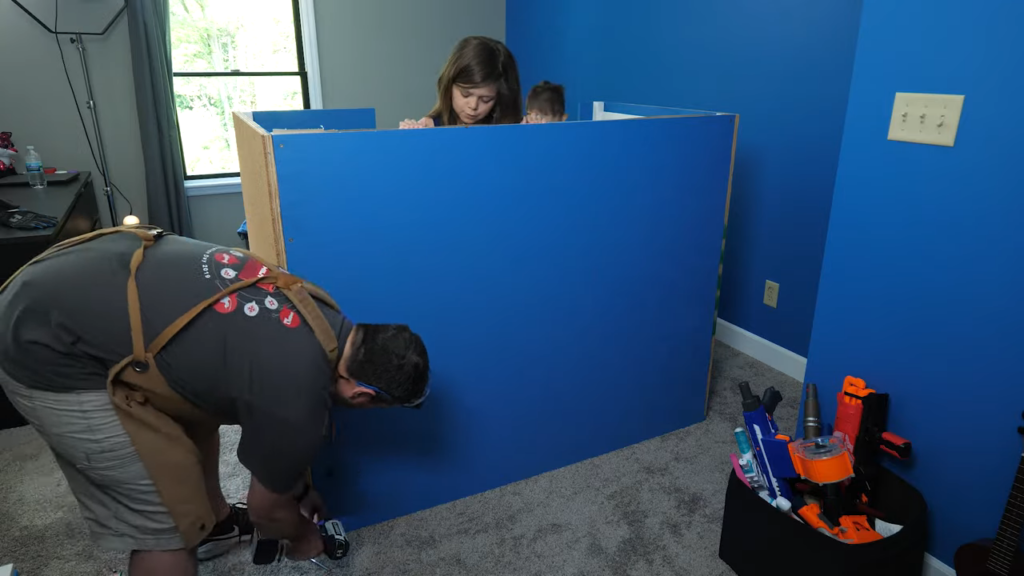
I screwed the walls into the base, and then into the 2x2s. This made for surprisingly solid walls. The kids were very excited to see it come together, and kept trying to help. Cameron sat inside to test it out. Oh I forgot to mention, I also glued in a whiteboard material above the top cleat on the left side, giving them space to draw.
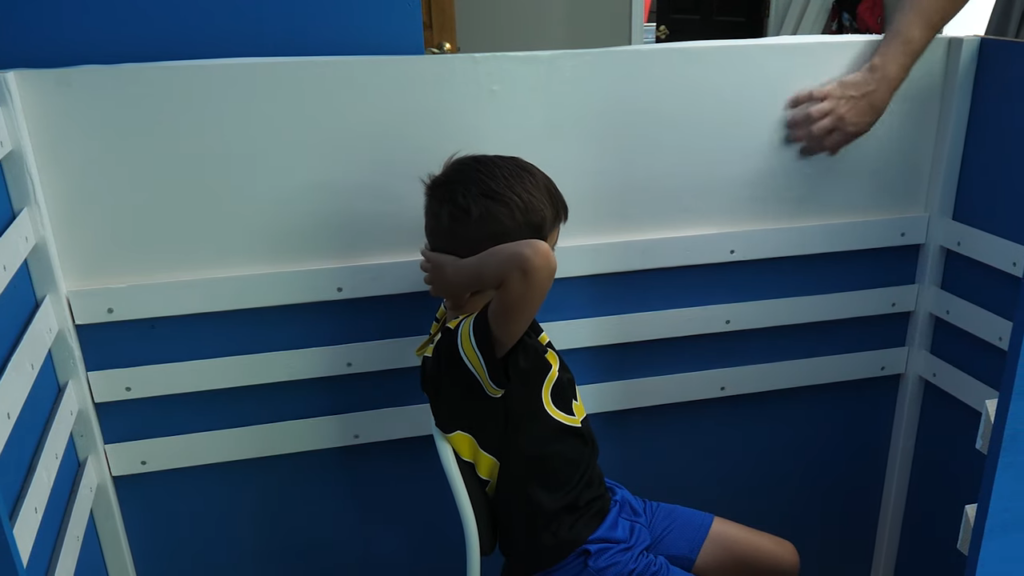
Next I brought up the corner trim, and screwed them in with these pocket hole screws, because they have a built in washer that just looks cool. Again, we’re trying to make the screws a part of the aesthetics.
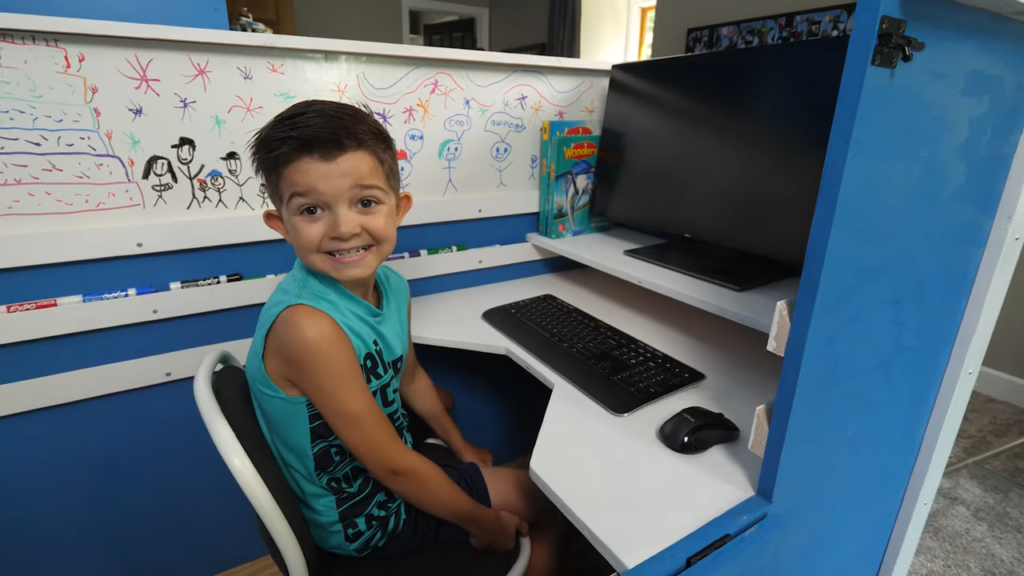
Once I had it all assembled, I was able to measure everything before cutting the desktop, to make sure all my measurements were true. They were. So I cut the desktop and a second level to hold the monitor, and painted them white as well.
Finally, I cut a few 1 by 4s to screw onto the top, giving me a place to dangerously set my coffee while I help with “NEW MATH”.
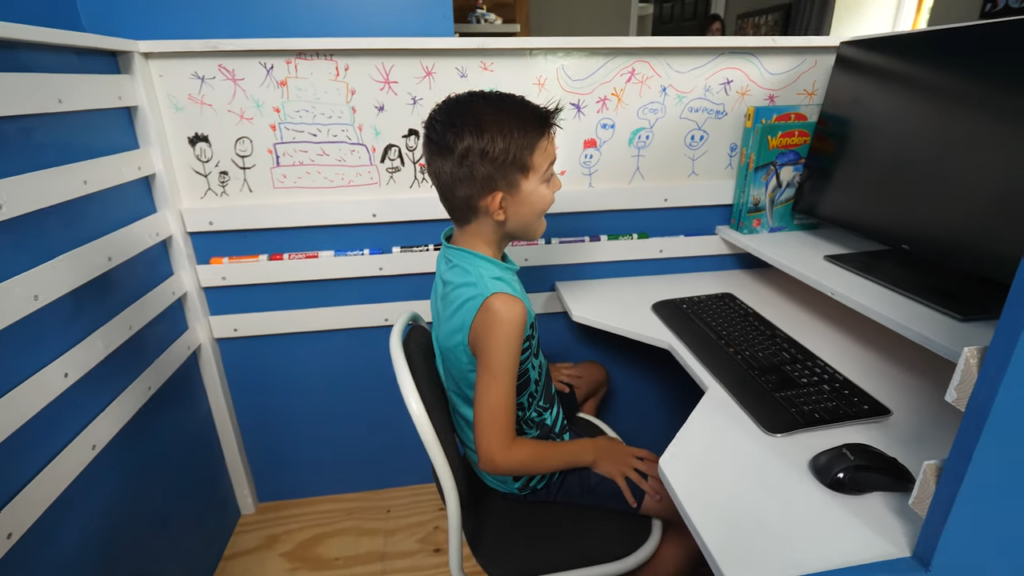
And here we go! The only thing left to do is install a bit of vinyl flooring my wife ordered, but that should be too hard. Otherwise, It’s done and the kids love it. Now will it help them study? I have no idea, but I hope so. I’ll let you know how the school year rolls out. Whatever you do with your kids this year, good luck. And remember to be as involved with their education as possible.
Meet a Maker
It’s time to Meet a Maker, and this week we have a very special guest! We’re talking about Steve Ramsey, the creator of Woodworking for Mere Mortals, and several woodworking courses including The Weekend Woodworker, and the Weekend Workshop! For the last 12 years he’s been publishing educational woodworking videos on YouTube, sharing the joy of woodworking with us mere mortals.To see the interview watch the video above and when you are done, go subscribe to his channels!
If you have a favorite maker on YouTube or Instagram, and think we should meet them, let us know! Send us an email at [email protected]
Favorite Maker Videos of The Week!
Before we go we wanted to point out a few of our favorite maker videos this week. This is Katie from Addicted to DIY, who shared a backyard game I’ve never seen before, but makes it look fun to play, and really easy to build.
A couple years ago, Izzy Swan built this amazing hand cranked chainsaw mill. While it’s continued to work great, he’s had problems moving bigger logs into place on his own, so this week he set out to design and build a custom device for lifting heavy logs. His solution involves a Chinese Windlass, which is this amazing bit of engineering, that allows you to lift or lower large loads with little effort, while leaving it in constant balance, so it doesn’t fall on it’s own. Hard to explain, but Izzy does a great job of it.
And this last one is from Donnie of Designs by Donnie, who gave his window nook, which I didn’t think looked that bad already, a makeover I never could have imagined on my own. He built a completely new bench, put in some shiplap, and gave it all a new coat of paint. Look at that! It’s really beautiful.
Alright Maker Friends, that’s all we’ve got. If you saw a Maker Video that should have been mentioned, do us a favor and link it in the comments below. If you link it, we’ll watch it! Thanks to HART for sponsoring this episode and reminding us that we can build anything we can imagine if we #doitwithhart. Be sure to like and subscribe so you don’t miss a thing! Alright break’s over, let’s make something!

