
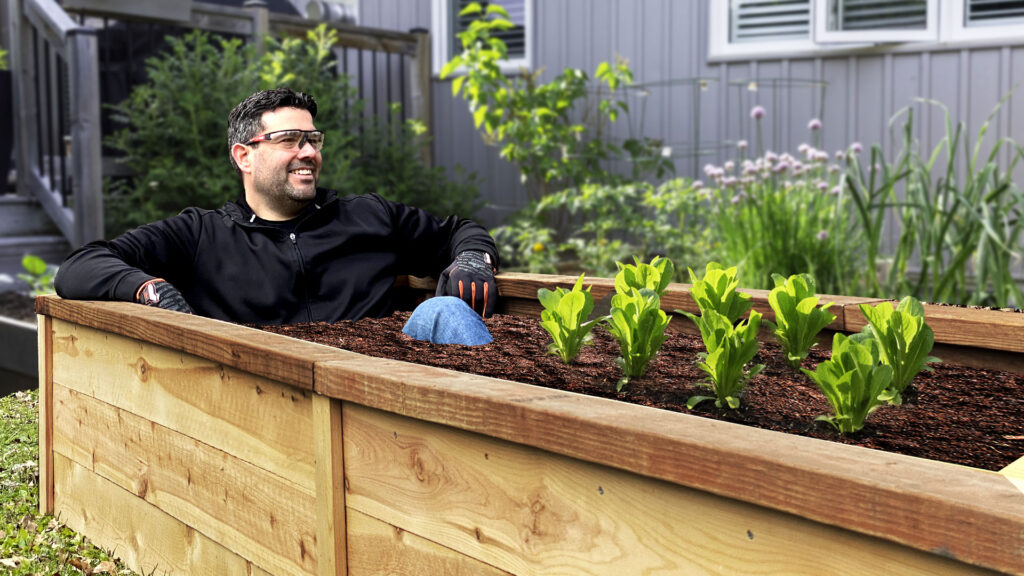
This week we build a Raised Garden Bed! Because, you know… my wife made me. I’ll show you how!
We were watching episode 10, where we featured a raised garden bed by Maker Grey. My wife saw it, and insisted I make one. So I did!
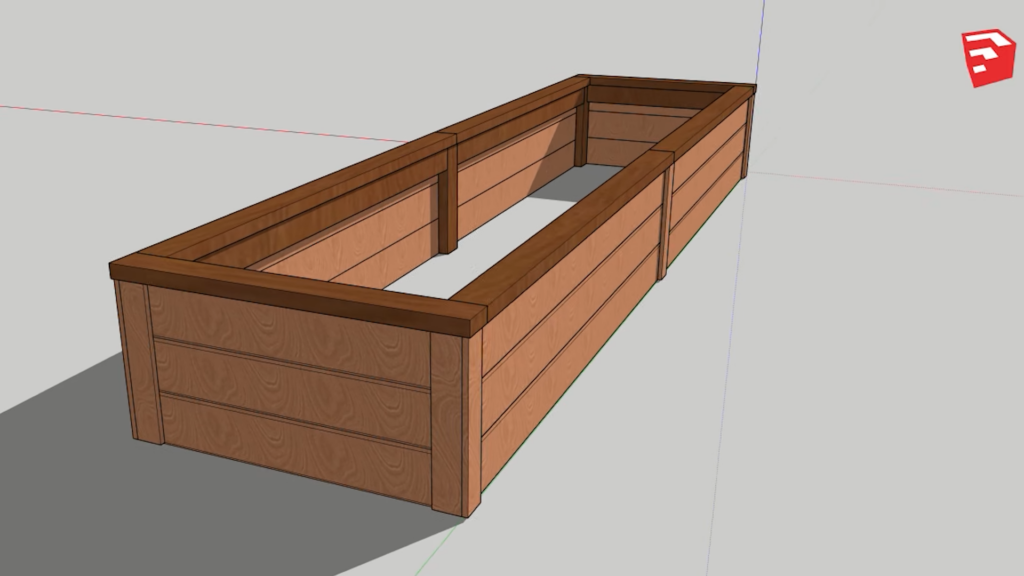
I reviewed Maker Greys video again, opened up SketchUp and planned my own. Based on the space we have, I made it 3 feet by 12 feet. I also added a 2×4 top rail because, you know. Design and stuff.
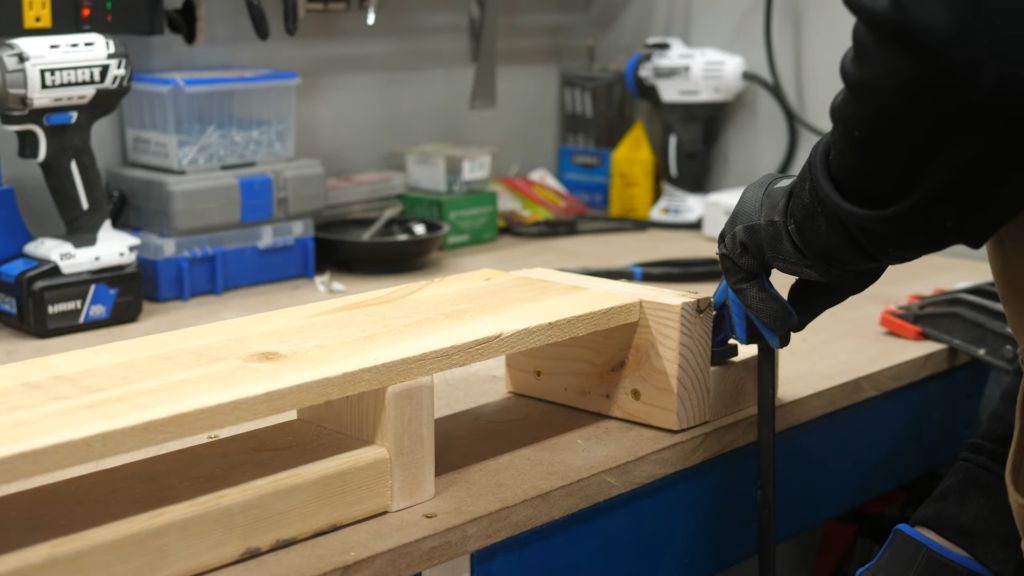
Then it was time to get into the shop. The first step was to get all of my lumber cut to size. I decided to use cedar fence pickets which were really affordable. Unfortunately, they were already dog eared, so I had to cut that part off. I made my measurements and got to cutting. To make sure all the different lengths were consistent, I used my stop block which I simply clamped to the workbench each time I changed sizes.
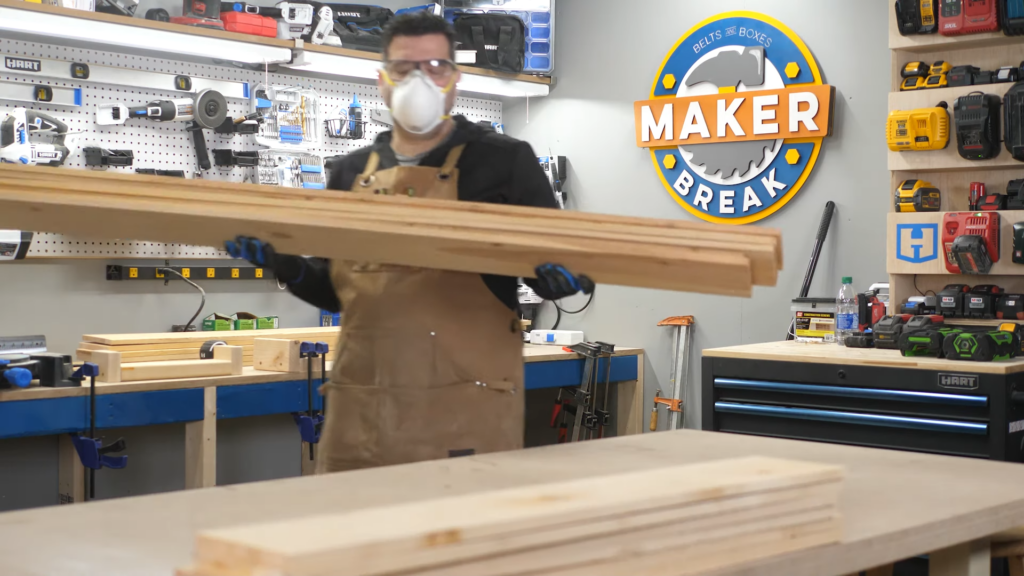
Is it just me, or do you guys love cutting cedar too just because it makes the shop smell so good?
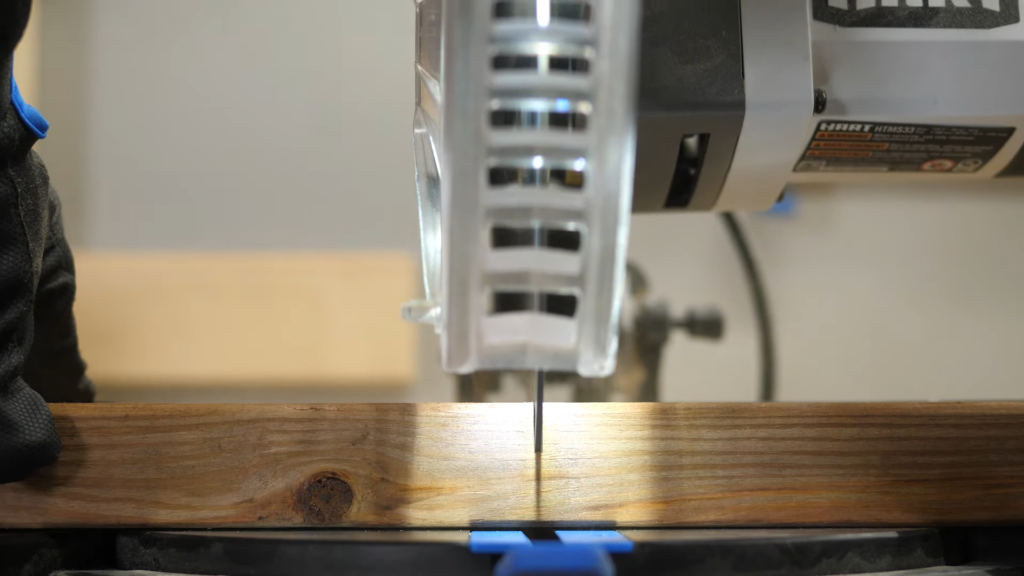
Once all the cedar planks were done, it was time to cut up the treated cedar 2x4s. I once again used my miter saw, and a stop block to make all of my cuts consistent. I then made my measurements, and cut! I’m using a new 80 tooth finishing blade on the miter saw, and it cut Soooo smooth I didn’t have to sand anything at all.
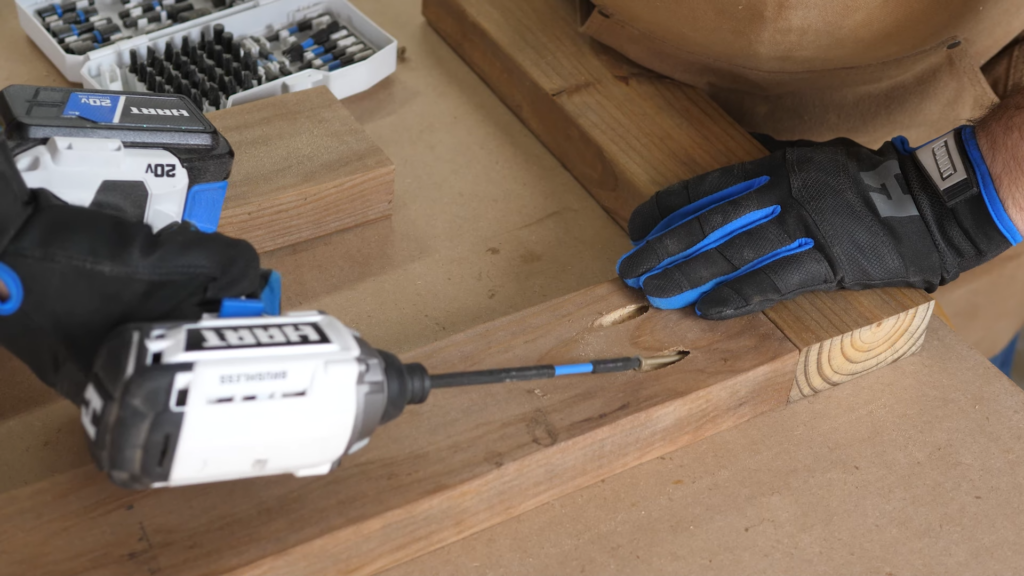
Now that all the pieces were cut, it was time to assemble them. I started with the basic frame. I used pocket holes and triple coated decking screws to hold it all together.
Remember this thing is 12 ft long, so I had to get creative when supporting it on my 6 ft bench. Portable table saws make great saw horses in a pinch.
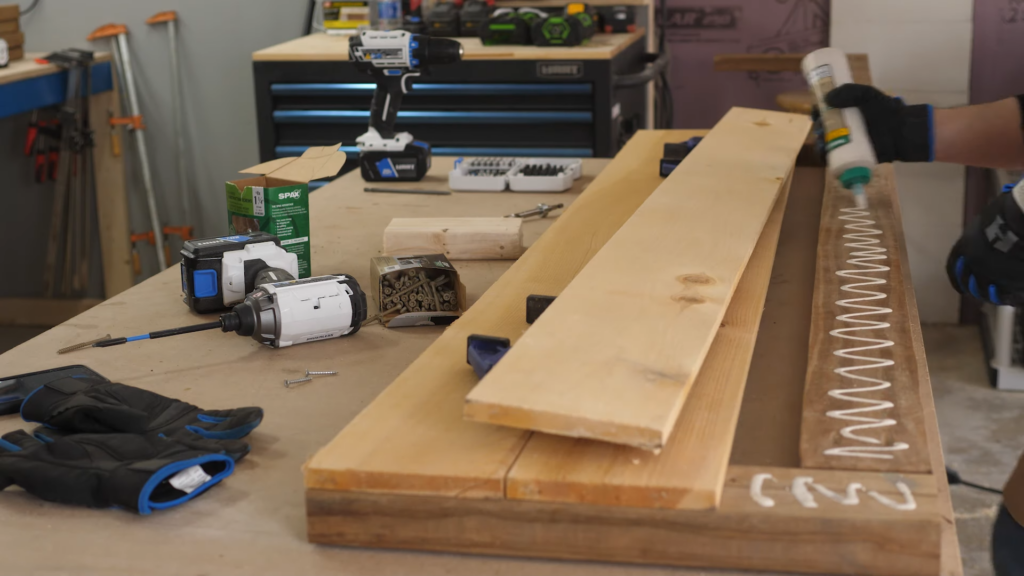
Then it was time to start gluing and screwing on the cedar planks. After gluing them in place, I predrilled holes and then drove in 1 and ¼” stainless steel screws to hold it all together.
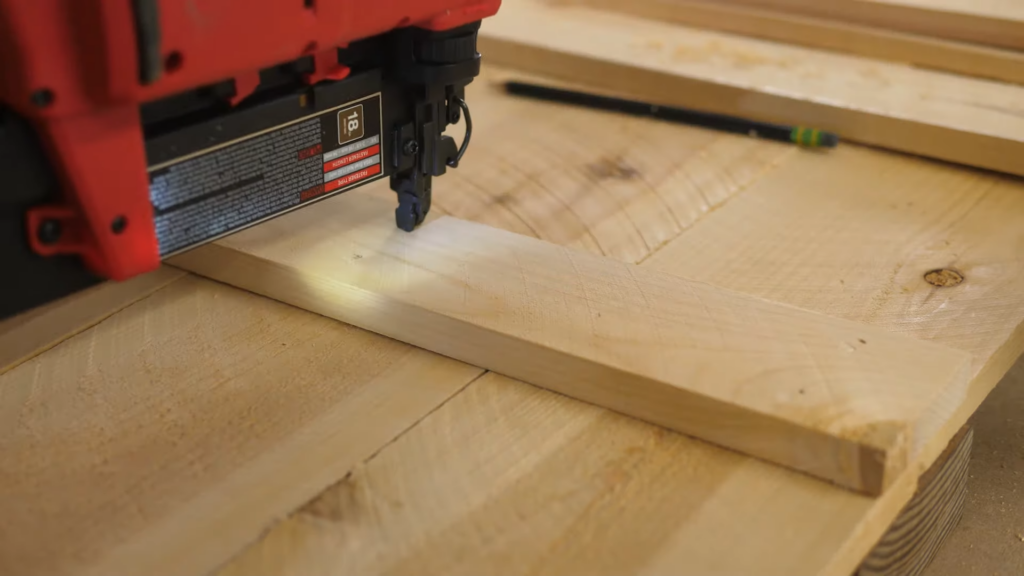
I finished one side, moved it out of the way, and then completed the other. I also wanted to cover the joints with a few cedar planks, again, for the design awesomeness. I took some scrap planks, and ripped them in two on the table saw. Then it was as easy and gluing them up and using brad nails to hold them in place while they dried.
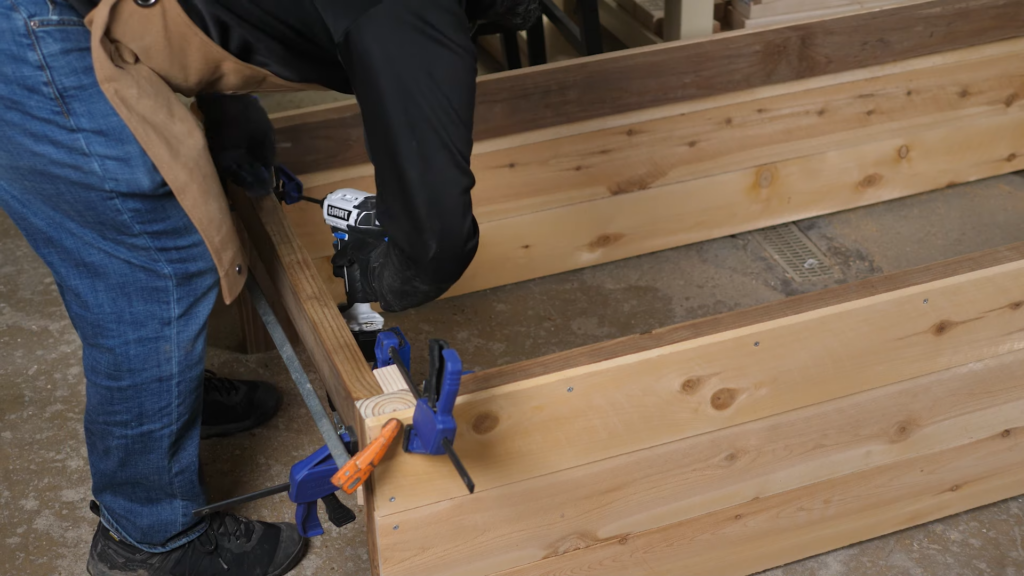
Then I got the two sides propped up on the ground, I needed to screw in the end braces. This would have been easier upside down IF my floor was level, but it’s really not. So instead I used some scrap pieces and clamped up this crazy contraption to keep it aligned while I screw it together. Hey, it worked.
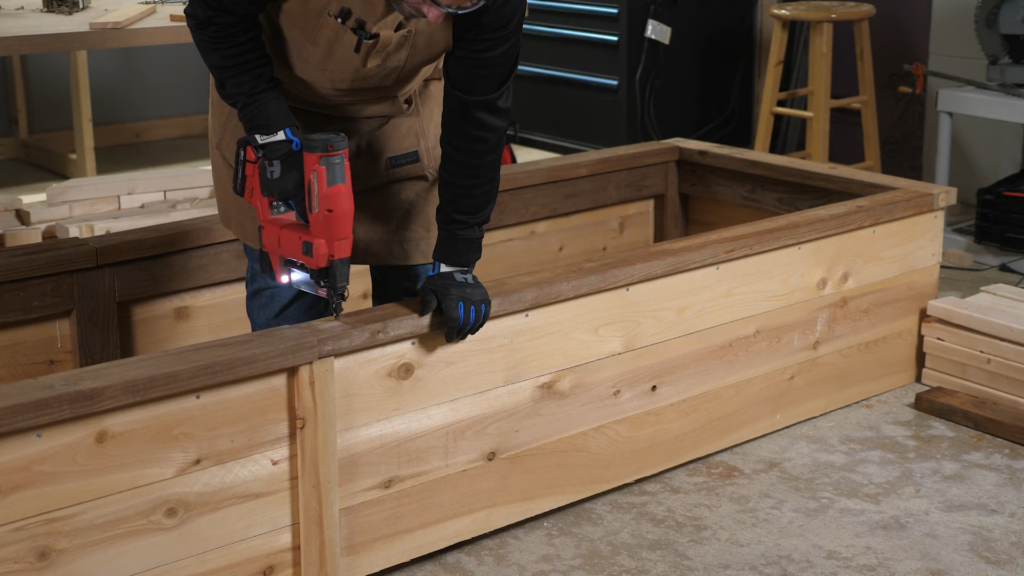
Then I glued, nailed then screwed on the end planks. Last of all, I added a rail of treated 2x4s more for aesthetics than anything else. Besides looking nice, It also will give us a place to set tools when planting.

The last step was adding a couple planks to the corners to cover the joints and make it look pretty!
Our Favorite Maker Videos of the Week
Scott Brown is a carpenter who we’ve featured in our other show, the Power Tool Week In Review, many, many times, mainly for his power tool reviews. But now that he’s quarantine at home, he decided to share his own list of 8 must have tools for DIY projects. He covers all the basics including hand saws, drills, multi tools, measuring tools and more. If you’re just getting started on projects in your how, there are few people better than Scott Brown to give you good advice. You can find him at Scott Brown Carpentry on YouTube
Next up, one of our favorite builders on YouTube, makes a giant bowl, with an unusual technique. Justin from Rainfall Projects, decided he and his wife needed a 5 ft wide salad bowl, and instead of turning it on a giant lathe, he went the sacrilegious route of carving it with a CNC machine. In his typical fashion, he does a great job of walking you through every step, and misstep. Even if you don’t have a CNC machine, you’ll enjoy the watch. You can find him at rainfall projects on YouTube.
The maker community is growing increasingly concerned about John Malecki’s mental health as his quarantine projects continue a strange march down oddity lane. But I’m telling you right now. Crazy, is where the genius of John Malecki thrives. This week John decided to make a unique display case for an equally unique pistol called the American Joe, from Cabot guns. The joints on this case are the real highlight, where he uses a combination of dovetails and epoxy that turns out amazing. If you think you can handle this much Malecki, head over to John Malecki on YouTube.
This week we ran into a maker we’ve never seen before. Her name is Anika, and she built a beautiful a-frame desk for her daughter. Anika doesn’t mess around with stupid animated intros (play ours for half a sec and then cut to me giving the camera a shrug) but instead like to get right to the action. She uses her miter saw to work out the complex angles, and pocket holes to hold it all in place. The desktop is a box with two drawers and a center space I would quickly fill with snacks. Just being honest. Besides the video, she also shares the complete plans and walk through on her website (https://www.anikasdiylife.com/diy-a-frame-desk/) If you’re in need of a small but beautiful work space, you can find it at Anika’s DIY Life on YouTube.
Thanks to HART for sponsoring this episode, and for reminding us that we can do anything if we #DoItWithHART

