
This week I took a… Maker Break… so to speak… and handed the tools over to our own Sarah Lee. And she used the time to try a bunch of new techniques, AND, we hit 50k subscribers! HART TOOLS wants to help us celebrate, with a huge tool giveaway! Stick with us to find out how to win! Plus we get to meet a new Maker from Colorado, and we’ll share a few of our favorite Maker videos of the week, but first It’s time for a Maker Break!
Project of The Week
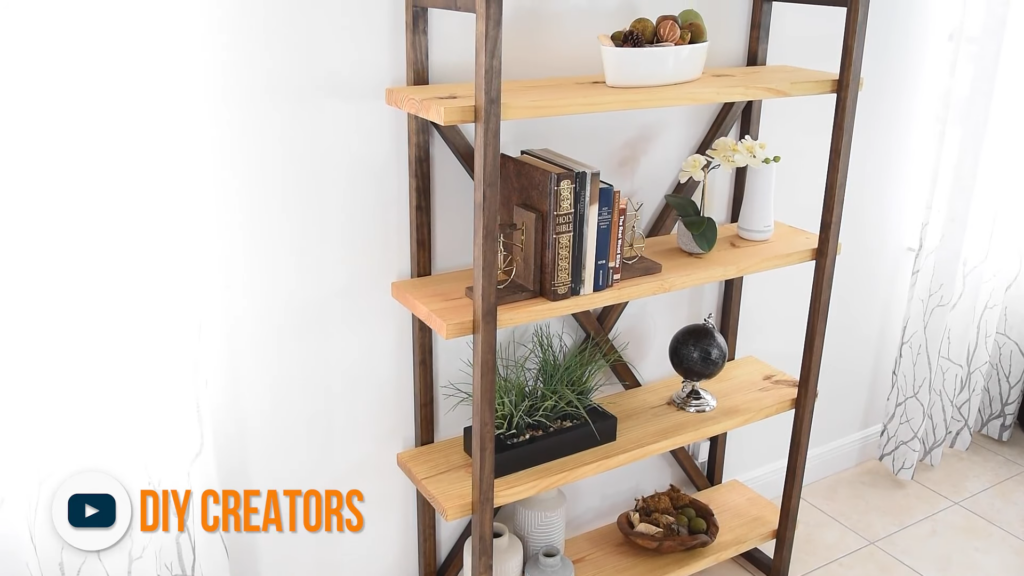
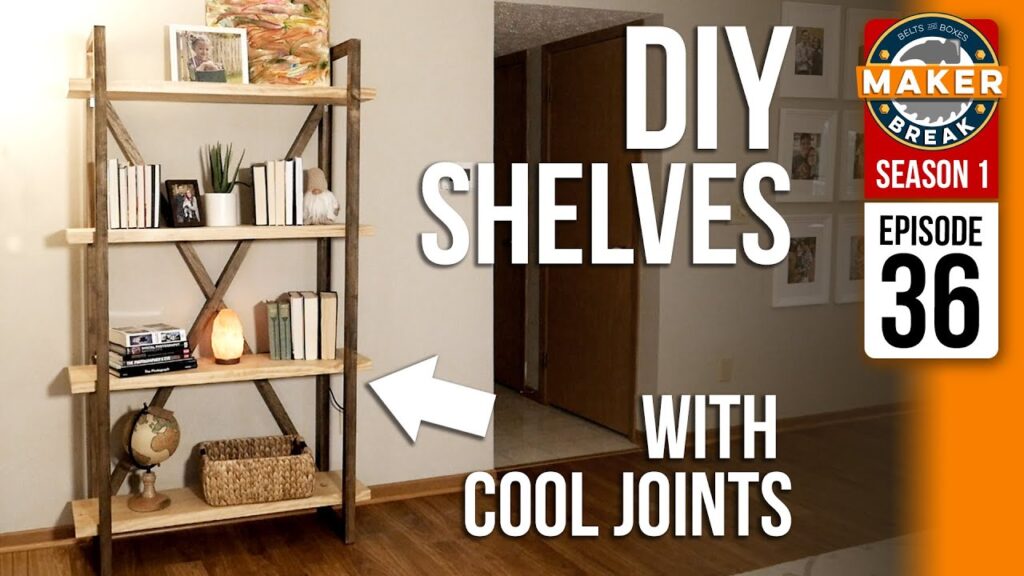
First off, this is Glen. His channel, DIY CREATORS is one of my all time favorites. I love his projects. So when I decided I wanted to build shelves, I went to his channel first for inspiration. That’s where I found this. His design is beautiful, but looks pretty easy to do.
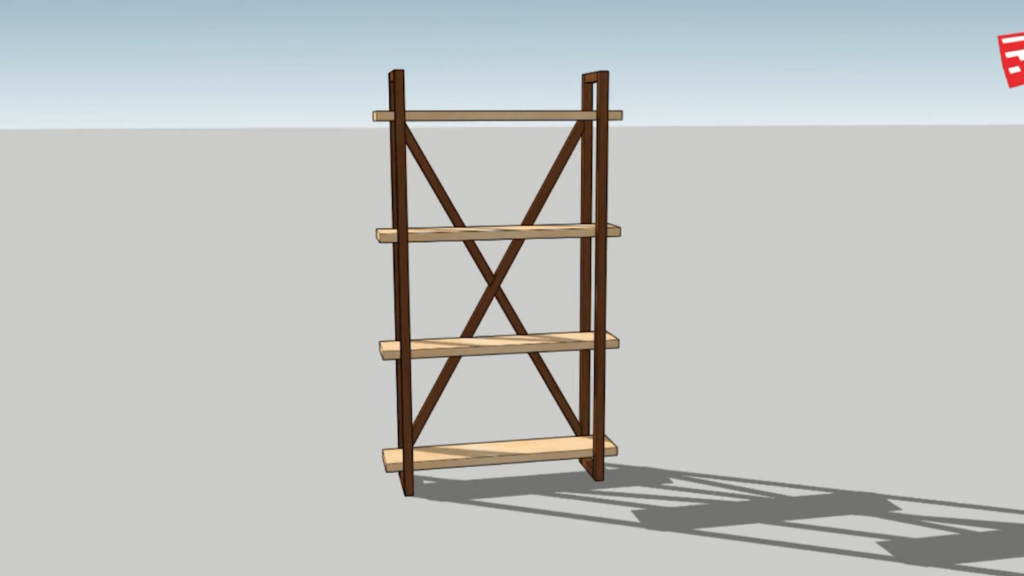
I had Rob make a model for me in Sketchup, based on my own dimensions. From there I bought the wood, headed into the shop and started Making.
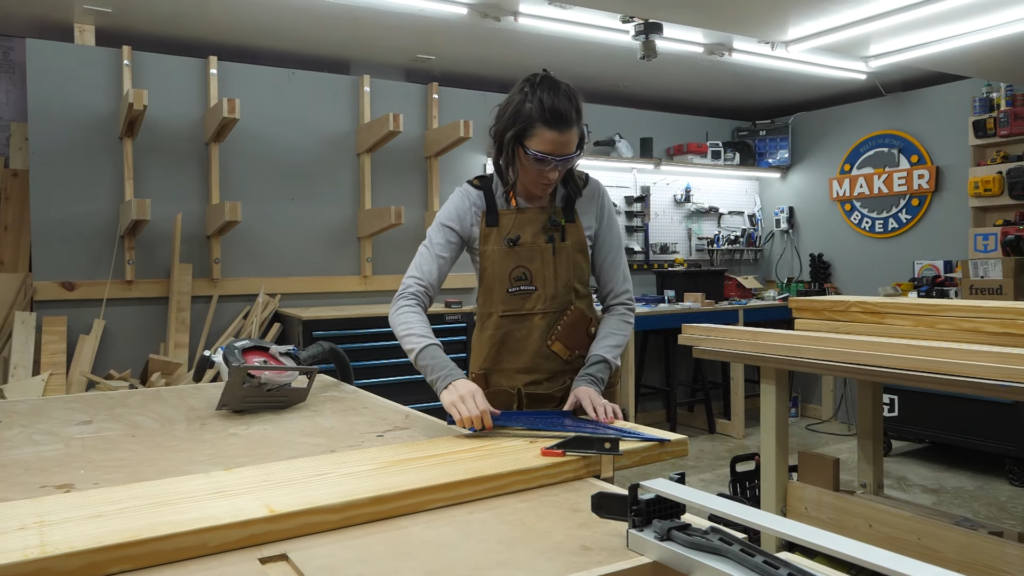
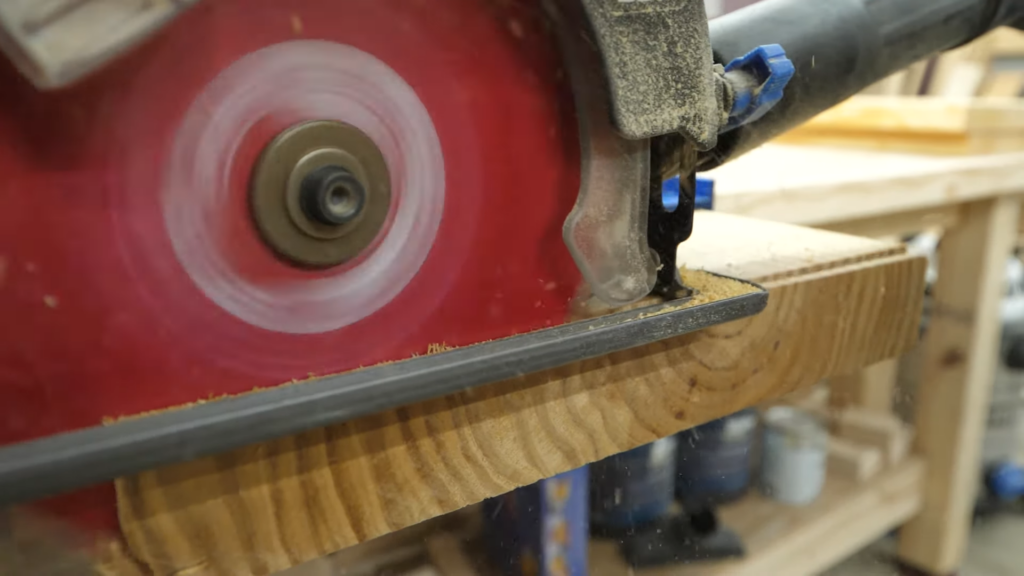
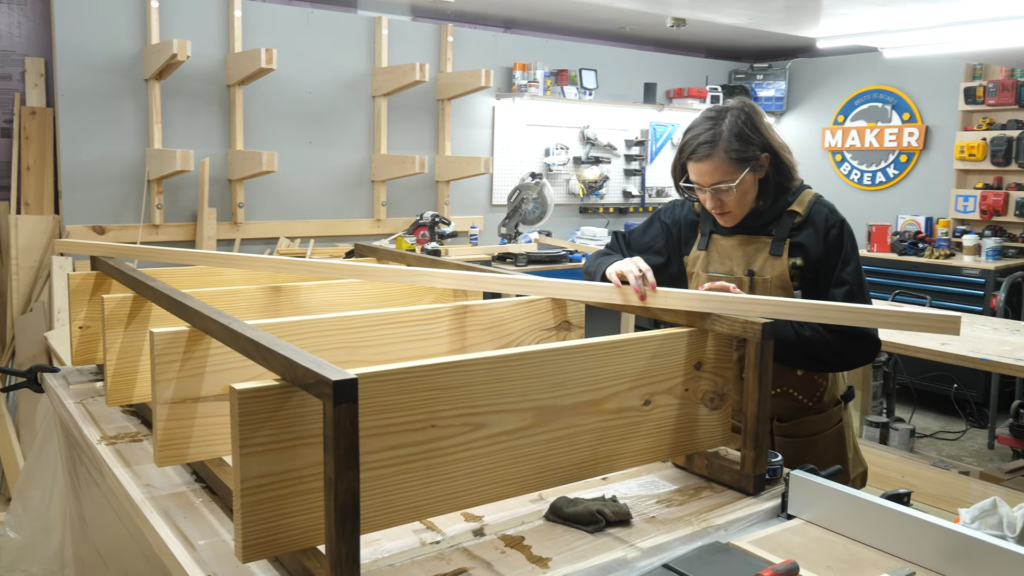
First order of business was to cut my shelves to size. I went with 42” wide, and 10.5” deep. This was not going to be little that’s for sure! I used my square to mark my cut lines, and it made a good guide for my circular saw. I know I’ve said it before, but I love using this saw!
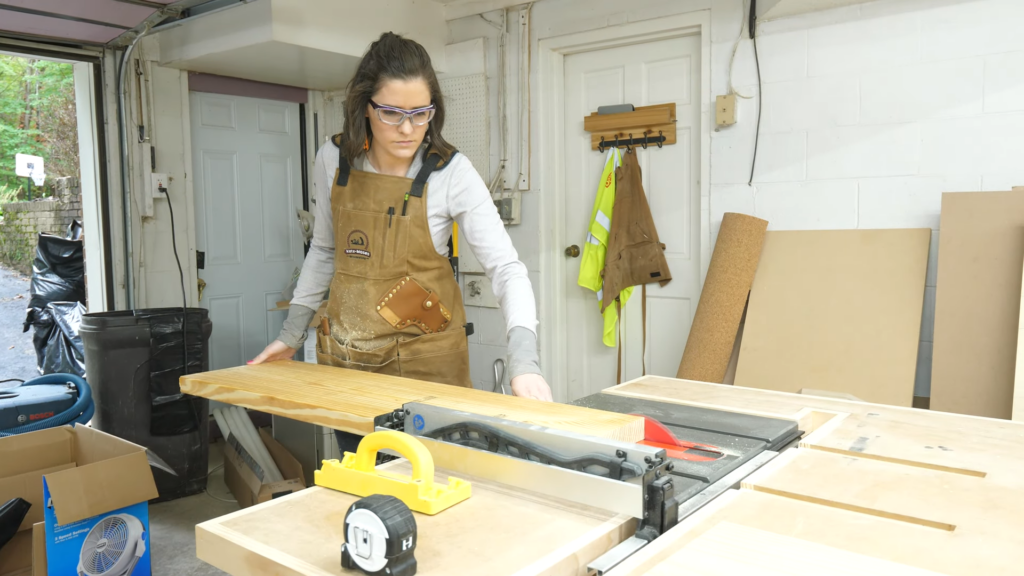
Once they were call cut to length, I needed to square off the edge with the table saw. Not gonna lie, this tool still makes me nervous, and these shelves were not light. But it went smoothly enough. After I cut one side on each shelf, I moved the fence over and cut the other side. This gave me perfectly matched shelves.
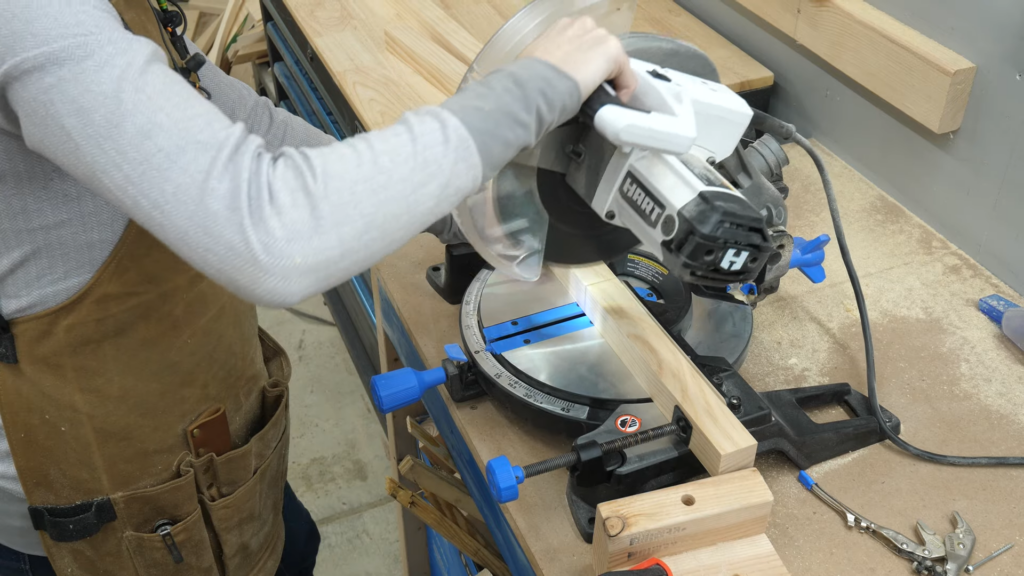
Next I cut some 2x2s to length on the miter saw. I used a stop block to make sure they were all the same size. The verticals would be 72” and the cross supports matched the 10.5” of the shelves.
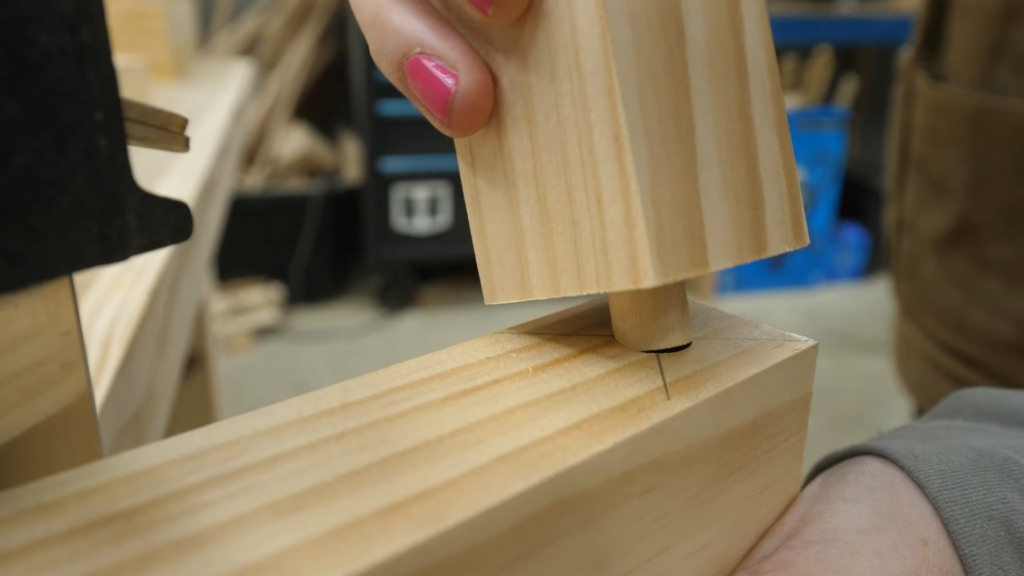
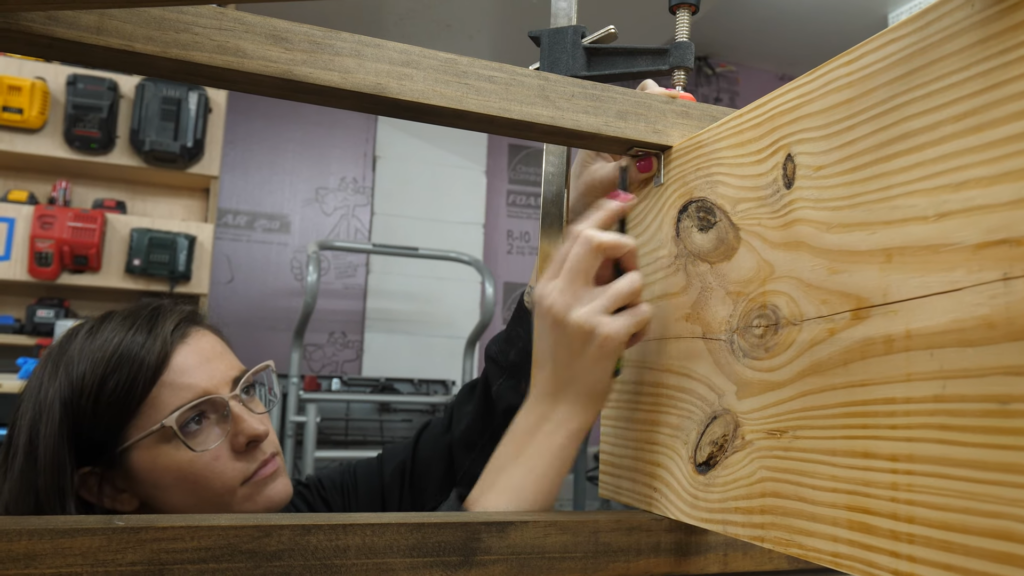
Now the first new joint for me was the dowel. I had some ¾” dowels laying around, so I used a ¾” forstner bit to drill a hole in the supports. I first had to find the right spot, which I did by drawing line from the corners.
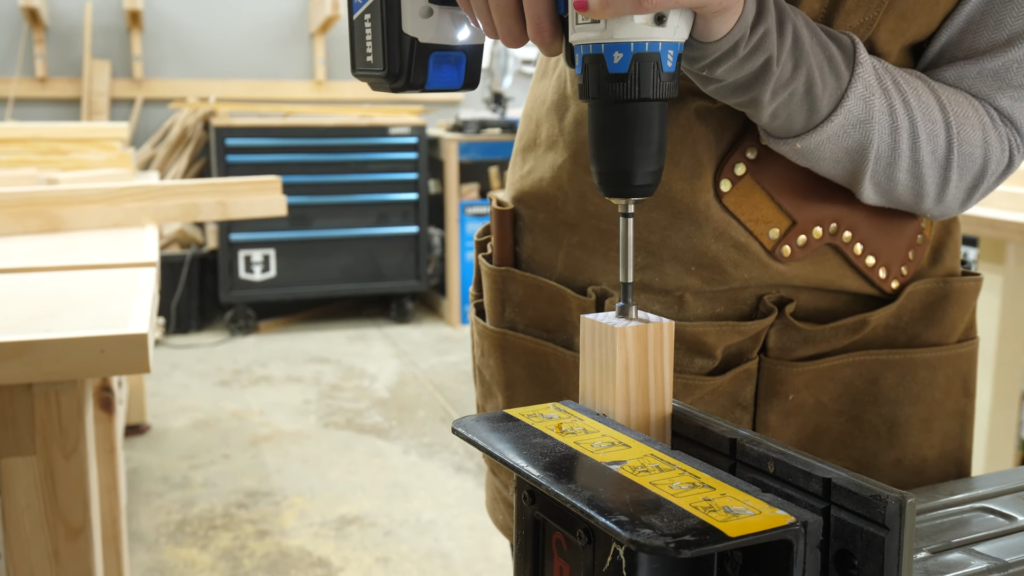
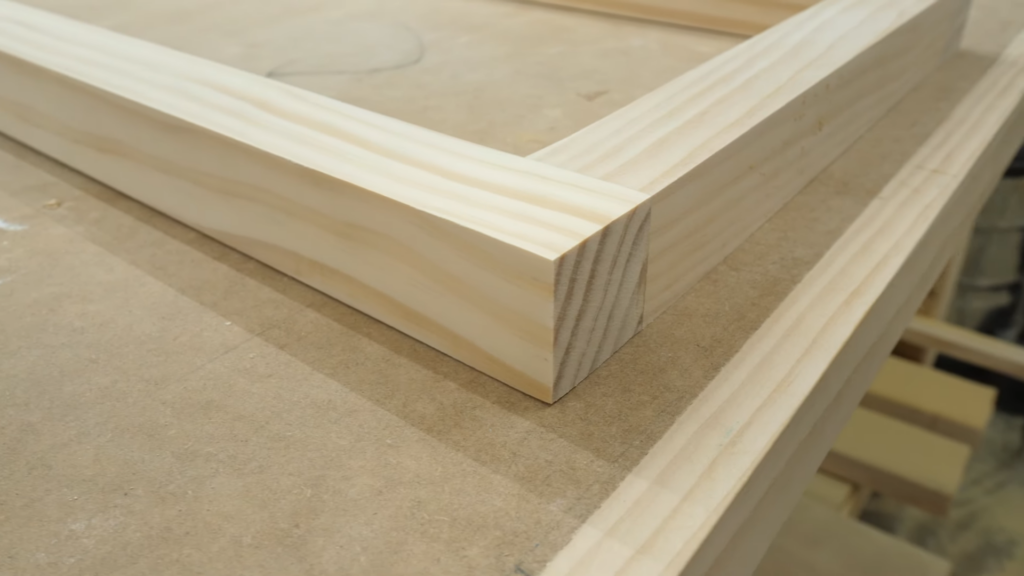
The difficulty here was that I not only had to hit the exact spot, but I had to drill vertically… which, I didn’t always do. I was close, but several were a bit sideways. Fortunately this technique was forgiving, and with a bit of glue and a few clamps, I had some very strong joints.
While the frame dried, I sanded the shelves. When the frame was dry, I sanded it too, which helped me even up those joints as well. They ended up looking SOOOO good.
Next I applied a dark walnut stain to the frame. This stuff is really easy to use, I just applied it generously to the frame, and then wiped the extra off with a rag.
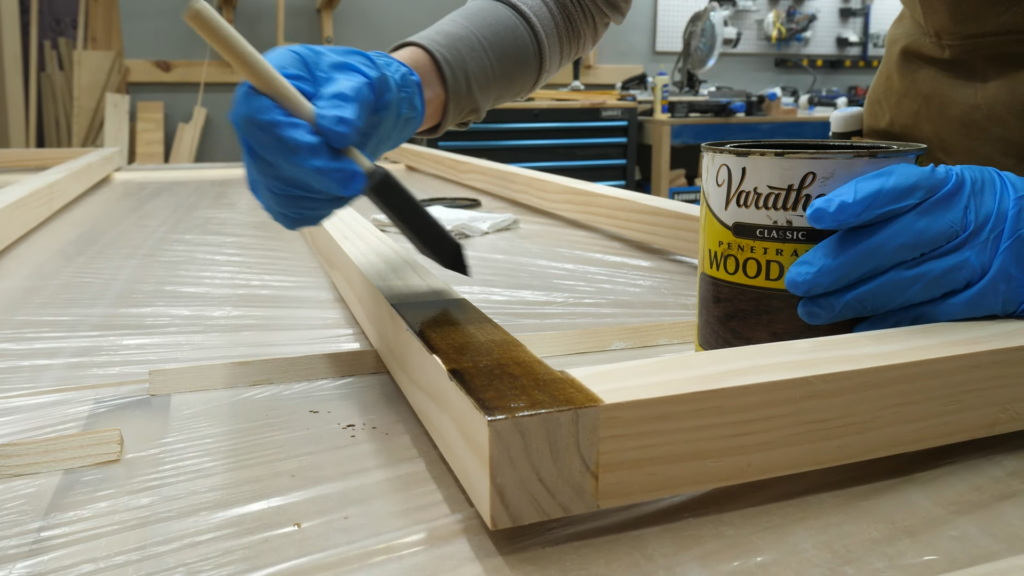
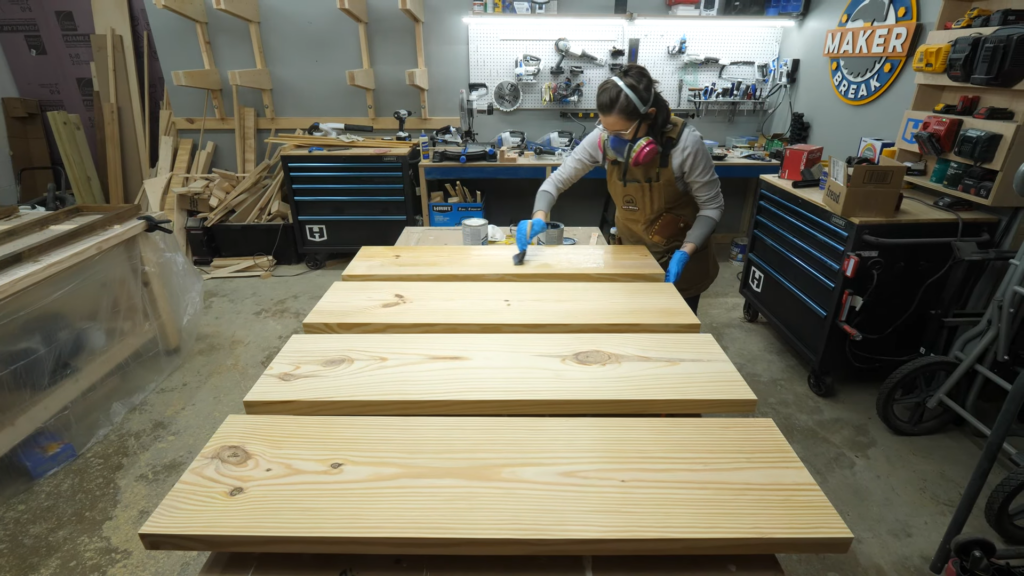
Then I applied a clear water based finish to the shelves, so they wouldn’t change color. At this point you’re probably asking yourself. Wasn’t there a cross bar in the back? I asked that same question, and then answered myself… Yup, you forgot it ya idiot.
So I let it all dry overnight. The next morning I temporarily put it all together, so I could measure out the cross bars. When they were in place, I marked where to cut them and got the job done on a miter saw.
Then I marked where the pieces crossed each other. This is where the next new joint showed up. I had to chisel out a lap joint. I had never done this before, so Rob helped me learn on a piece of scrap.
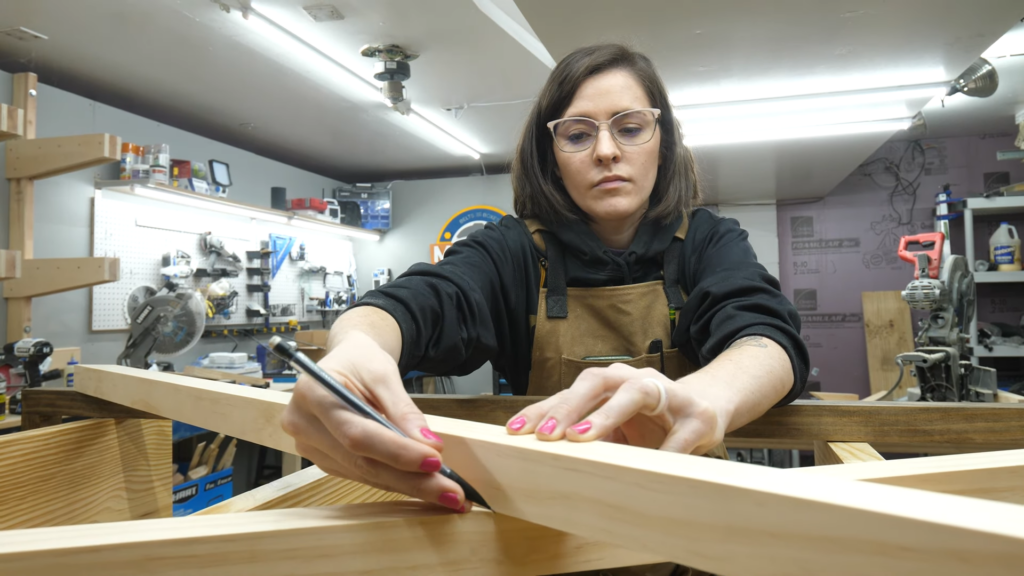
For each one, I had to cut the ends with a pull saw, and then added a bunch of extra cuts, being careful not to cut too deep. Then I used a chisel to cut out the waste. This was NOT easy, but it was really fun. I got better with every attempt. Eventually I just had to sand a bit, and then they fit together perfectly. A bit of glue and a pair of screws and I was done.

After staining that, I started to screw the whole thing together. I clamped the cross bars in place first and screwed them into the frame. I was careful to countersink the holes so the screws sat flush. For the shelves, I used these little metal L brackets and they worked great.
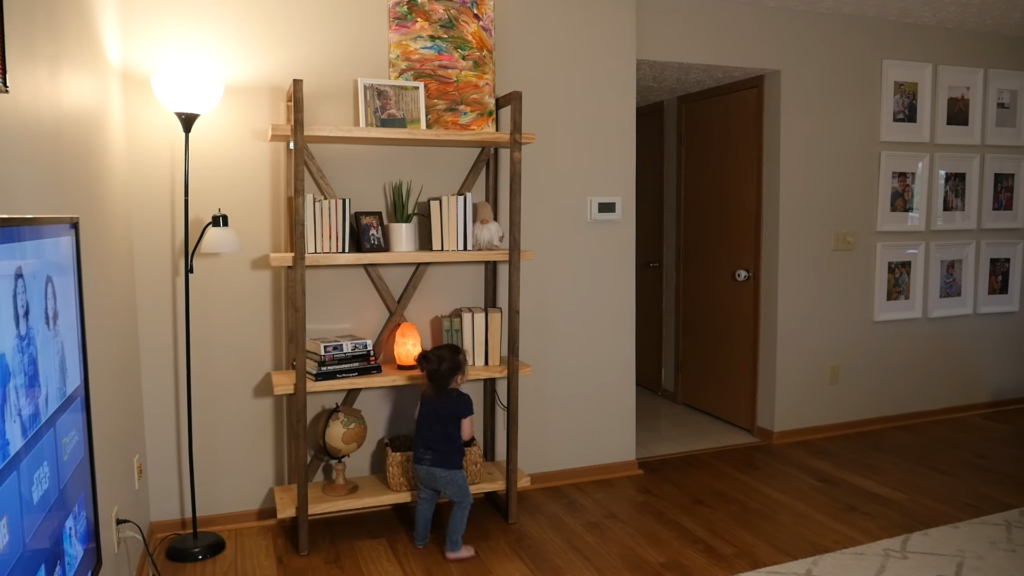
And that was it! Rob helped me load it up in my truck, and my husband helped me get it in place when I got home, and I have to say, this is the nicest project I’ve ever done, and there’s nothing I don’t love about it, and when people come over, I get to say “I built that all by myself”.
Meet A Maker
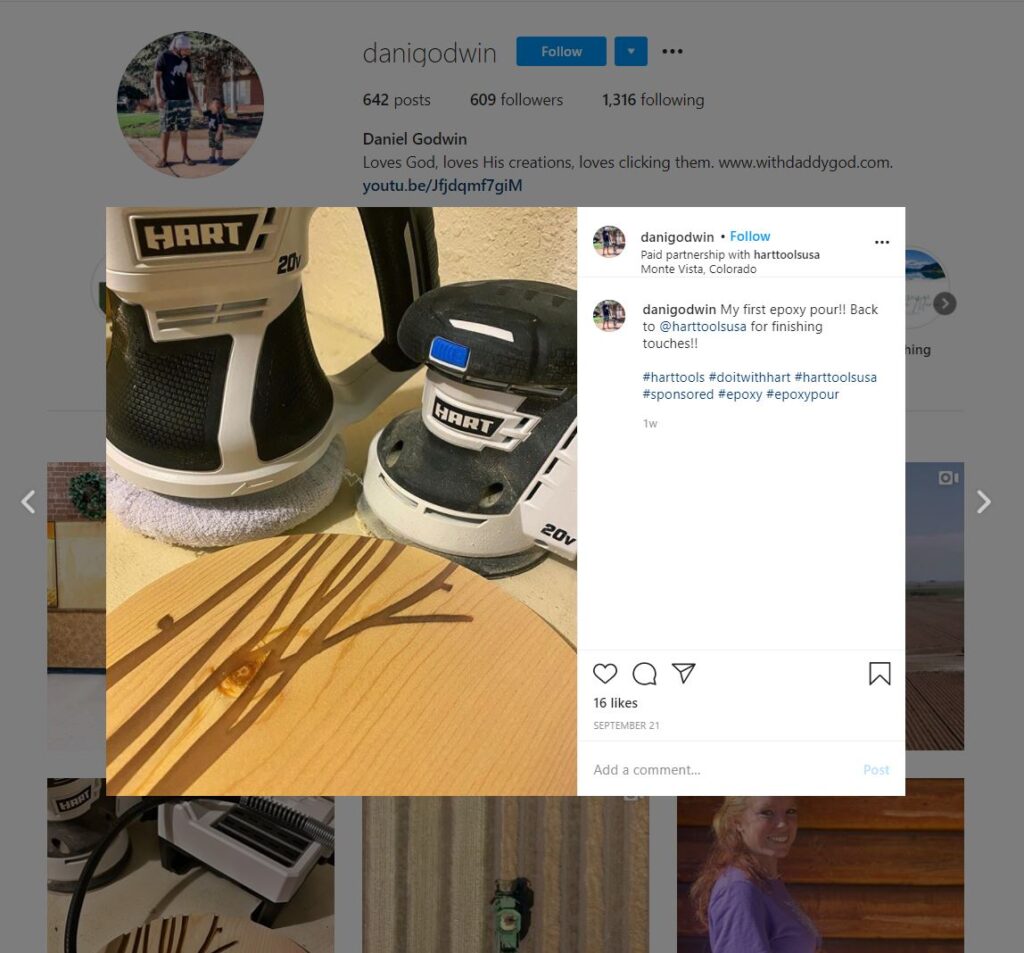
It’s time to Meet a Maker! This week we got to talk with a new maker from Colorado. This is Daniel Godwin. Daniel, Thank you for sharing your story with us! If you’re not already following him on Instagram, you can find him @danigodwin
Favorite Maker Videos
The flood of DIY virtual learning desks keeps flowing, this week Lazy Guy DIY shared a plan for a kids desk that only costs $60 to make! Besides a very accessible design, they also left lots of room for creative customization that let the kids express themselves and make each desk their own.
Ben from Woby Design is back making beautiful works of art from discarded skateboards, this time turning 28 boards into this remarkable tabletop. The best part is watching Ben get pumped to try this super expensive oil finish. At $50 a jar, that stuff better be good.
And finally, Glen from DIY Creators, that inspiration for my build this week, shared a plan to build a temporary paint booth in your garage using this really cool ceiling track. Spraying is something we’ve only tried a couple of times and we always had to shoot outside. THIS would be a much better solution.
50k Giveaway – Belts and Boxes

So you guys may have noticed, we hit a milestone this week. 50K! To celebrate, HART is giving away this awesome 4 tool kit with a 200 piece bit set. They’re also tossing in some safety glasses and markers! To enter to win, all you have to do is leave a comment on this video, telling us about your own favorite project you made this year. You can get an extra entry by following the link in the description to our Instagram page, and leaving a comment there telling us what project you PLAN to do before the end of the year.
We want to thank our many sponsors, including HART for supporting us, and helping us reach this amazing milestone. But most of all we want to thank all of YOU, for watching.
Last week I used a rotary tool to make my first carved top, so click here to watch it! Special Thanks to HART for reminding us that we can build anything we can imagine if we #doitwithhart. Alright, break’s over! Let’s make something!

